

Company Forms
This page explains Company Forms and discusses in detail about uploading Static Forms, removing forms, updating forms, and the process of setting required fields on forms.
4.1 About Company Forms
In addition to vendor forms, you can upload your proprietary forms, and have them mapped to collect data entered as well as fill other documents. Most common forms include:
- New Client Forms for individuals and entities
- Advisory agreements
- Compliance and regulatory forms
There are two types of forms you can upload:
- Forms that need to be coded for data entry and signature.
- Forms that are static and require no coding or signatures.
4.2 Upload Static Forms
Use this function to add company forms that do not require any coding or signatures to be entered, such as disclosures. (System admin or manager role is required to perform this function).
- From the side navigation menu, navigate to Form Library.
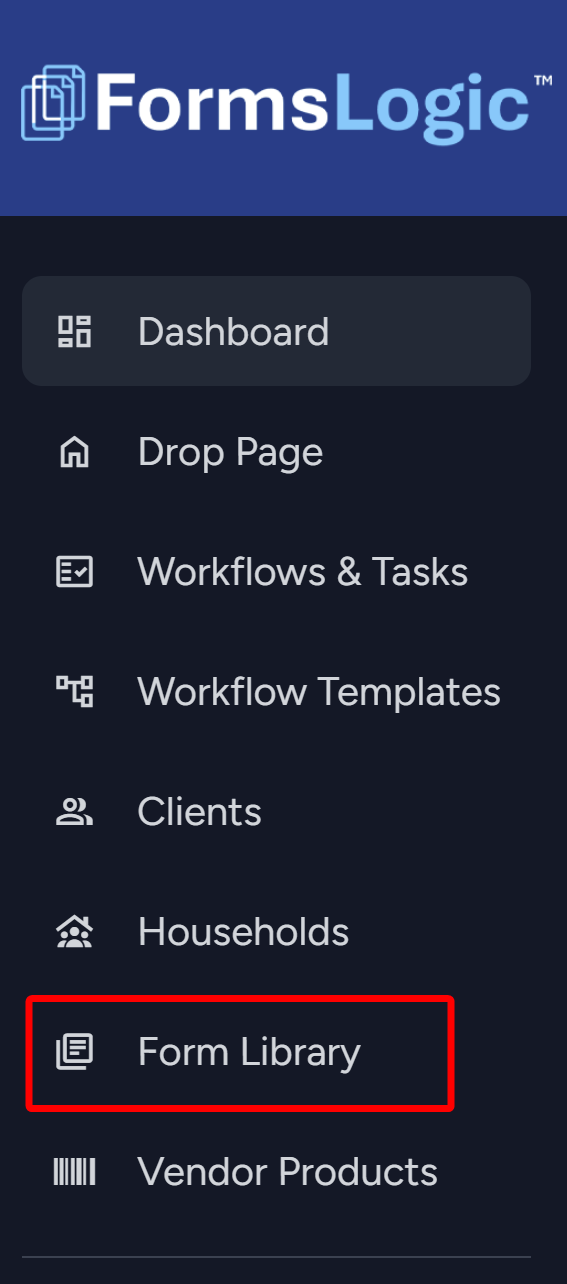
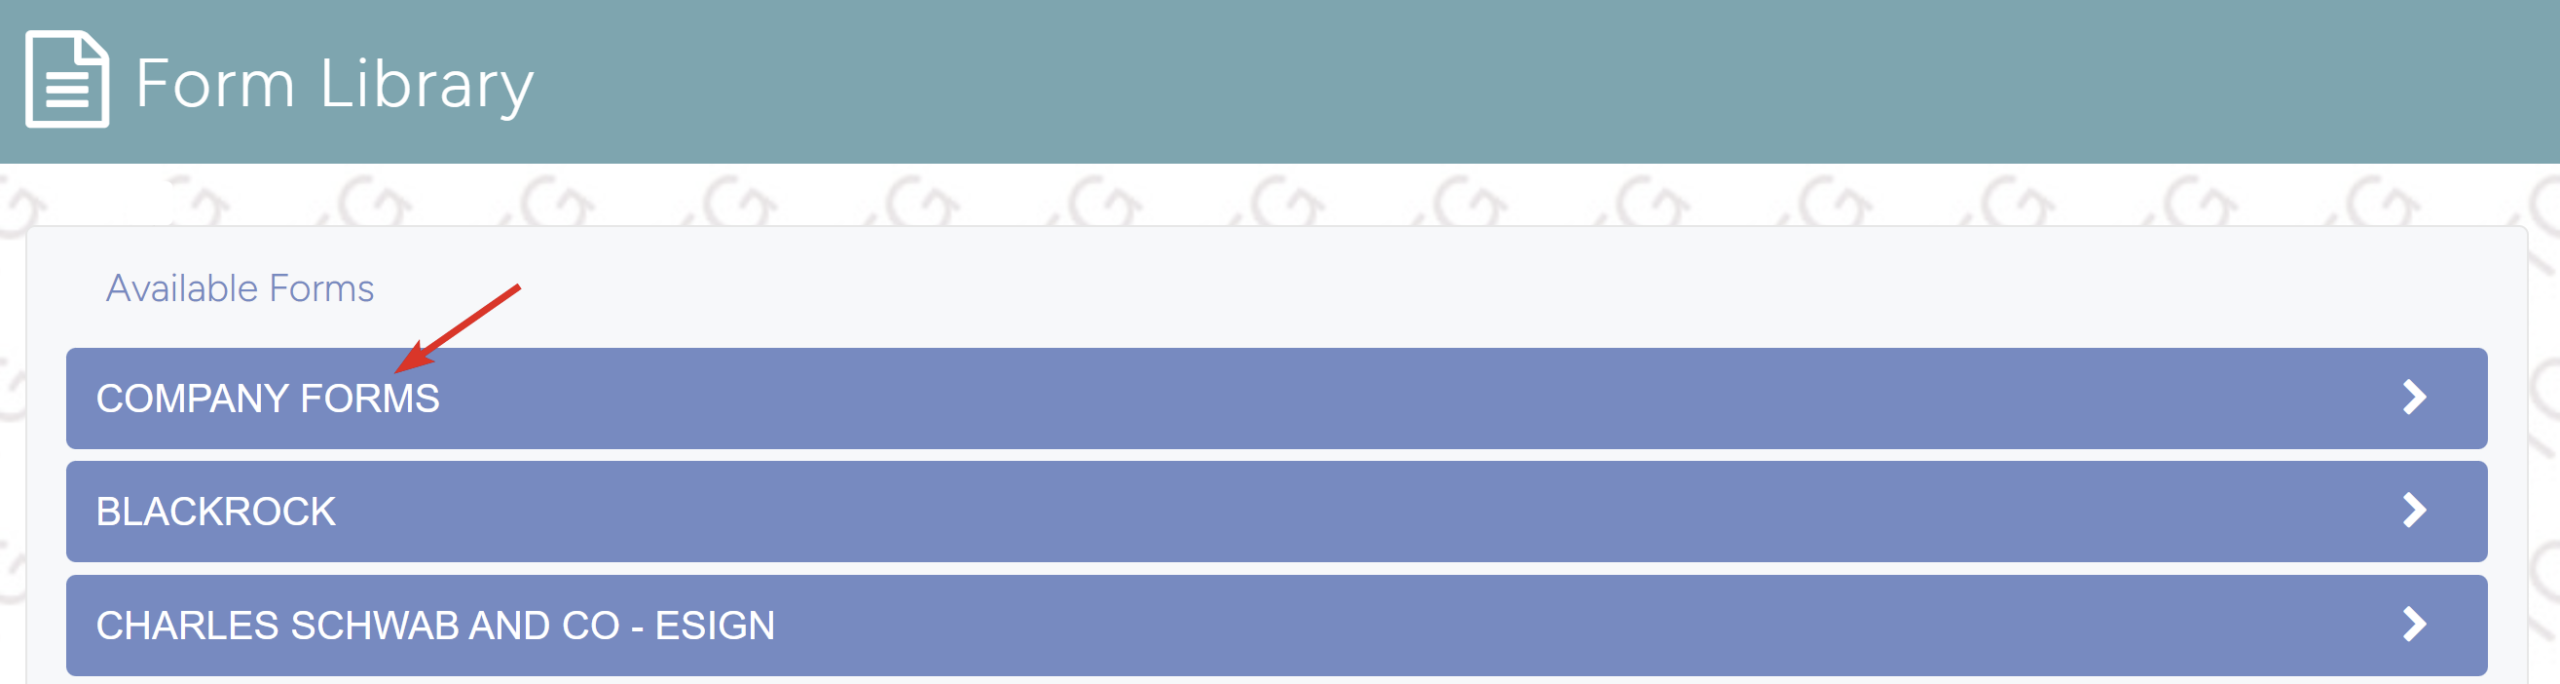
- The system will navigate to the Form Library page where you can see Available Forms. Click on Company Forms.
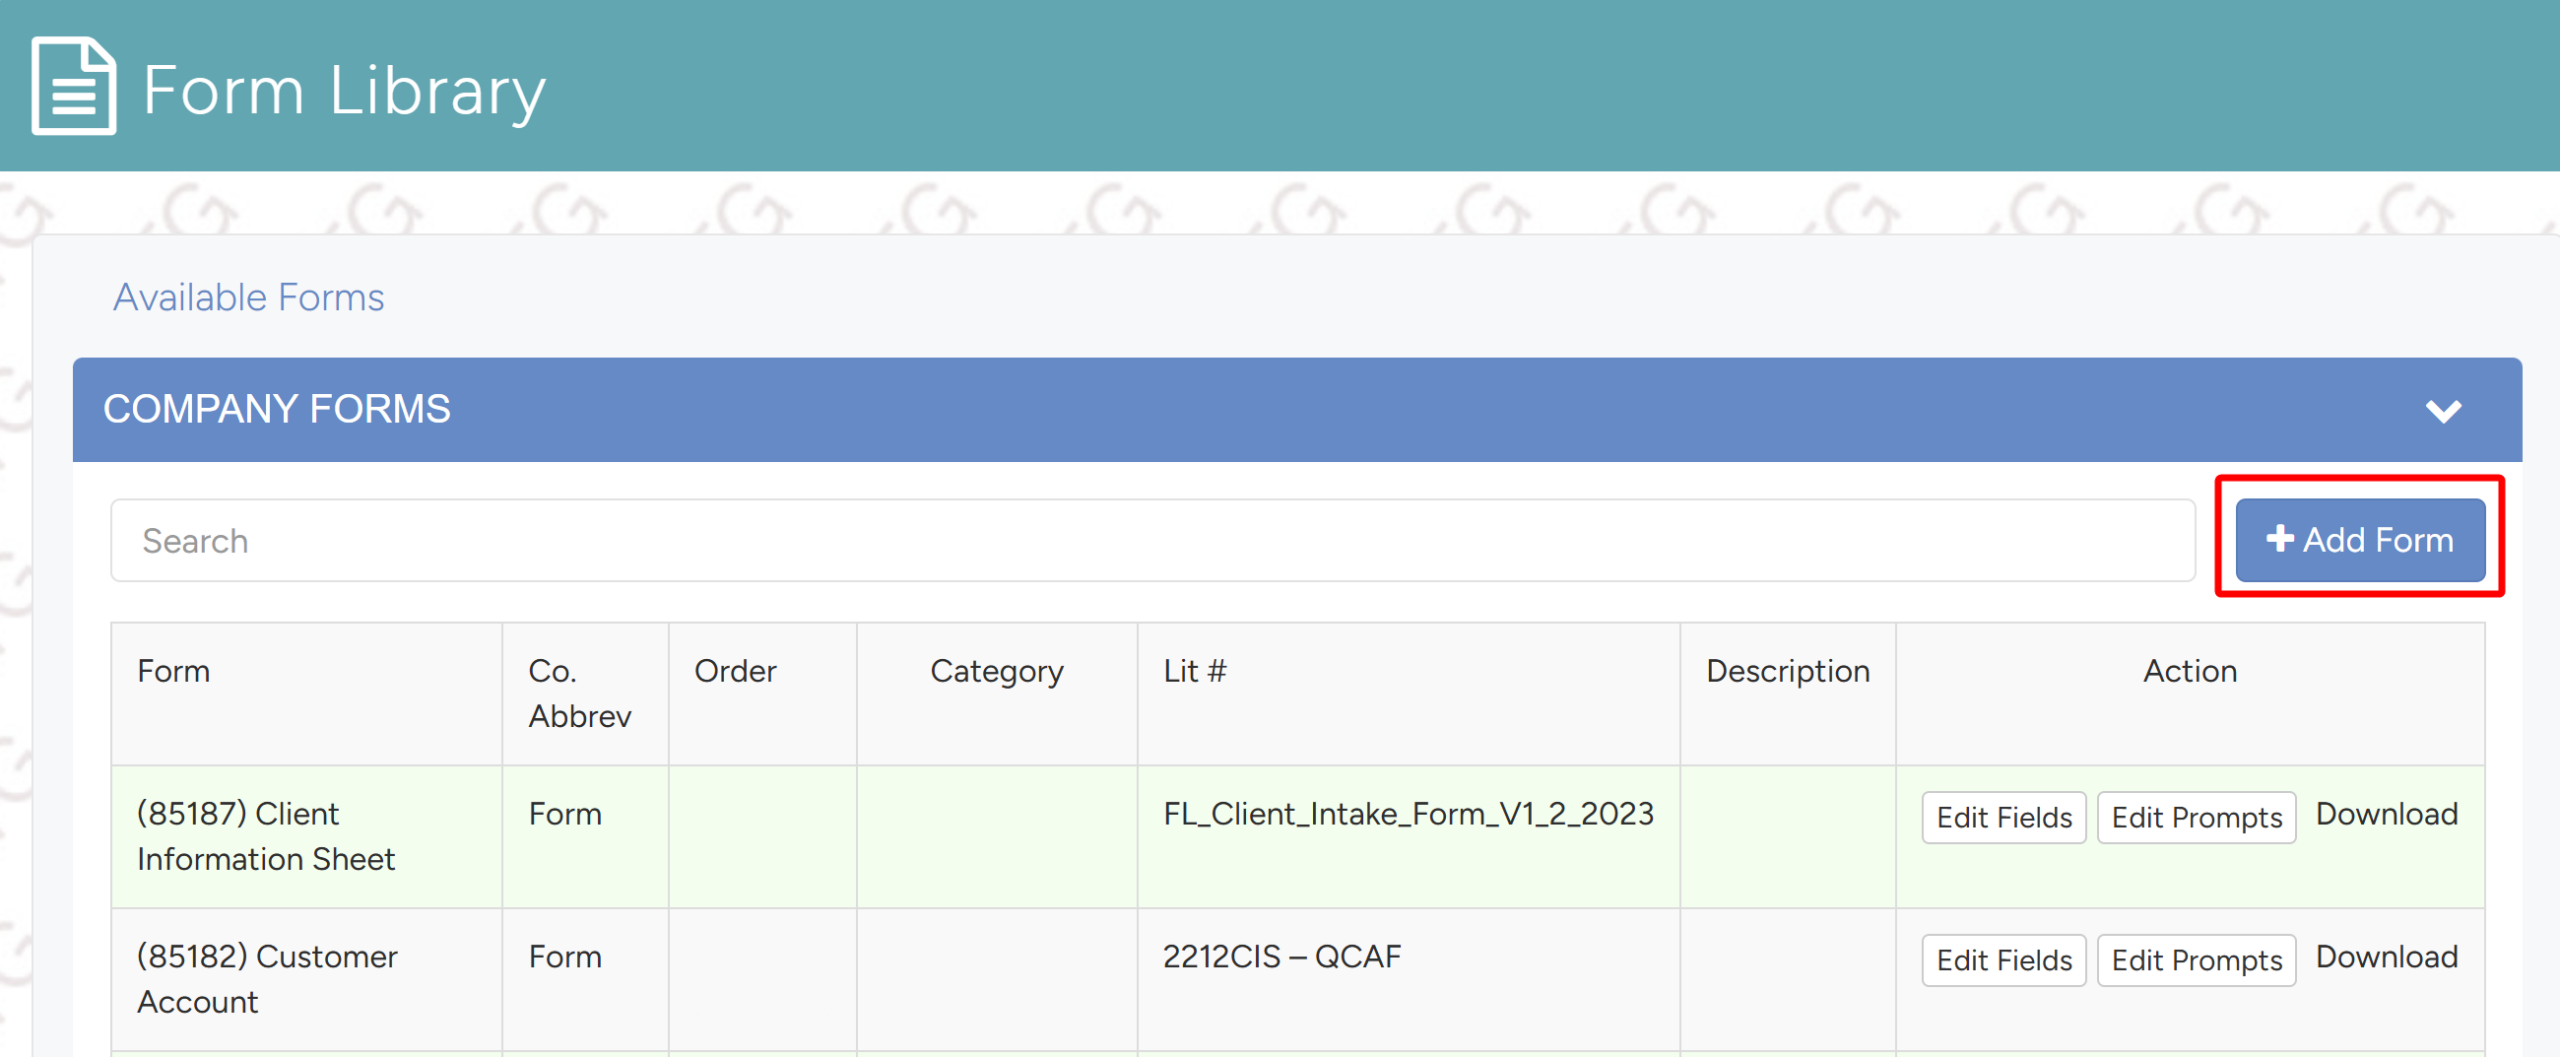
- The dropdown will show the company forms. To add a form, click the Add Form button.
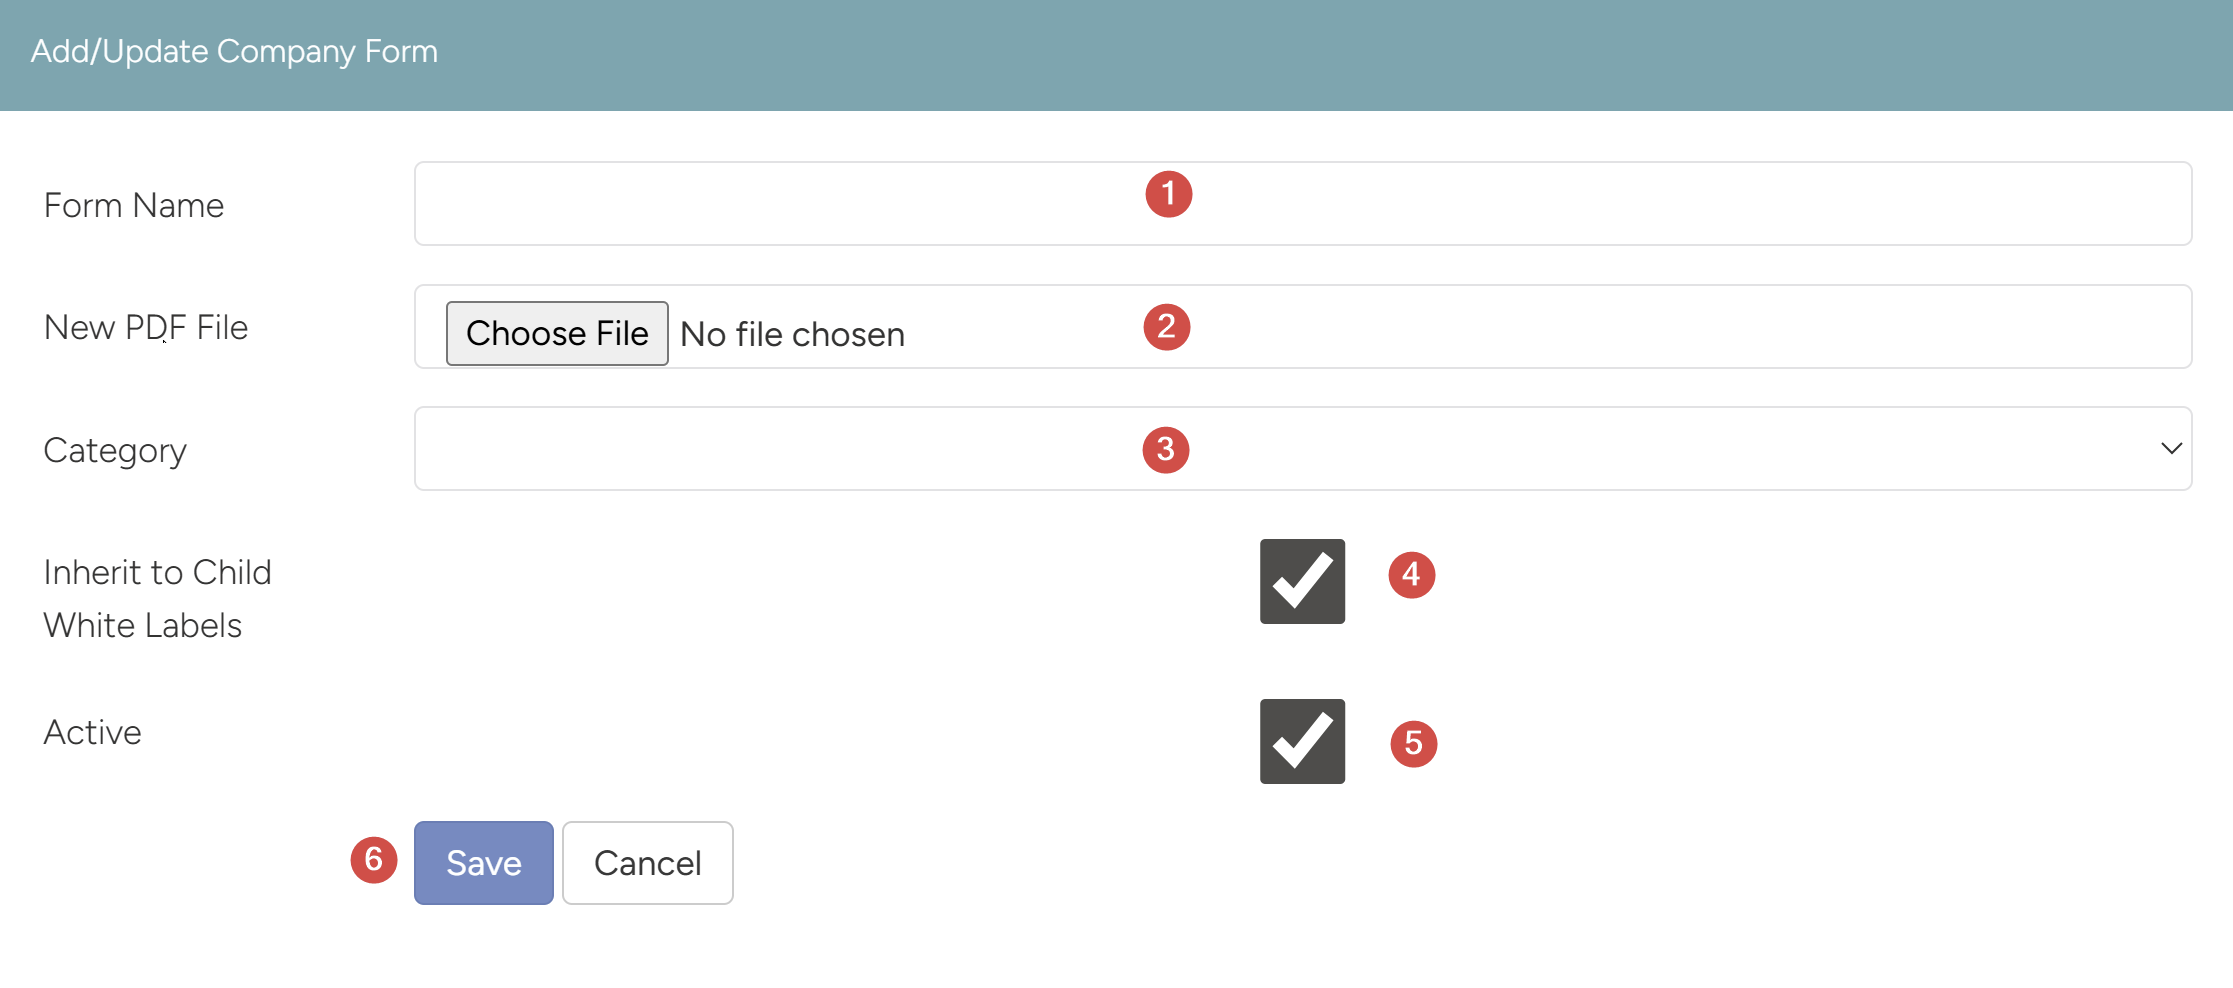
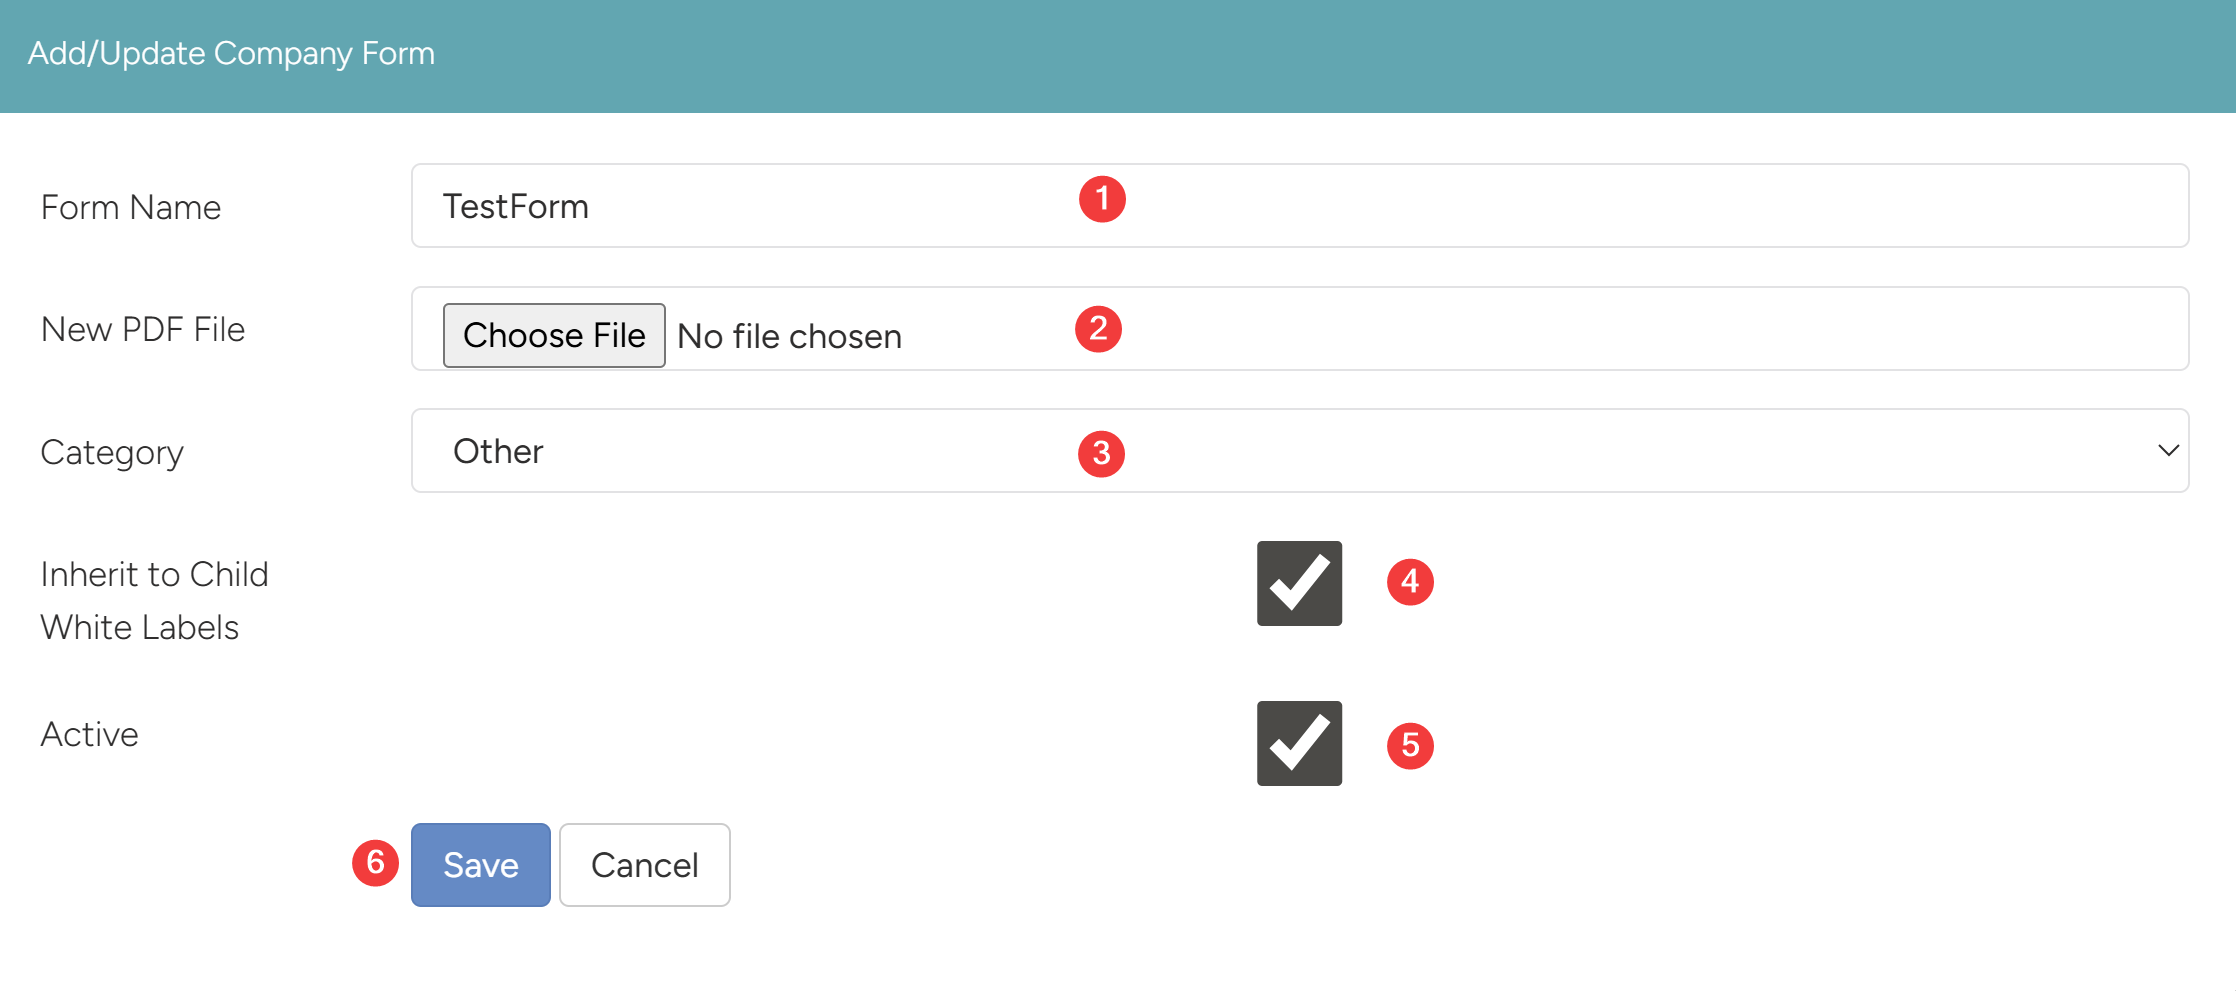
- The Add/Update Company Form screen will open. Here you will do the following:
- Form Name: Enter appropriate form name in this field.
- New PDF File: Click the Choose File button to choose a PDF file.
- Category: Click to select a category for this form from the list.
- Inherit to Child White Label: Check if you want this form to be inherited to the child sites.
- Active: Check to make this form available.
- Once all data is filled, click the Save button to save the record.
4.3 Remove or Update Forms
Note
Please note that you can only remove or update forms that have been uploaded in this manner. If you need to remove or update a form that requires coding or signature, contact your Forms Logic Customer Support Representative.
Note
Any form that has been uploaded using the add forms method will be indicated by “No Prompts” and “Edit Form” in the action column.
- Click on Company Forms which will show the list of forms in the dropdown.
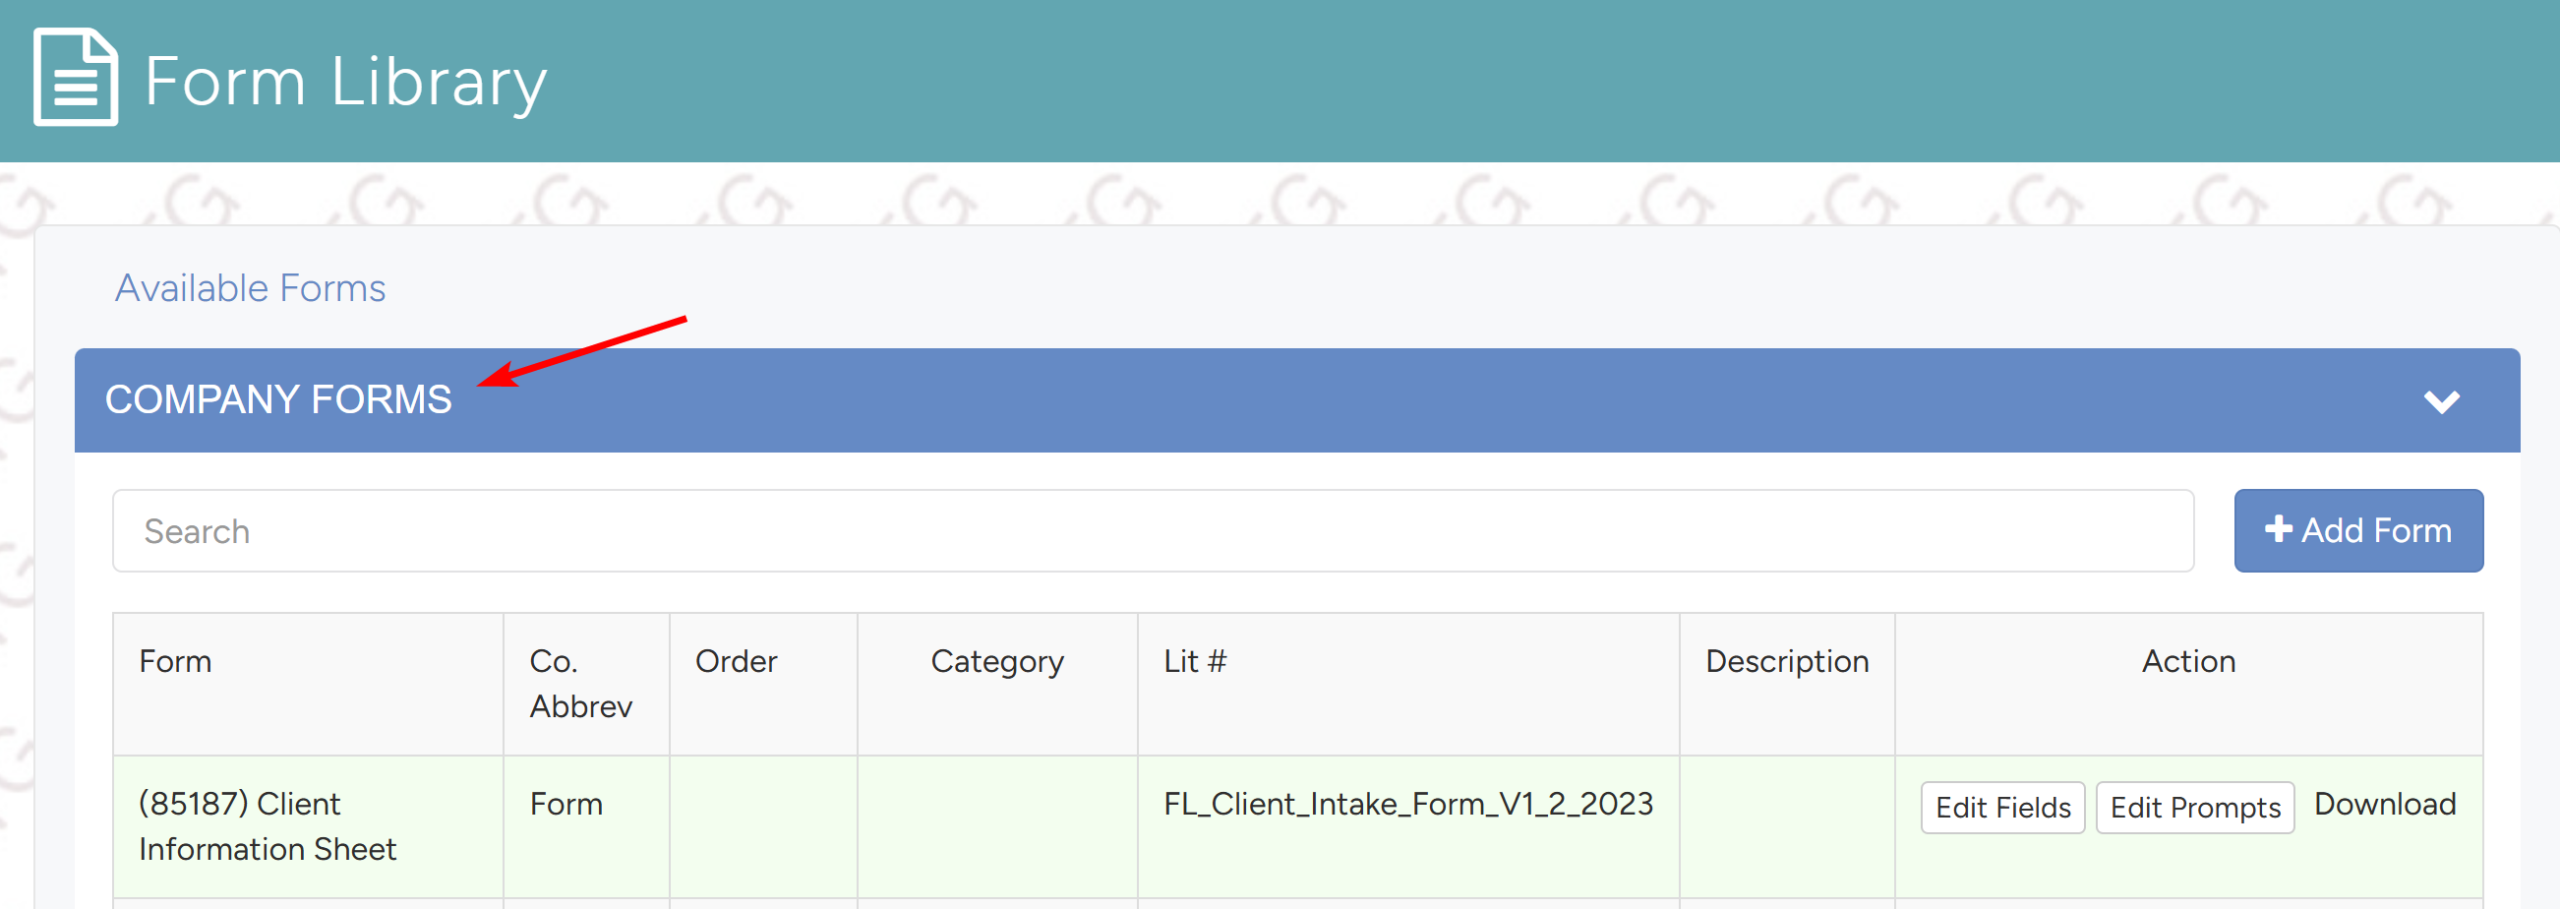
- In the list, find the form you want to update or remove. Click the Edit Form button.

- The Add/Update Company Form screen will open. Here you can do the following:
- Form Name: Enter new name here if you want to update form name.
- New PDF File: Click the Choose File button if you want to update the new file. Note that this will overwrite the previous file.
- Category: Click to update the form category.
- Inherit to Child White Label: Check or uncheck if you want the form to be inherited to the child sites.
- Active: Check to make this form available. To remove a form, uncheck the active option.
- Once all data is updated, click the Save button to save the record.
4.4 Setting Required Fields on Forms
The “Required Fields” feature allows Admins and Site Managers to mark specific form fields as required within Forms Logic. When a field is marked required, it will be highlighted in the workflow to prompt completion.
4.4.1 Accessing the Form in the Library
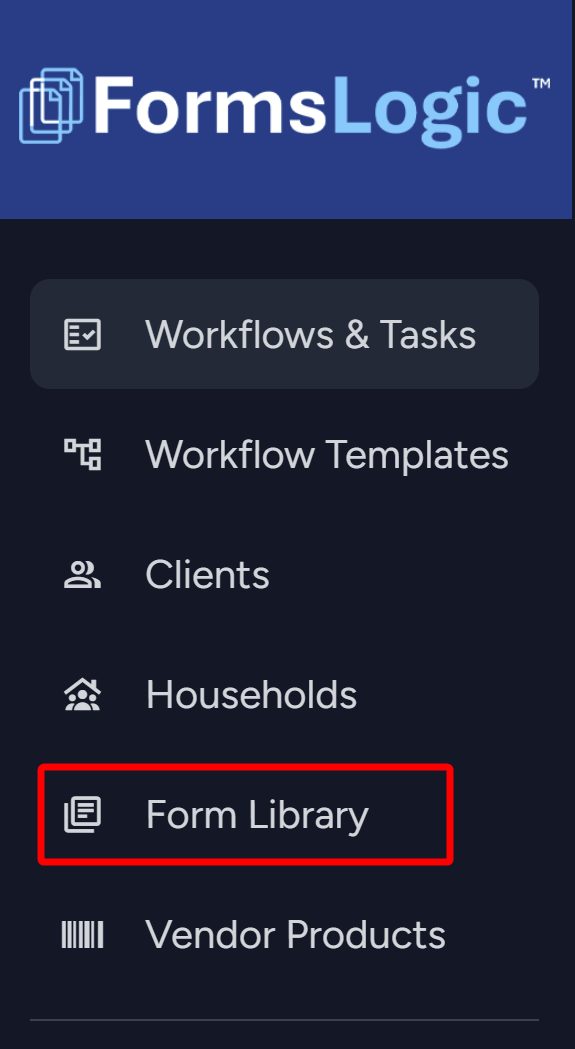
- To begin setting required fields, navigate to the form in the Form Library from the side navigation bar.
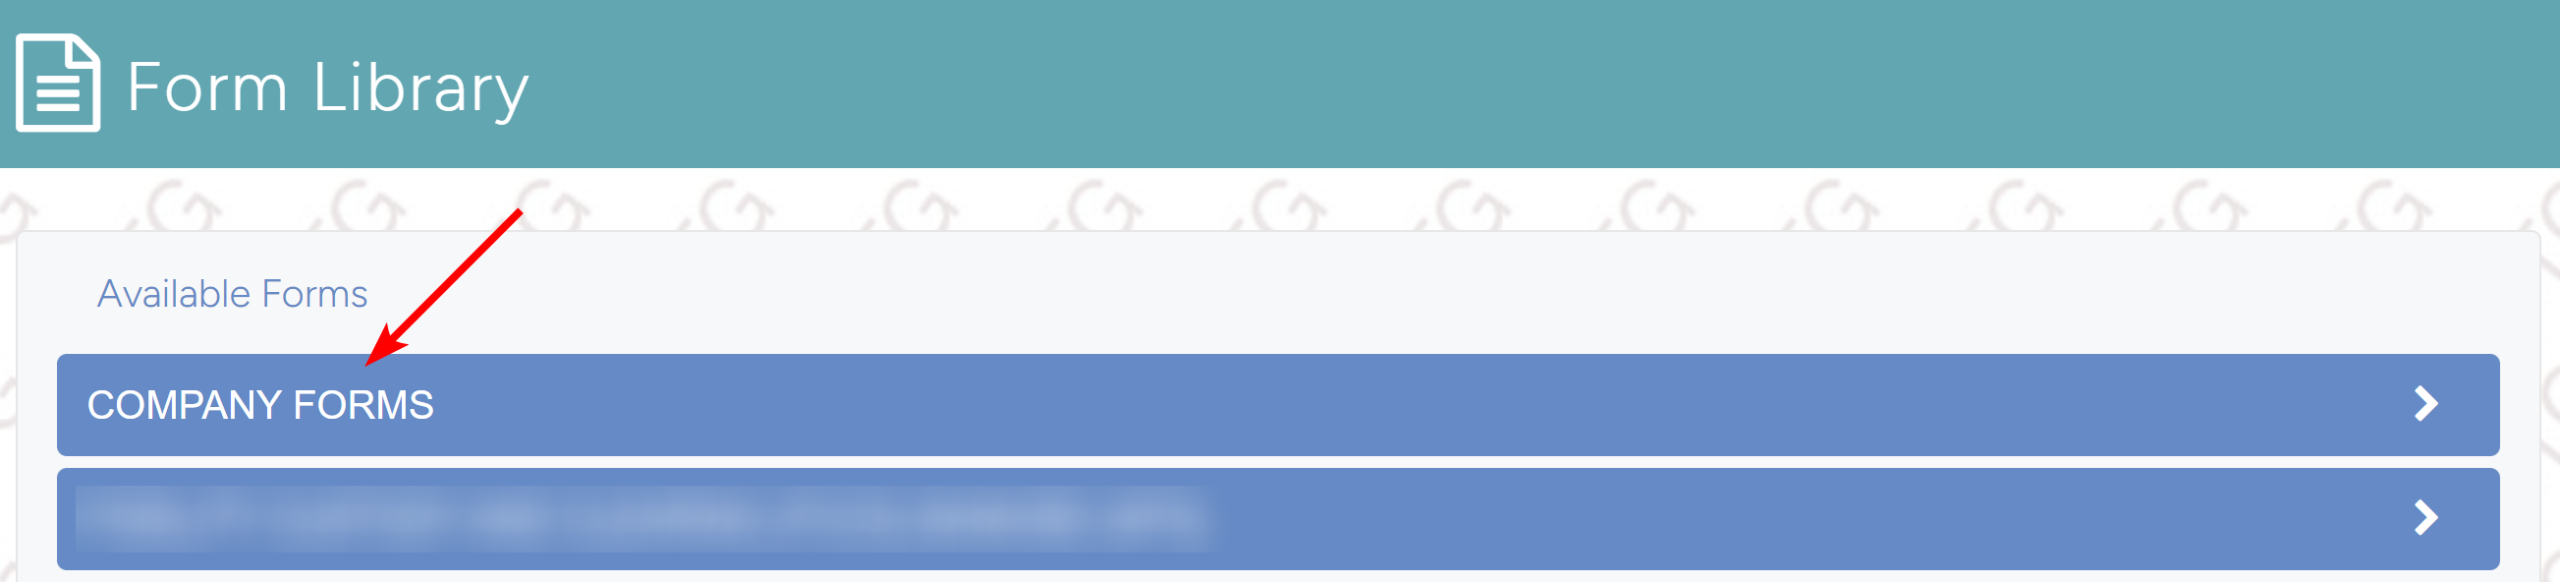
- Click on Company Forms to view the list of forms.
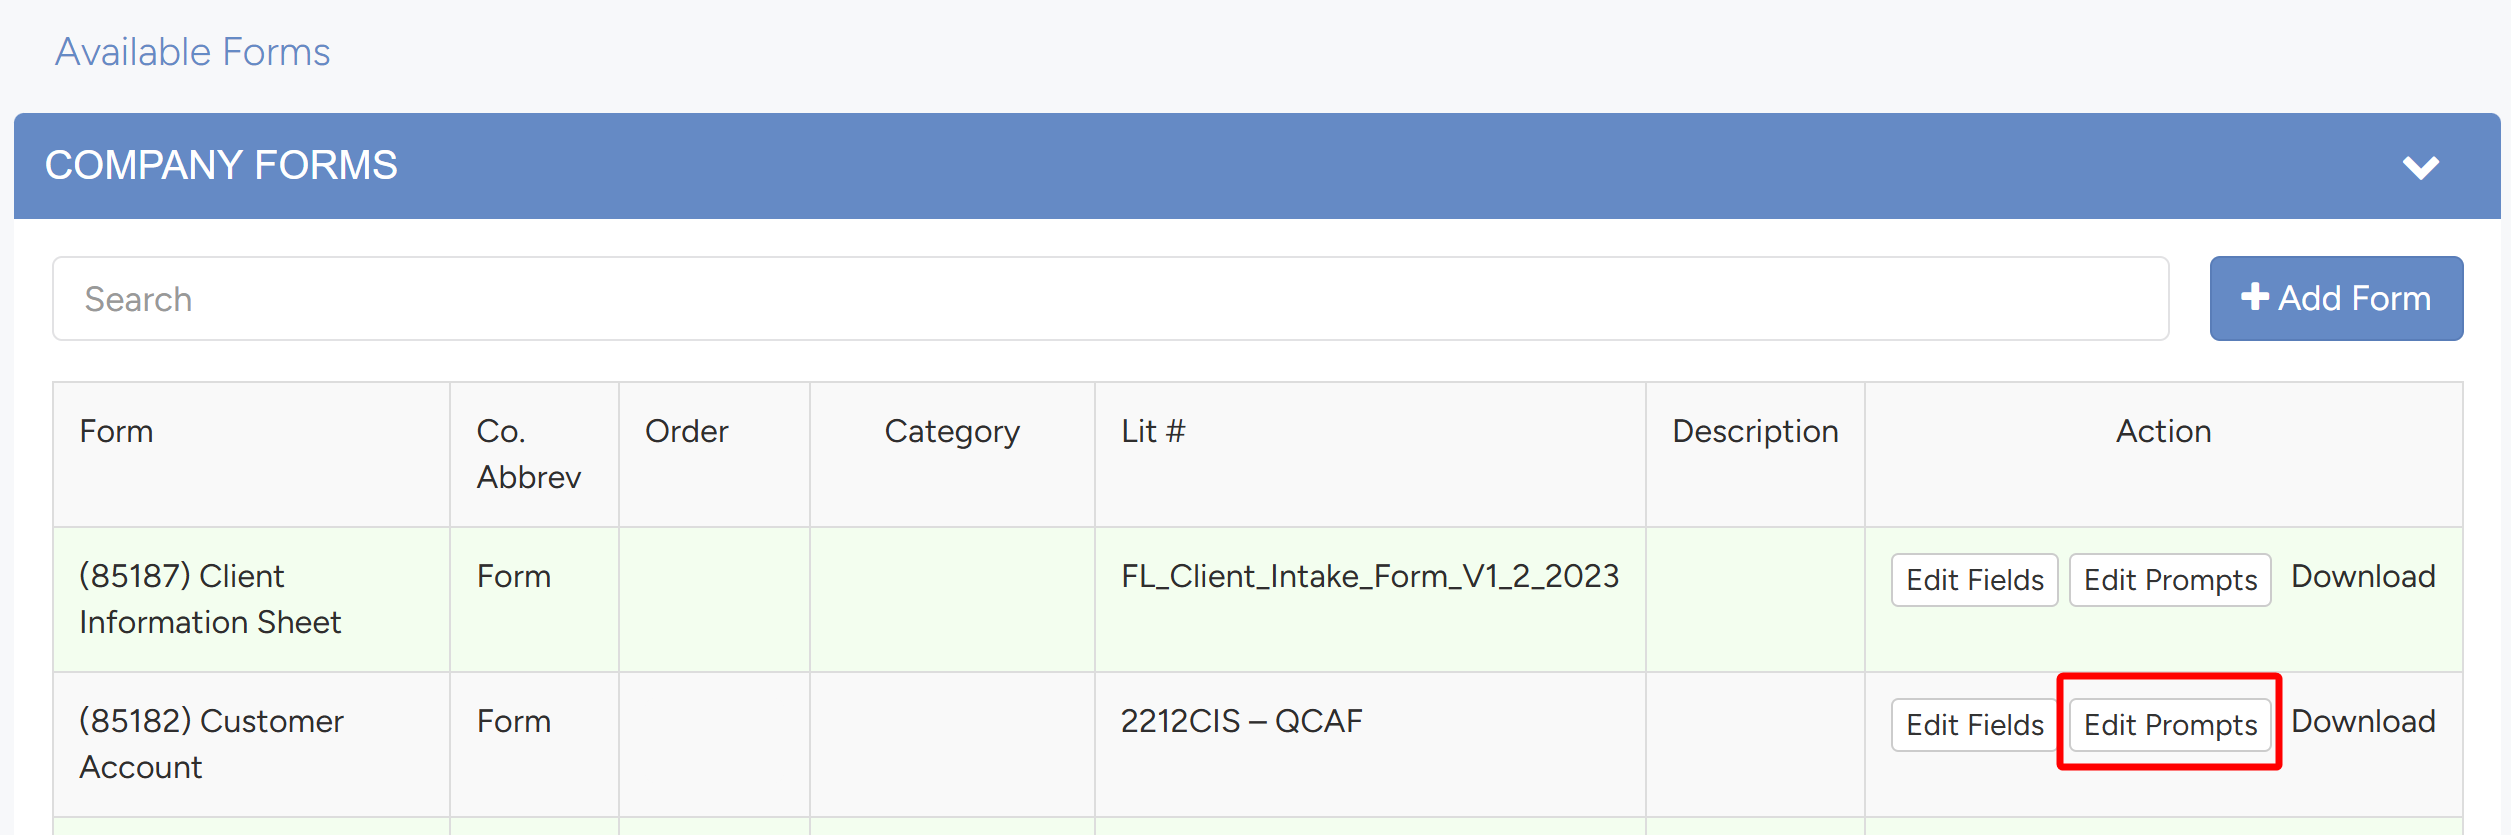
- In the action column next to the form you want to edit, click Edit Prompts, which will take you to the Edit Prompts page.
Important
DO NOT click Edit Fields.
4.4.2 Marking Fields as Required
- To mark one or more fields as required, follow the steps below:
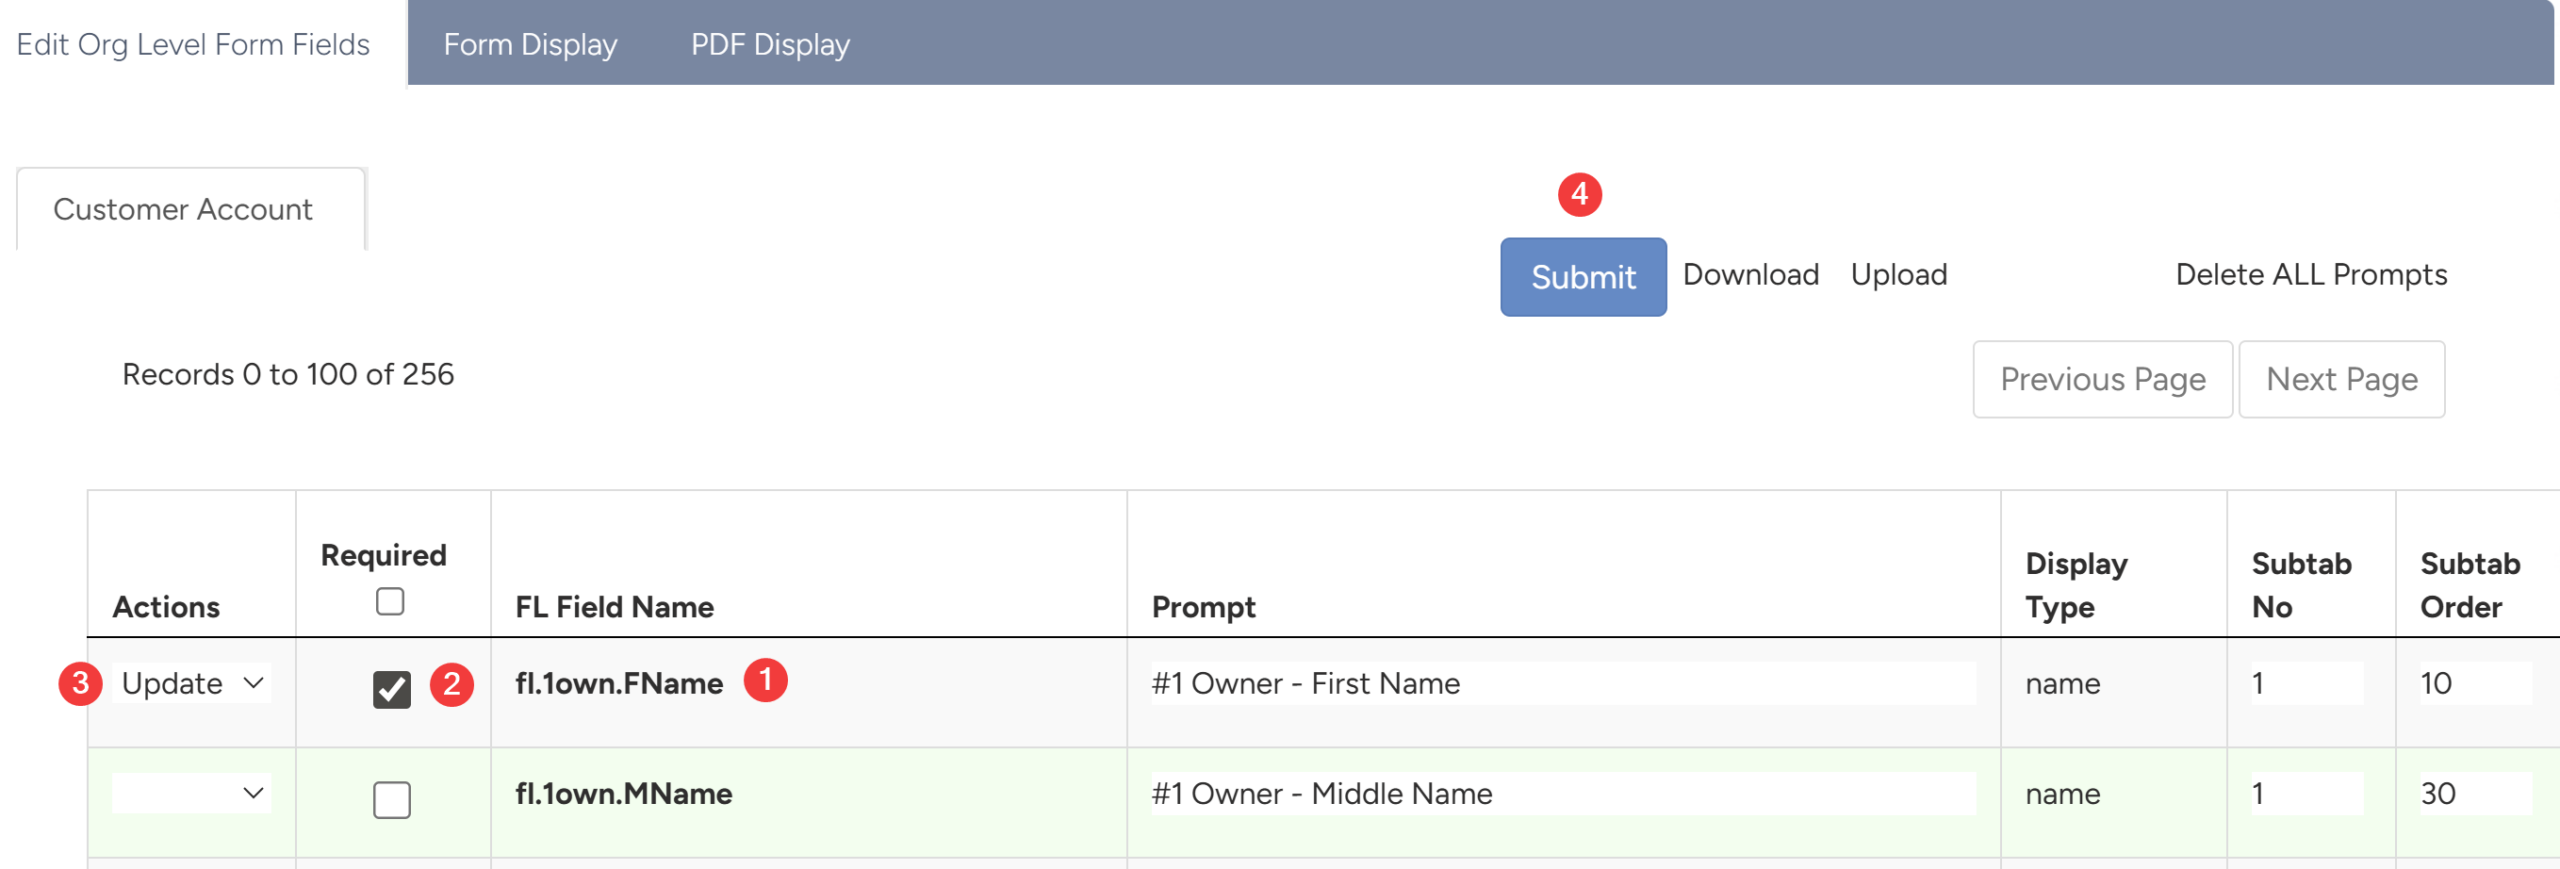
- Find the row containing the specific field you want to make required.
- In the Actions column, change the selection to Update.
- Check the box in the Required column for that field.
- Once all the desired required fields have been marked, click the Submit button at either the top or the bottom of the page to save your changes.
Note
Make sure to save the page you are on before navigating to a new page, or your changes will be lost.
4.4.3 Removing Required Fields
- To remove already set required fields, follow the steps below:
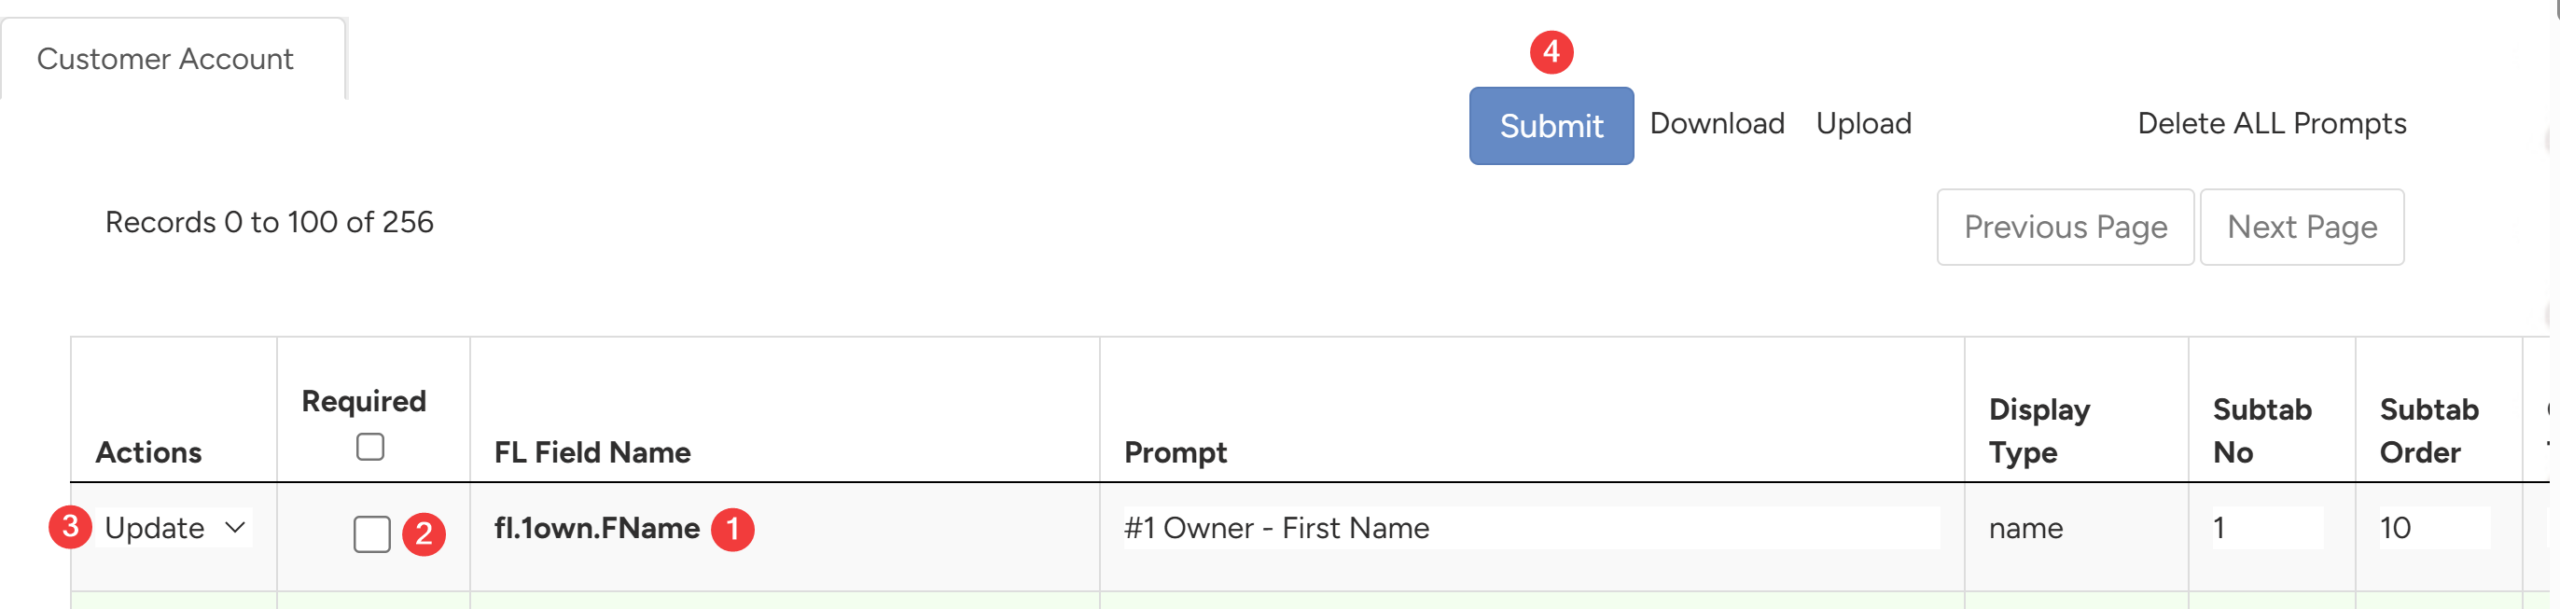
- Find the row containing the specific field you want to make required.
- In the Actions column, change the selection to Update.
- Uncheck the box in the Required column for that field.
- Click the Submit button at either the top or the bottom of the page to save your changes.
Note
In this page, you can view the form in Data View or PDF View by clicking the tabs in the gray bar at the top of the page.
