Managing Clients
This page explains how to manage Clients. It covers four key areas a part of managing clients.
- Using User Tool
- Using the Create New Workflow Tool
- Using the Bulk Client Upload Feature
- Changing Advisor Associated with a Client
6.1 Add New Client
Note
Admin or Manager privileges (role) are required to add Clients.
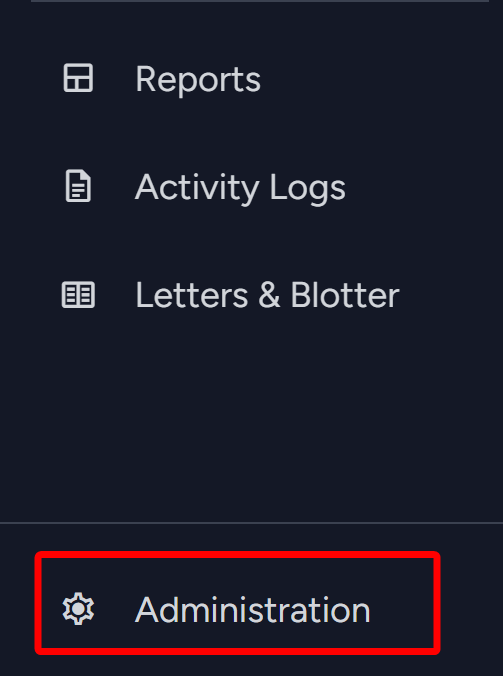
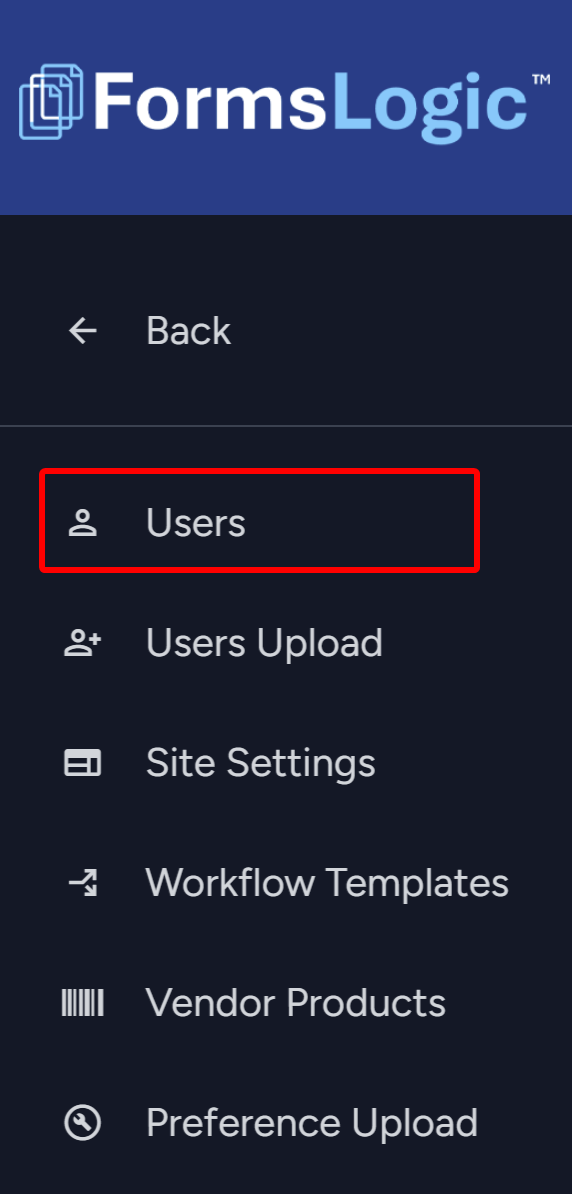
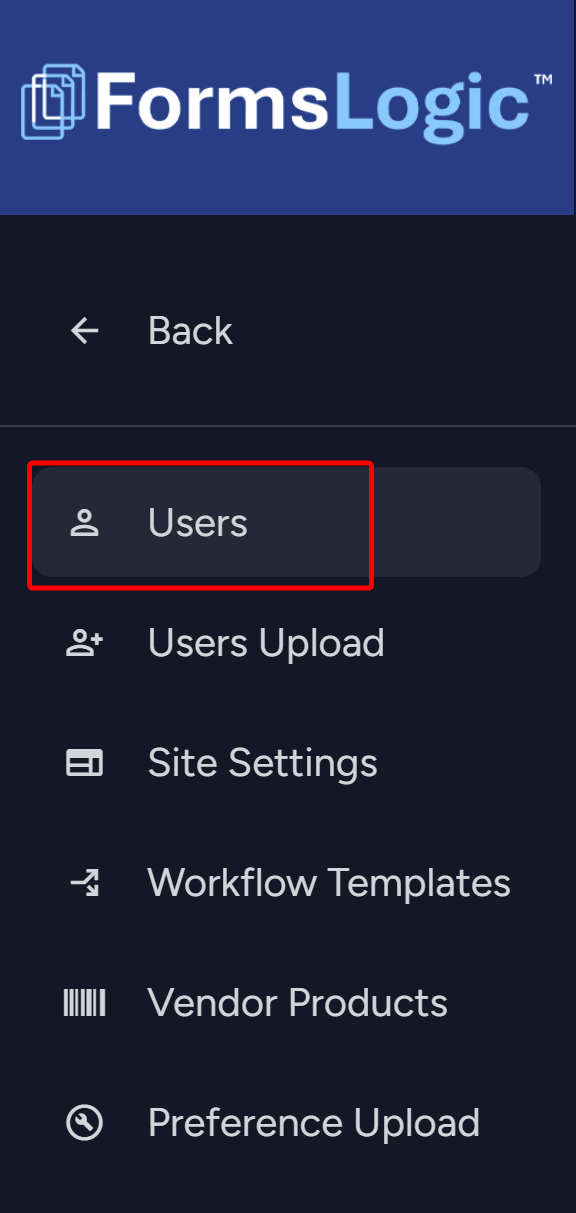
- From the side navigation menu, navigate to Administration > Users as shown below.
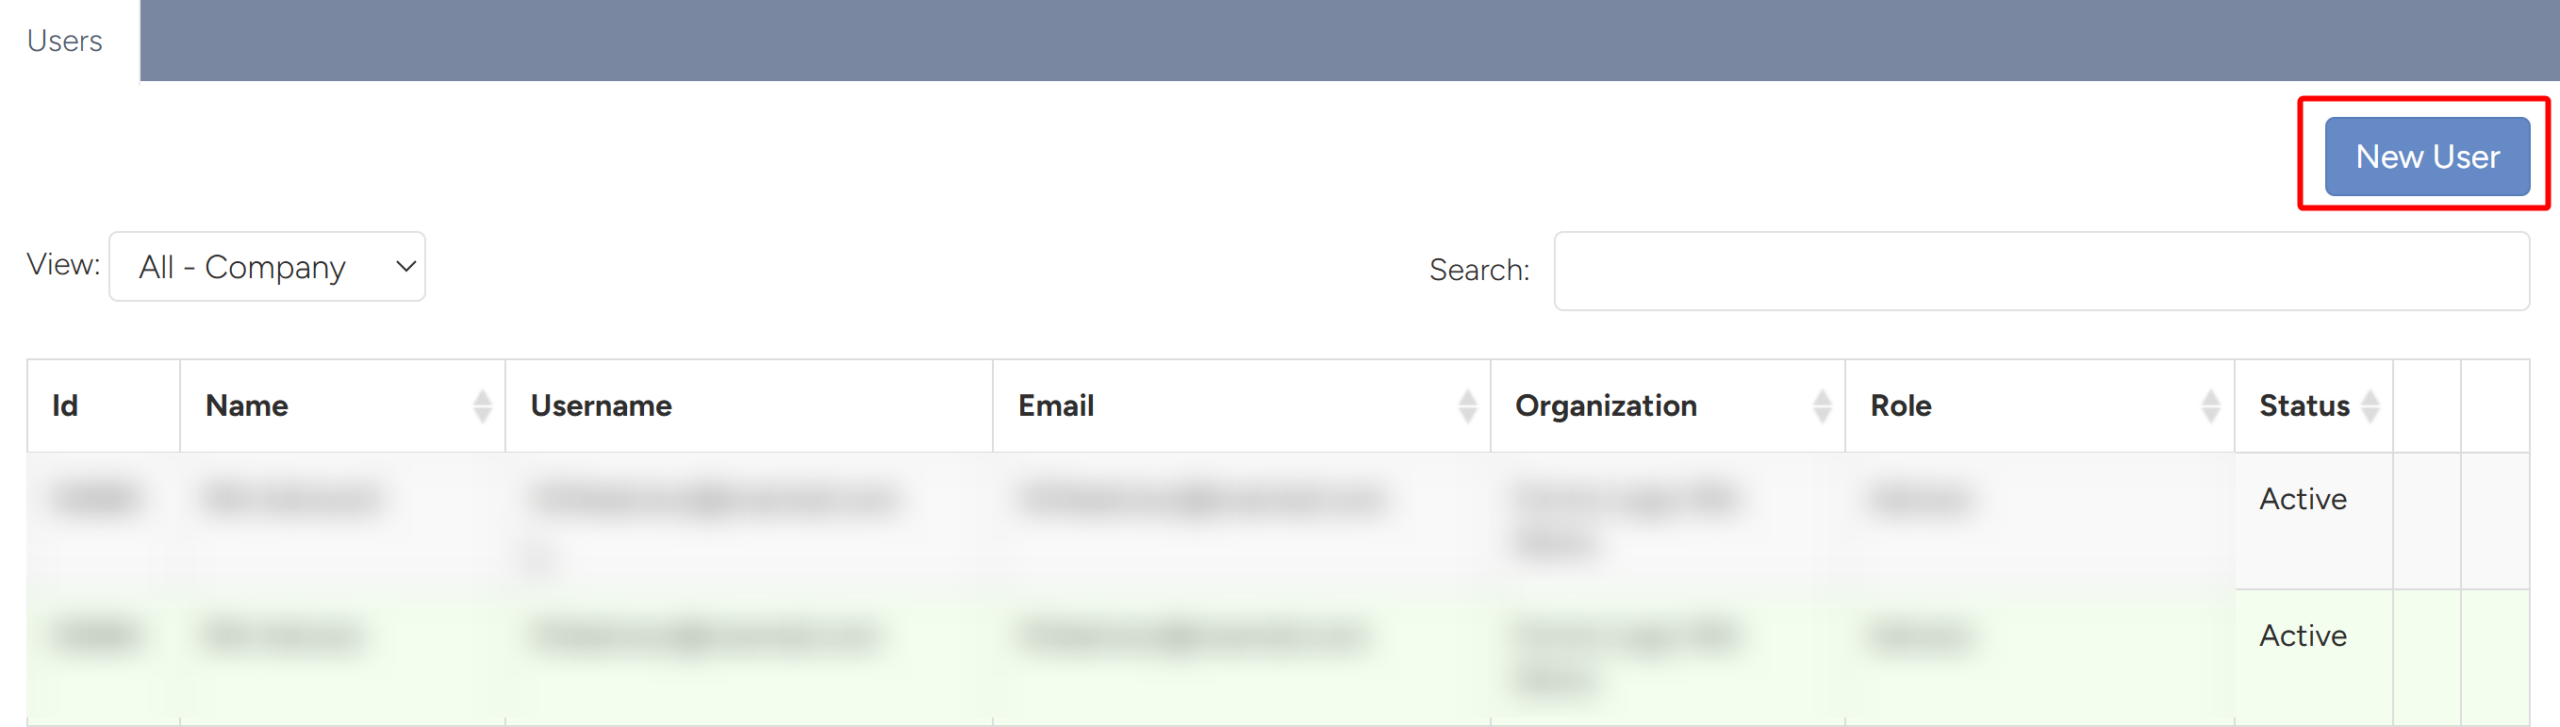
- The system will navigate to the User list. Click the New User button to create a new user.
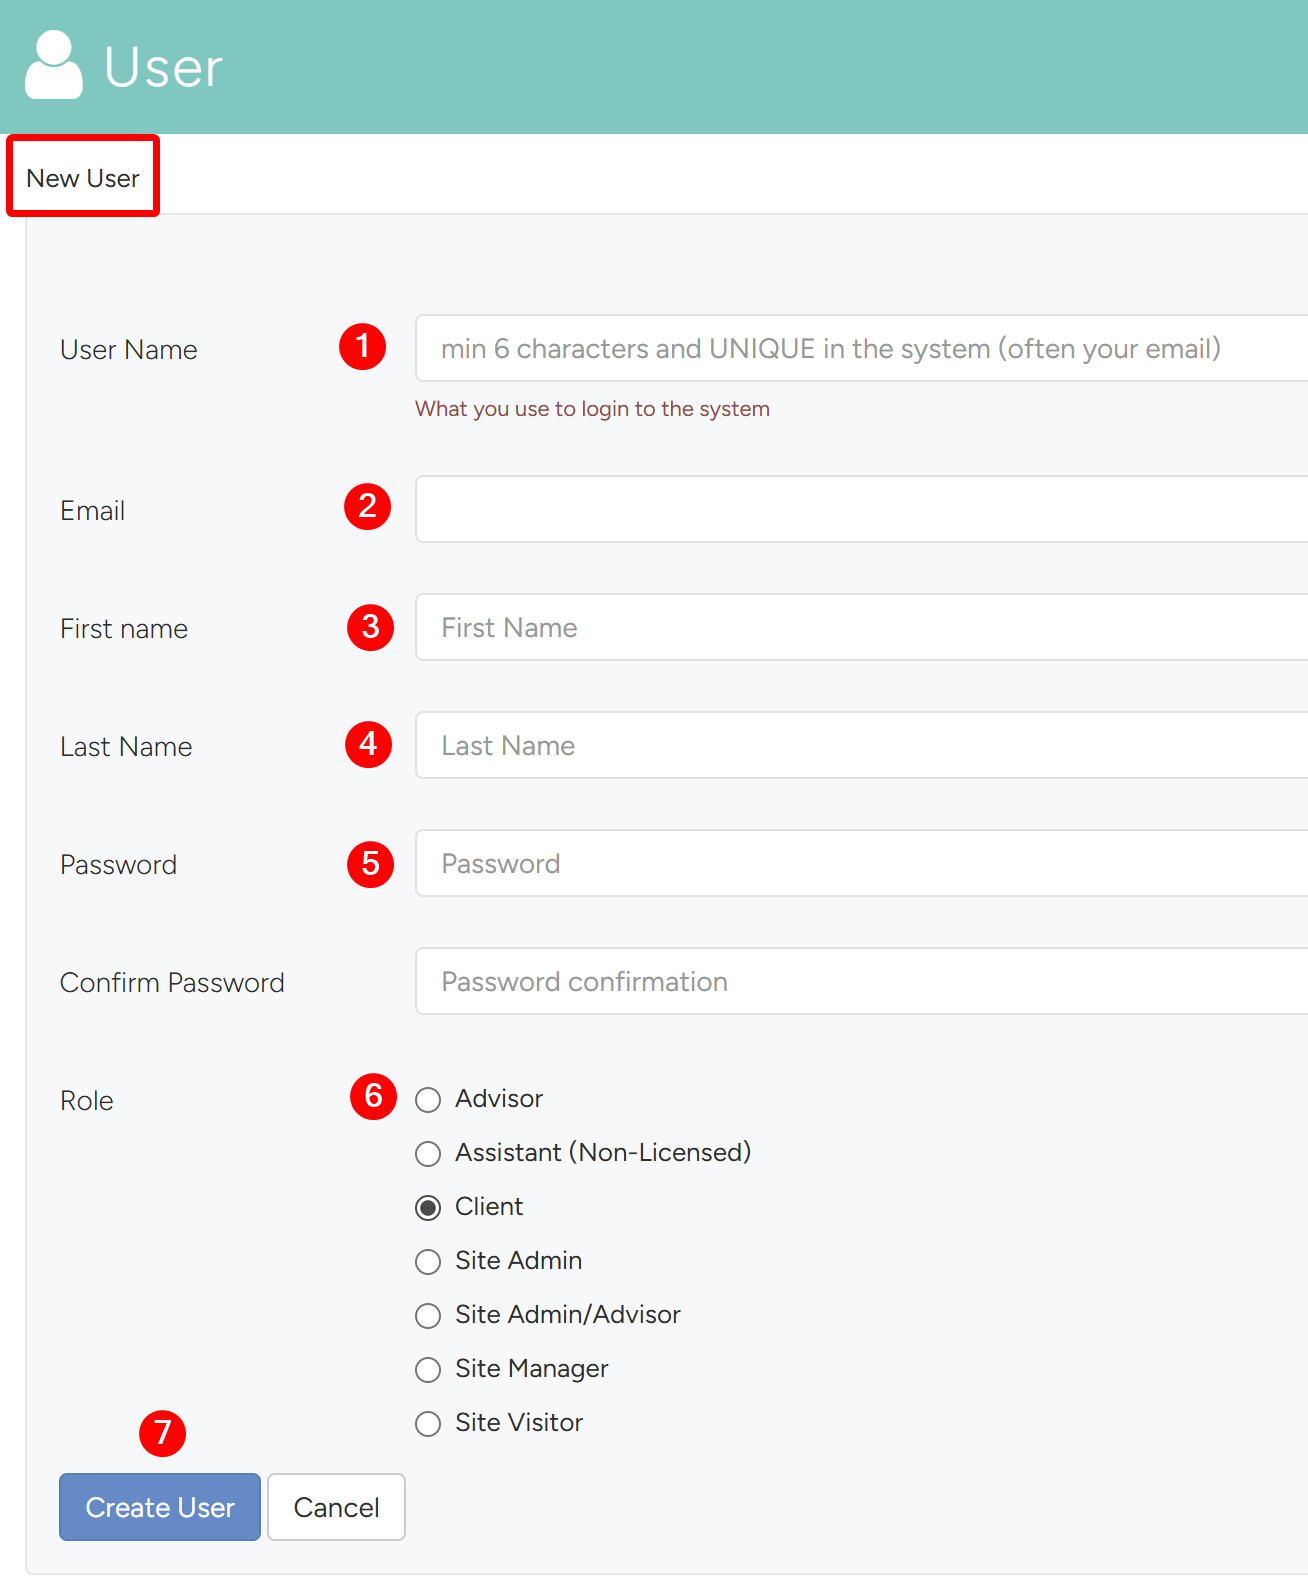
- The New User page will open, where you will do the following:
- User Name: Enter appropriate user name in this field.
- Email: Enter the client’s email – the email must be unique.
- First Name: Enter the client’s First Name.
- Last Name: Enter the client’s Last Name.
- Password: Enter the client’s password.
- Role: Select Client as the role.
- Once all data is filled, click the Create User button to create the client.
- The system will navigate back to the User List. To open the Client’s profile you have just created, change the View to Clients and click on the name of the client.

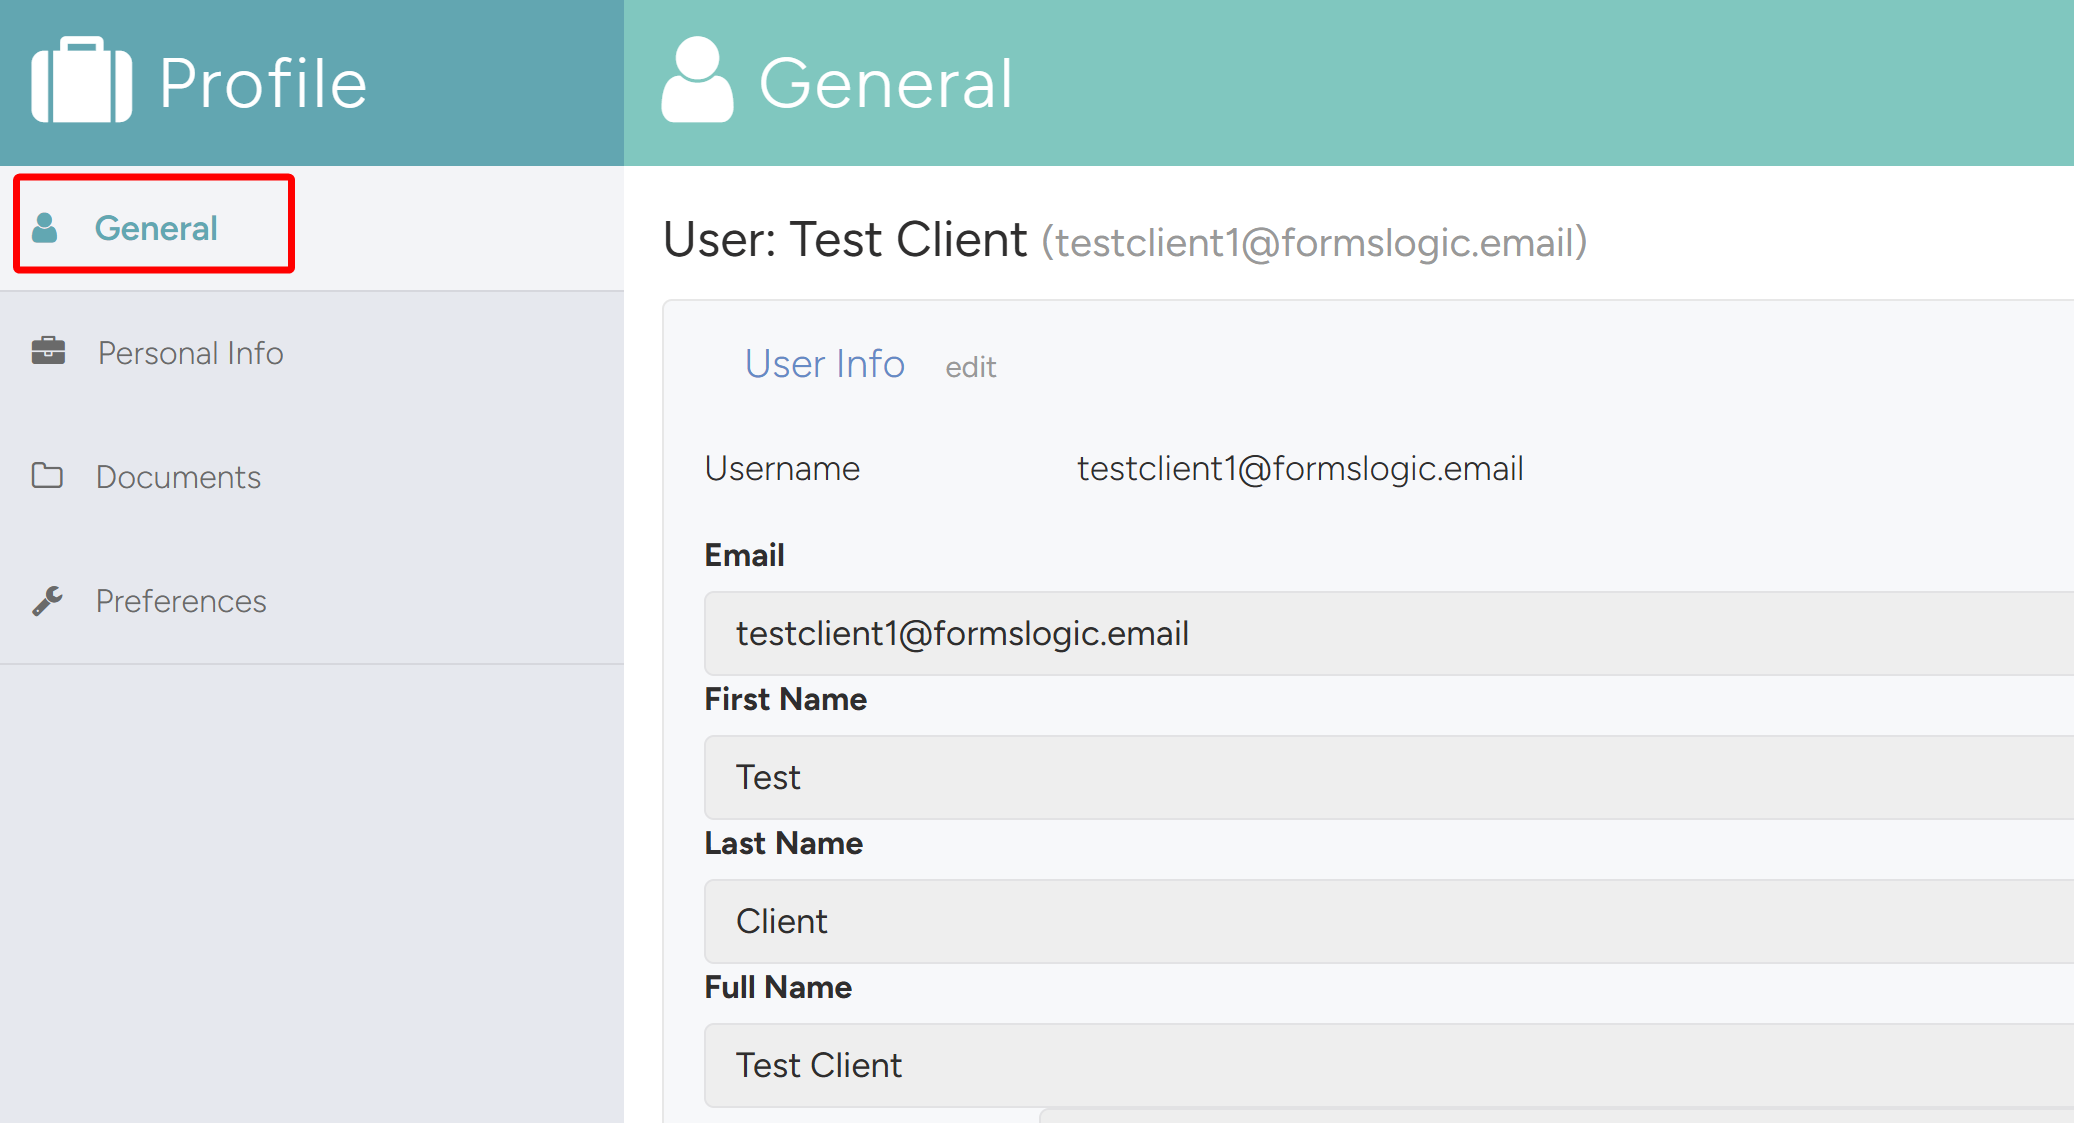
6.1.1 General Tab
- The General Tab allows you to see/edit the Client’s information, role, and password.
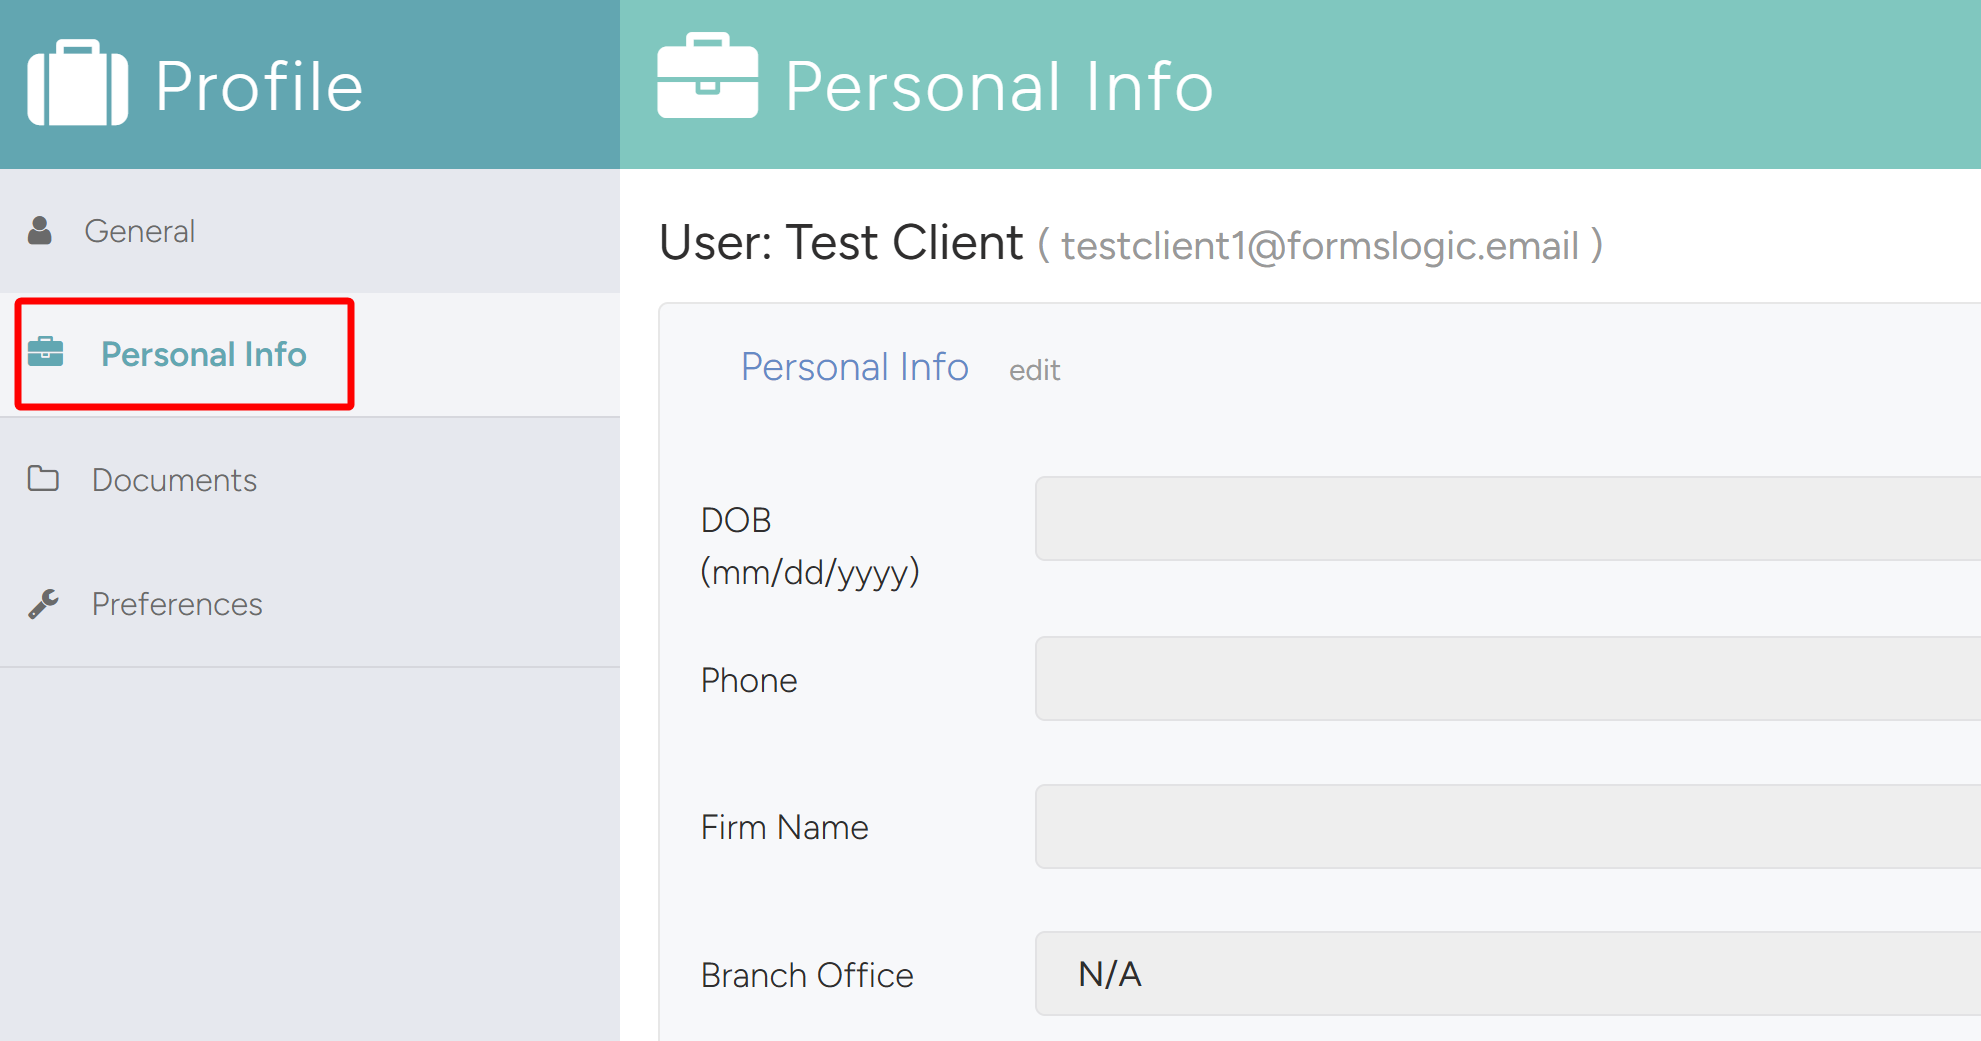
6.1.2 Personal Info Tab
- The Personal Info Tab allows you to enter/edit the personal information of the client.
6.1.3 Documents Tab
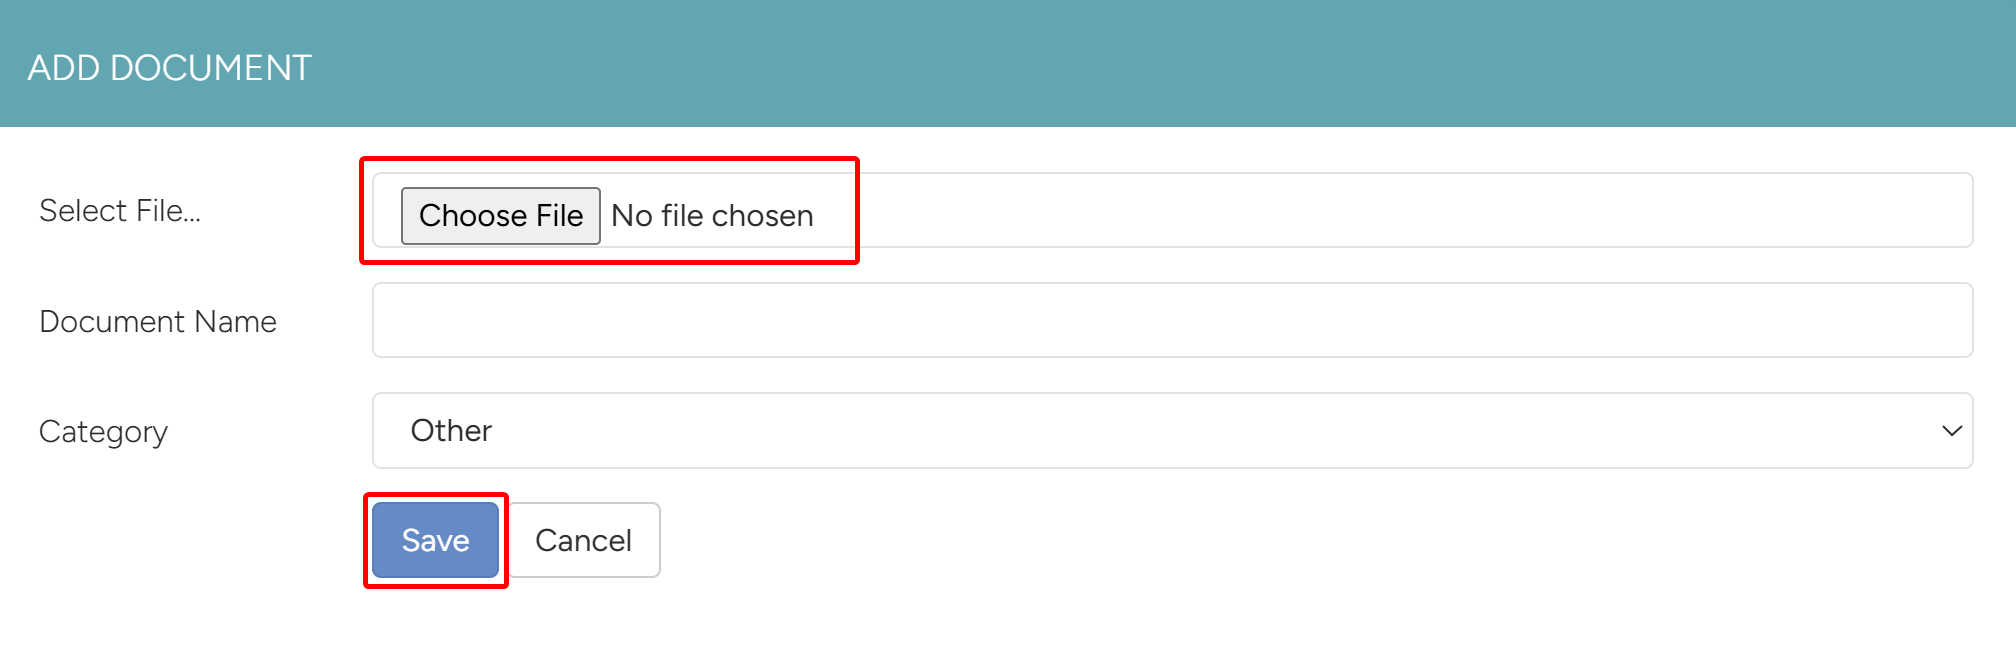
- The Documents Tab is the client’s eVault. Each client has their own eVault so they can securely share and store documents. To add a document to the eVault, click the Add Document button.
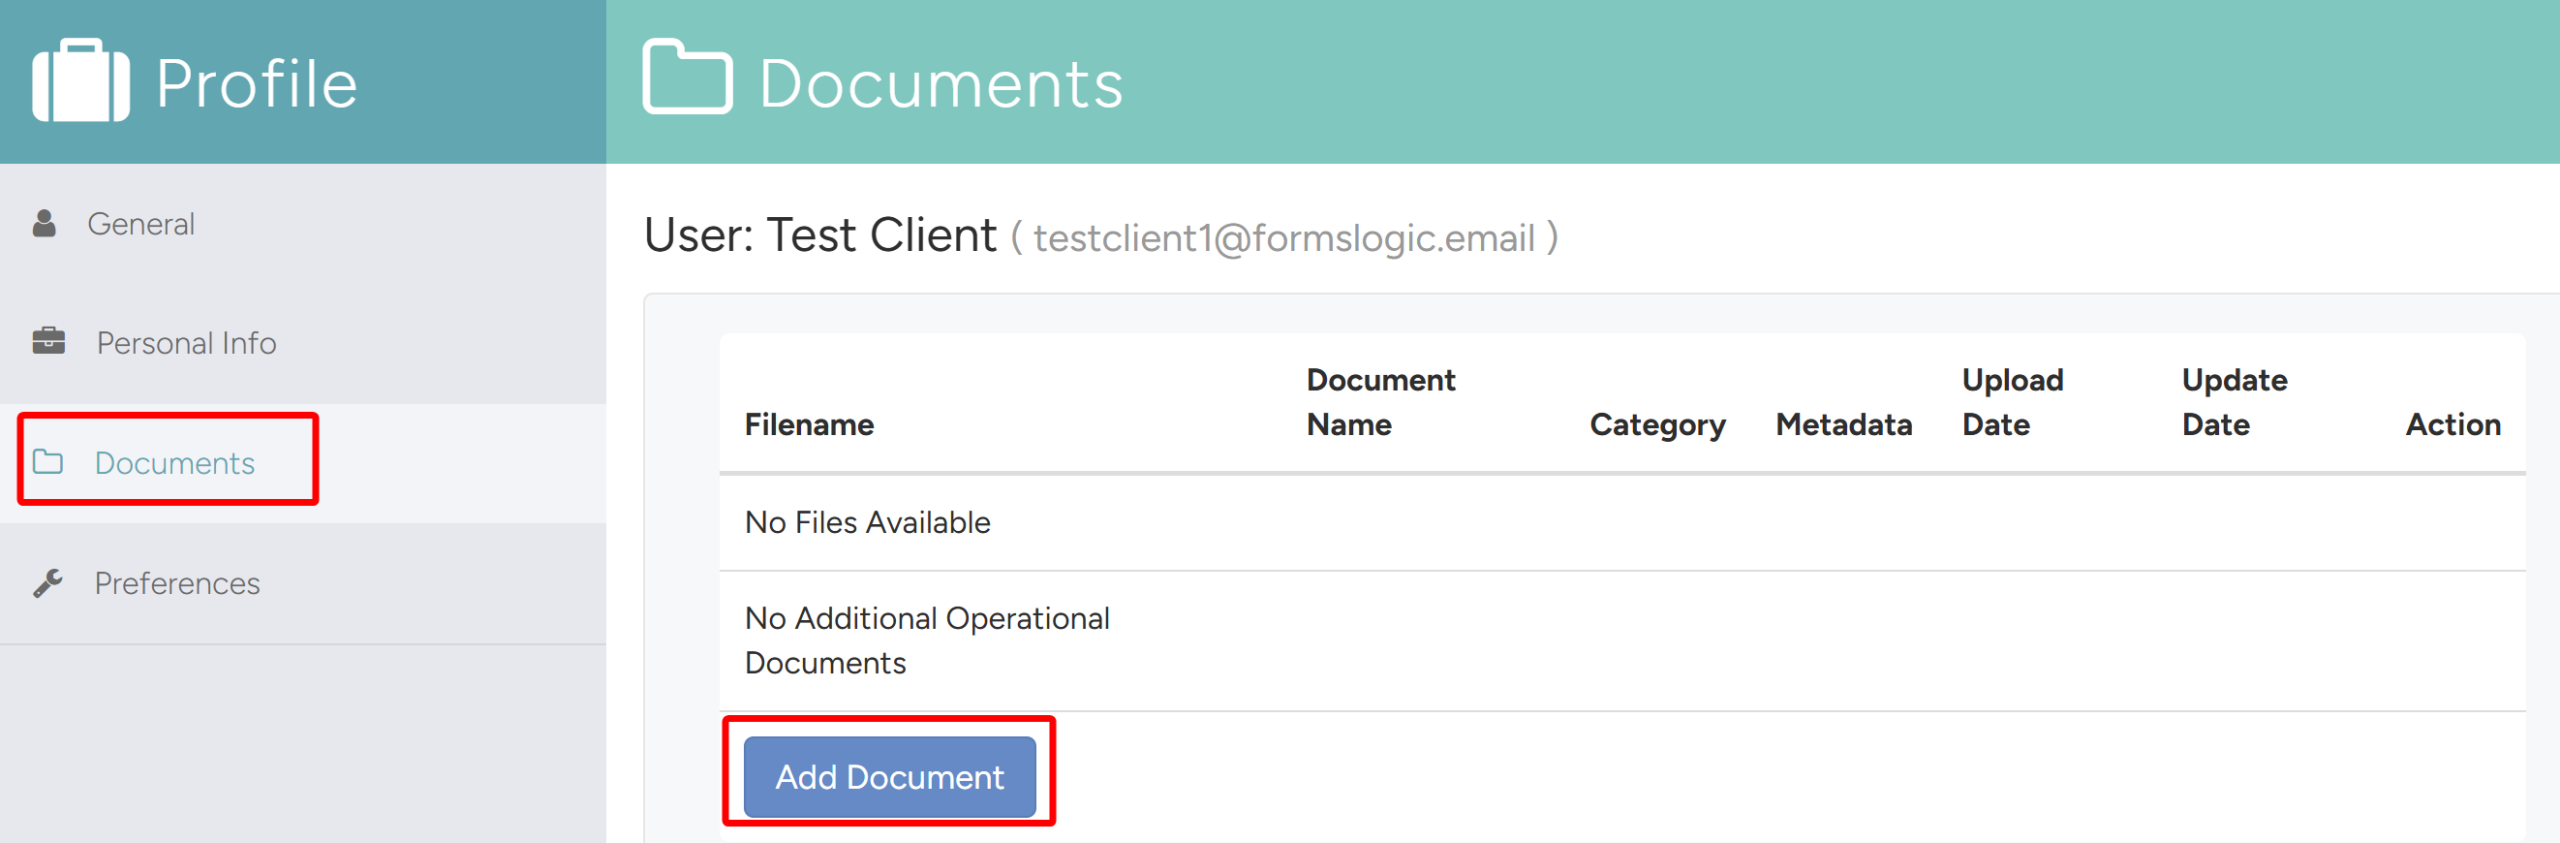
- In the Add Document Panel, select the file, enter the document name, choose the category, and click Save – the document will be added to the Client’s eVault.
Note
The Preferences Tab is not applicable because form preferences are not used for Clients.

6.2 Creating a Client Using Create New Workflow
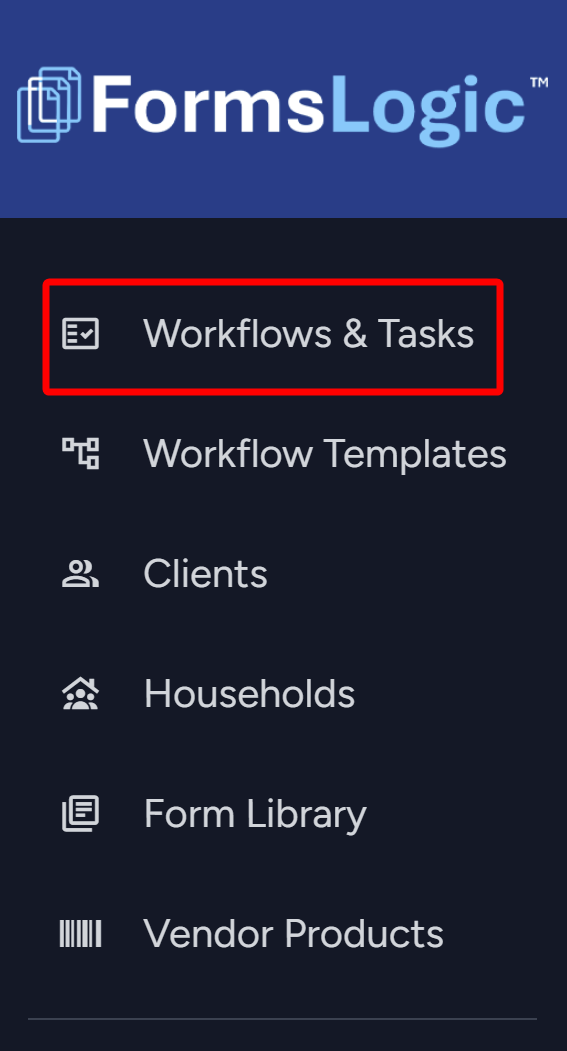
- From the side navigation menu, navigate to Workflows & Tasks.
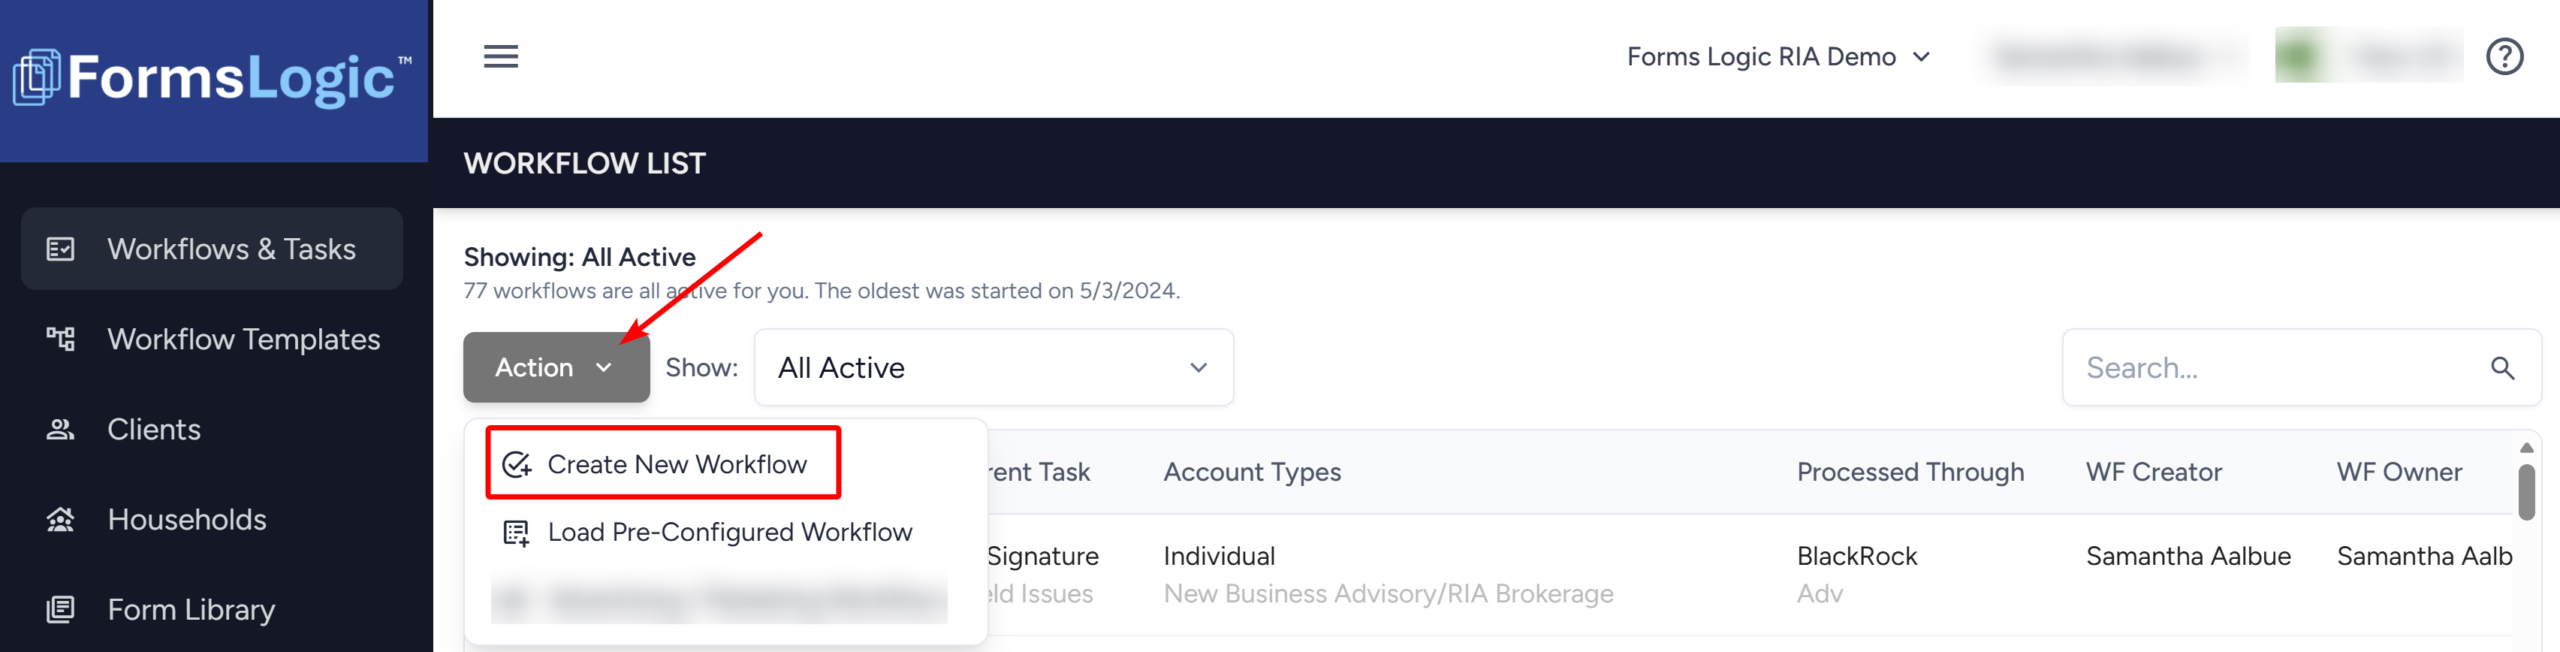
- From the Workflow List screen, click the Action button and click Create New Workflow from the dropdown.
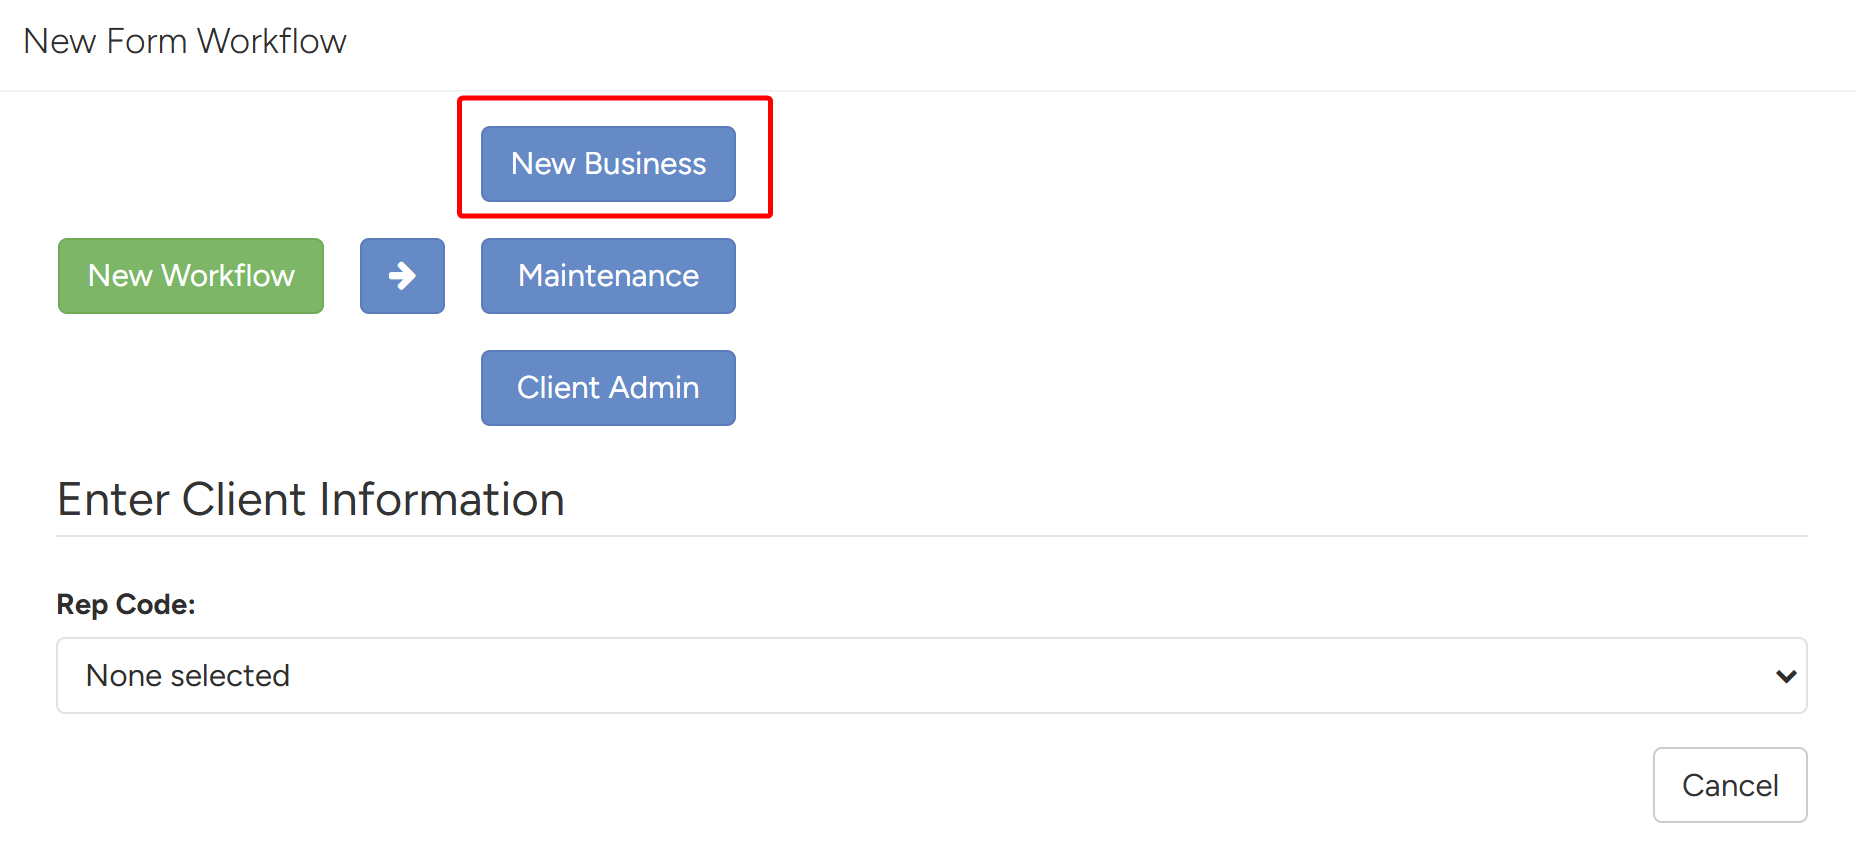
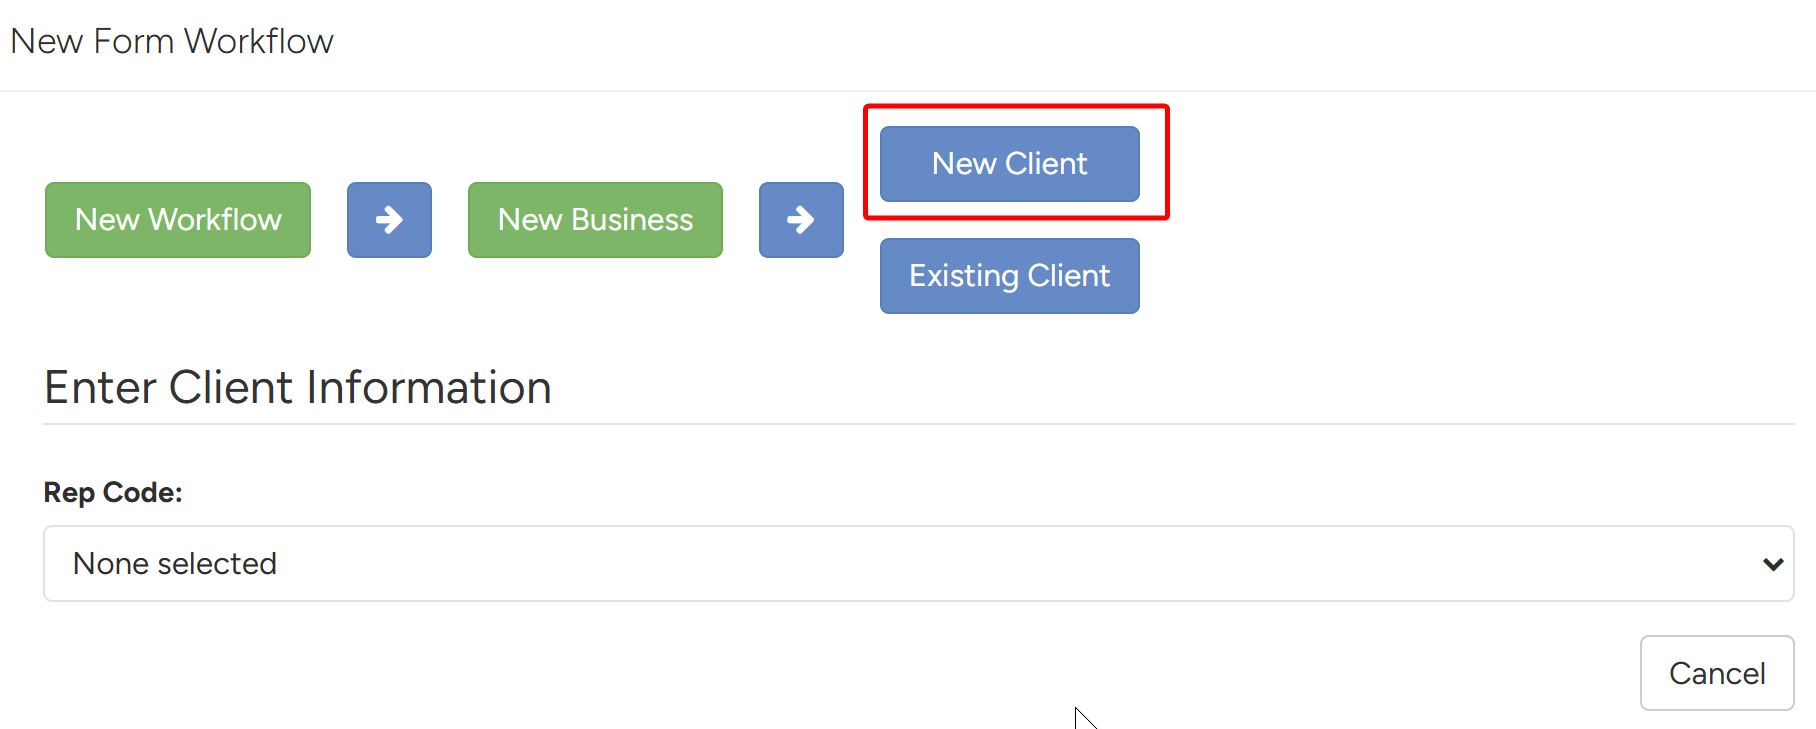
- The system will navigate to the Workflow Wizard, where you will go through the process of creating a Workflow. Select New Business for the type of account.
- Select New Client.
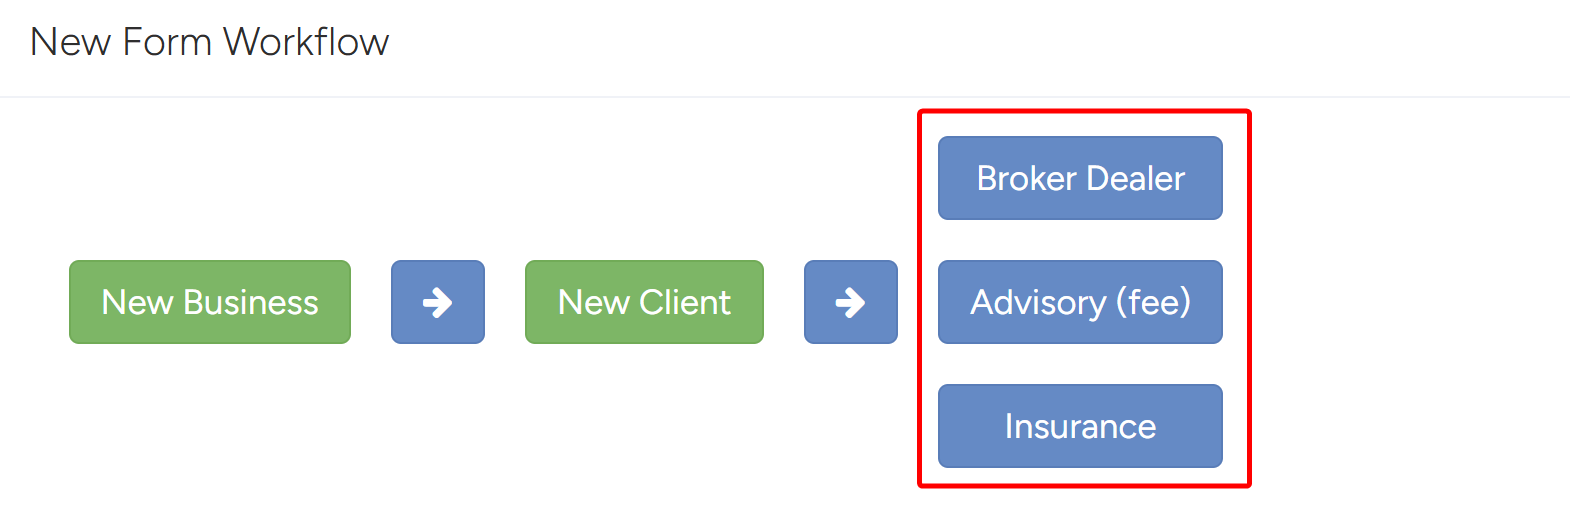
- Select the Relationship Type.
- The Transaction Type options will populate based on the chosen relationship type
- Select the Transaction Type.
- Fill out the client information.
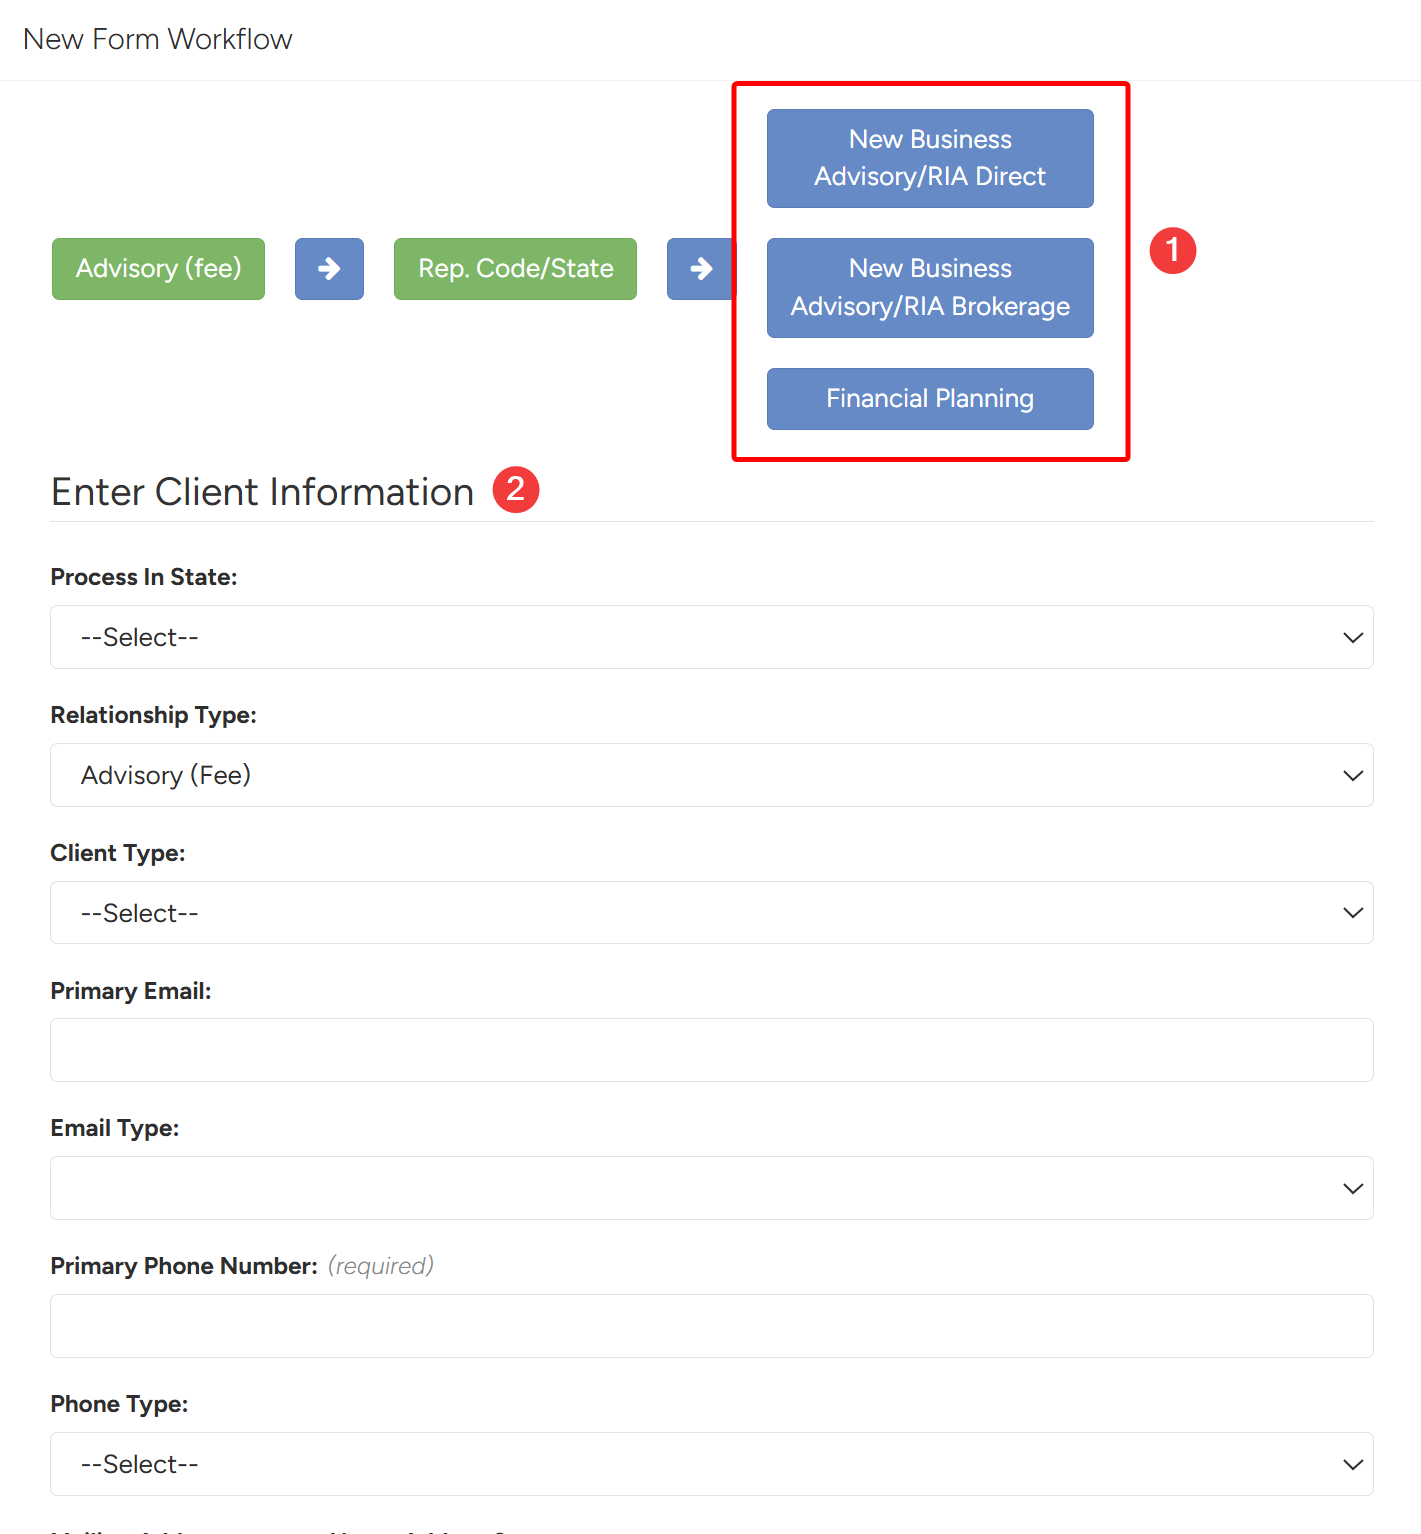
- Once all the client information is filled out, click Submit in the bottom right.

- Select the Forms for the workflow.
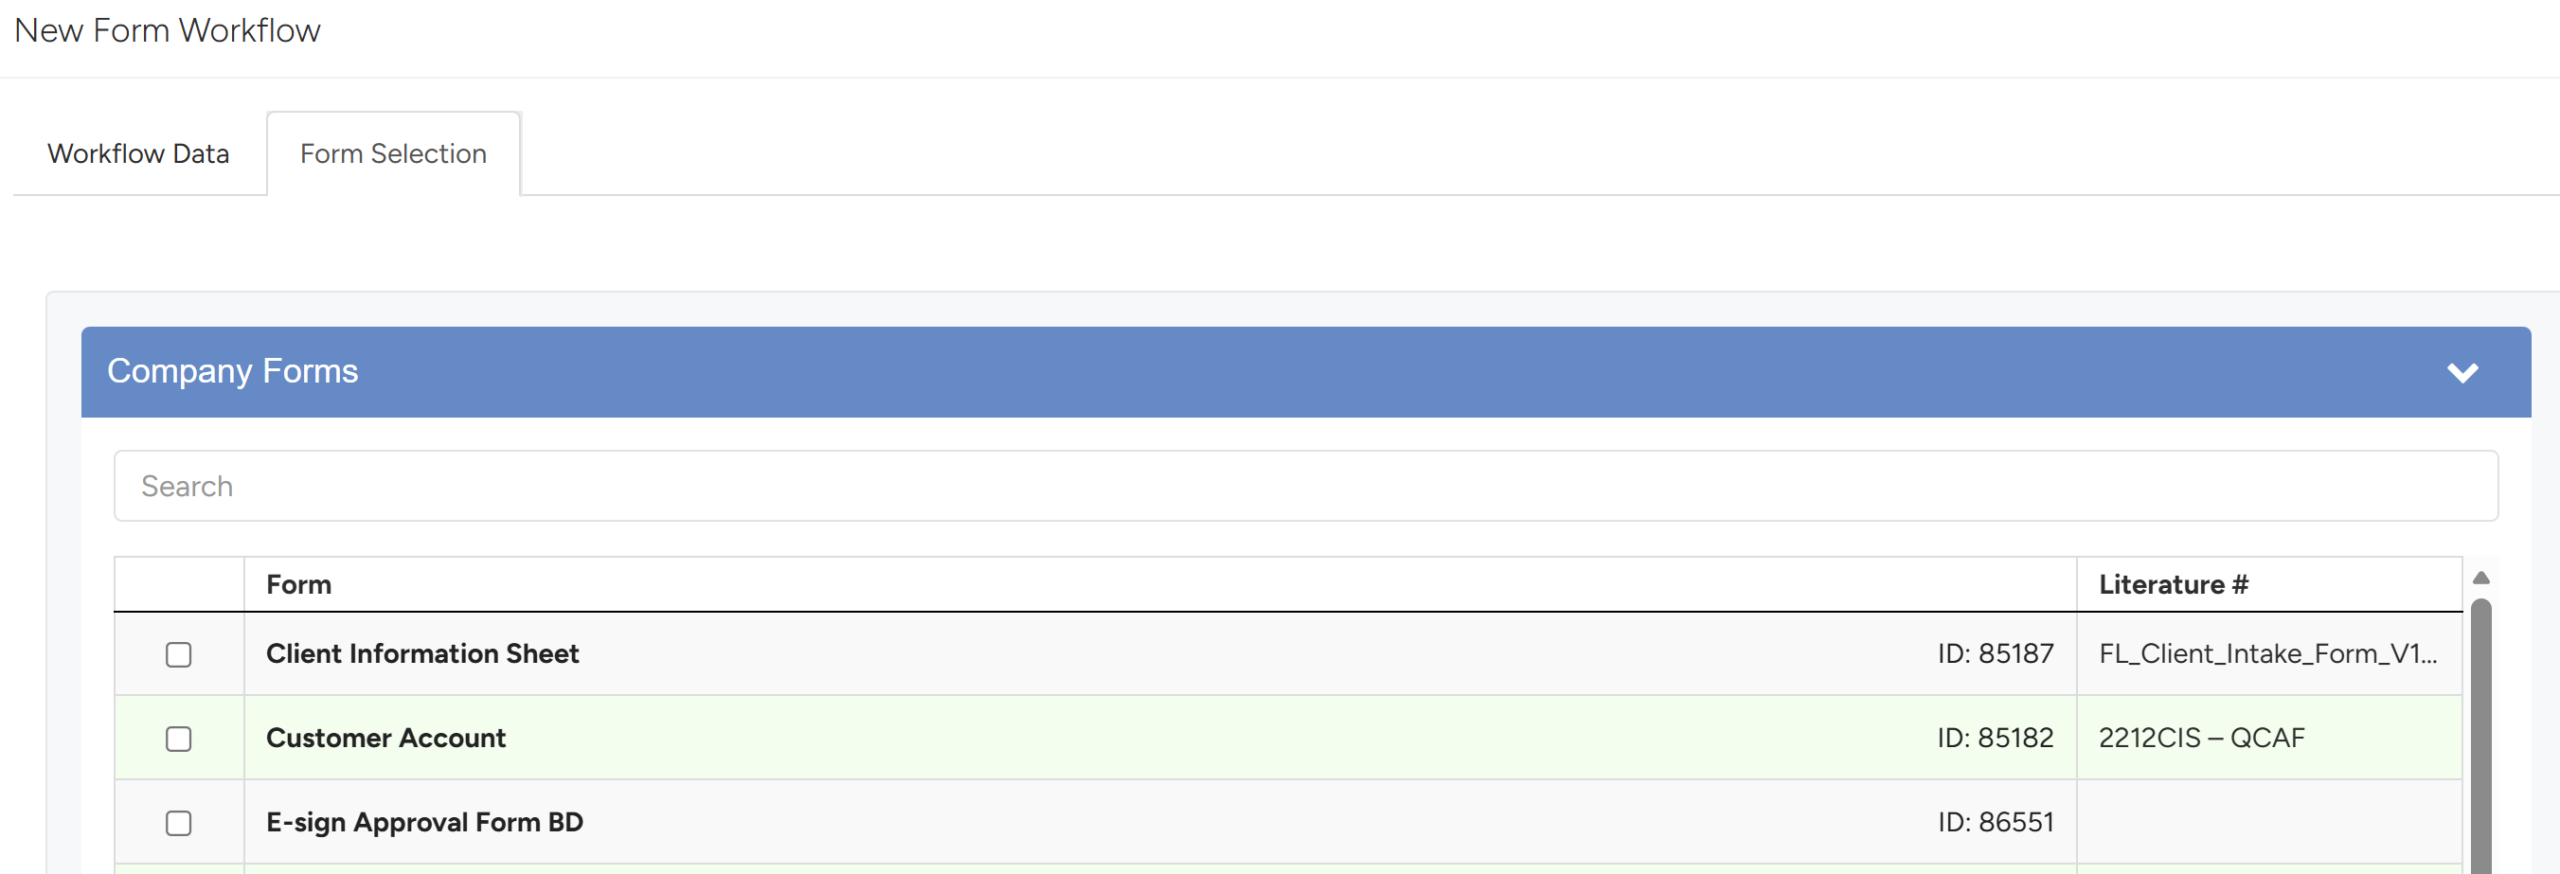
- After all the forms are selected, click Create Form Workflow in the bottom right.
- The Client will now be accessible in the Side Navigation Menu under Clients and Administration > Users.
6.3 Client Bulk Upload
Forms Logic has the option to bulk upload clients into the system. Follow the instructions to easily upload clients.
- From the side navigation menu, navigate to Administration > Users as shown below.
- The system will navigate to the User List. Click on the name of the User that needs the Bulk Client Upload.
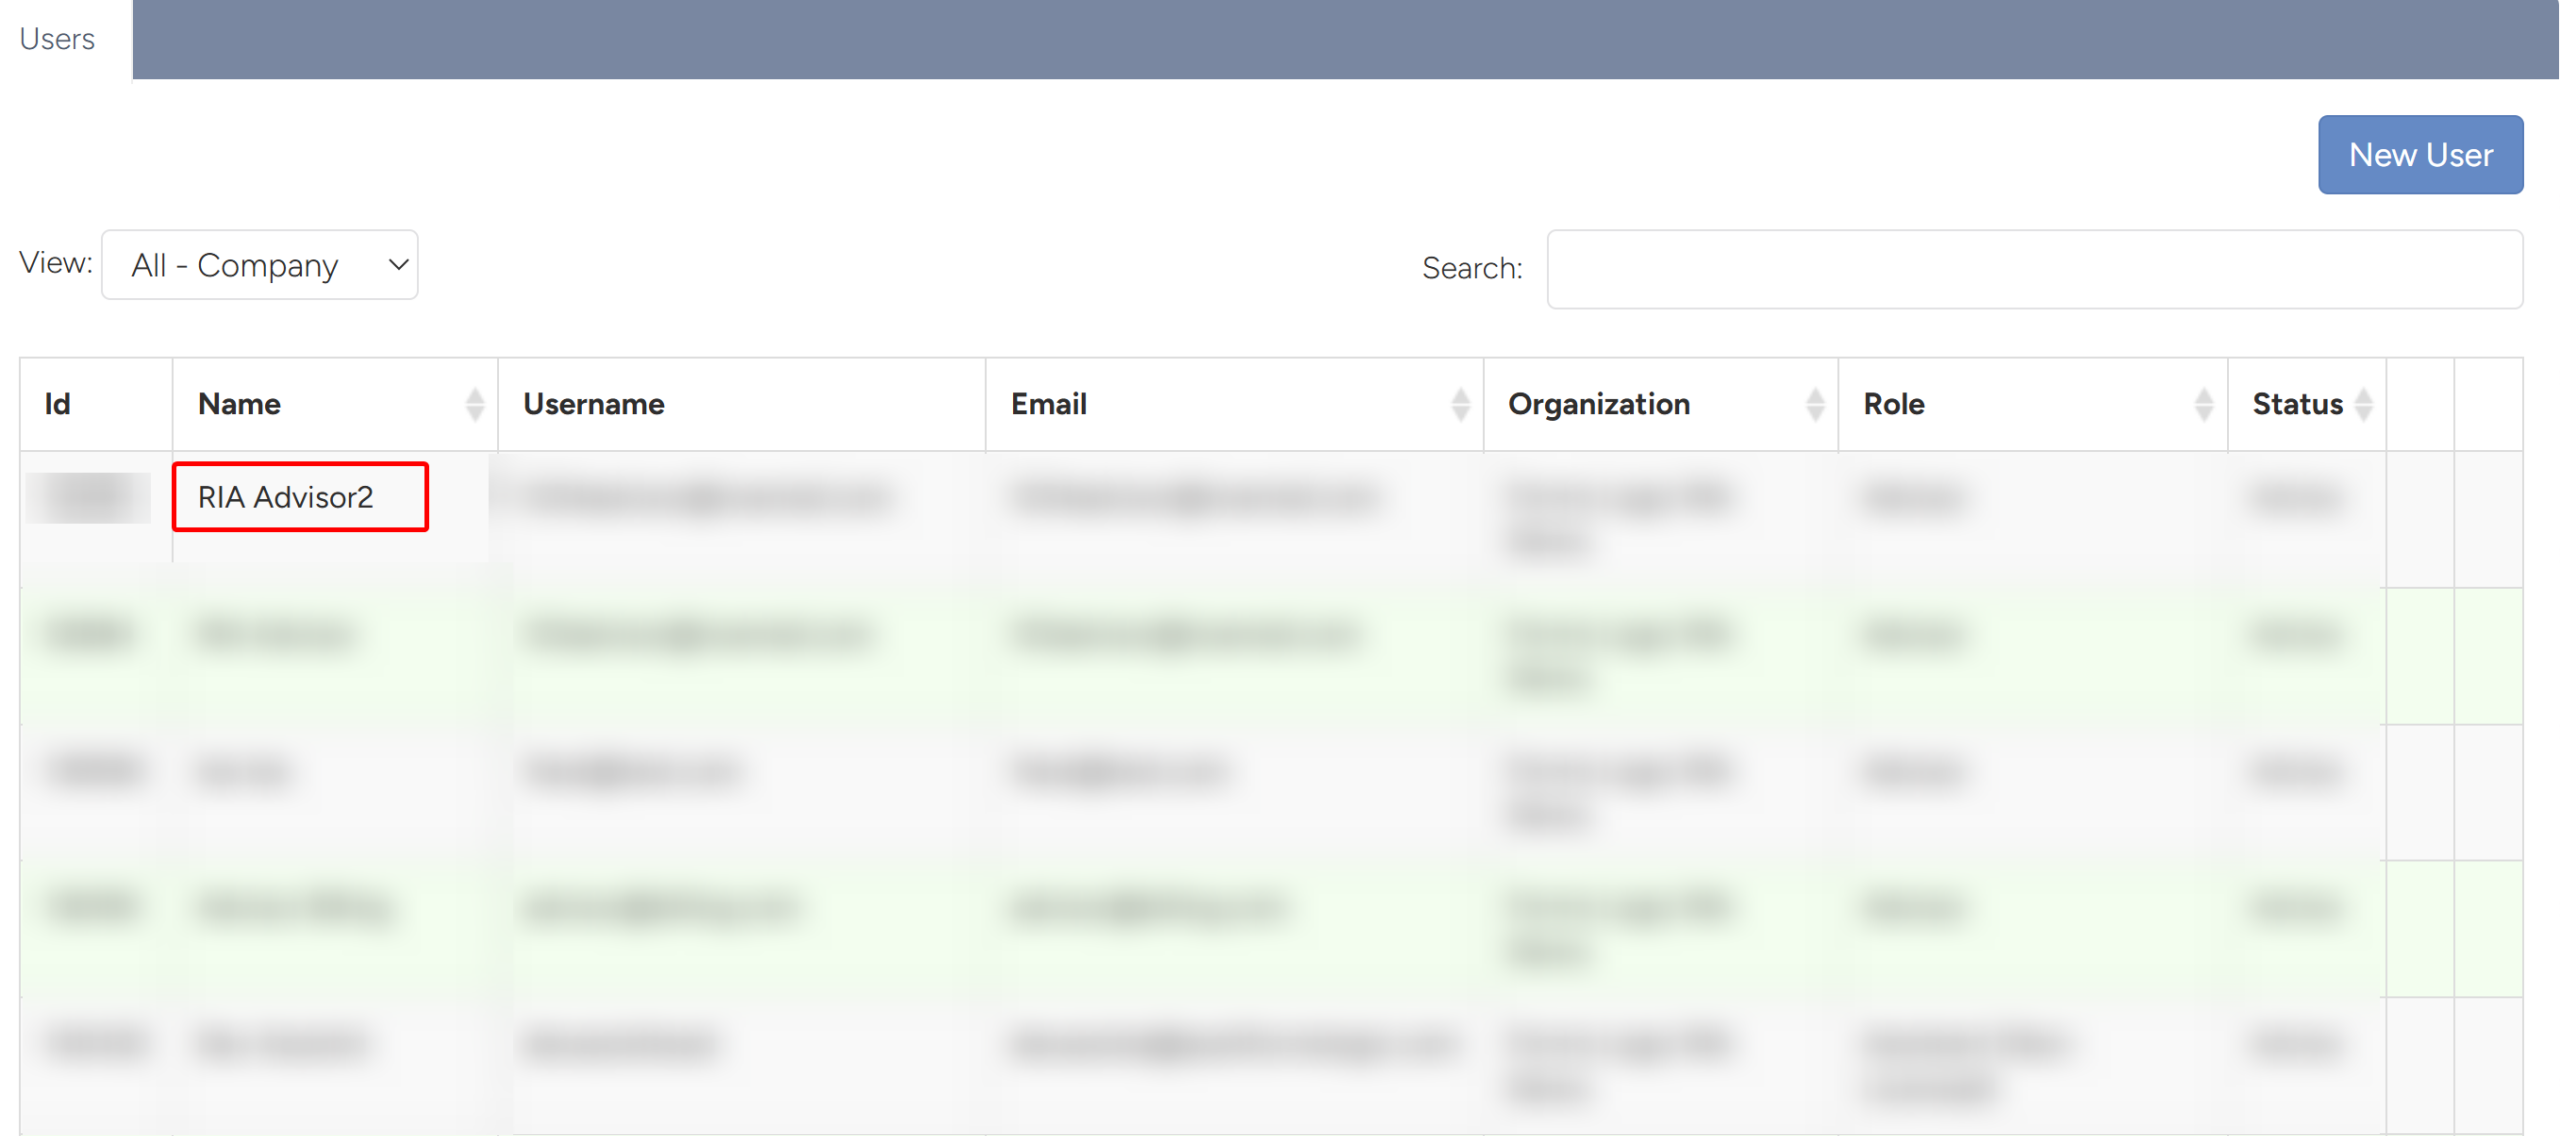
- The User’s profile will open. Navigate into the Client Management Tab.

- Download the Bulk Client Upload Template.
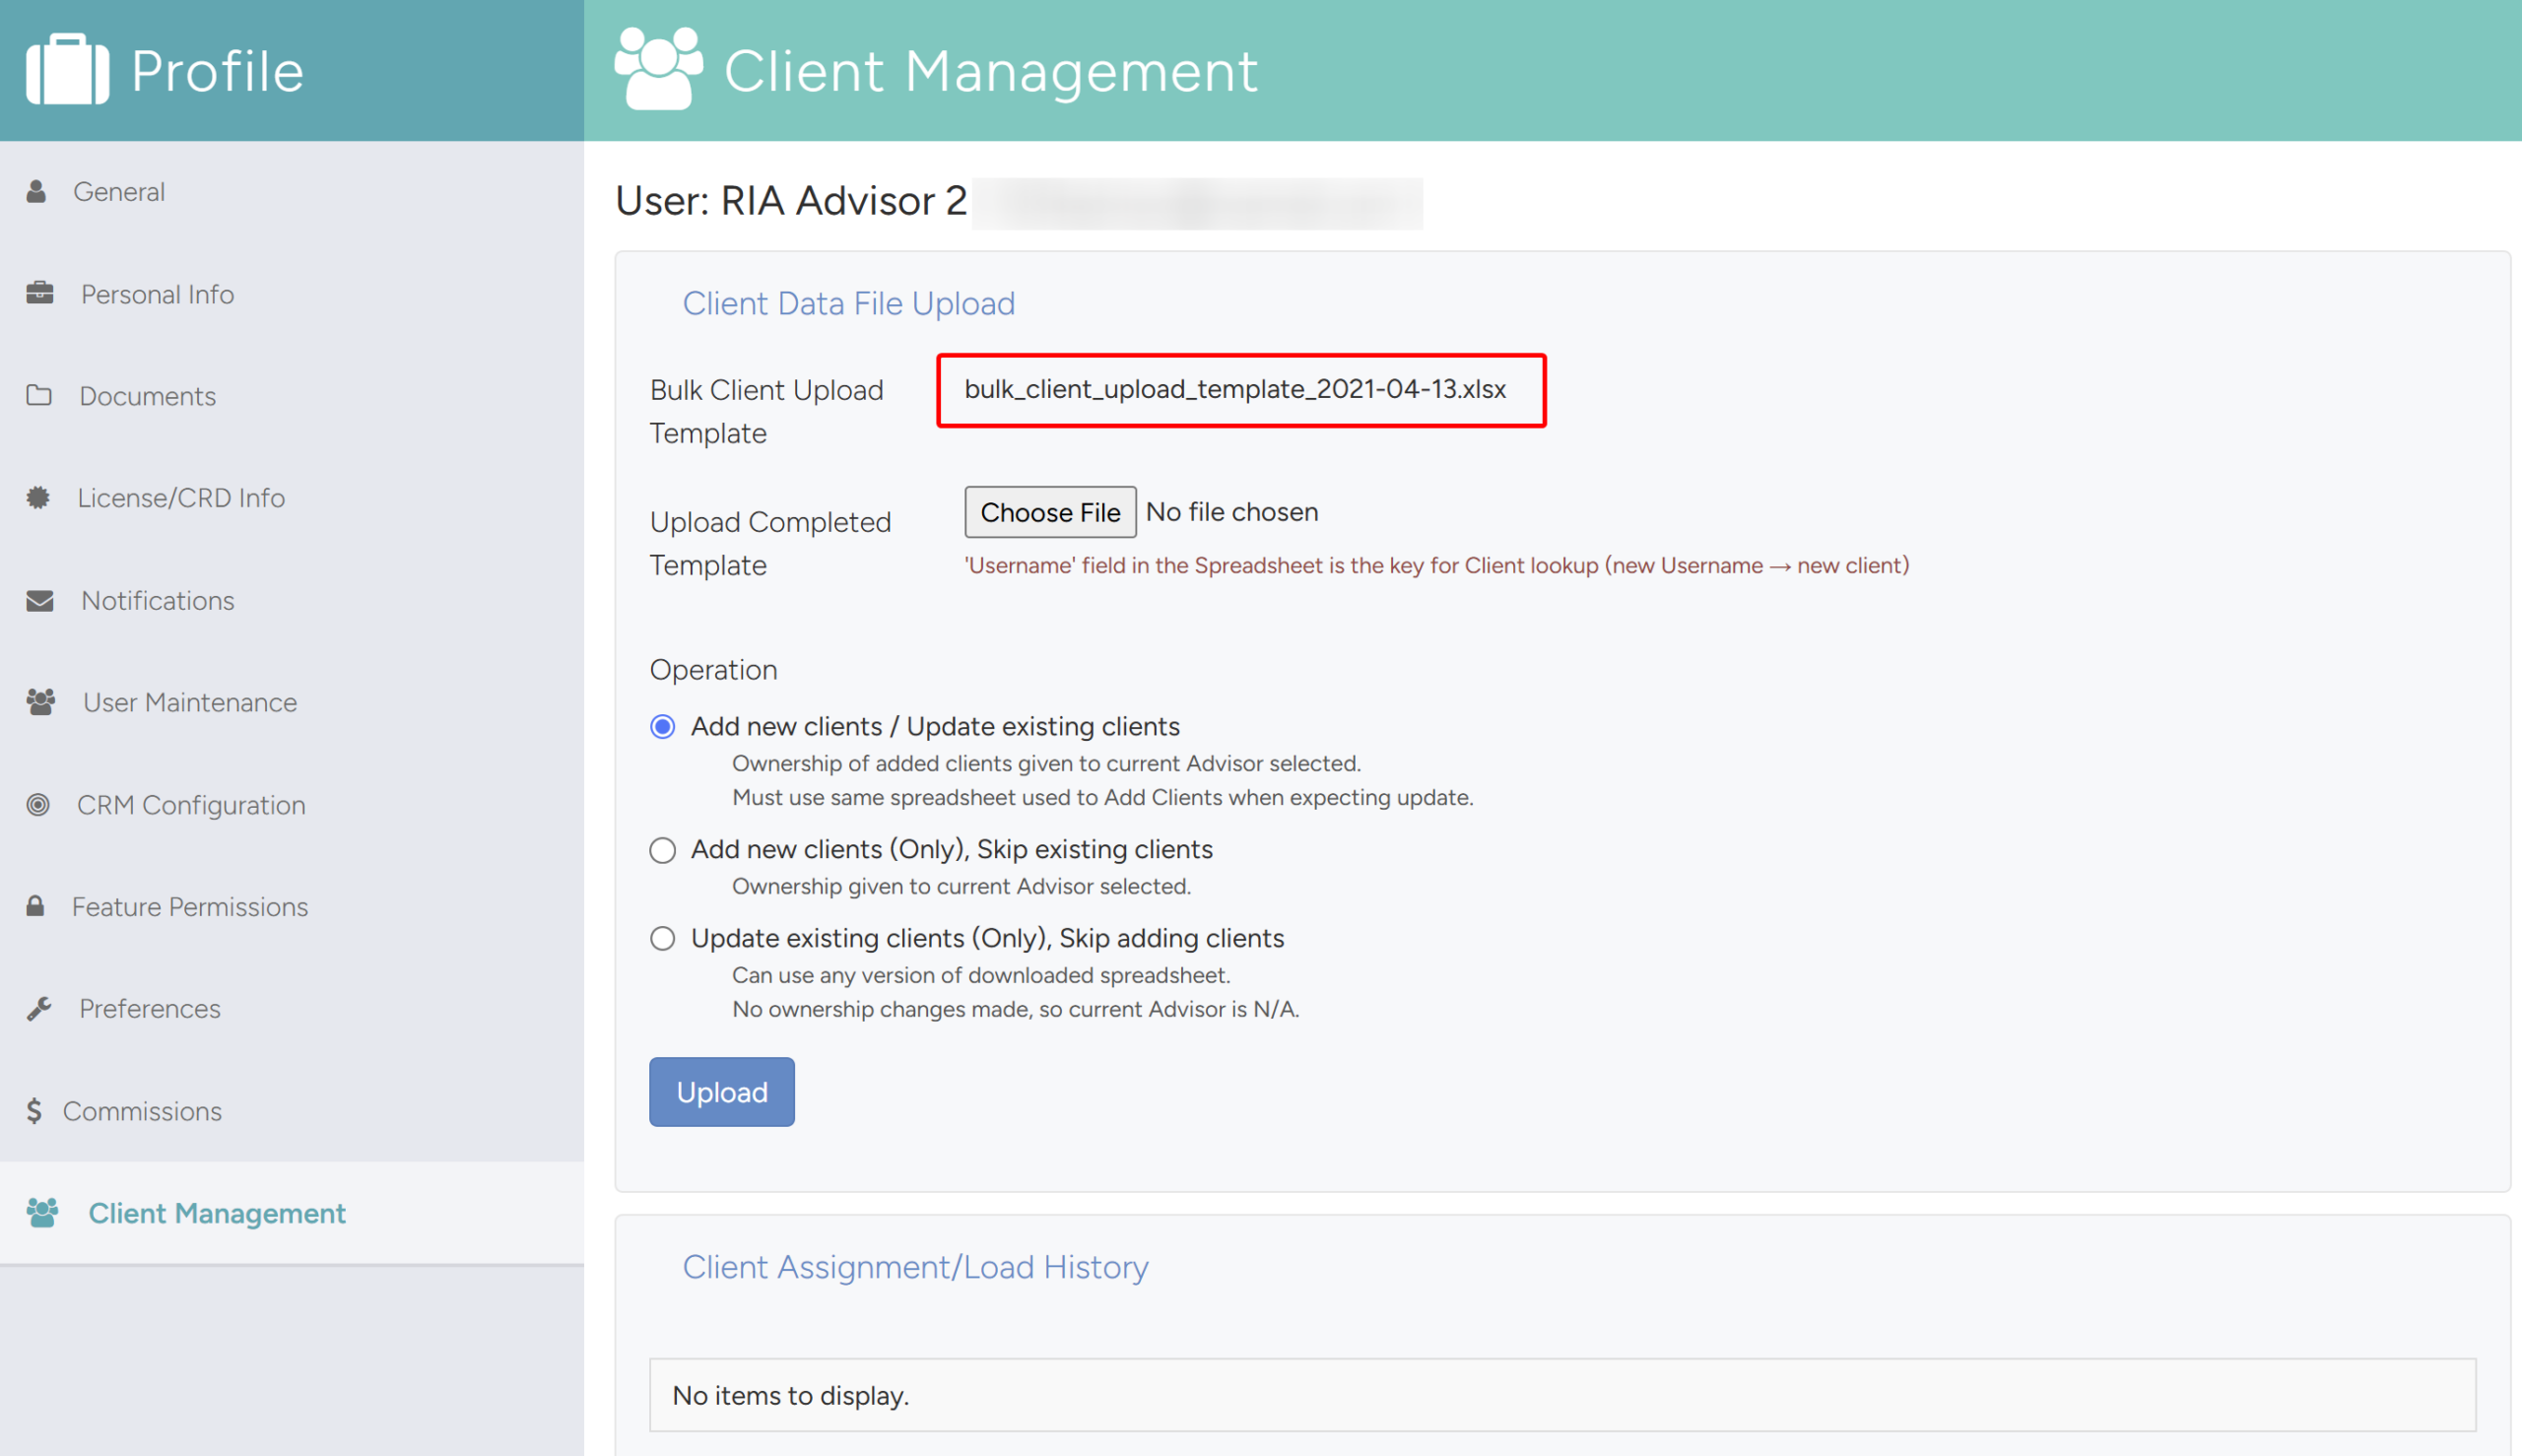
- The Excel Template will look like this:
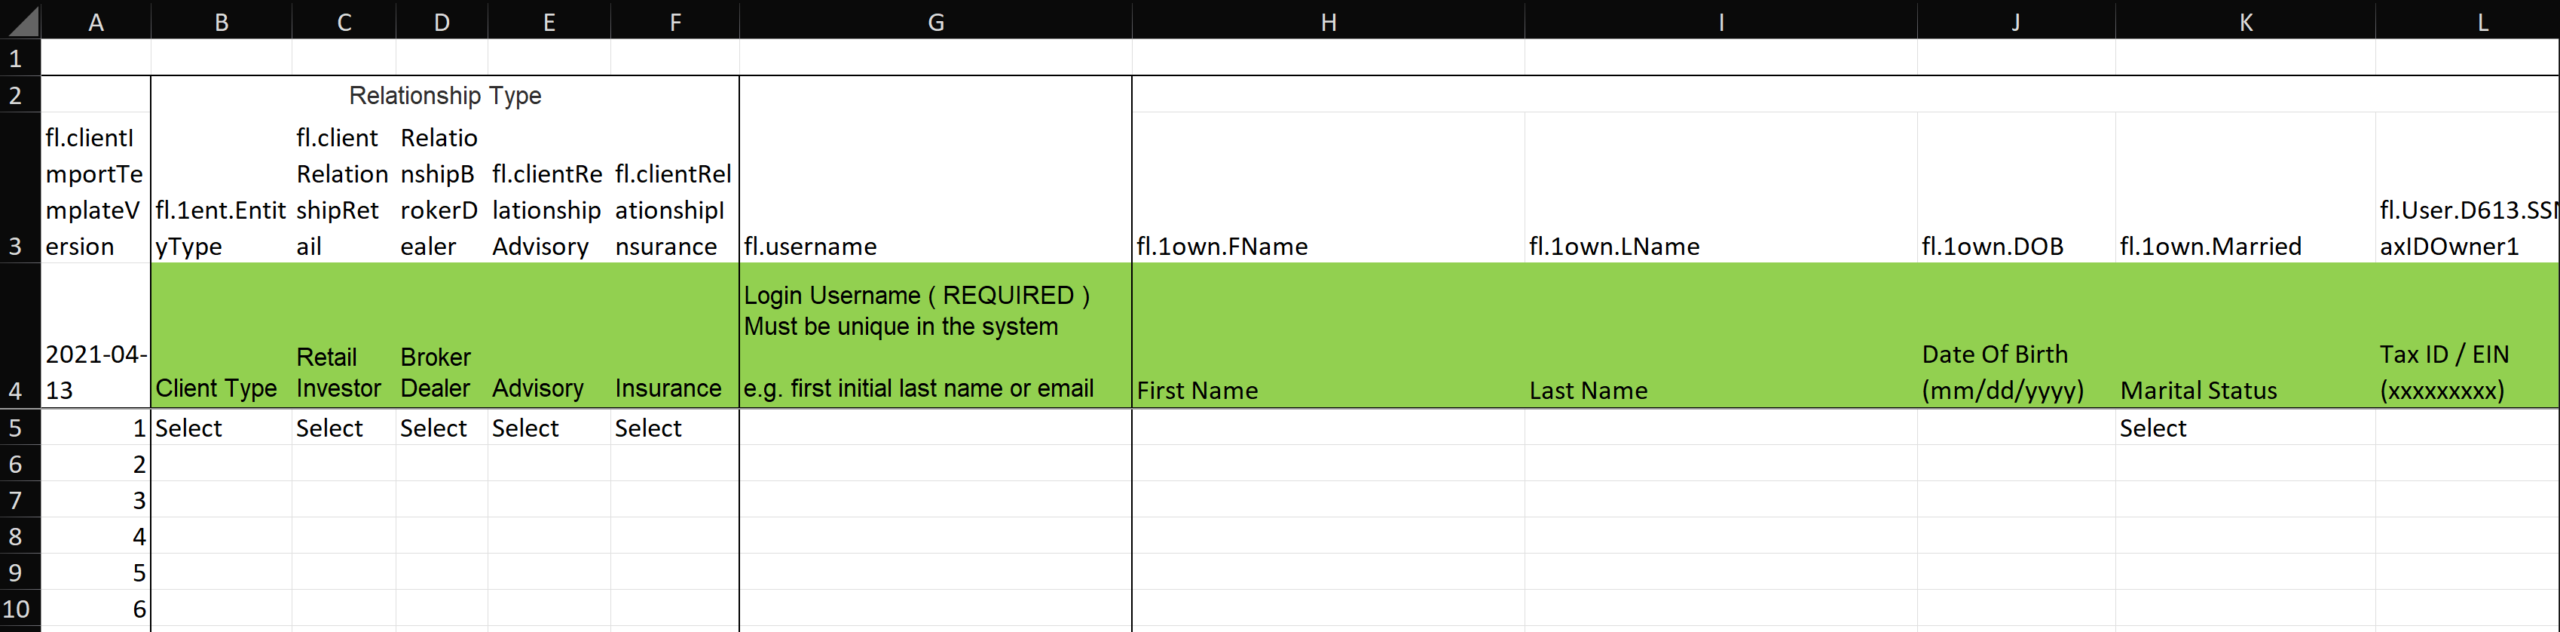
- Fill in the appropriate information. When filling out the template, keep the following in mind:
- Do NOT rename or remove any of the Columns or Tabs in the spreadsheet.
- Column A is a number count for the Clients (1,2,3, etc)
- Your first client should be entered on row 5 – any spaces and the feed will not work.
- The more information you can give the better such as address, driver’s license, employment information.
- Do not use dashes when entering the SS#.
- DOB format is mm/dd/yyyy.
- Each client needs a unique email to create their account.
- If a household shares an email or if they do not have an email you will need to create a “plug” email with @noemail.com as the last part of the email.
- Example shared email:
- John Smith smithhouse@gmail.com
- Jane Smith janesmith@noemail.com
- For Business Accounts – Client #1 is entity name and Client #2 is Approved Signer/Key Person
- For Trusts – Client#1 is the trust name and Client #2, etc are the Trust beneficiaries.
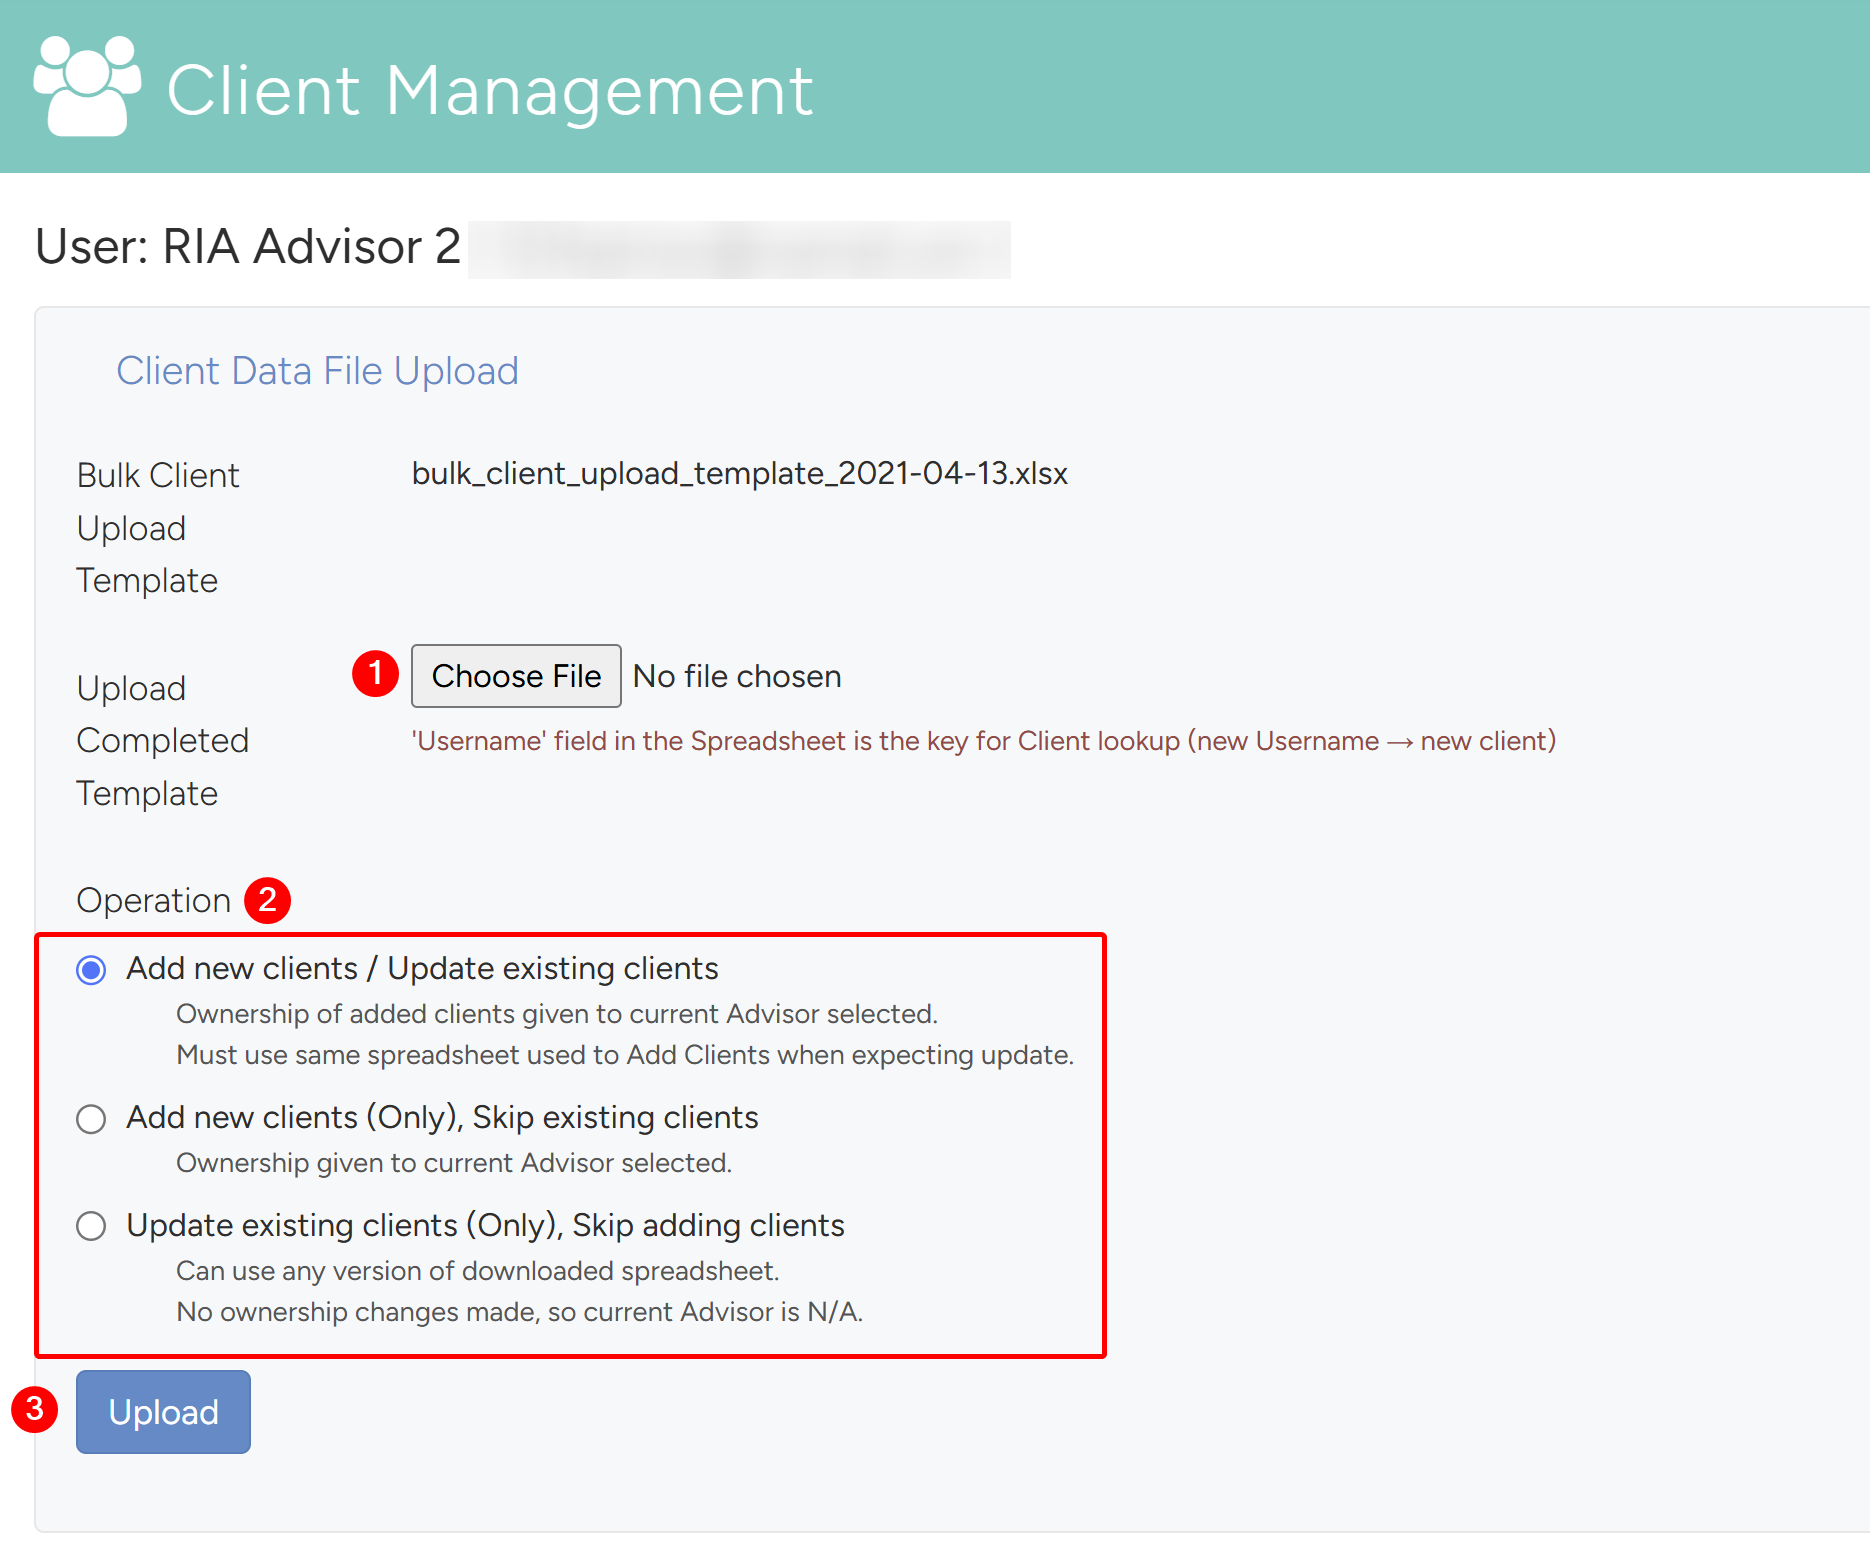
- Once the excel template is filled in, navigate into the client management tab in the advisor’s profile and follow these steps:
- Click Choose File and choose the spreadsheet that was filled in.
- Click on the radio button that is applicable to this upload:
- Add New clients/Update existing clients.
- Add new clients (Only), Skip existing clients.
- Update existing clients (Only), Skip adding clients.
- Click Upload.
6.4 Change Advisor Associated with a Client
Site Managers and Admins can update which advisor is linked to a client in Forms Logic. This is done by locating the client and updating their visibility settings to reflect the new advisor. To change the advisor associated with a client, follow the steps below.
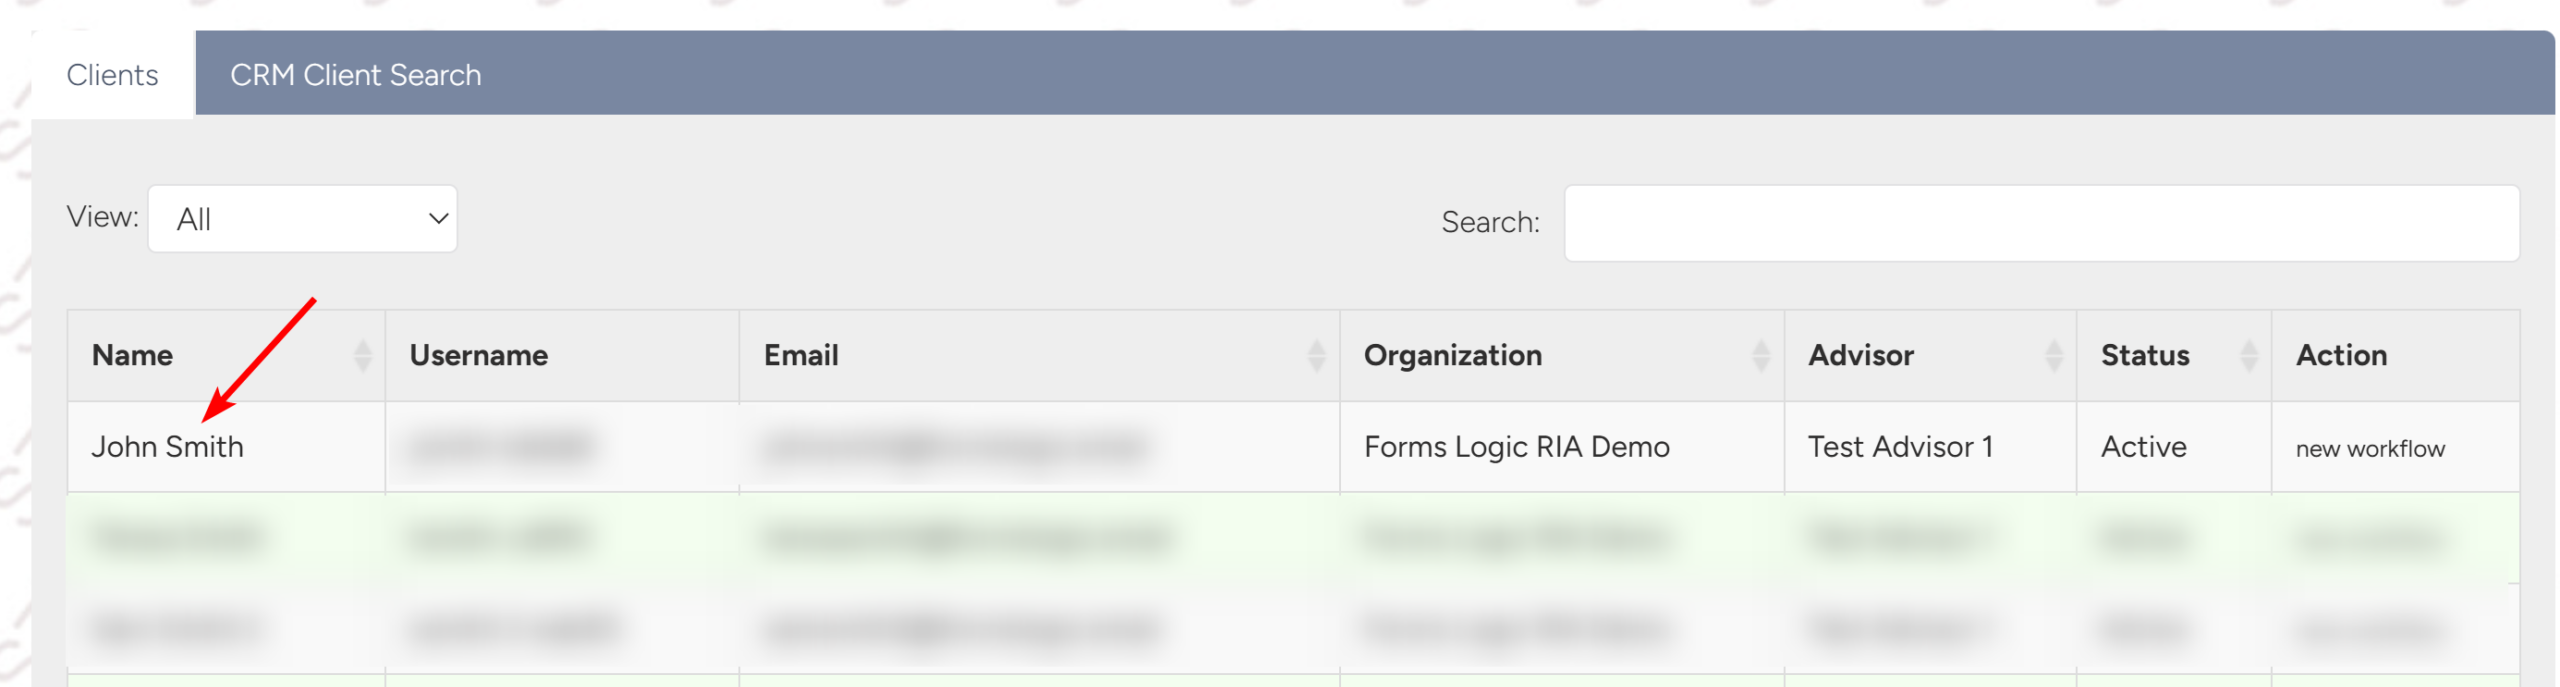
- From the side navigation menu, navigate to Clients.
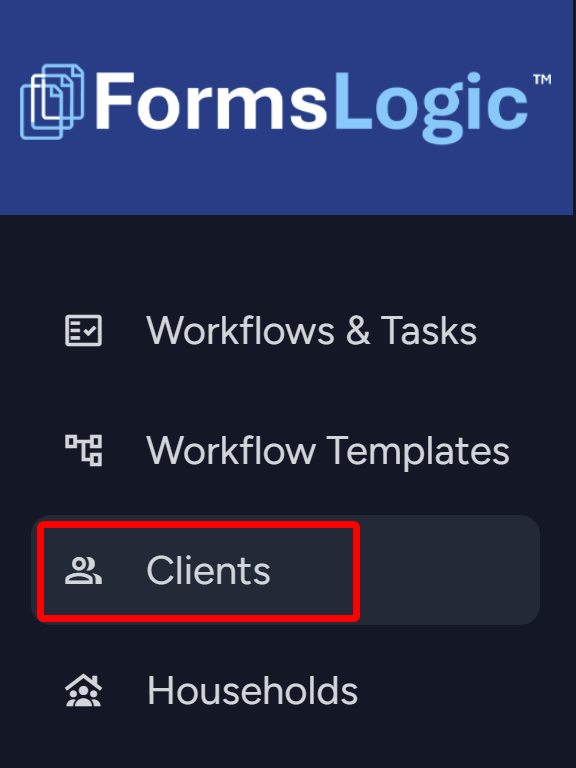
- In the Client list, click on the desired client’s name to open their profile.
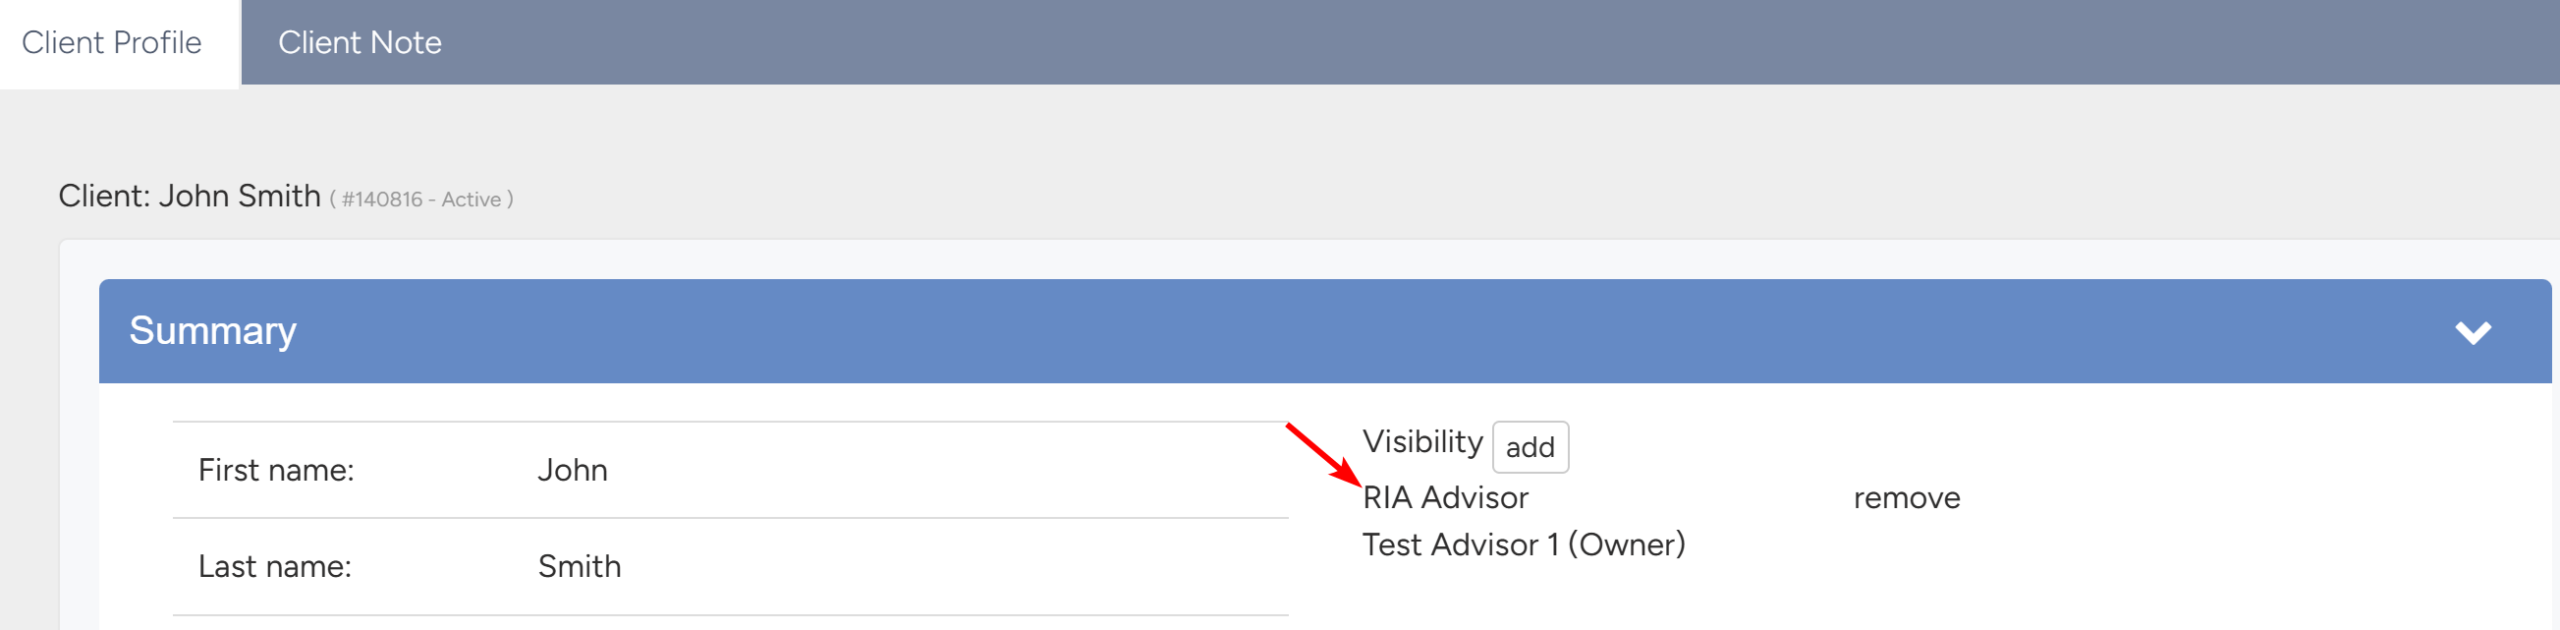
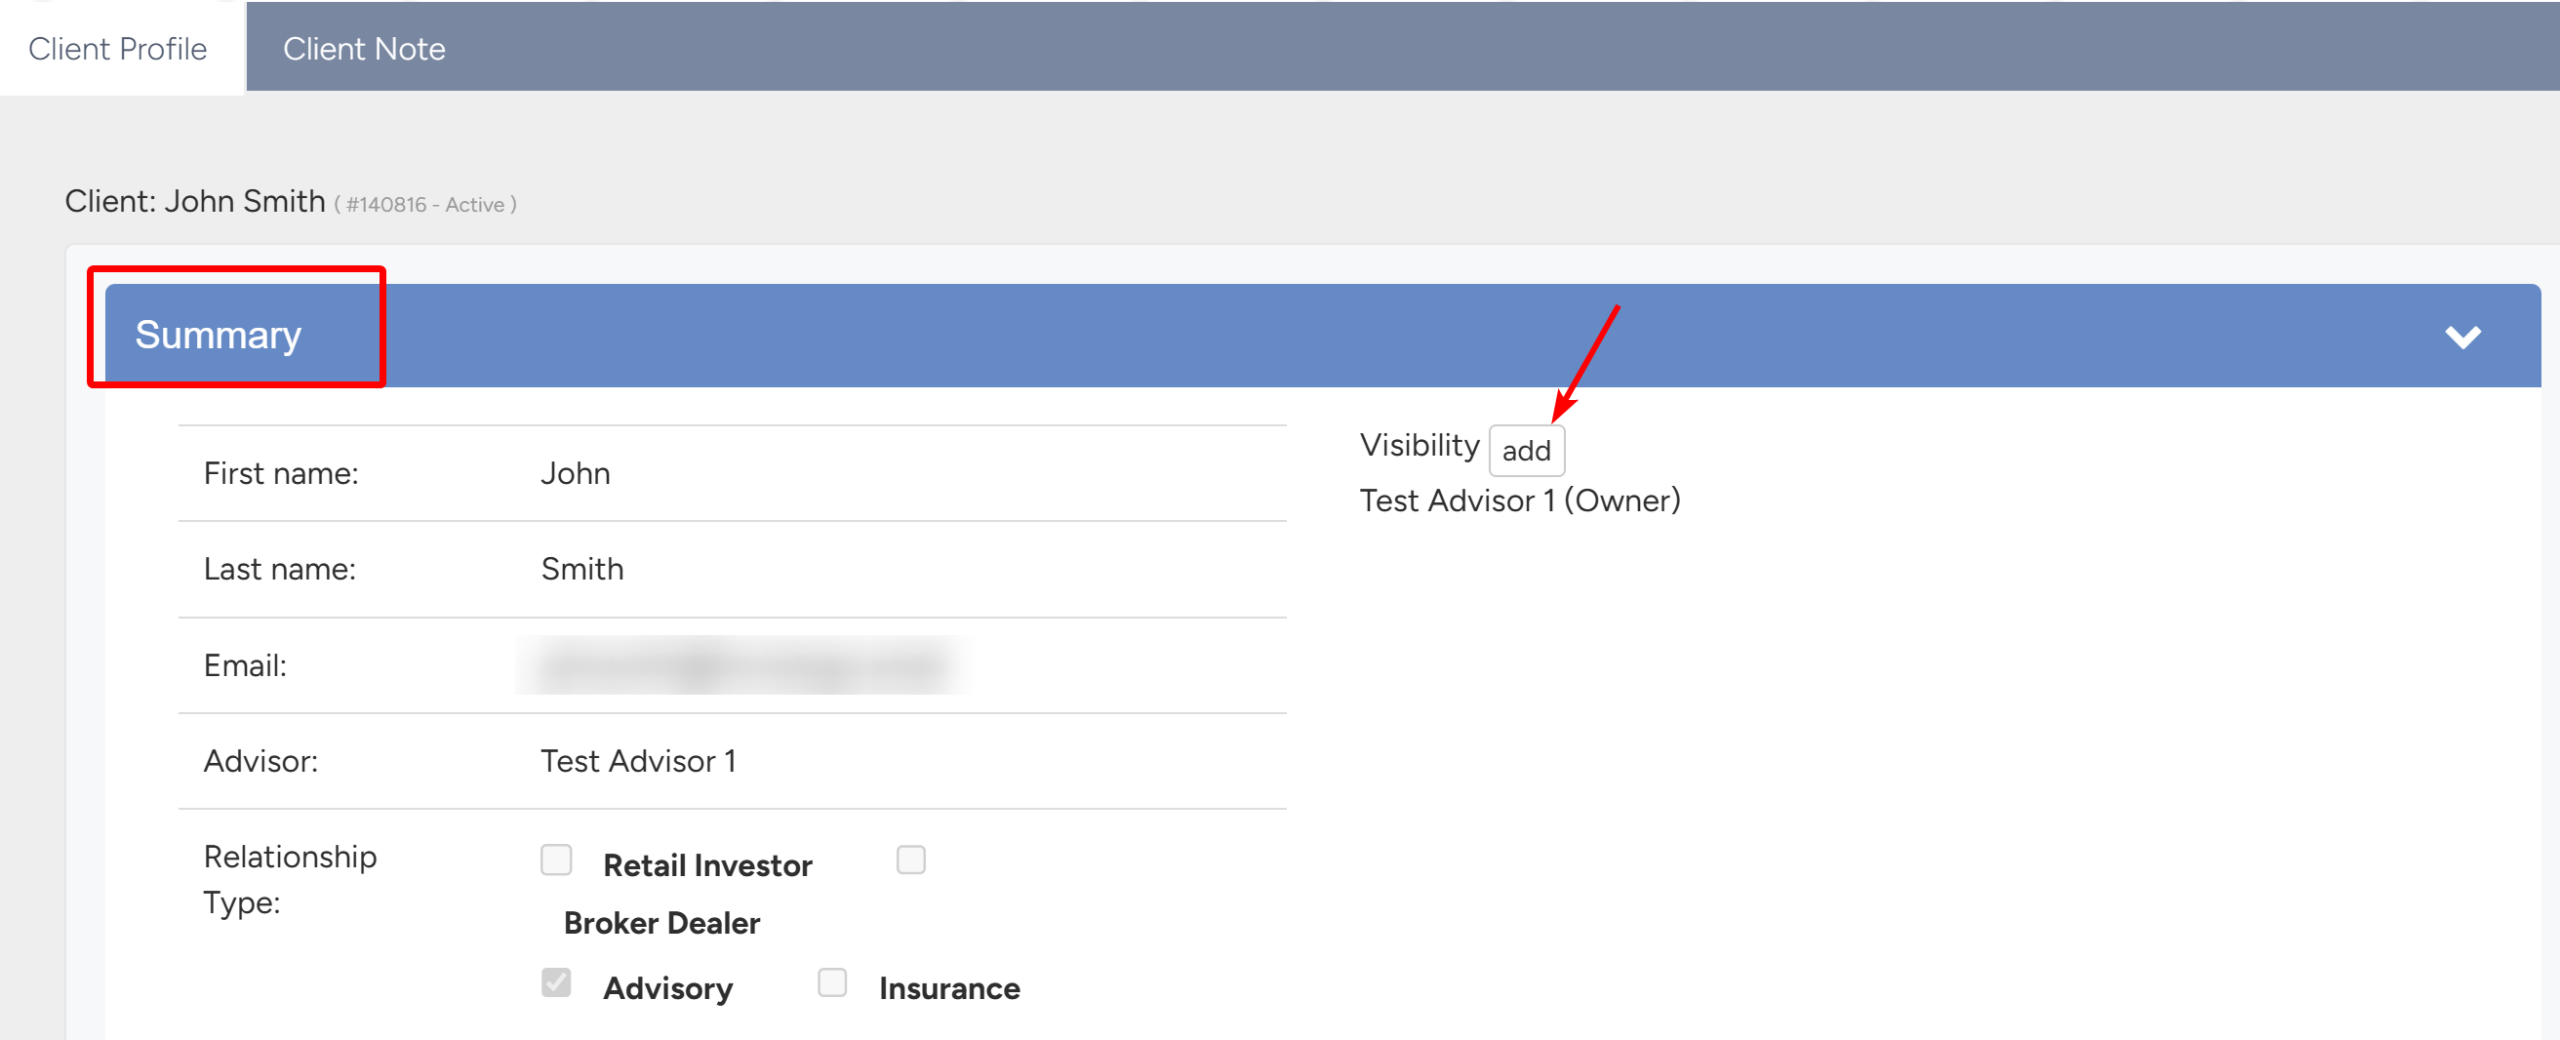
- Under Summary, click the Add button next to Visibility.
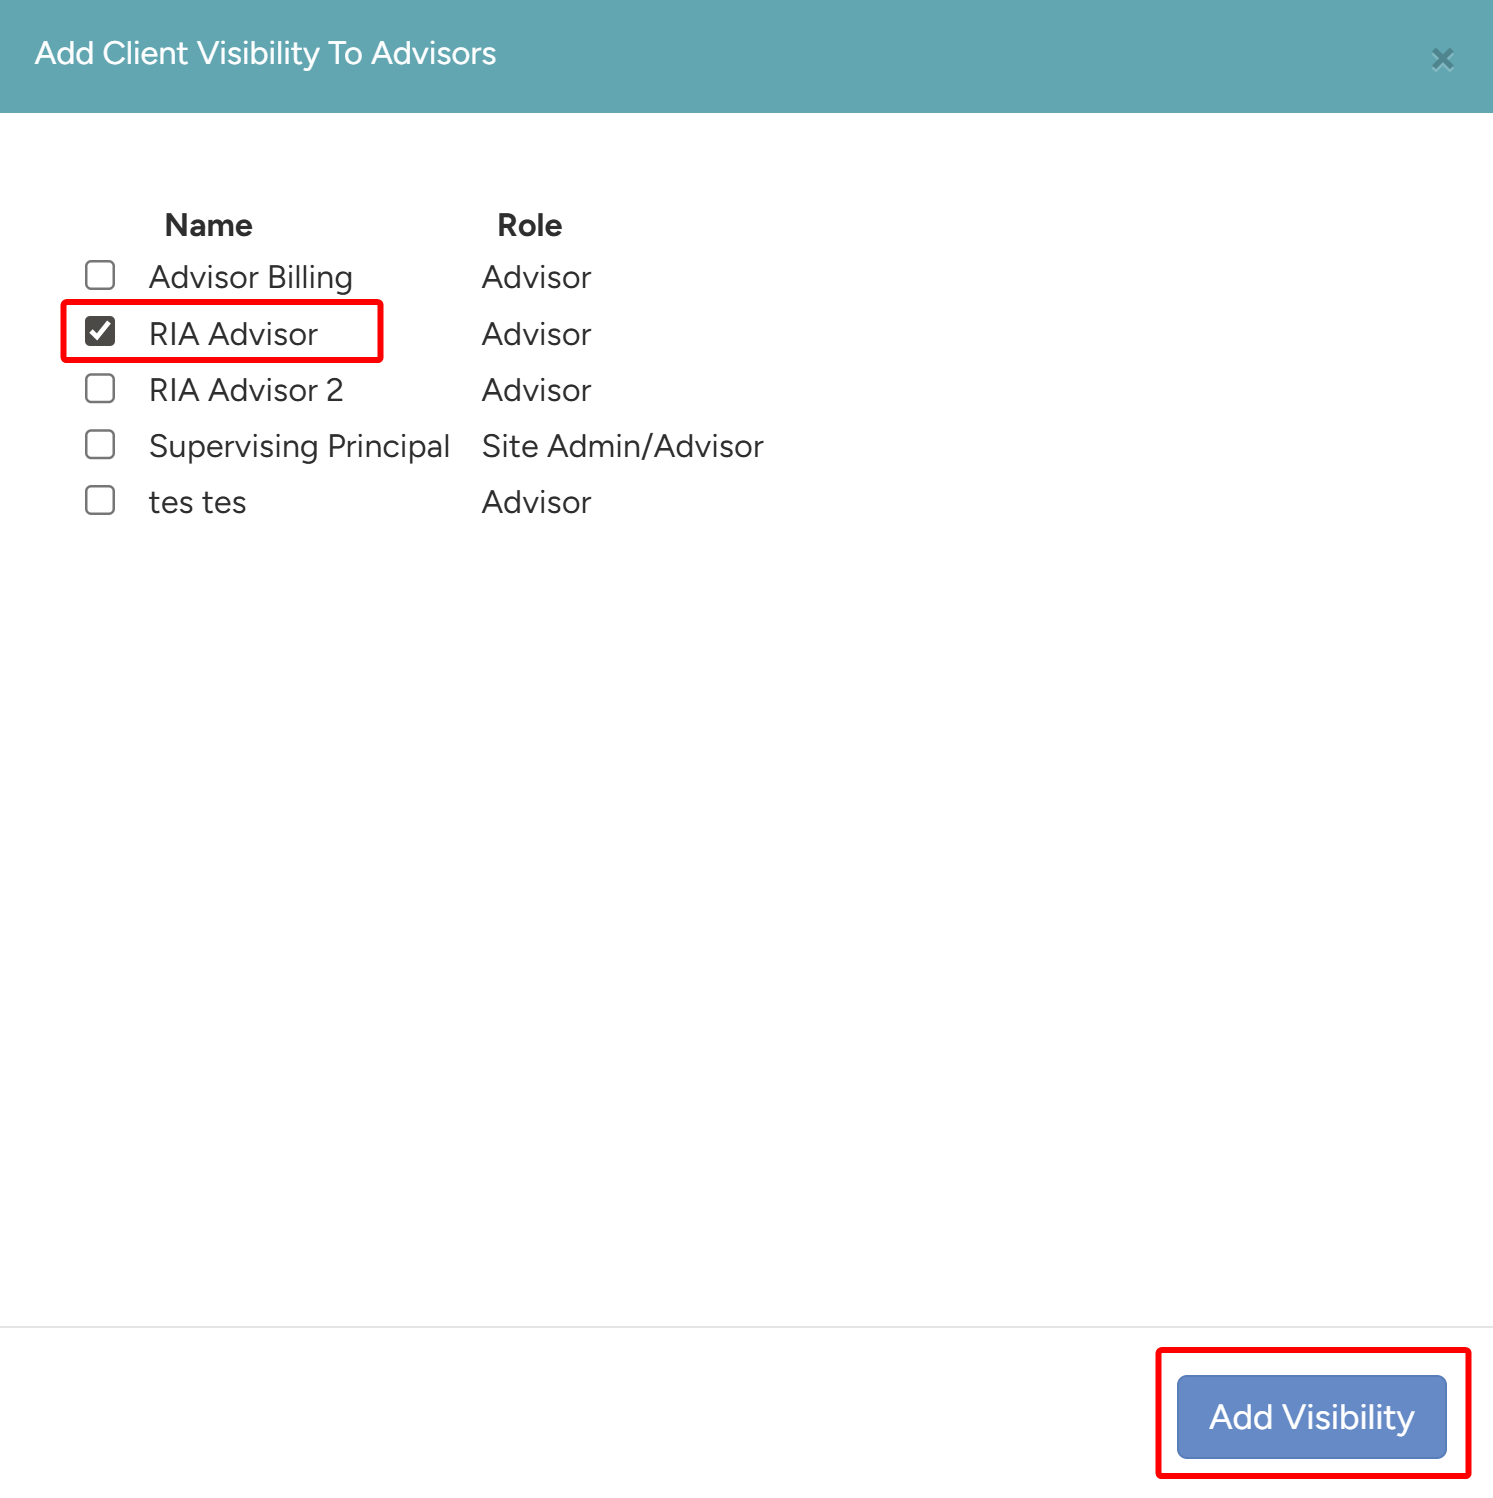
- In the panel that opens, select the new advisor from the list and click Add Visibility.
- The Advisor will now show in Visability and the client will now be visible to the selected advisor, allowing them to complete new account opening workflows.