

Site Settings
Site Settings provides Back Office administrators with comprehensive configuration options for the Navigator Platform. It controls approval hierarchies, workflow automation, feature enablement, vendor integrations, and system-wide settings. Site Settings is accessible to Back Office administrators only.
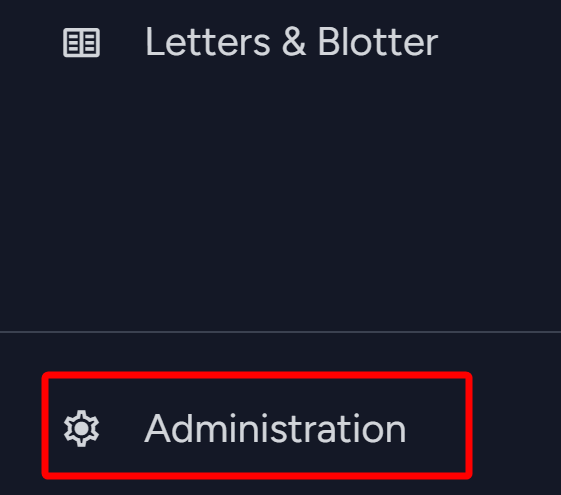
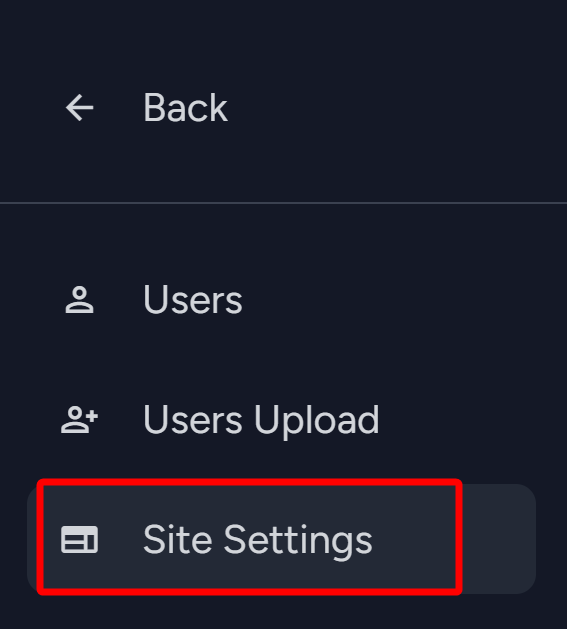
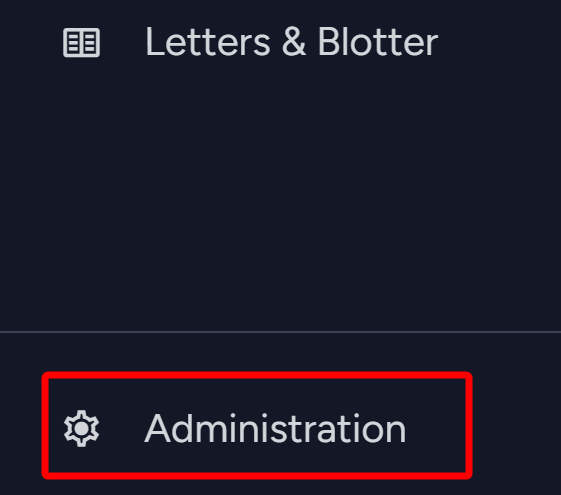
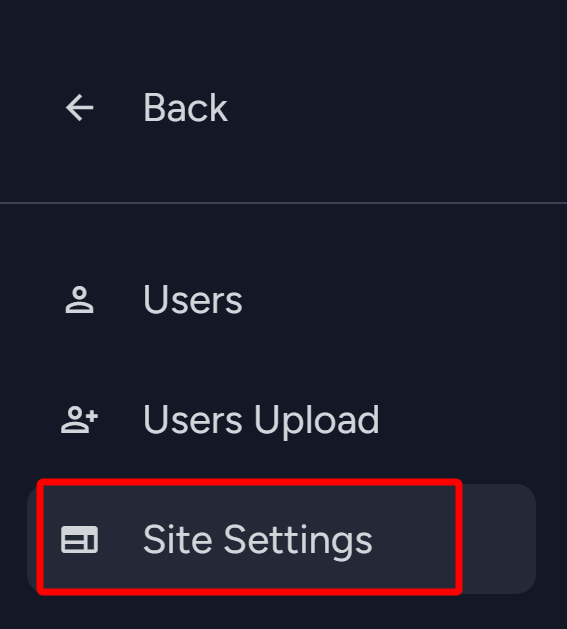
- To access Site Settings, navigate to Administration > Site Settings from the side navigation menu.
7.1 Site Settings Tab
The Site Settings Tab controls approval hierarchies, workflow auto-assignment, and e-signature configuration for your organization. The Tab can be divided into various sections based on the type of information.

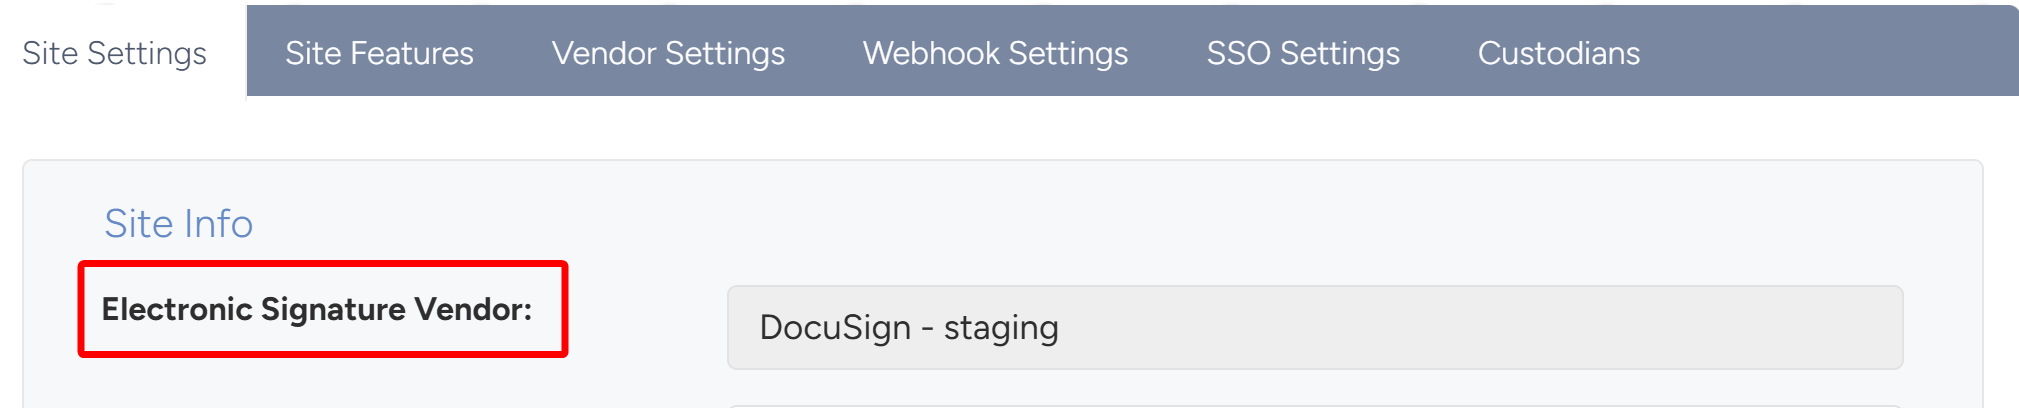
7.1.1 E-Signature vendor
Displays the current e-signature vendor configured for your site, for example: DocuSign – staging.
7.1.2 Approval Hierarchy Configuration
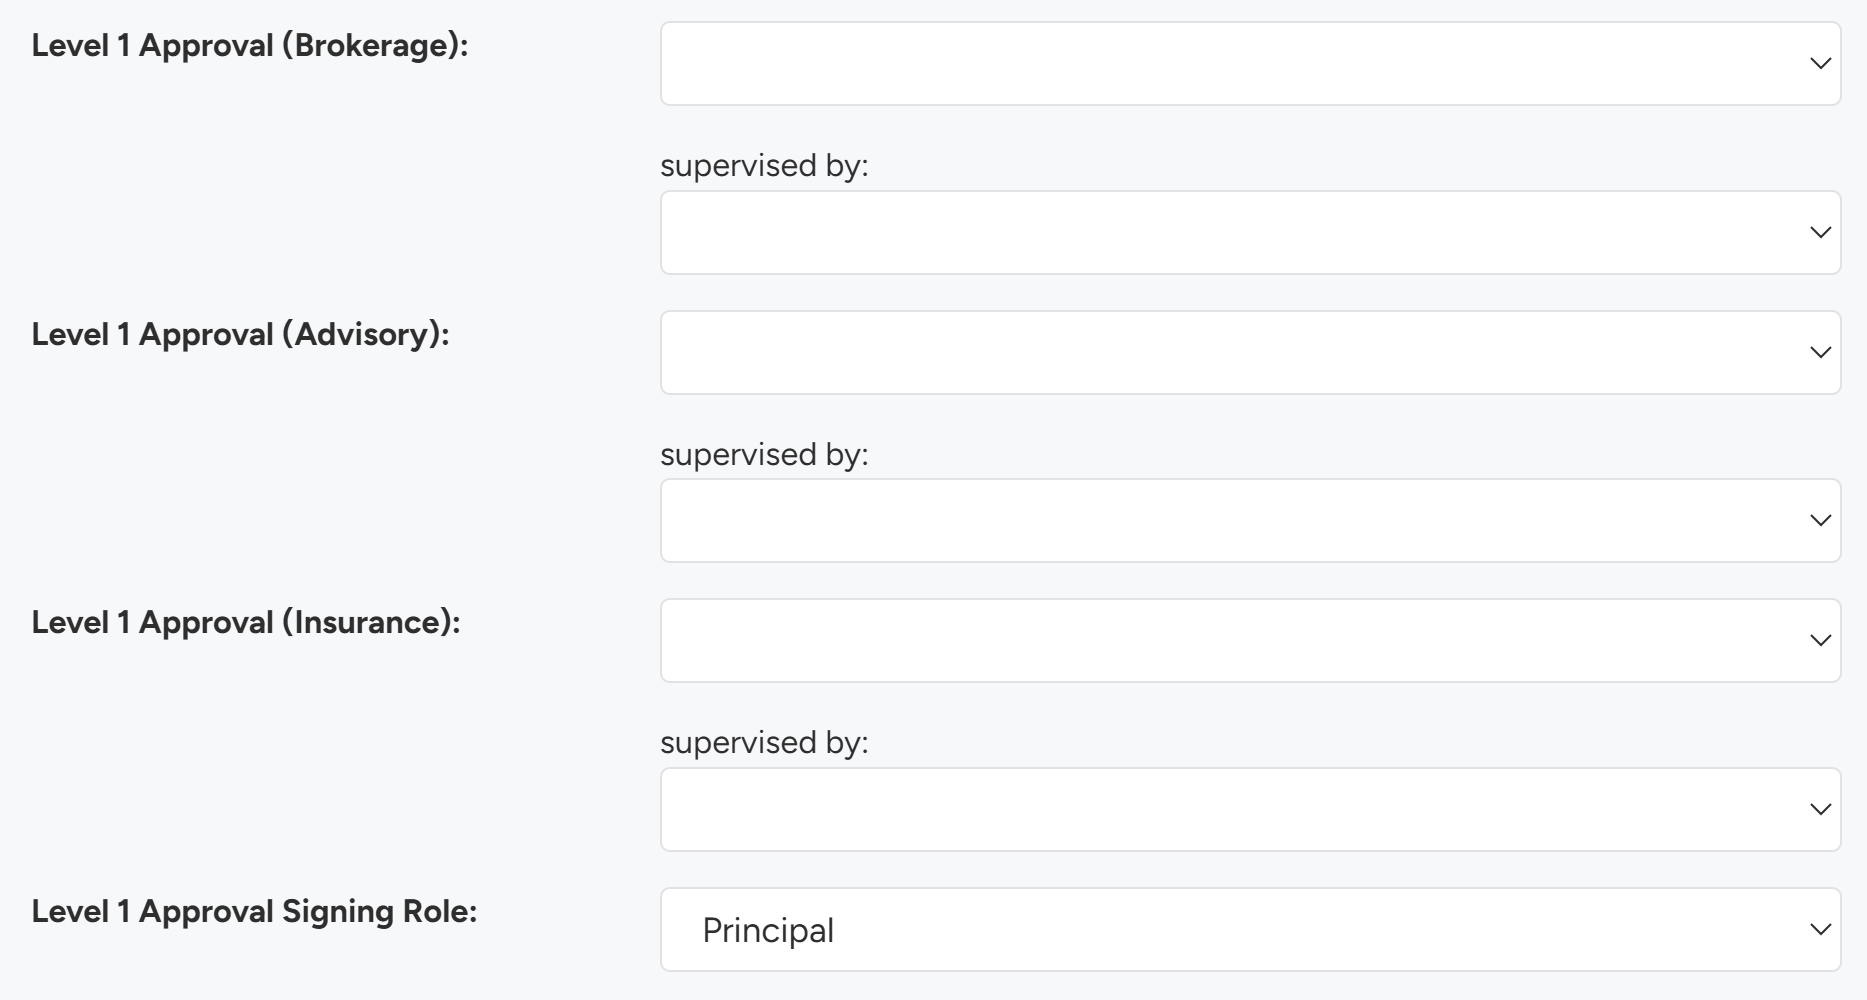
Configure approval levels for each business line, Brokerage, Advisory, and Insurance. Each level can have designated approvers and supervisors.
- Parent Level 1 Approval — Senior leadership or compliance officers who serve as top-level approvers.

- Level 1 Approval — Primary approvers and their supervisors. Signing role example: Principal.
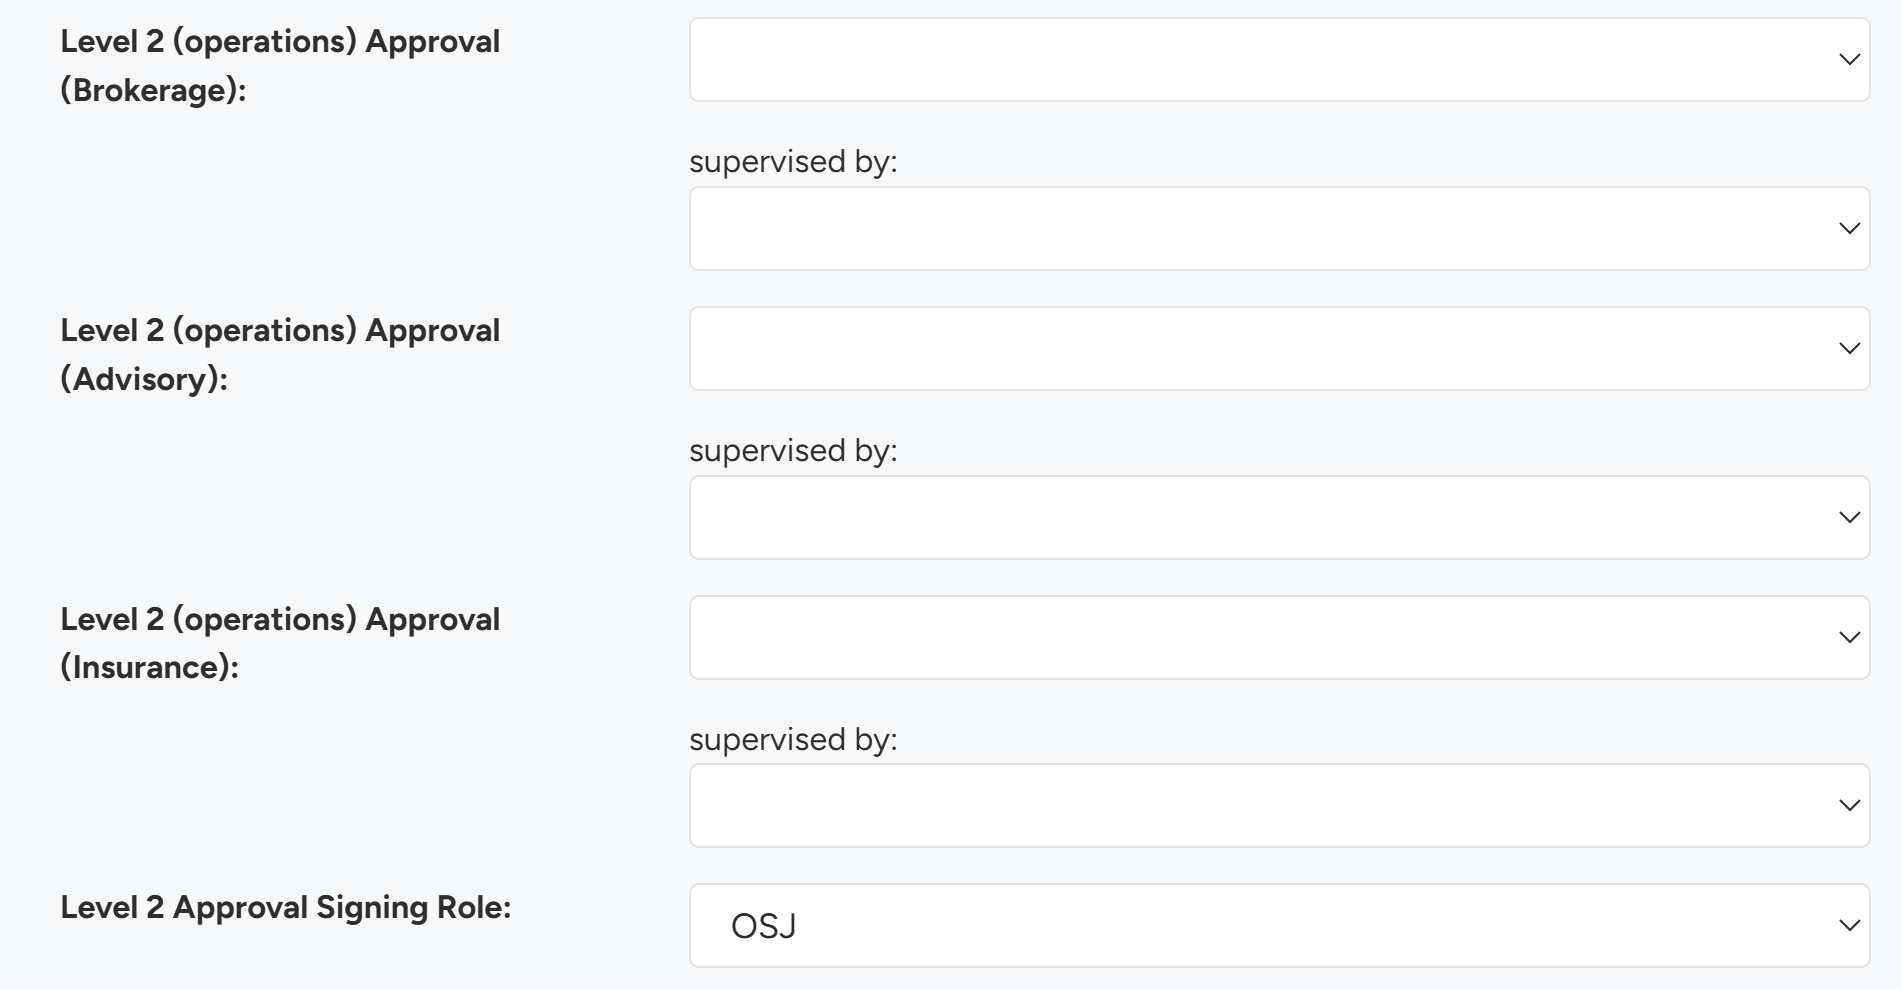
- Level 2 (Operations) Approval — Operations approvers and their supervisors. Signing role example: OSJ.
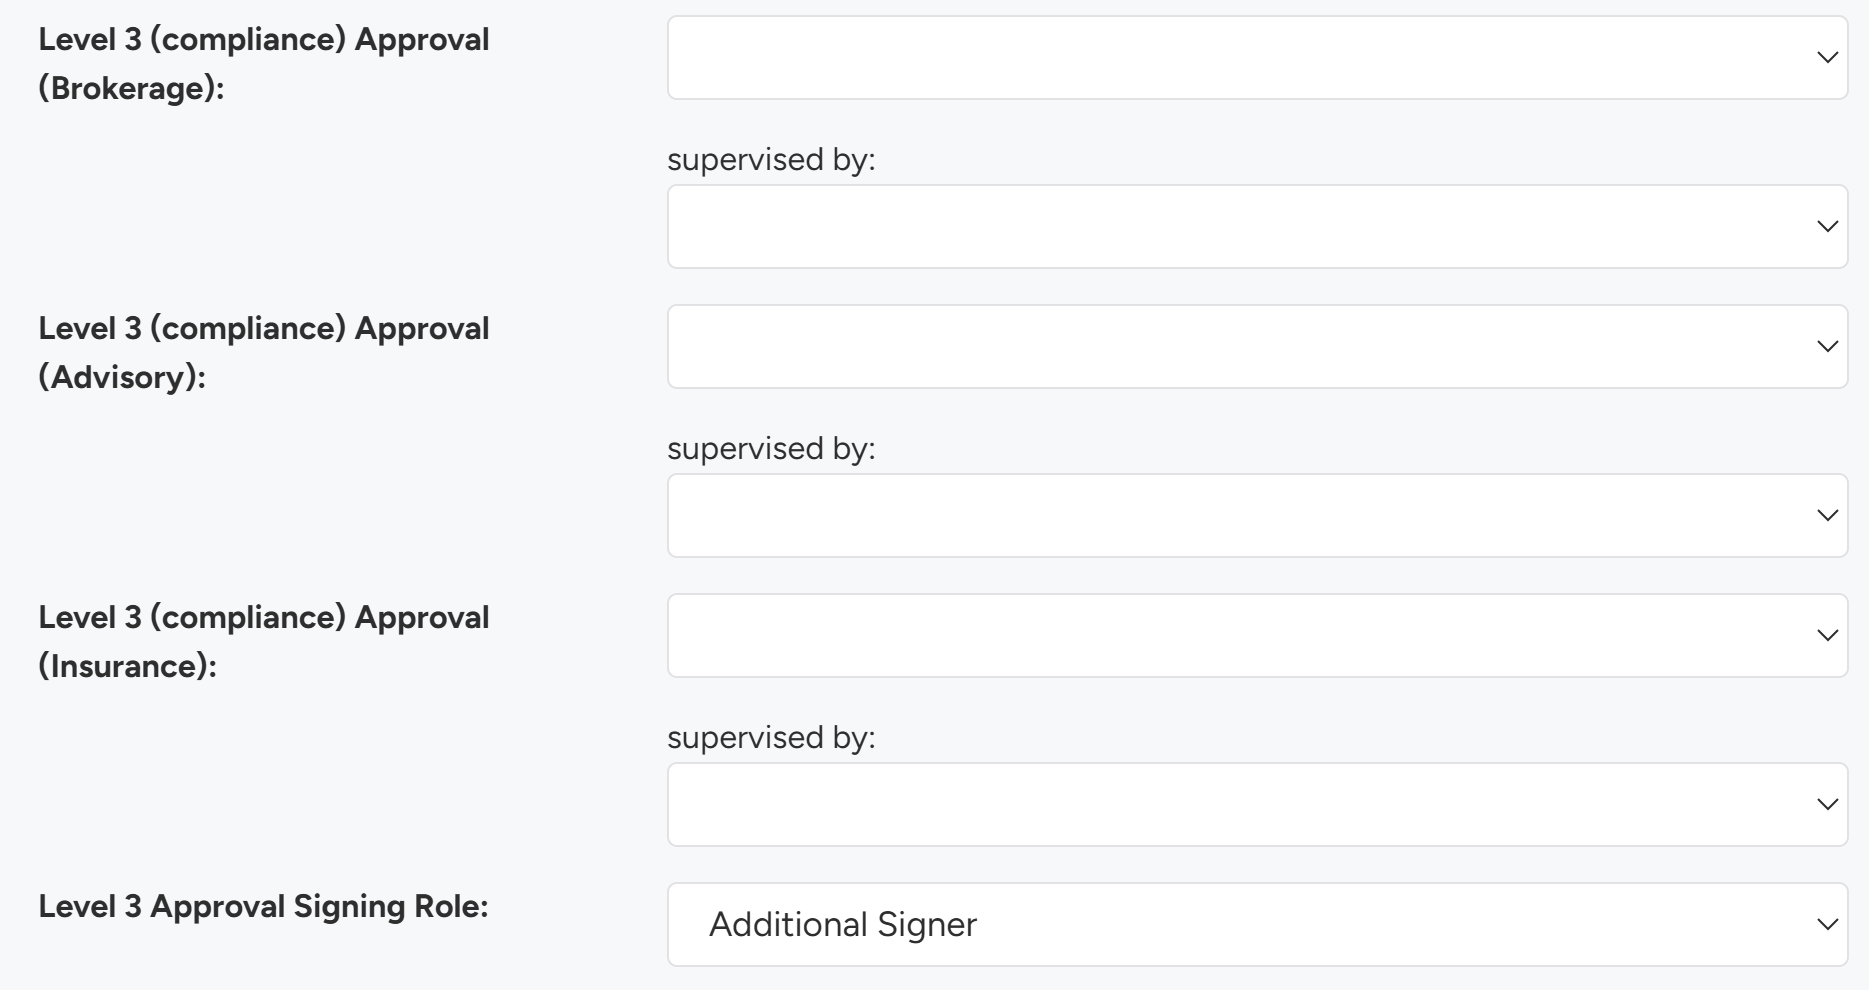
- Level 3 (Compliance) Approval — Compliance approvers and their supervisors. Signing role example: Additional Signer.
- Level 4 Approval — Optional fourth level for additional approval requirements.

7.1.3 Workflow Auto-Assignment
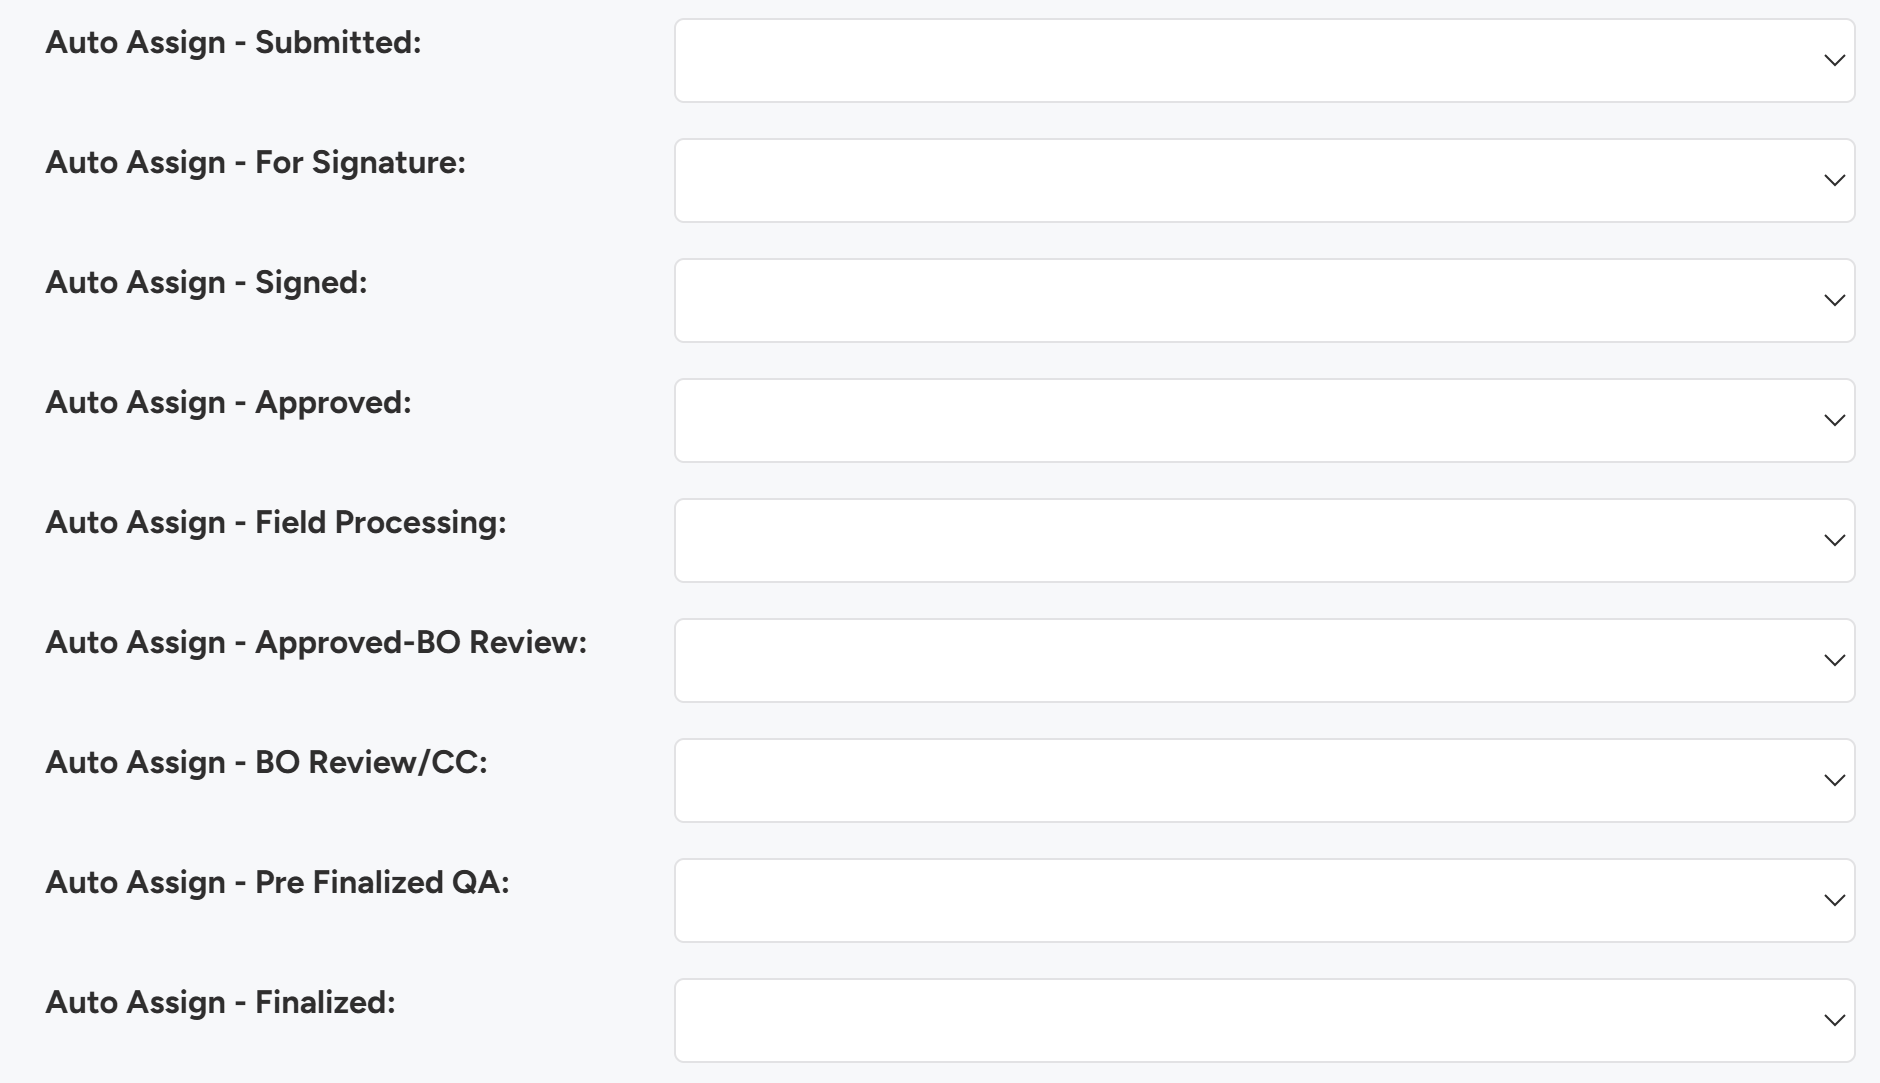
Configure automatic assignment of workflows to specific users or teams at each stage of the workflow lifecycle. Common stages include:
- Auto Assign — Submitted — Typically assigned to an intake or initial review team.
- Auto Assign — For Signature — May be assigned to advisors or client service representatives.
- Auto Assign — Signed — Often assigned to the back office processing team.
- Auto Assign — Approved — May be assigned to operations or finalization team.
- Auto Assign — Pre-Finalized QA — Critical checkpoint before final submission.
- Auto Assign — Finalized — May include compliance documentation or record-keeping teams.
Note
Your organization may have additional custom workflow stages beyond those listed above.
7.1.4 E-Signature Configuration
- Default Esign Authorization Method — Choose the default authentication method: SMS, Email, or Access Code.
- Available Esign Authorization Methods — Select which authentication methods are available to users.
- eSign CC Email List — Enter email addresses separated by
;to receive copies of all e-signature envelopes sent from the platform.

7.1.5 Additional Configuration
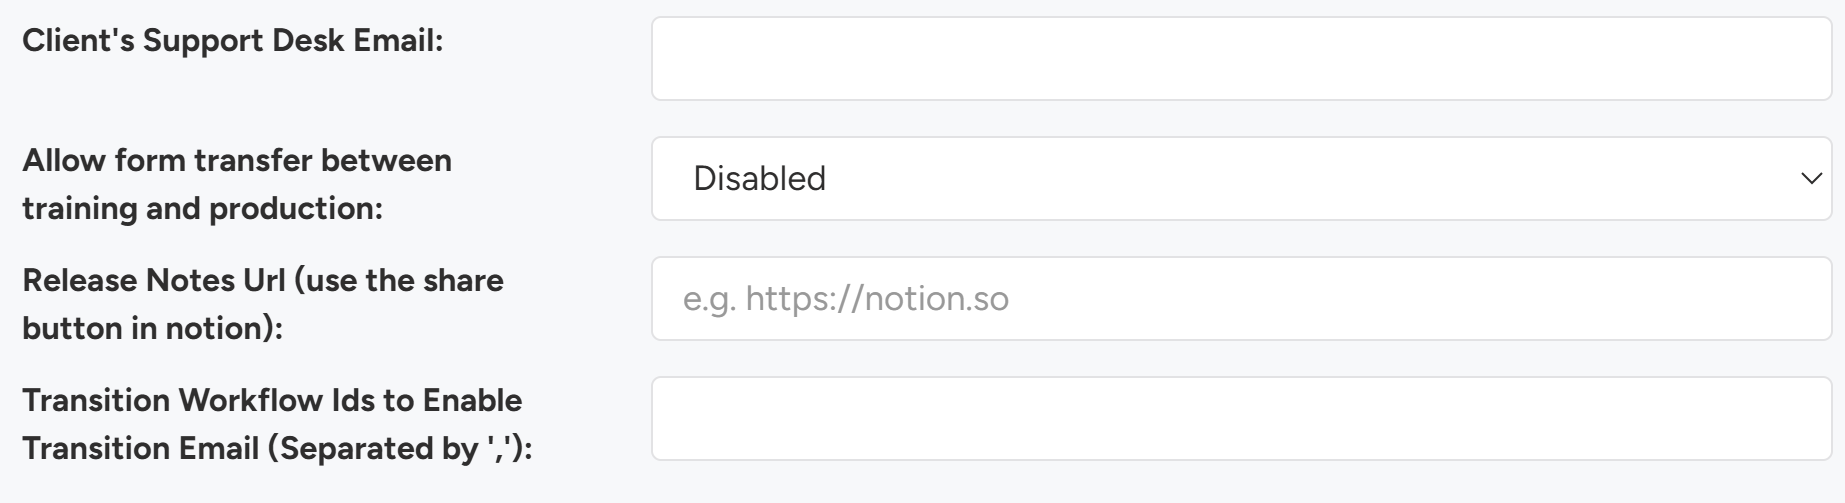
- Client’s Support Desk Email — Support email address that clients will use for assistance.
- Allow Form Transfer Between Training and Production — Enable or disable the ability to move forms between environments. Disabled by default.
- Release Notes URL — Enter a URL (e.g., a Notion page) to share platform updates with users.
- Transition Workflow IDs — Enter workflow IDs separated by “;” that should trigger transition notification emails when workflow status changes.
7.2 Site Features Tab
The Site Features Tab allows administrators to enable or disable specific platform features via checkbox toggles.

- Click edit at the top to enable/disable the site features.

- Click Save in the bottom right to save changes made.

The following are the different features that can be enabled:
- Enable Mandatory Account Number — Requires an account number to be entered on new business workflows before the workflow can advance past the selected stage.

- Hide unsigned workflow details from back office users — when enabled, back office users will not see the workflow link or account number for clients who have not yet signed any document.

- Enable ‘Required Fields Check (INFO only)’ — Flags any required fields that have not been completed. Displays as informational only and does not block workflow progression.

- Enable ‘Multiple Workflows per Single E-Sign Envelope’ — Allows multiple workflows to be bundled into a single e-signature envelope so clients can sign for multiple items in one session.

- Enable ‘More Information Request Process’ — Activates the RFMI (Request for More Information) process, allowing back office or compliance reviewers to send a workflow back to the advisor requesting additional information or documents.

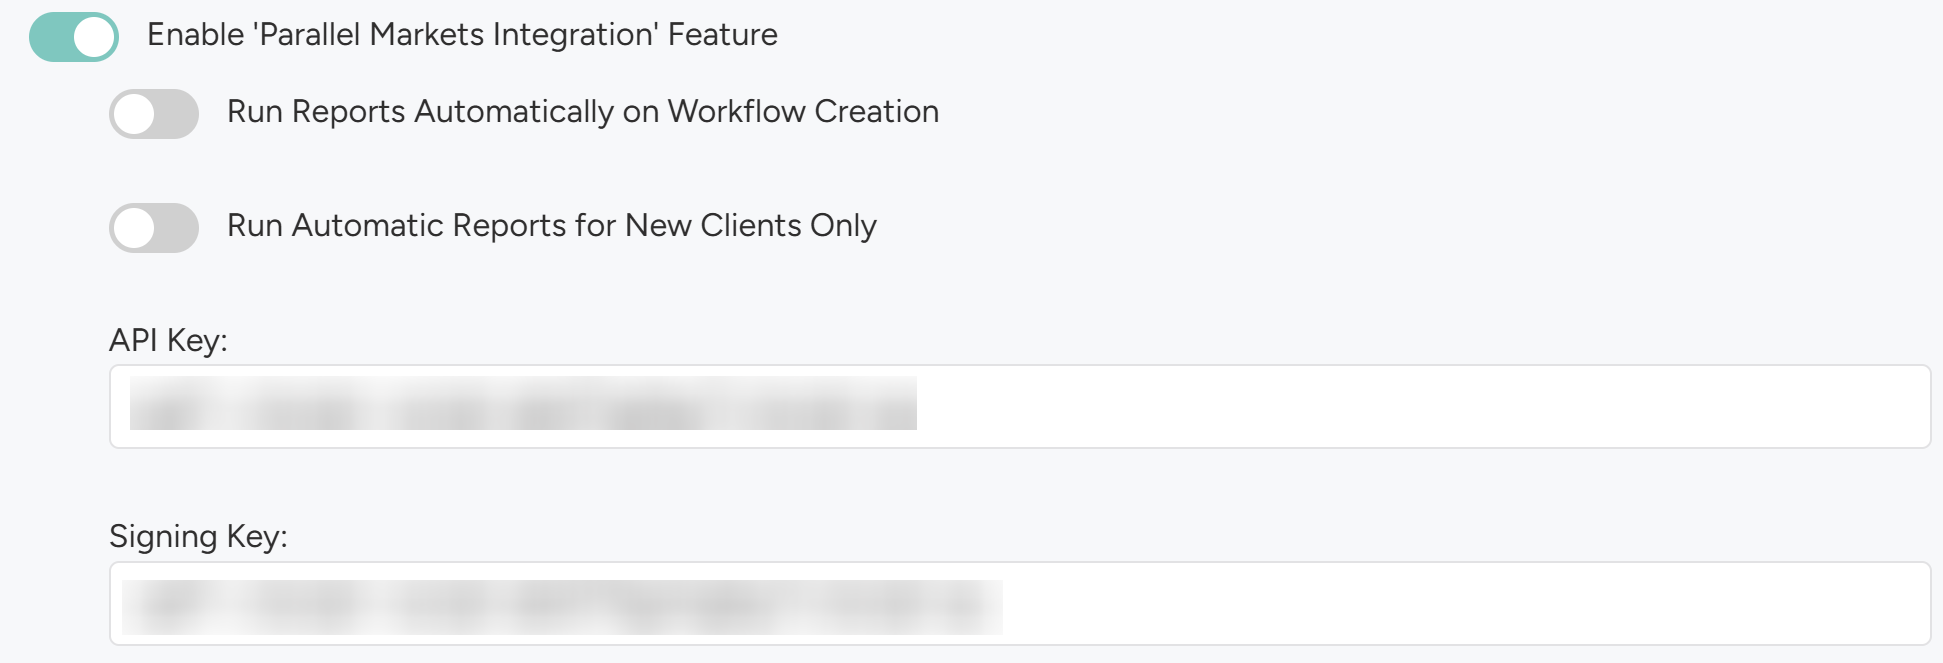
- Enable ‘Parallel Markets Integration’ — Enables integration with Parallel Markets for investor accreditation and identity verification. Requires an API Key and Signing Key.
- Run Reports Automatically on Workflow Creation — Parallel Markets reports are triggered automatically each time a new workflow is created.
- Run Automatic Reports for New Clients Only — Limits automatic report generation to new clients only.
- API Key — The API key provided by Parallel Markets for authentication.
- Signing Key — The signing key provided by Parallel Markets used to validate report requests.
- Enable ‘Faxing Capability’ — Enables the ability to fax documents directly from within the Navigator platform.

- Enable ‘Communication Dashboard’ — Activates a dashboard for managing and tracking communications sent through the platform, such as emails and notifications related to workflows.

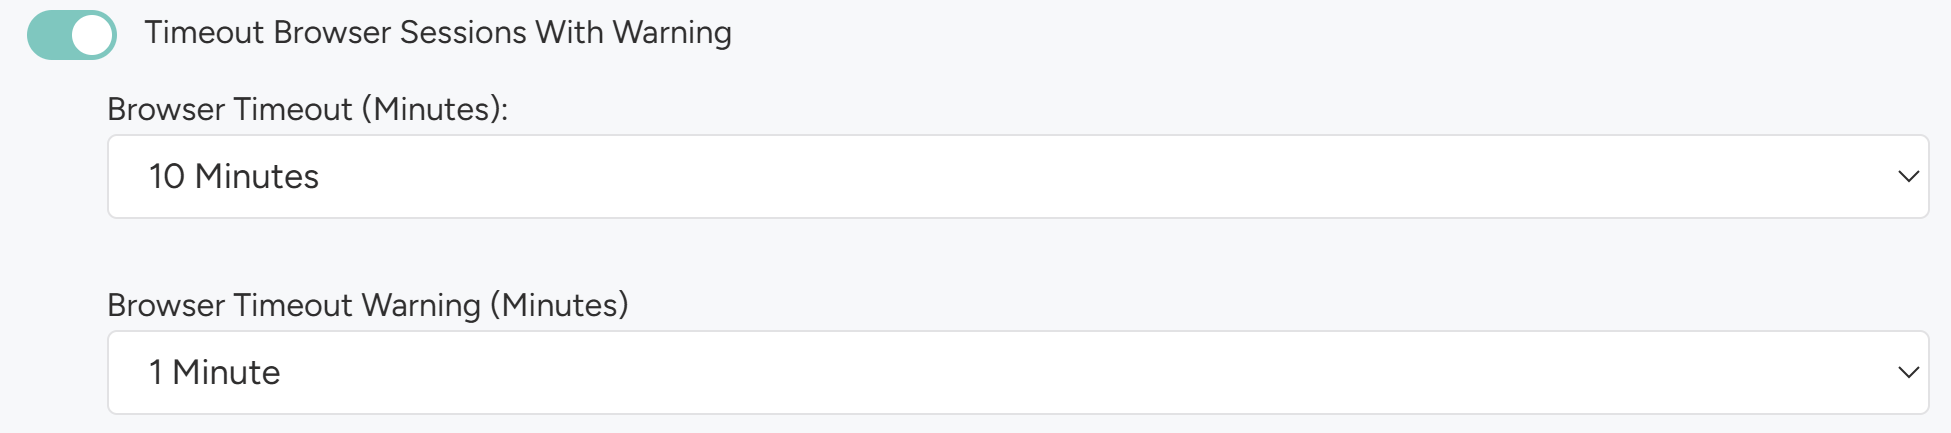
- Timeout Browser Sessions With Warning — Automatically logs users out after a period of inactivity, with an advance warning before the session ends.
- Browser Timeout (Minutes) — Options: 10 Min, 20 Min, 30 Min, 45 Min, 1 Hour.
- Browser Timeout Warning (Minutes) — Options: 1 Min, 5 Min, 10 Min.
- Enforce 2FA for password logins — Requires all users to set up and use Two-Factor Authentication (2FA) when logging in. Once enabled, all users will be required to complete 2FA setup on their next login. See Section 7.7 for full details on how 2FA works.

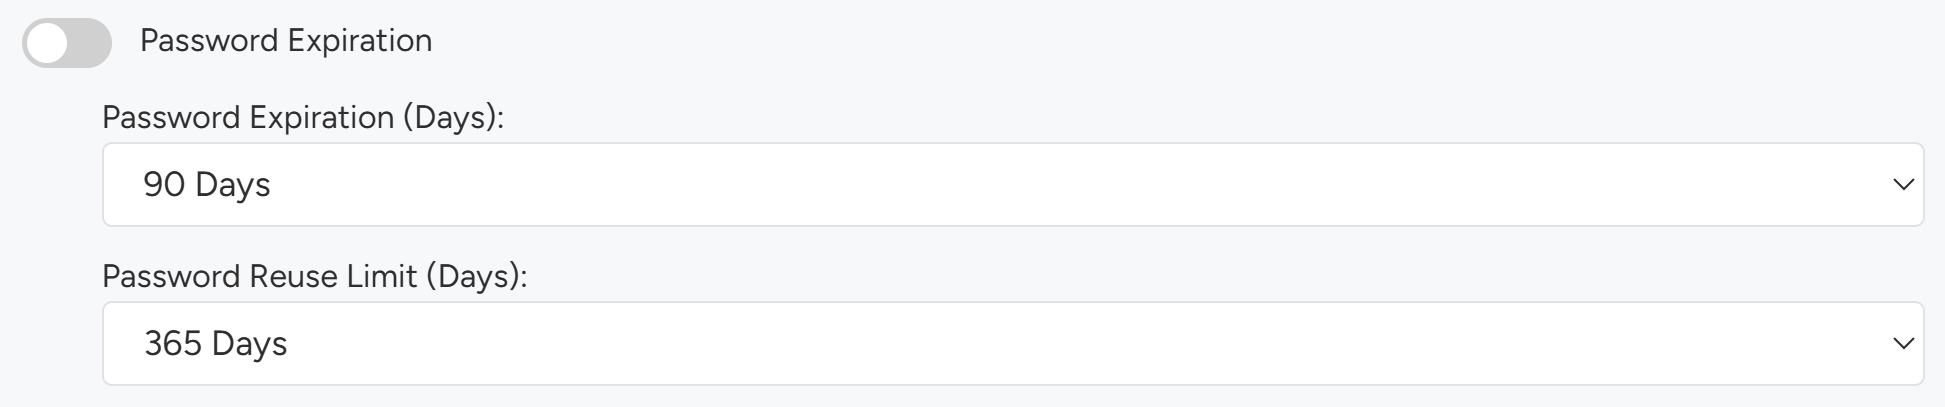
- Password Expiration — Controls password security policies, including how often passwords must be changed and how many previous passwords cannot be reused.
- Password Expiration (Days) — Options: 45, 60, 90, 180 Days.
- Password Reuse Limit (Days) — Options: 90, 180, 365 Days.
- Accepted File Types — Defines which file types are permitted for document uploads.

- Sensitive Fields — Identifies fields that contain sensitive data, applying additional masking or access controls.

- Enable ‘Funding Blotter’ — Activates the Funding Blotter, a tracking tool that provides a consolidated view of funding activity across workflows.

- Enable ‘VA Blotter’ — Activates the Variable Annuity Blotter, providing a consolidated view of variable annuity workflows and their current statuses.

- Enable ‘Default Suspend on Start’ — When enabled, new workflows are automatically placed in a suspended state upon creation, preventing them from progressing until manually released.

- Enable e-signature by default — when enabled, new workflows are automatically configured for e-signature rather than requiring it to be turned on manually for each workflow.

- Prioritize Local PDFs Before Quik PDFs — When a form exists both locally in the company library and in the Quik forms library, the local version is used first.

- Enable ‘Welcome Letter’ — Enables an automated welcome letter to be sent to clients when a workflow reaches a specified stage.

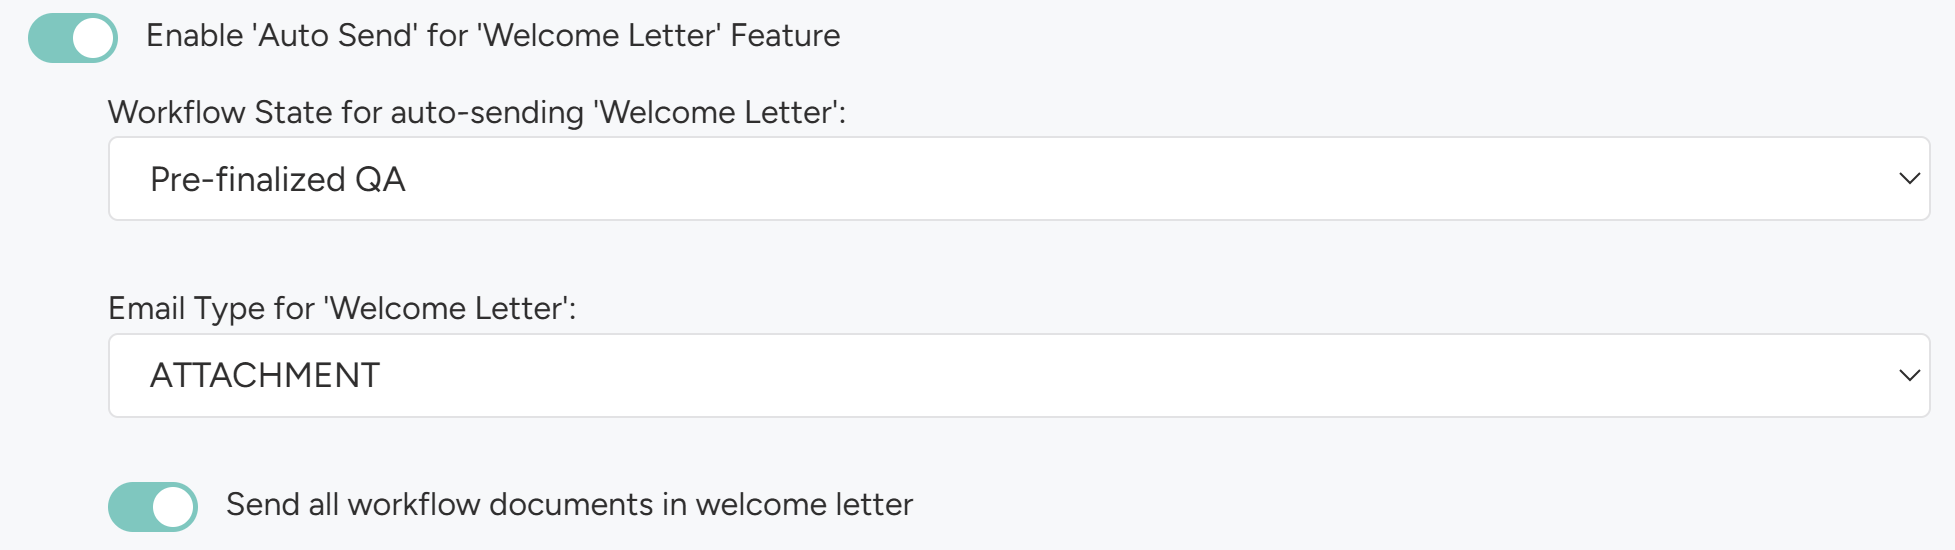
- Enable ‘Auto Send’ for Welcome Letter — The welcome letter is sent automatically at the configured workflow stage.
- Workflow State for Auto-Sending — Options: Finalized, Pre-Final QA.
- Email Type for ‘Welcome Letter’ — ATTACHMENT sends the letter as an email attachment; LINK sends a link to access the letter online.
- Send All Workflow Documents in Welcome Letter — When enabled, all documents associated with the workflow are included in the delivery.
- Enable ‘Advisors Can Update Their Own Rep Code’ — Allows advisors to update their own representative code within the platform without requiring administrator intervention.

- Enable ‘Zip File of All Workflow Documents Visible at All Times’ — Makes a downloadable zip file containing all workflow documents available to users at every stage, not just at completion.

- Uploaded Documents for E-Sign Are Checked by Default — When uploading documents to an e-sign envelope, all uploaded documents are pre-selected for inclusion by default.

- Helpline Number — A support phone number displayed within the platform for users to contact for assistance.

- Enable ‘Business Intelligence’ — Activates the Business Intelligence reporting module, providing analytics and reporting tools for workflow activity, production metrics, and operational insights.

7.3 Vendor Settings Tab
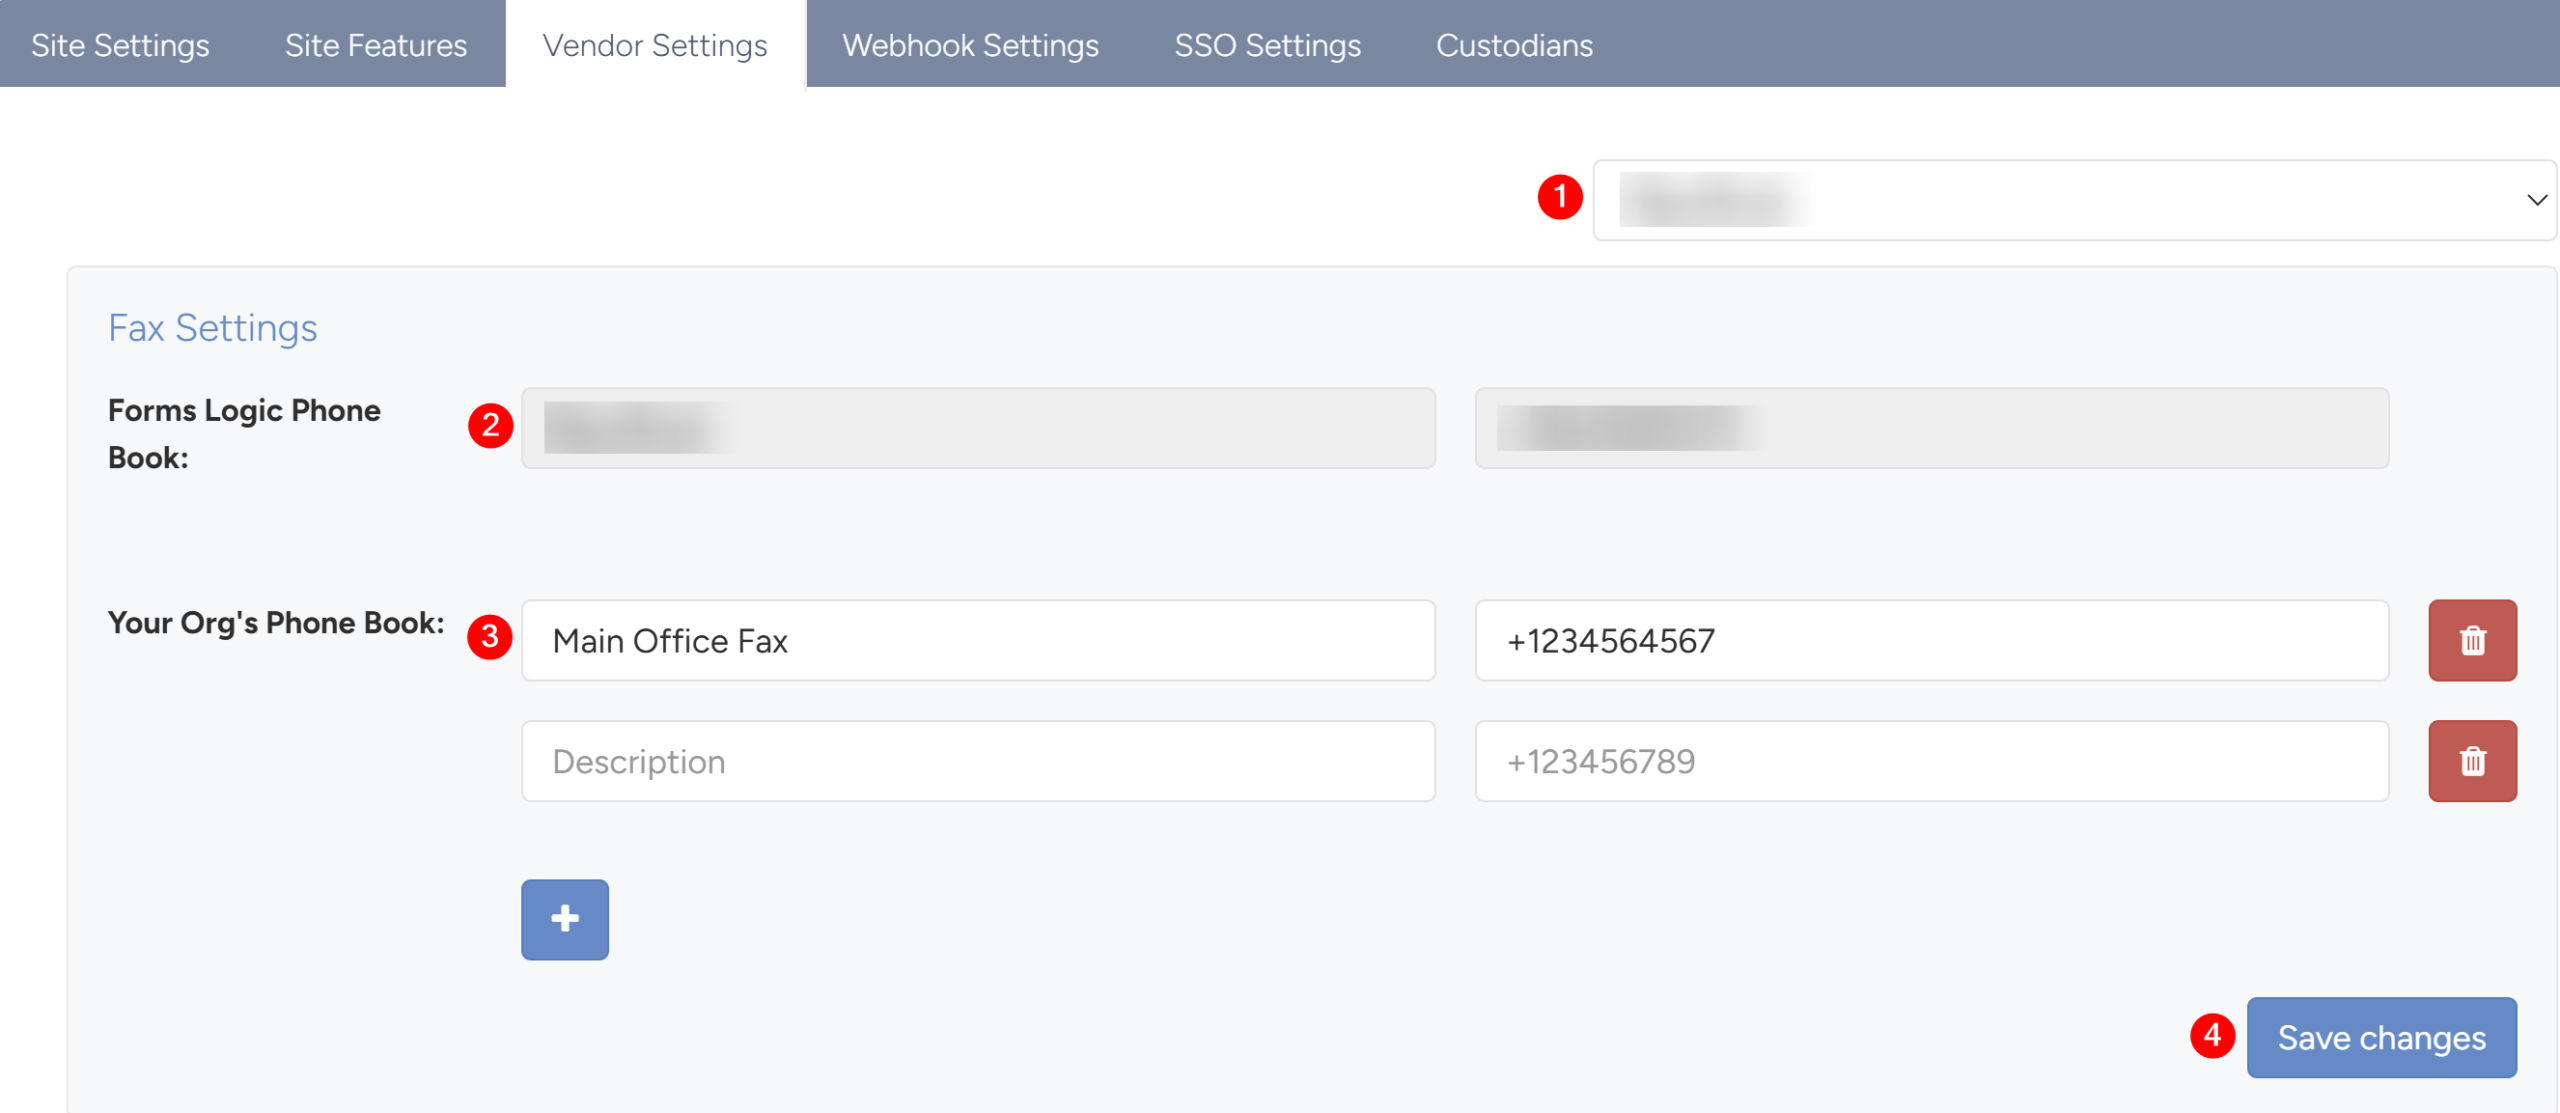
The Vendor Settings Tab manages fax configuration and phone book settings for document transmission.

- To configure Fax Settings, do the following:
- Select the Vendor or Custodian from the dropdown in the upper right.
- The Forms Logic Phone Book section is where the fax number(s) associated with the Forms Logic system exists.
- The Your Org’s Phone Book section is where you can add your organization’s fax directory.
- Enter a description for the fax number, for example: Main Office Fax.
- Enter the fax number in the field on the right.
- Click the blue + button to add another entry. Click the red trash icon to delete entries.
- Click Save changes to apply your configuration.
7.4 Webhook Settings Tab
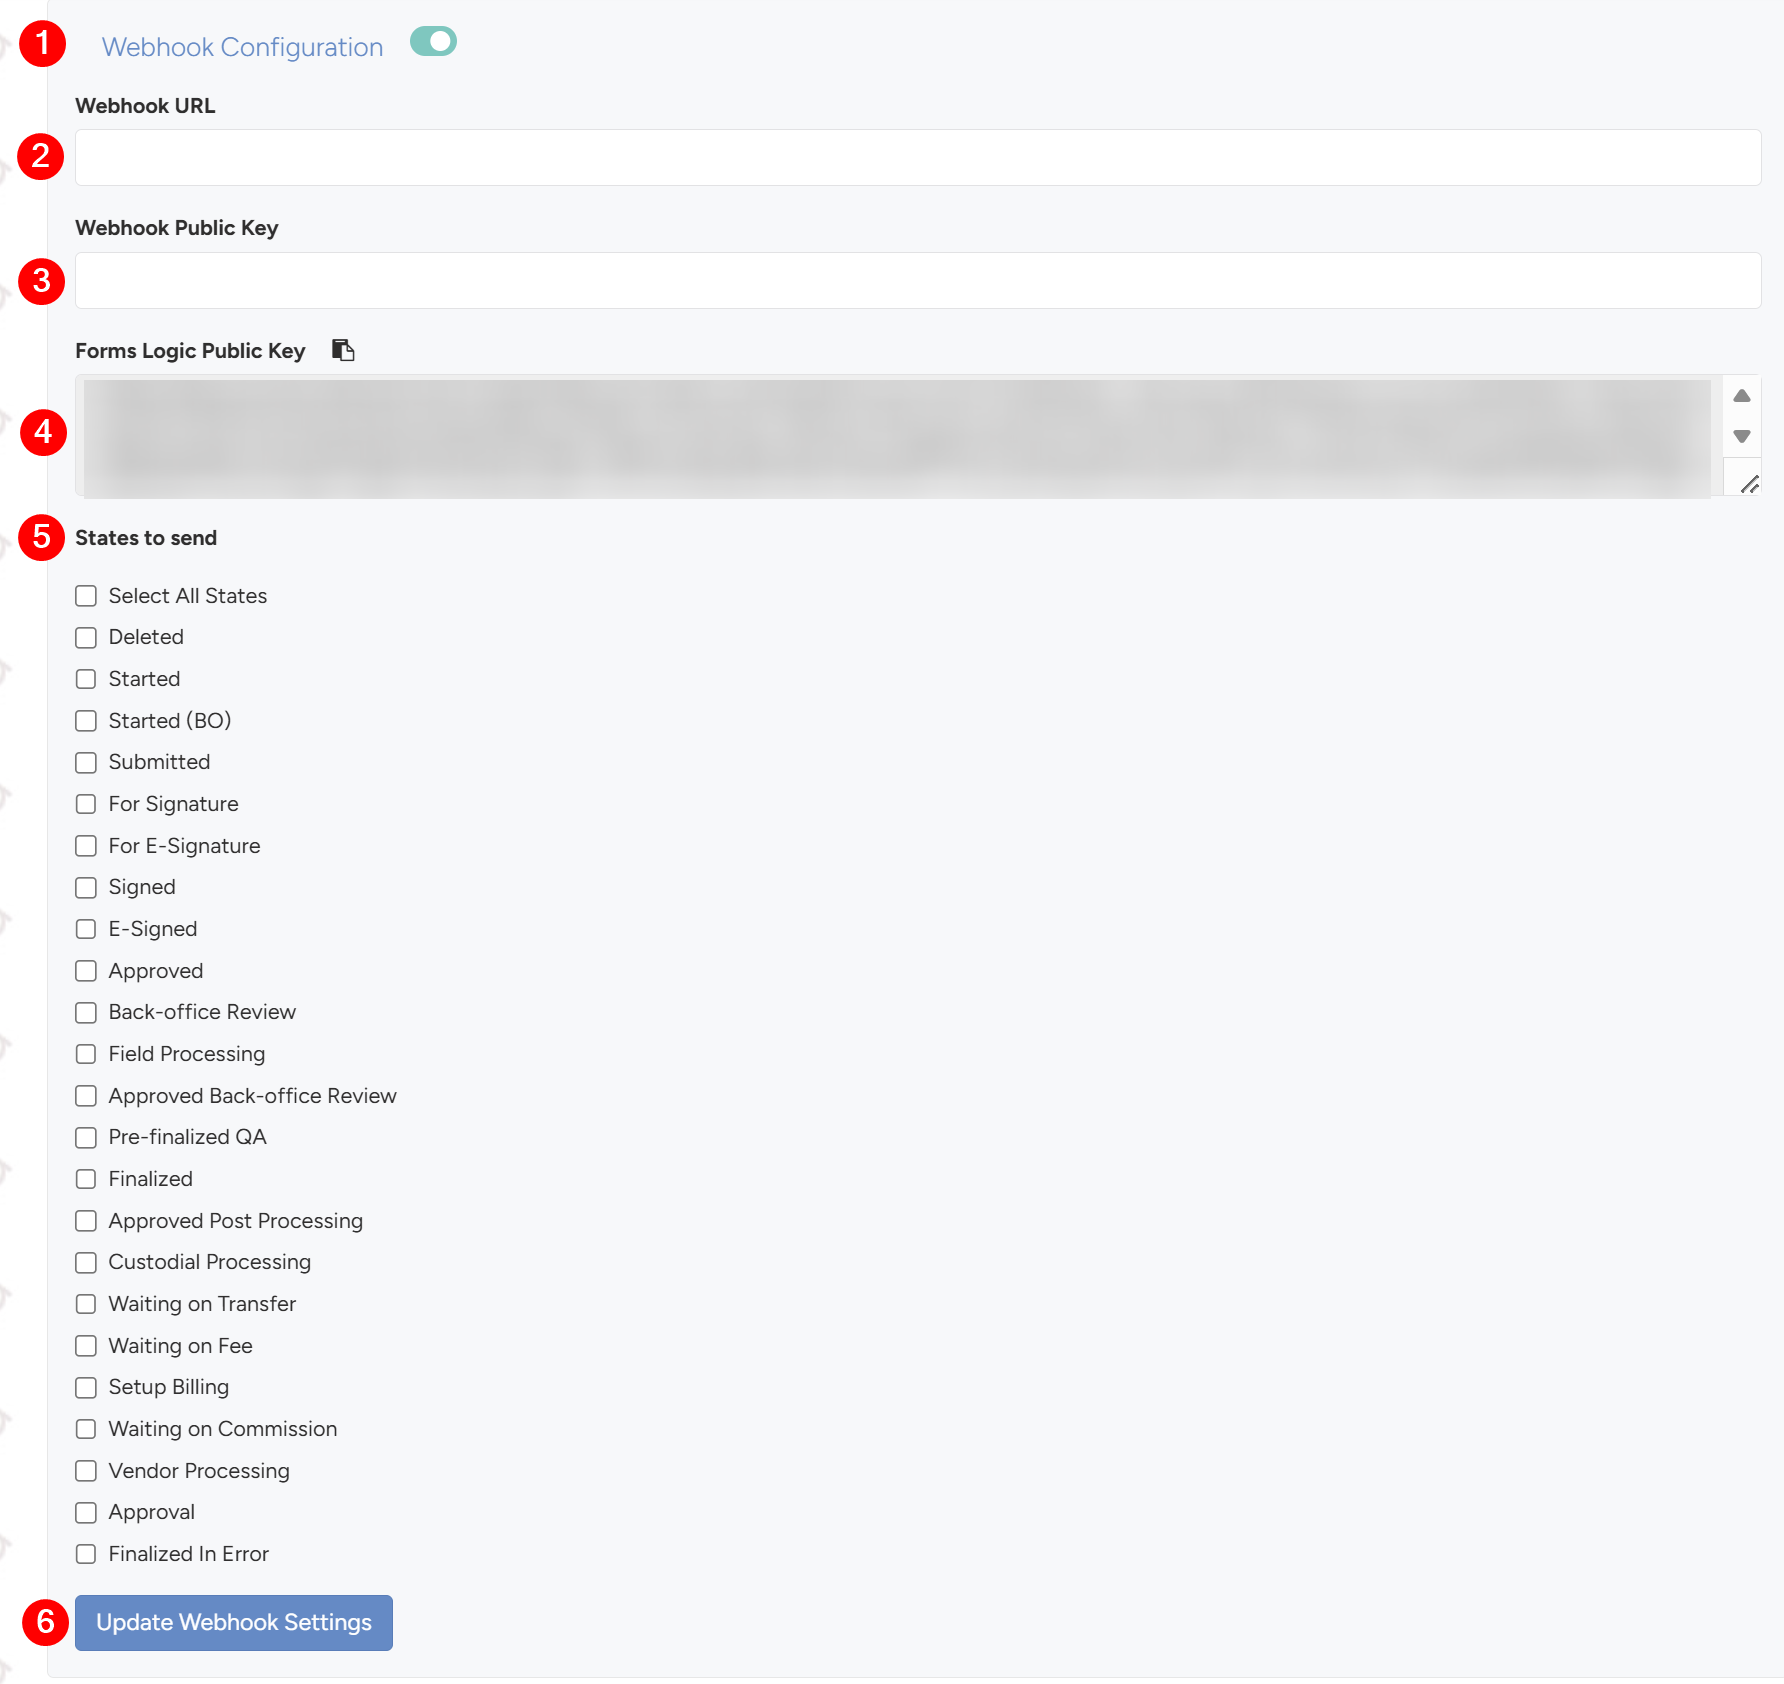
The Webhook Settings Tab allows the configuration of webhooks for the platform to send real-time notifications to external systems when workflow states change.

- To configure Fax Settings, do the following:
- Use the toggle switch to enable or disable webhook functionality.
- Enter the Webhook URL. This is the HTTPS endpoint where notifications should be sent.
- Enter the Webhook Public Key if required by your receiving system.
- The Forms Logic Public Key is displayed for use in your receiving system to verify webhook authenticity. Click the copy icon to copy it if needed.
- Under States to Send, select which workflow state changes should trigger webhook notifications.
- Click Update Webhook Settings to save your changes.
7.5 SSO Settings Tab
The SSO Settings Tab allows you to integrate the platform with your organization’s identity provider for seamless authentication.

- Use the toggle switch to enable or disable SSO functionality.

- Enter or confirm the following fields:
- Redirect URI — The callback URL where users are redirected after authentication. This is provided by Forms Logic.
- Discovery Document URL — URL to your identity provider’s OpenID Connect discovery document. Click Use Discovery Document to auto-populate the endpoint fields below.
- Client ID — Unique identifier for your application in the identity provider. This is provided by your IT department.
- Client Secret — Secret key used to authenticate the application. This should be kept confidential.
- Issuer Endpoint — URL of the identity provider that issues authentication tokens.
- Authorization Token Endpoint — URL where the platform requests authorization tokens. Auto-populated if using the Discovery Document.
- Token Endpoint — URL where the platform exchanges authorization codes for access tokens. This is auto populated if using the Discovery Document.
- Token Keys Endpoint — URL where public keys for token validation are retrieved. This is auto populated if using the Discovery Document.
- User Info Endpoint — URL where user profile information is retrieved after authentication. This is auto populated if using the Discovery Document.
- Scopes — OpenID Connect scopes defining what information is requested.
- Claim ID Field — Field in the token containing the unique user identifier.
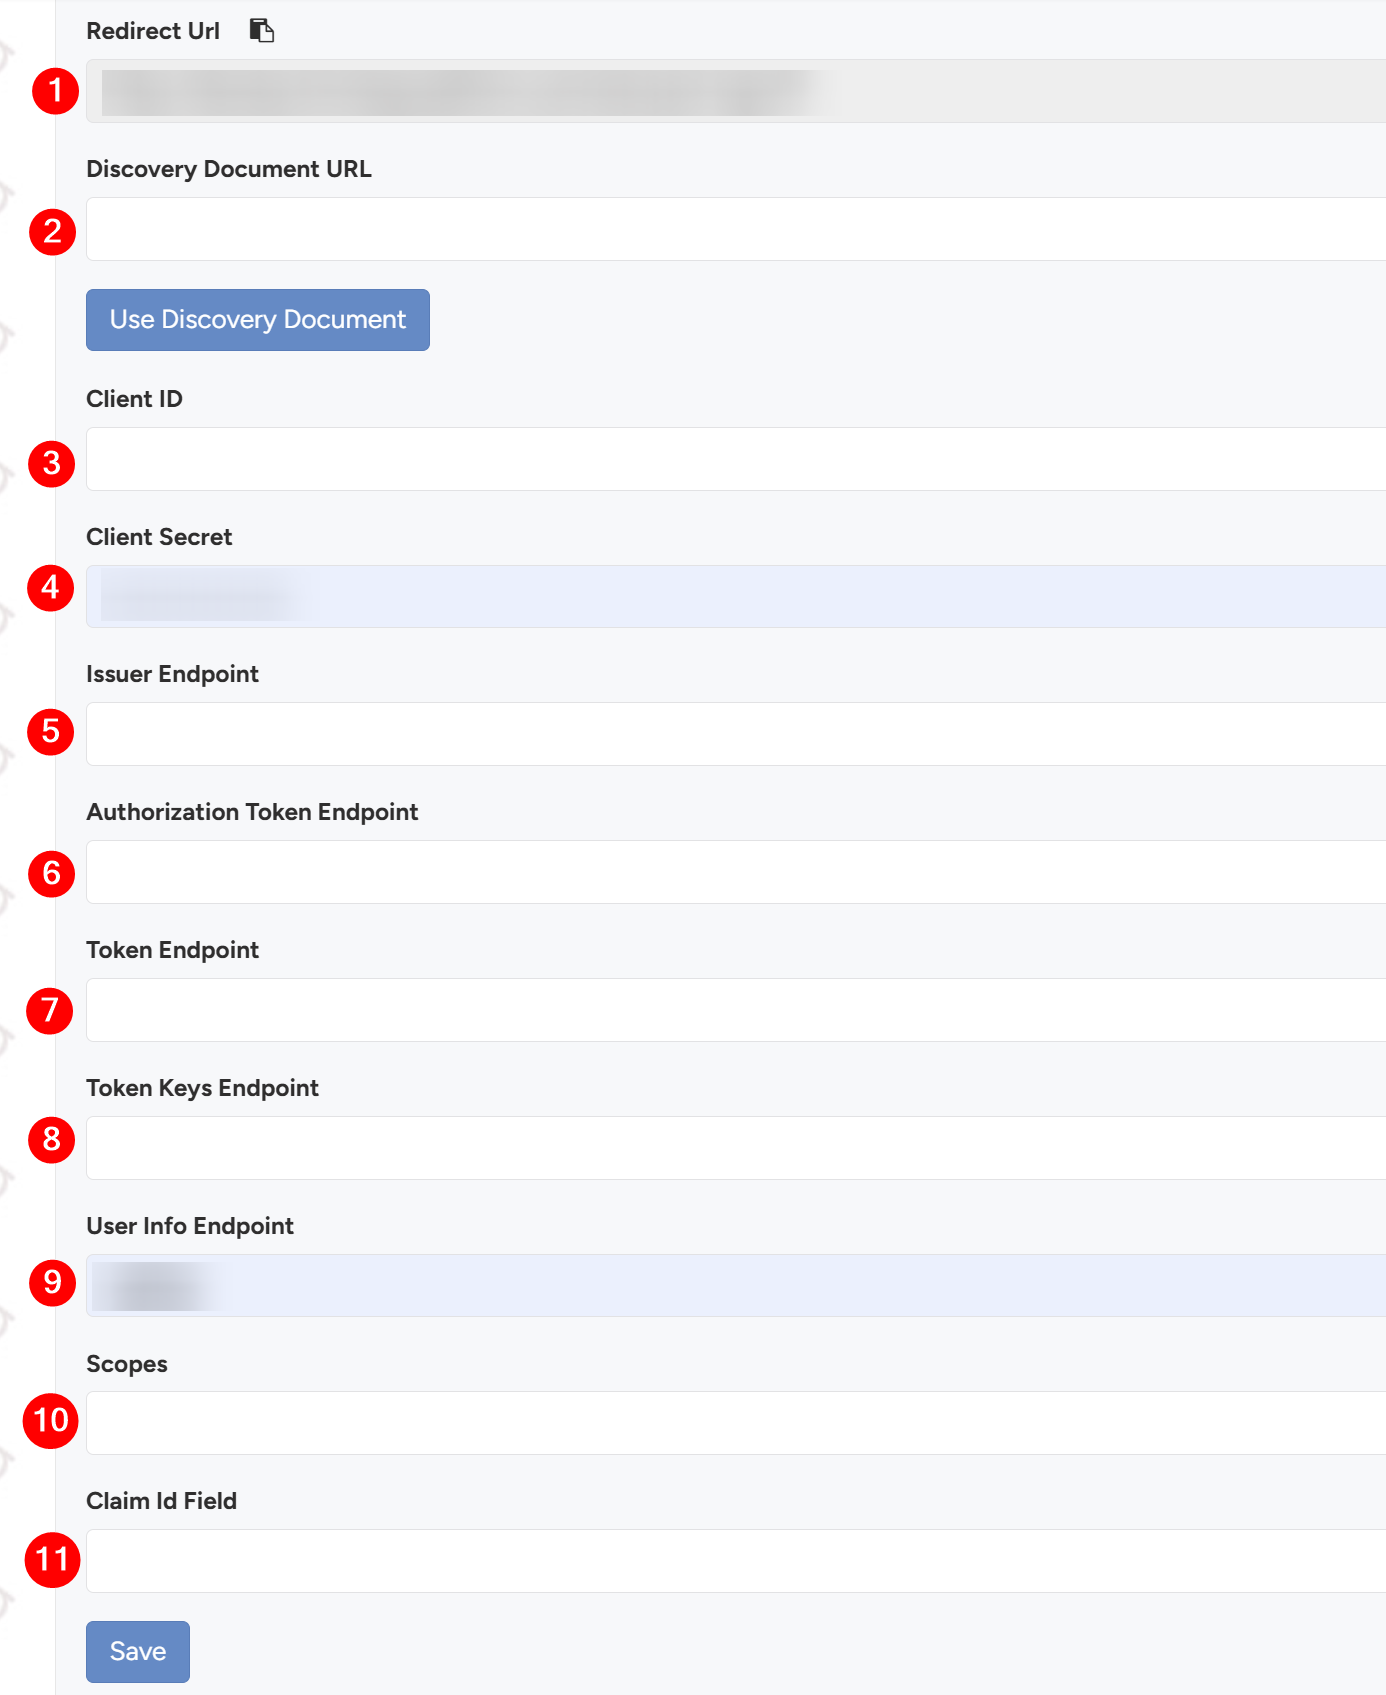
- Click Save to apply changes.
7.6 Custodians Tab
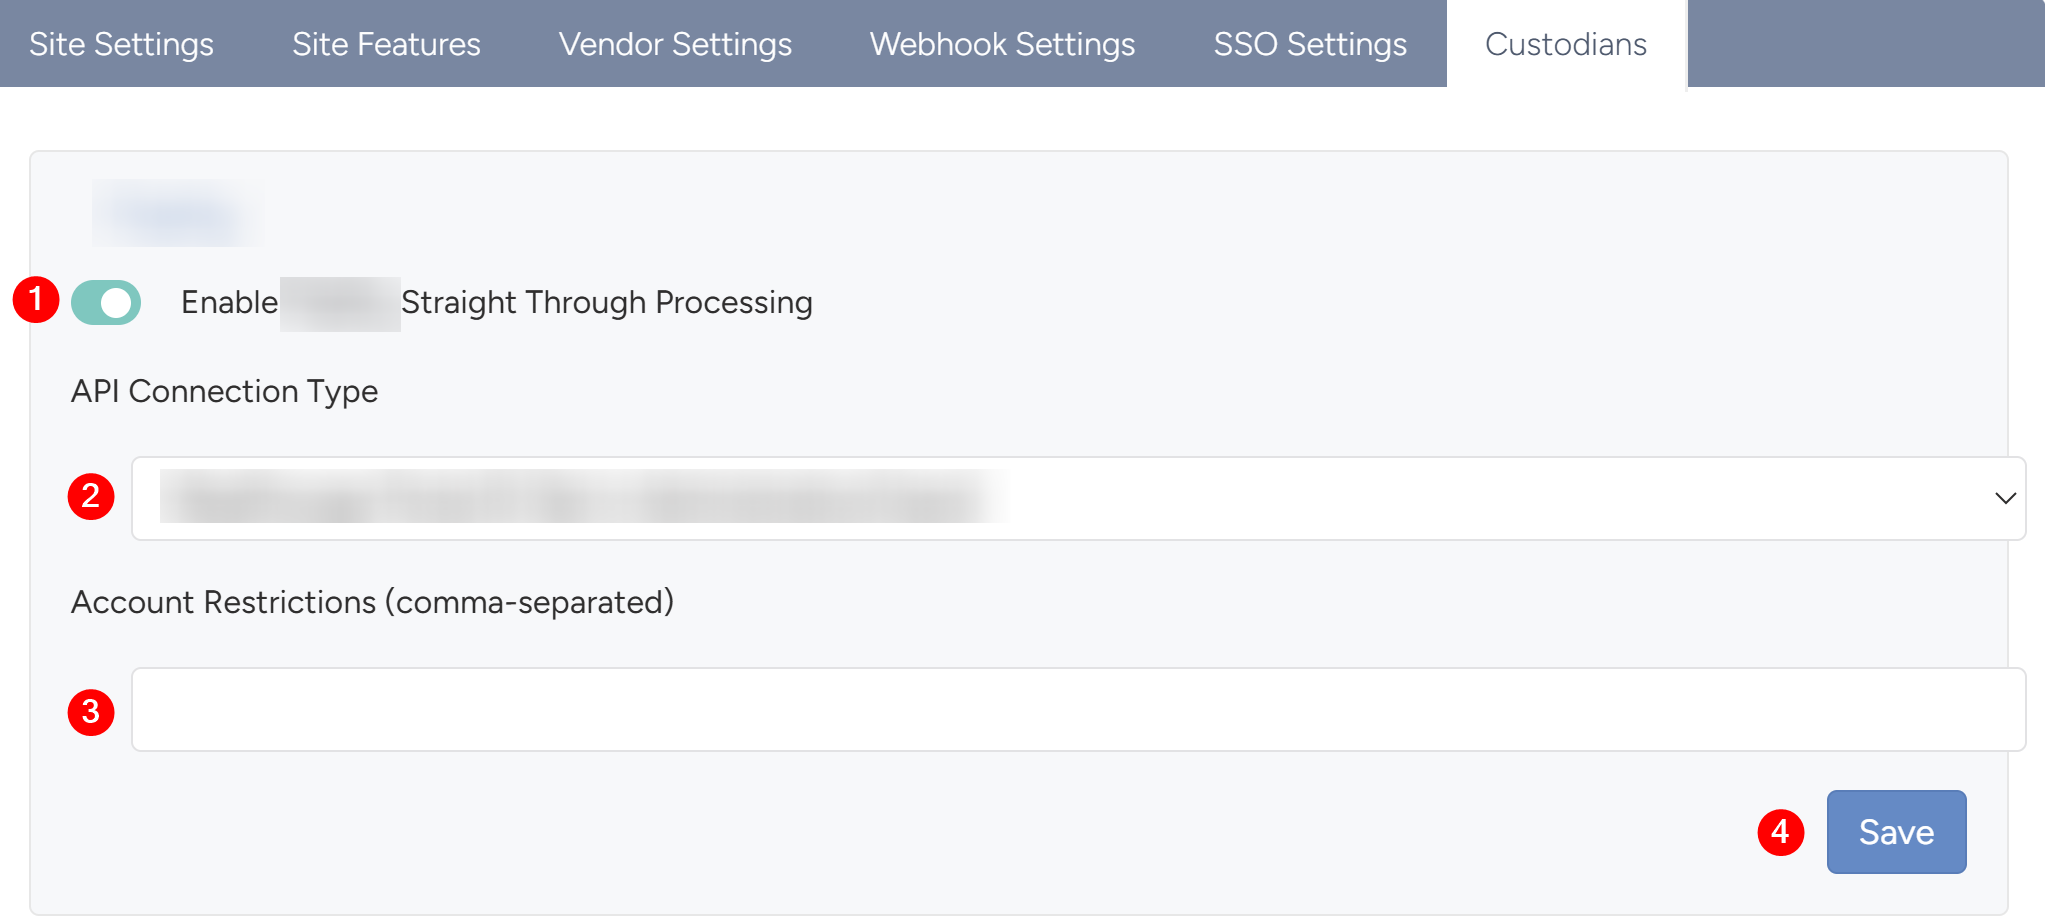
The Custodians Tab allows you to enable and configure integrations with specific custodian platforms for straight-through processing of account applications and transfers.

- To configure custodians, do the following:
- Locate the custodian integration you want to configure and use the toggle to enable or disable the integration.
- Select the API Connection Type.
- Enter any Account Restrictions.
- Click Save to apply your changes.
Note
Each custodian integration may have different configuration requirements. Work with your Forms Logic implementation team and the custodian’s technical support to complete setup.
7.7 Two-Factor Authentication
Two-Factor Authentication (2FA) adds a second layer of security to logins by requiring a one-time passcode from an authenticator app in addition to a username and password. Administrators can enforce 2FA for all users site-wide from Site Settings, and can reset individual users’ 2FA from their profile when needed.
Note
For further information about Two-Factor Authentication, see the following guide:
7.7.1 Enforcing 2FA Site-Wide
Site Managers and Site Admins can enforce 2FA for all users from Site Settings. Once enabled, all users will be required to complete 2FA setup on their next login.
- From the side navigation menu, navigate to Administration > Site Settings.
- Click the Site Features tab at the top and click edit at the top.

- Locate the Enforce 2FA for Password Logins feature and toggle it on.

- Click Save at the bottom of the page. The setting takes effect immediately for all subsequent logins.

7.7.2 Resetting a User's 2FA
If a user changes authenticator apps, gets a new device, or needs their 2FA reconfigured, Site Administrators and Site Managers can reset it from the user’s profile.
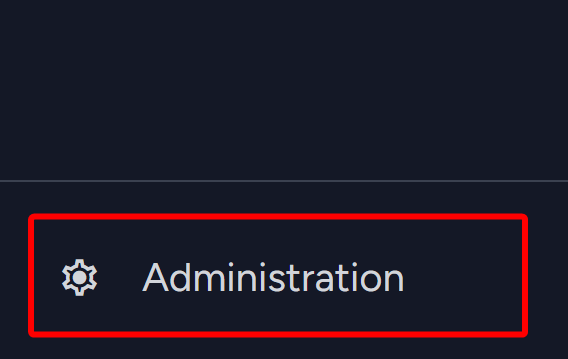
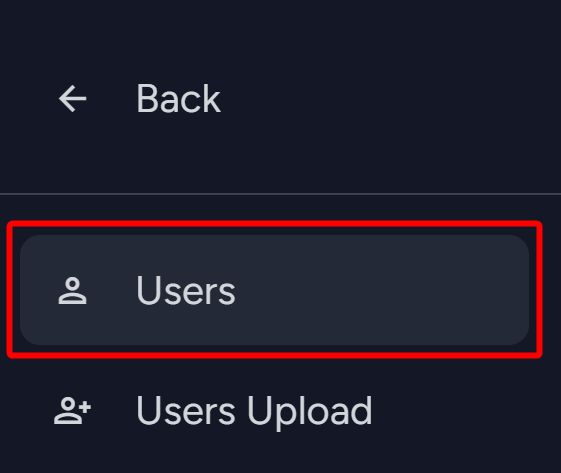
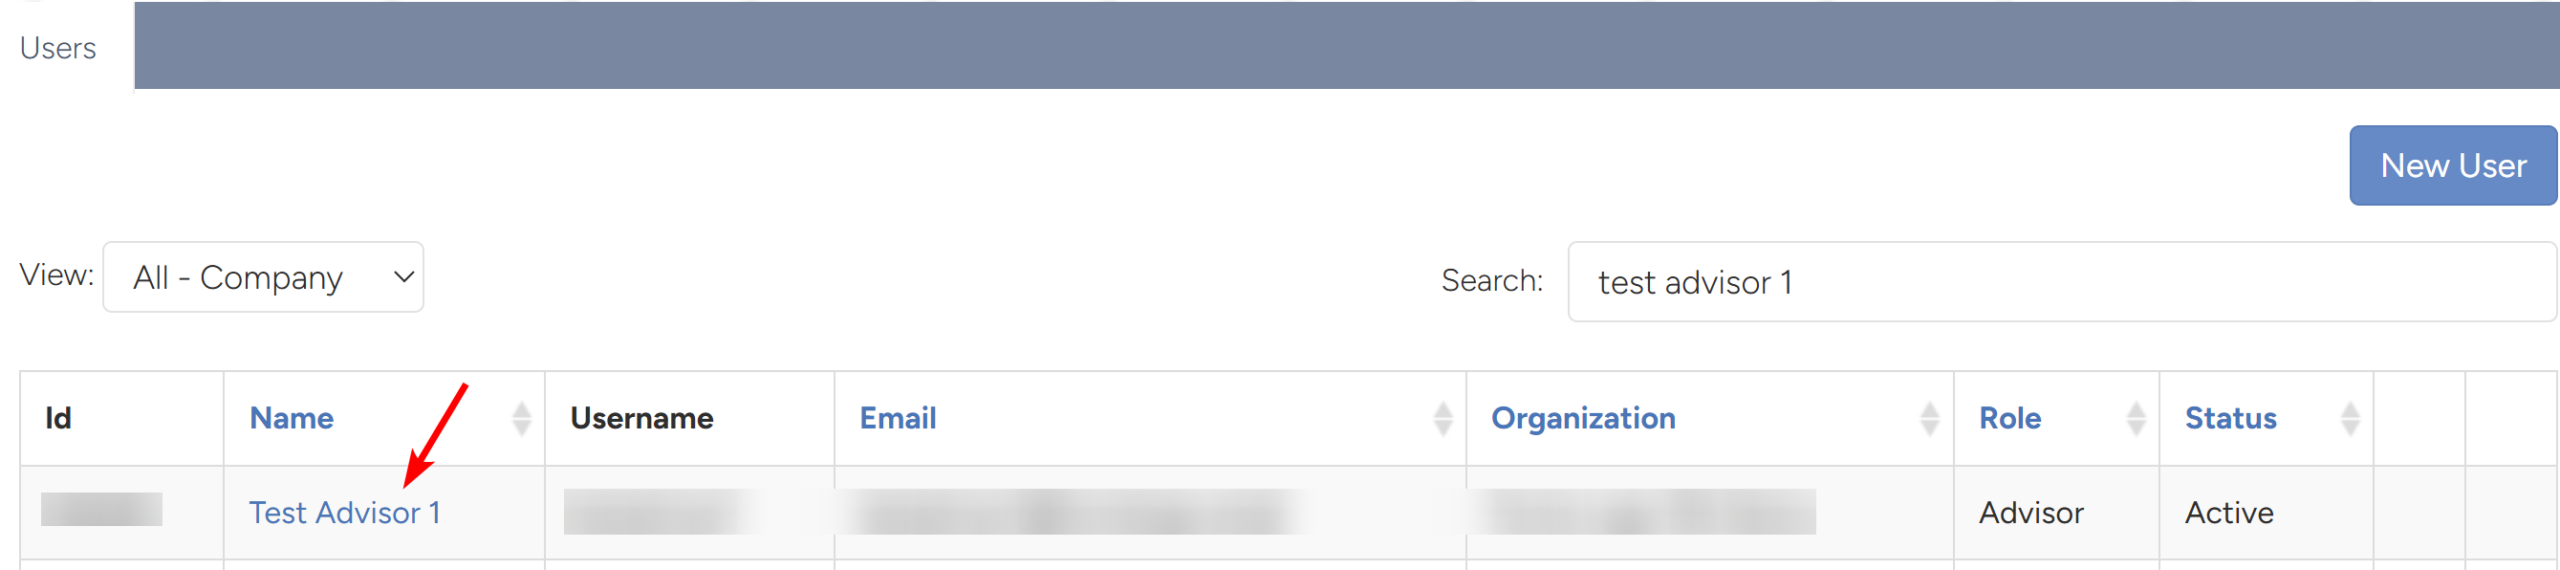
- Navigate to Administration > Users.
- Click on the name of the user whose 2FA needs to be reset.
- Navigate into the User Maintenance tab.
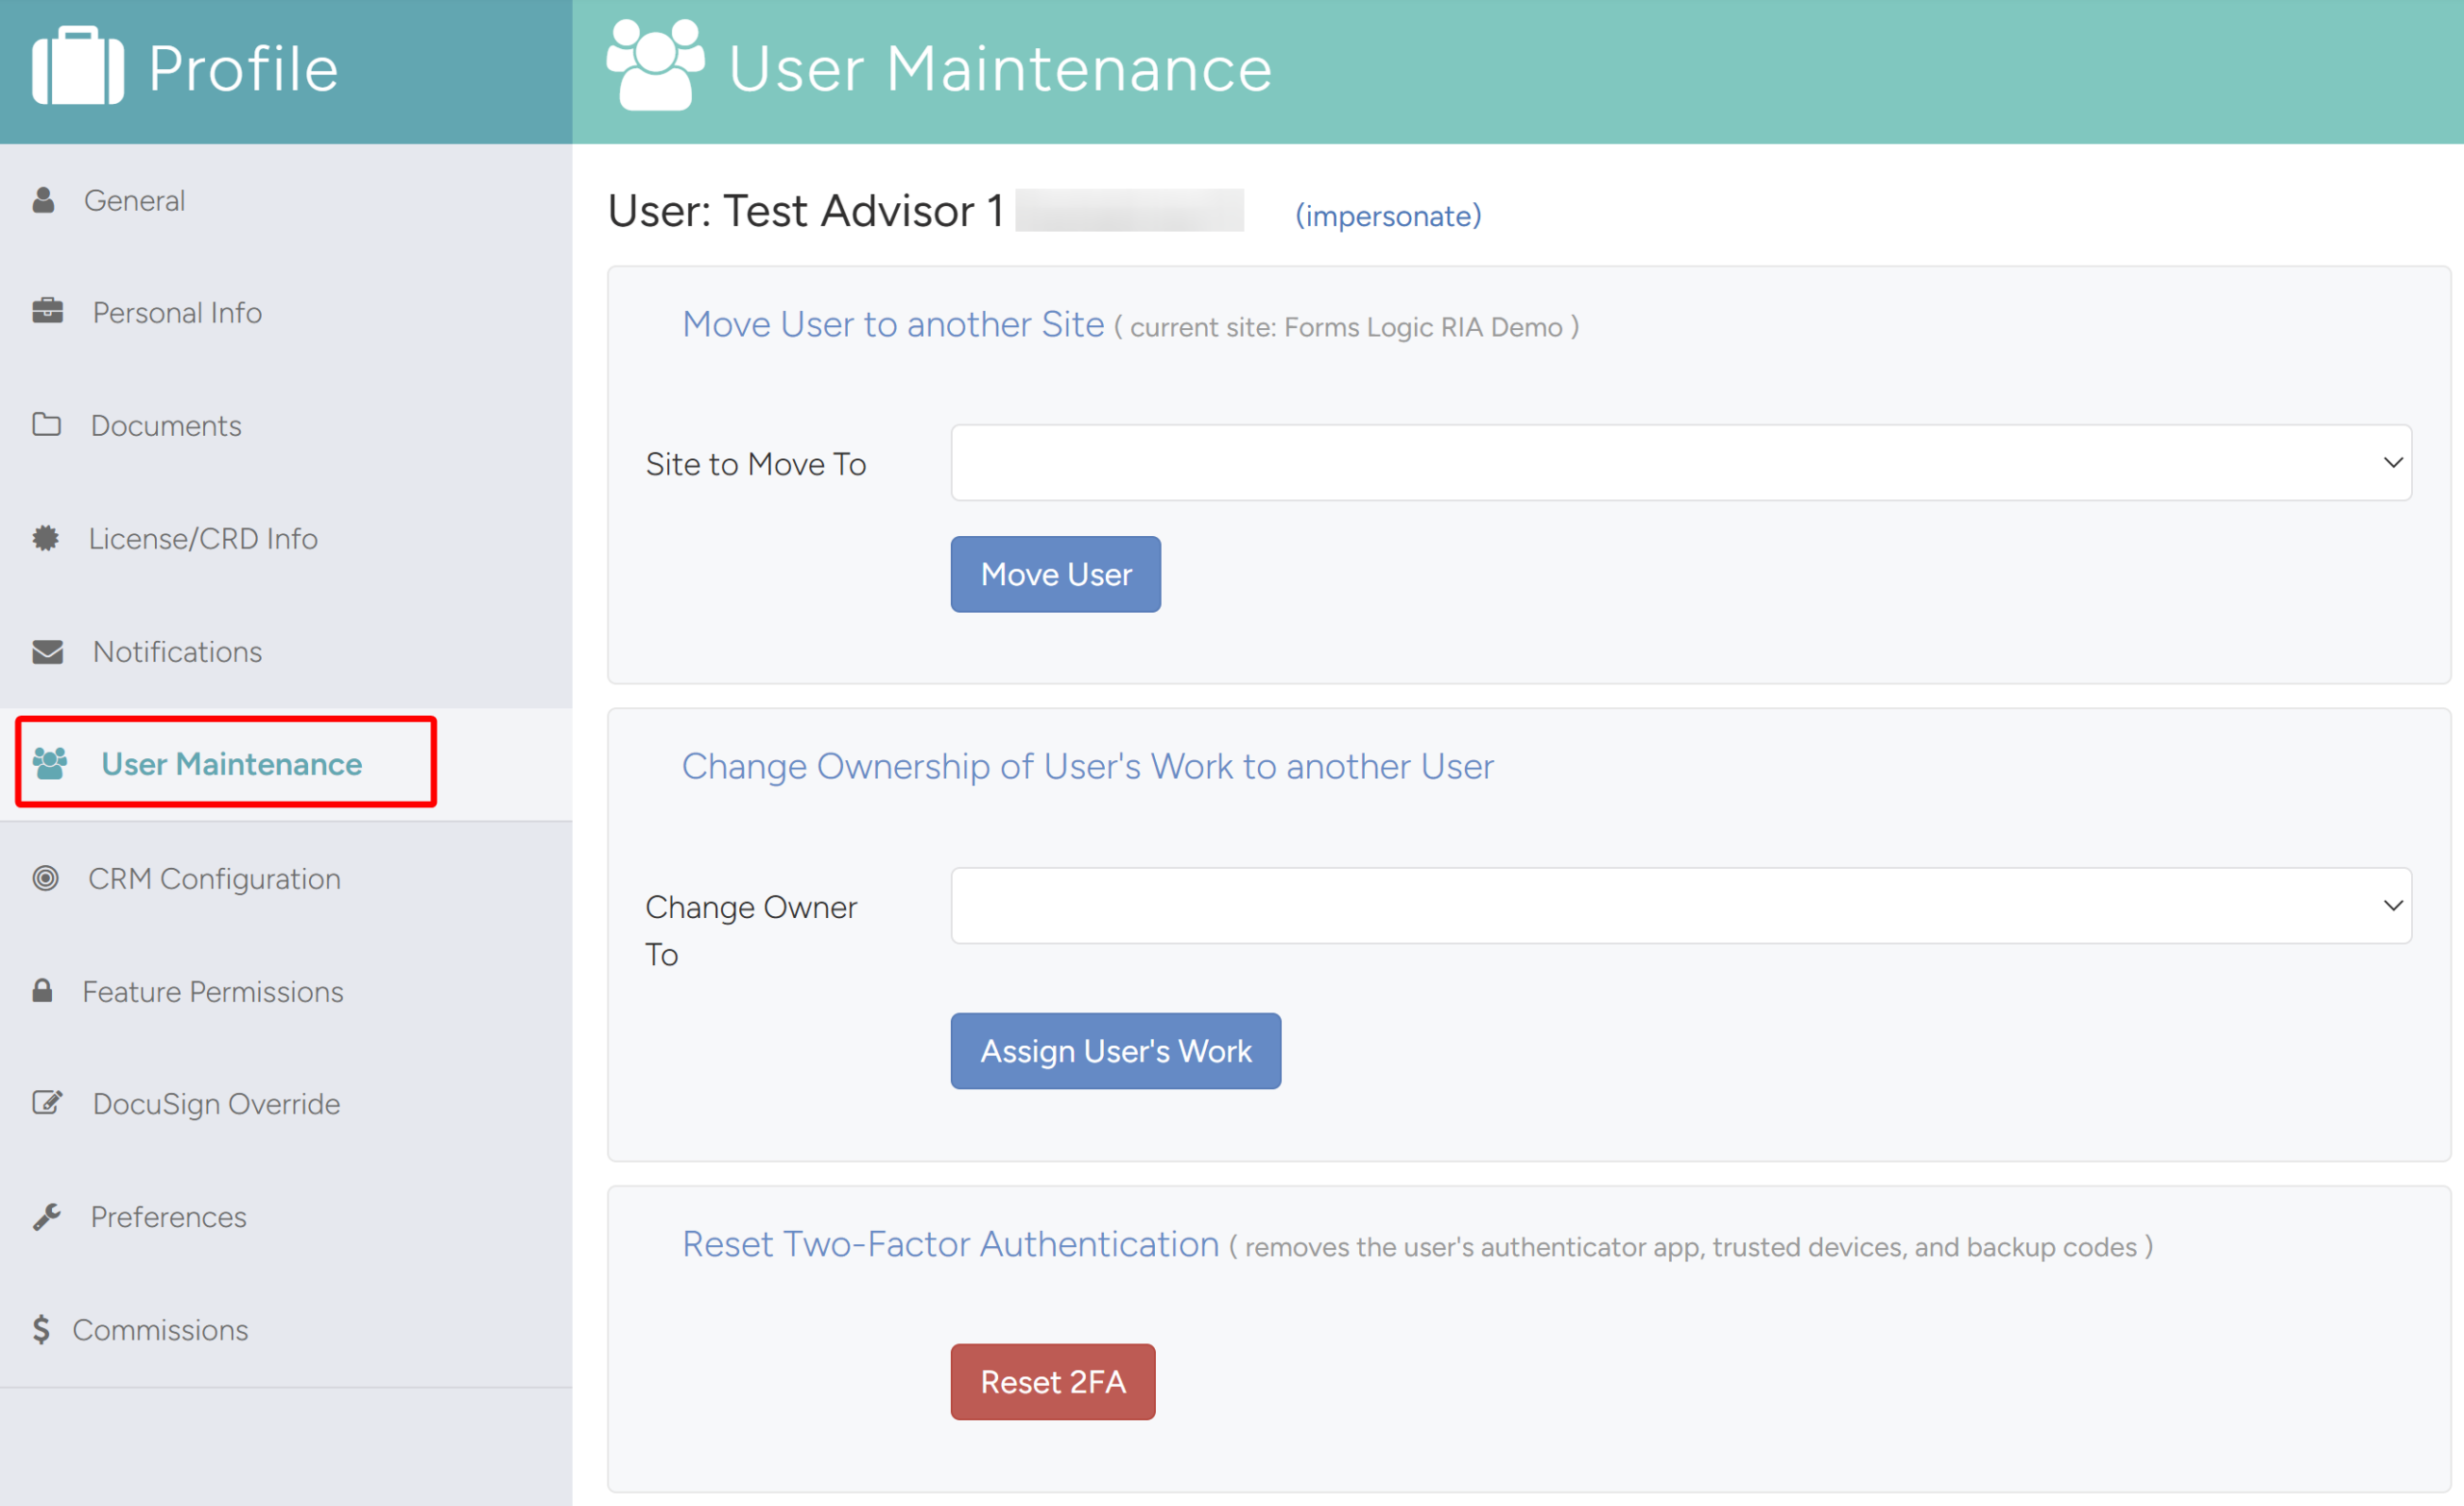
- In the Reset Two-Factor Authentication section, click Reset 2FA.
