Form Preferences
The Preferences feature allows Site Managers and Administrators to manage which Company Forms are hidden from specific users. Form Preferences can be managed in two ways: the user’s profile and bulk preference upload.
Note
This feature only manages preferences for Company Forms.
8.1 Managing Form Preferences Via User Profile
Form Preferences can be managed via individual Users’ profiles.
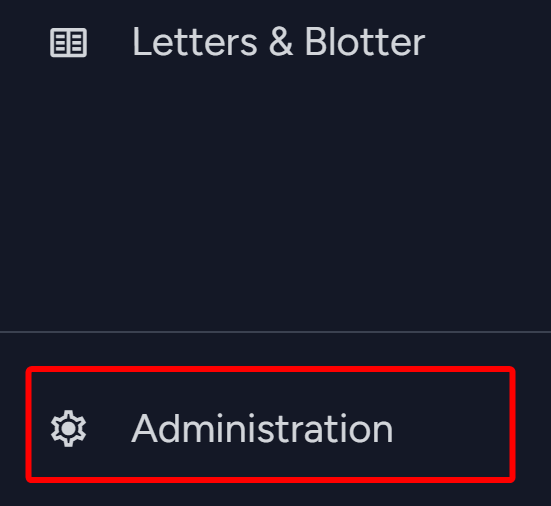
- From the side navigation menu, navigate to Administration > Users.

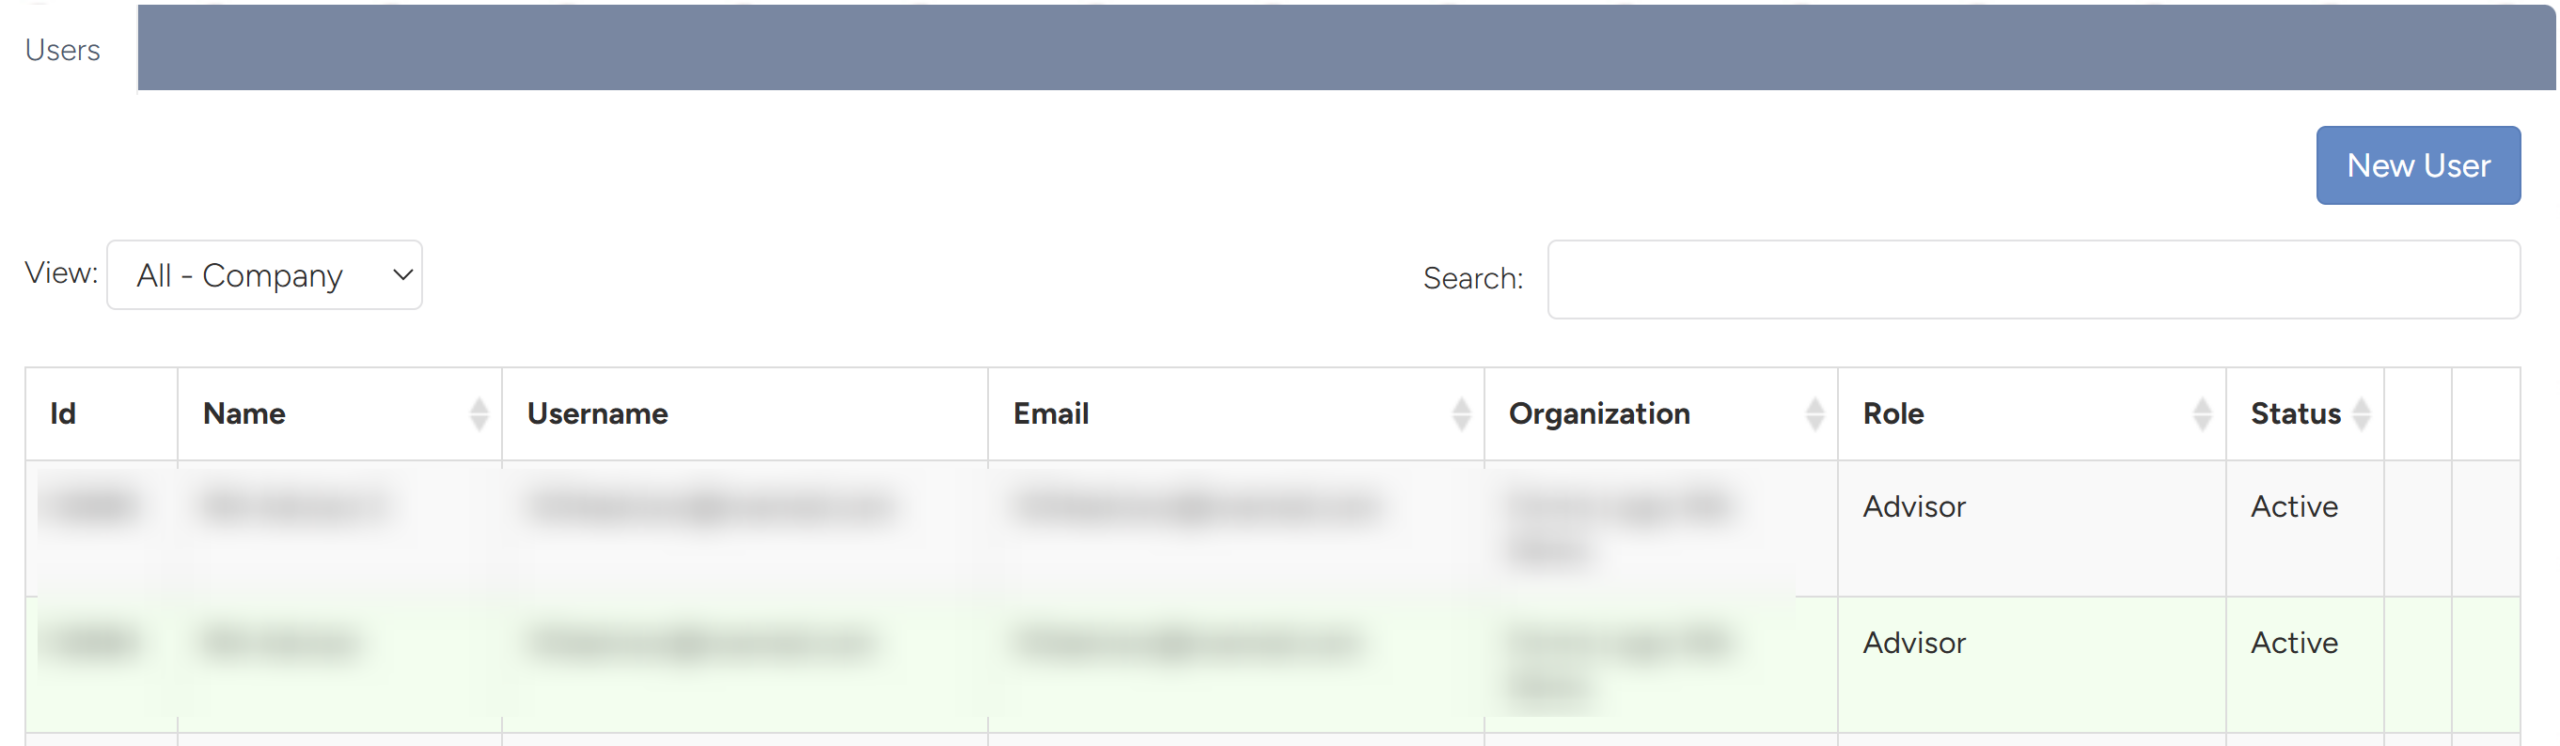
- The User List will load.
8.1.1 Setting Preferences
- In the User List, click on the name of the user needing form preferences to open their profile.

- In the User’s profile, click Preferences on the left side.
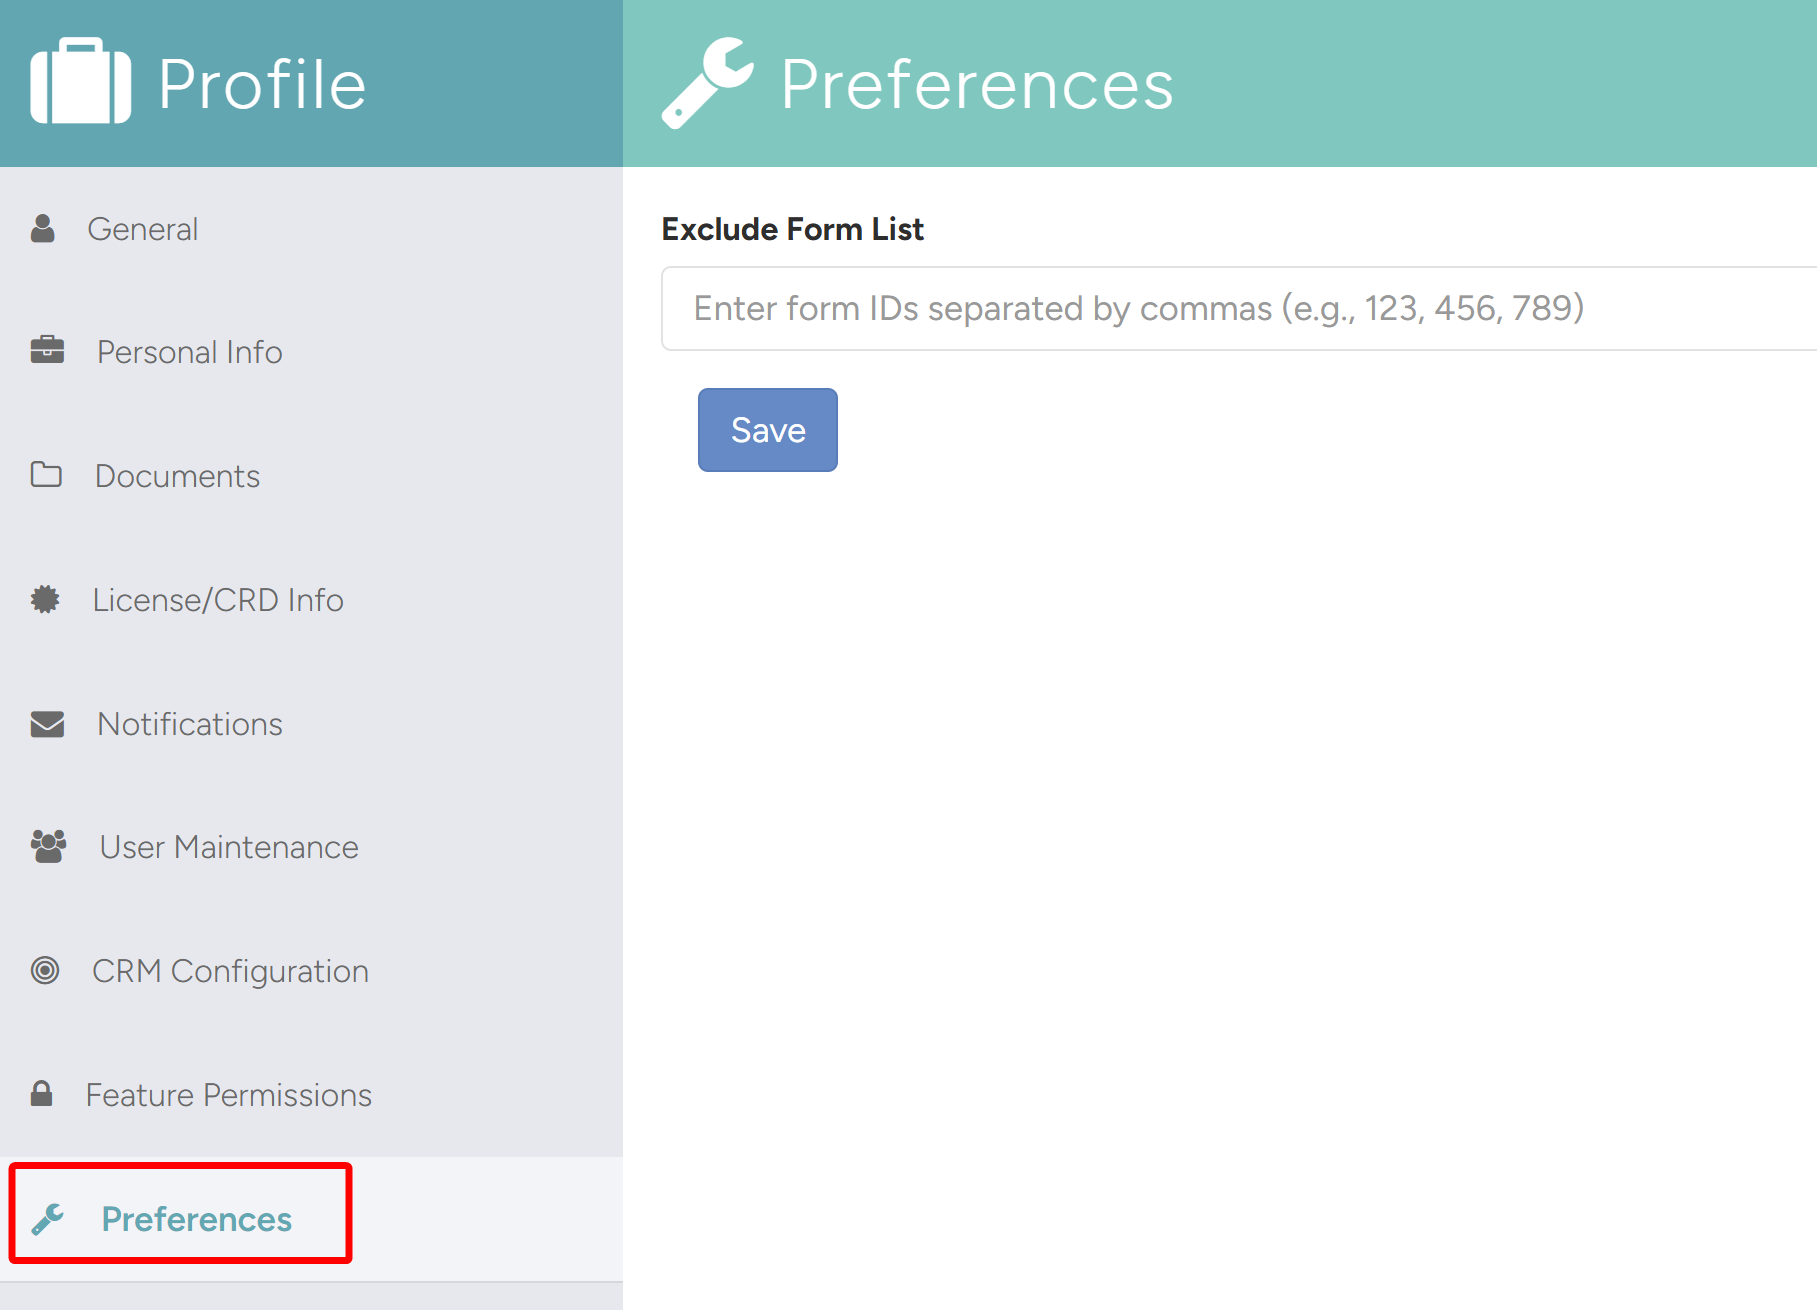
- To designate forms to hide, enter the Form IDs of the forms you want to hide in the Exclude Form List field and click Save. The forms should be separated by commas.
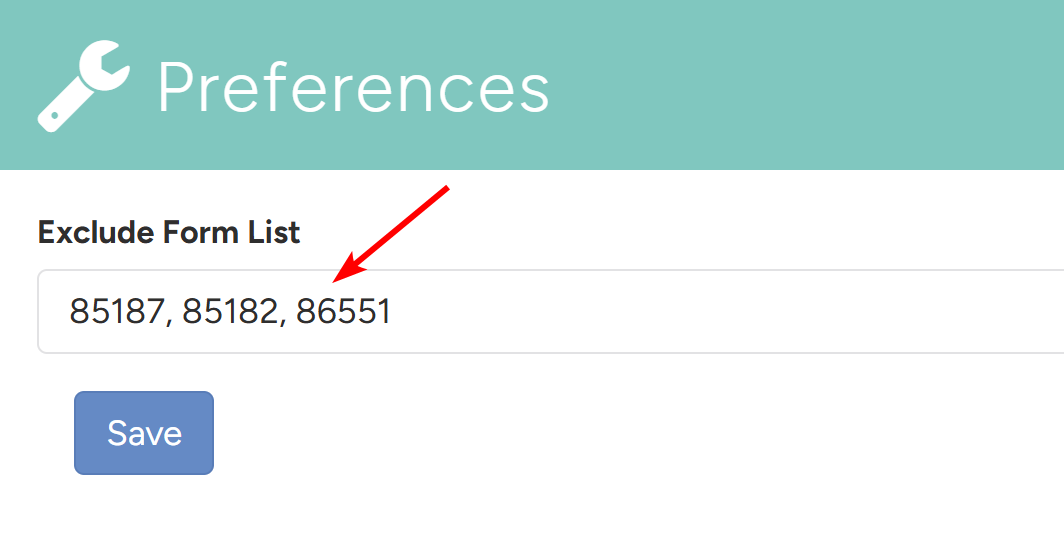
- These forms will now be hidden for that specific User. See Section 8.3 Verify Form Preferences below to learn how to verify the forms were hidden.
8.1.2 Removing/Editing Preferences
- In the User’s Profile > Preferences Tab, remove and/or add Form IDs in the Exclude Form List field and click Save.
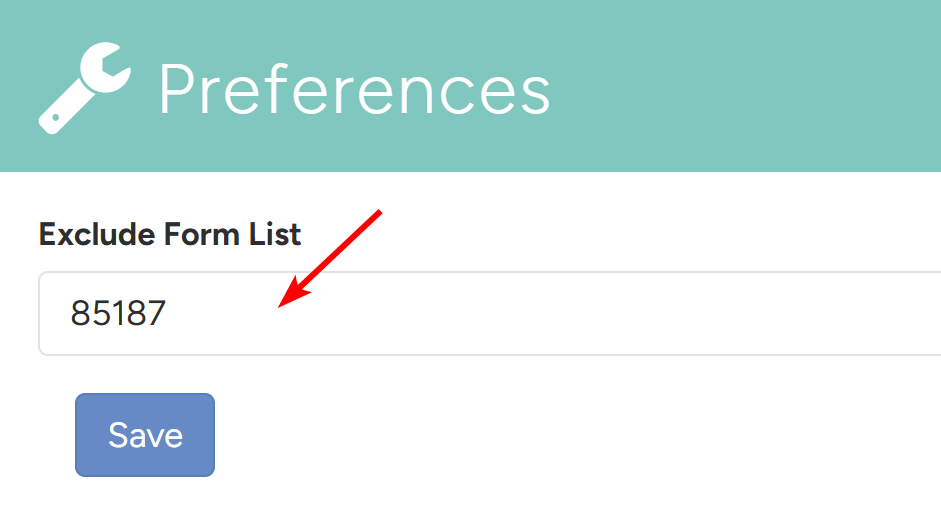
8.2 Managing Form Preferences Via Preference Upload
Form Preferences can be managed via the Preference Upload feature — setting preferences in bulk.
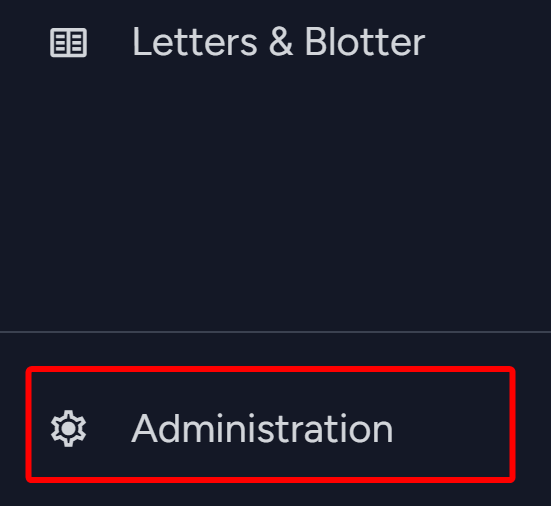
- From the side navigation menu, navigate to Administration > Preference Upload.
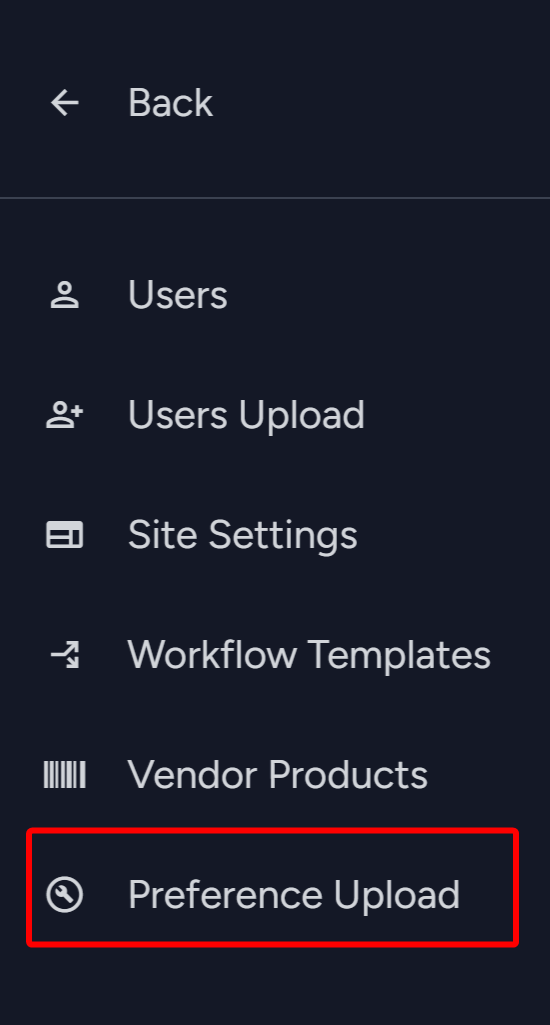
- The Preference Upload page will load.
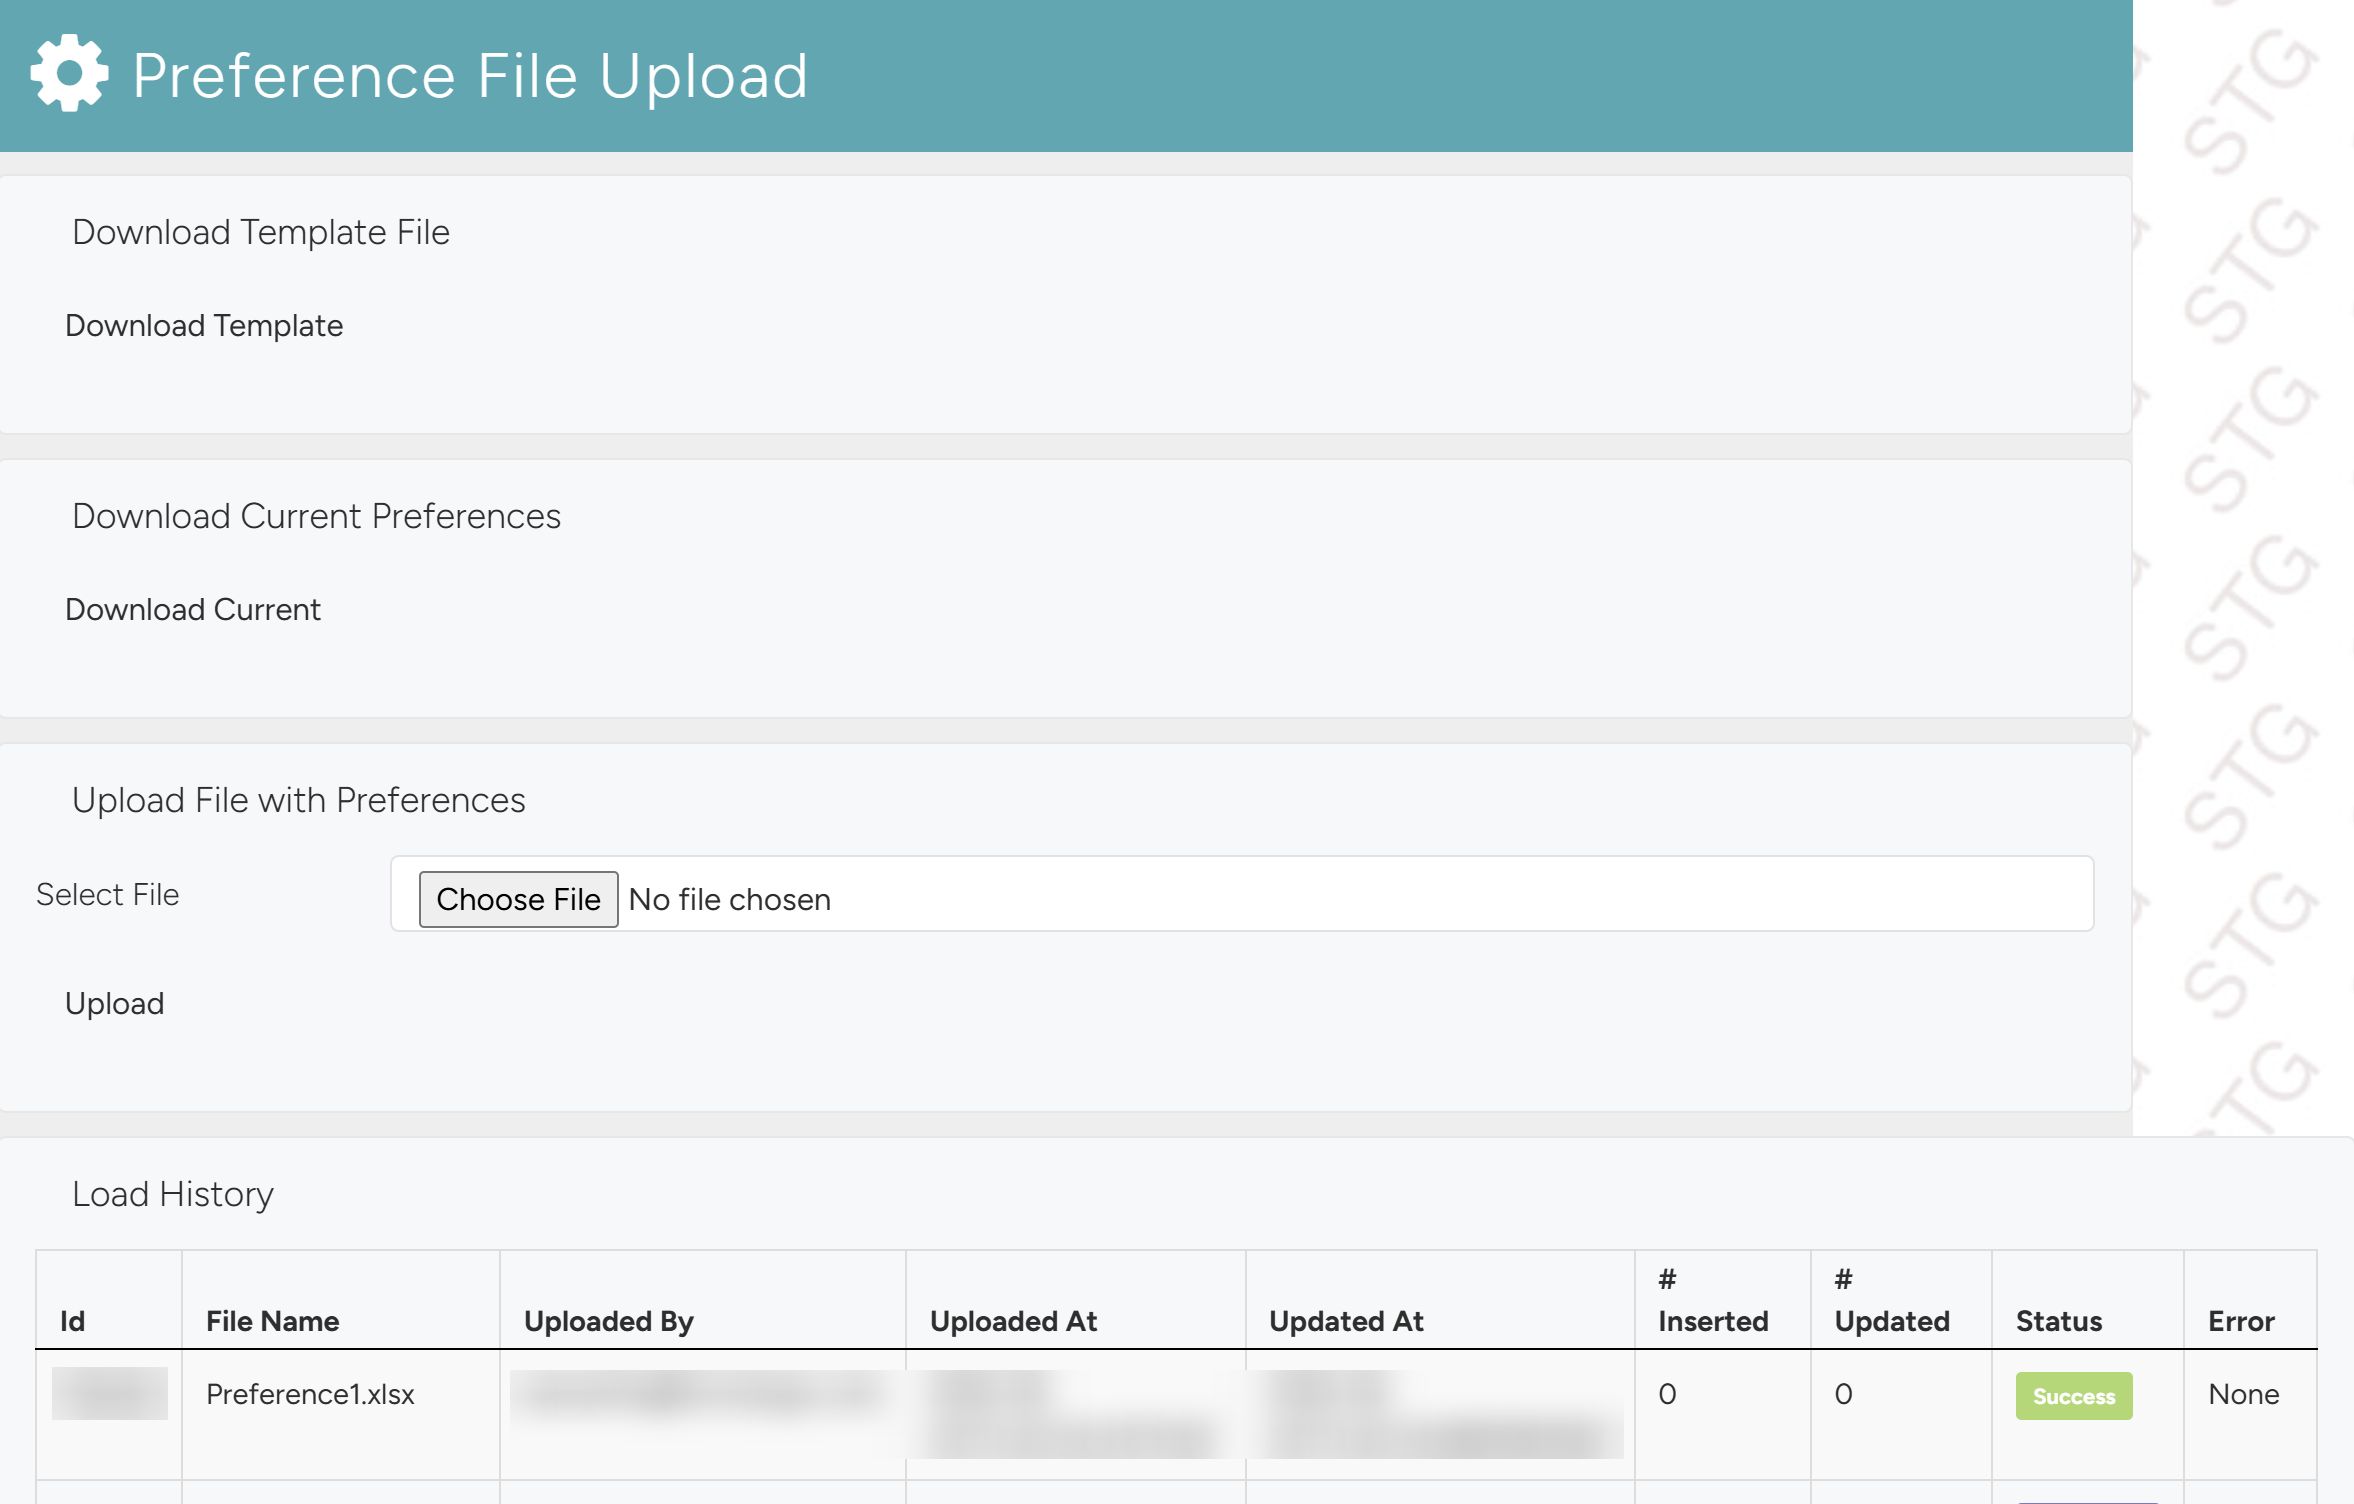
8.2.1 Download and Fill Out the Template
- In the Download Template File Section, click Download Template.
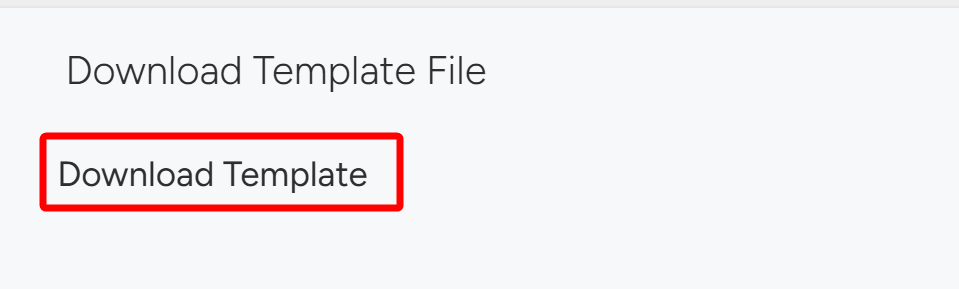
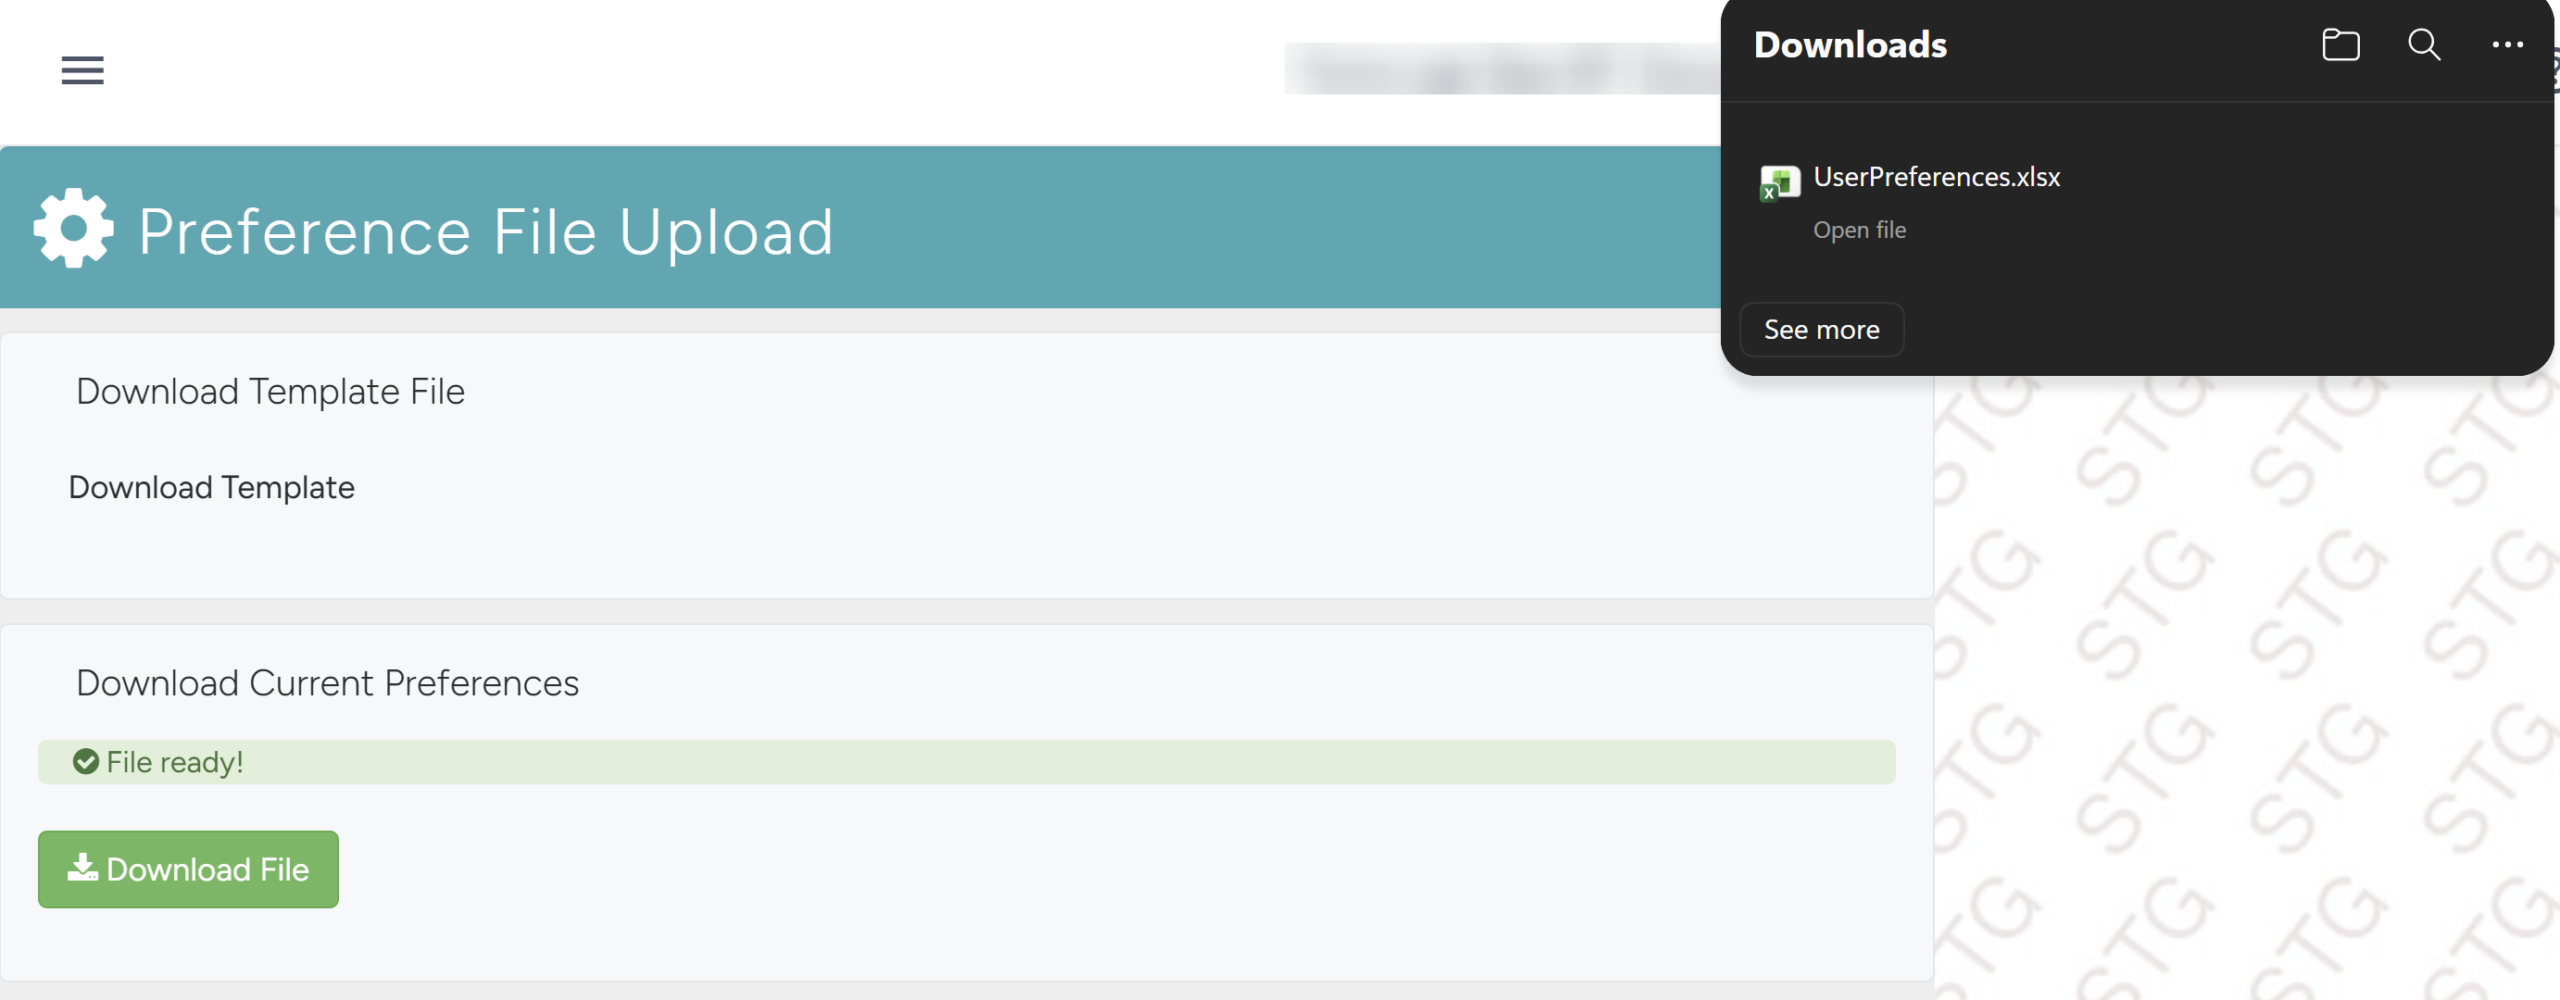
- Once generated, download from the upper right or click the green Download File button.
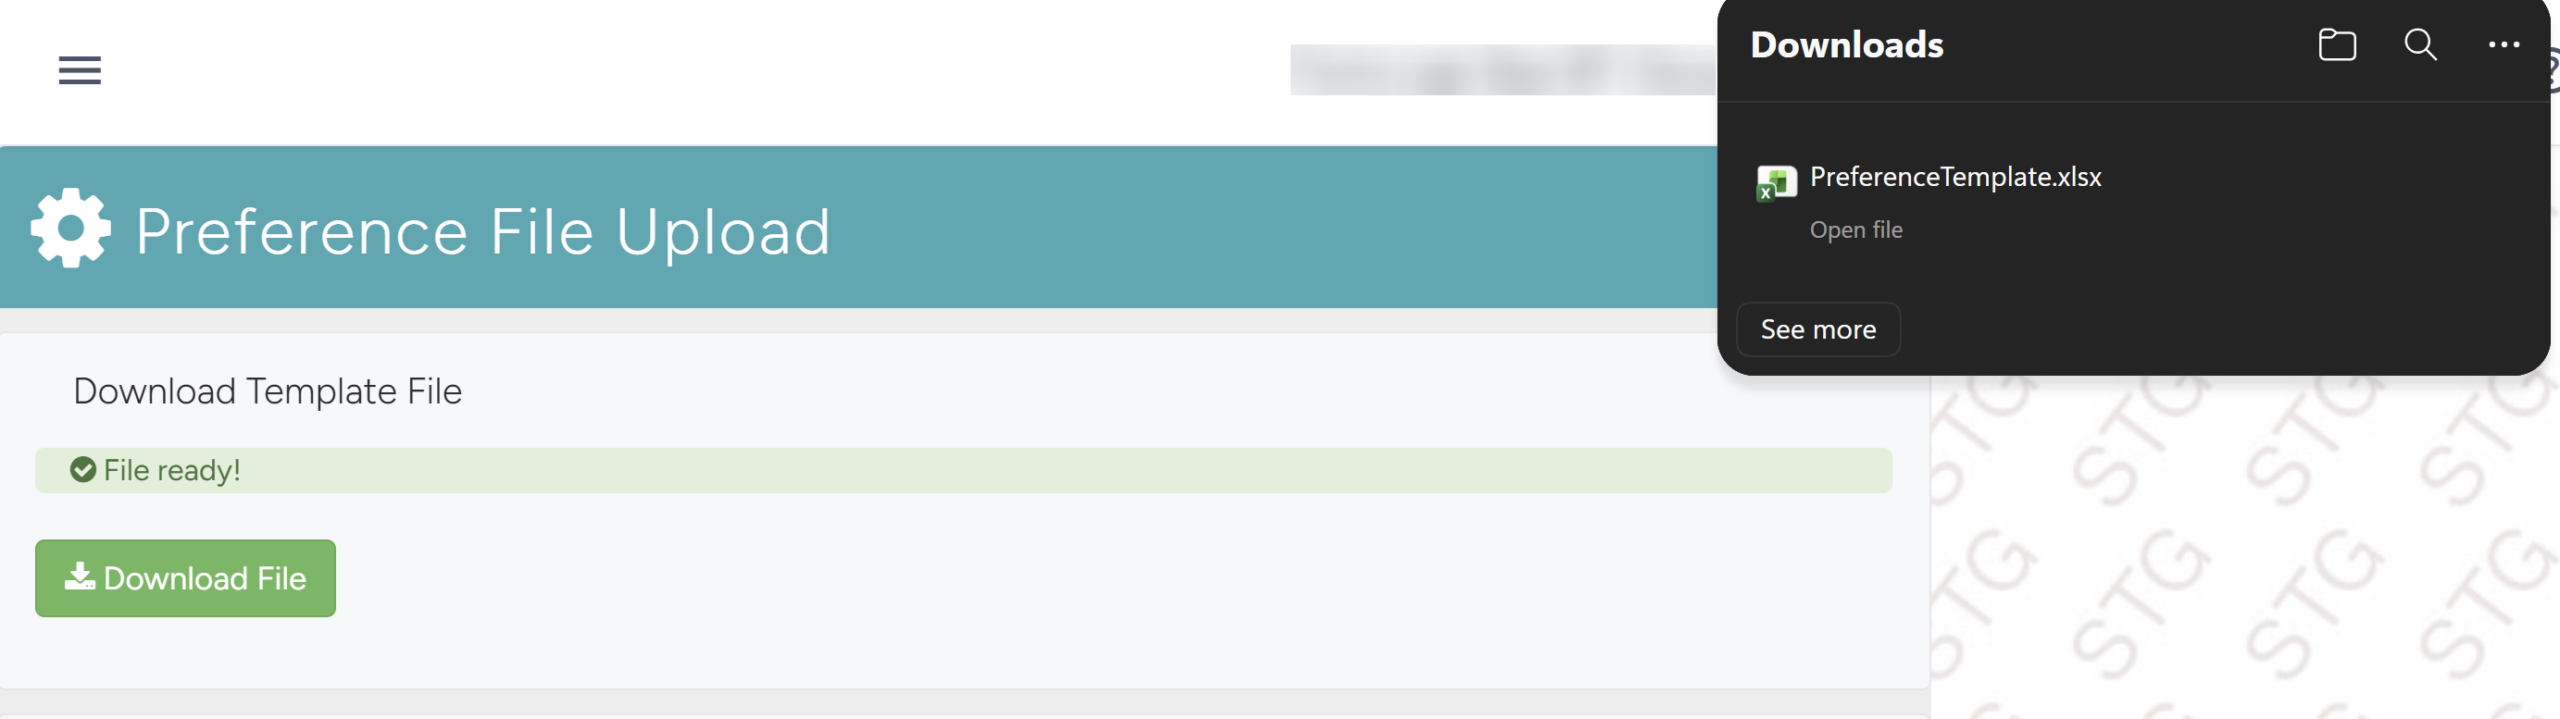
- Open the file and follow the steps below:
- Identify the User — You can either:
- Enter the user’s email address in Column A.
- Enter the user’s Rep Number in Column B and Rep Name in Column C.
- Identify the User — You can either:

- Identify the Forms to hide — You can either:
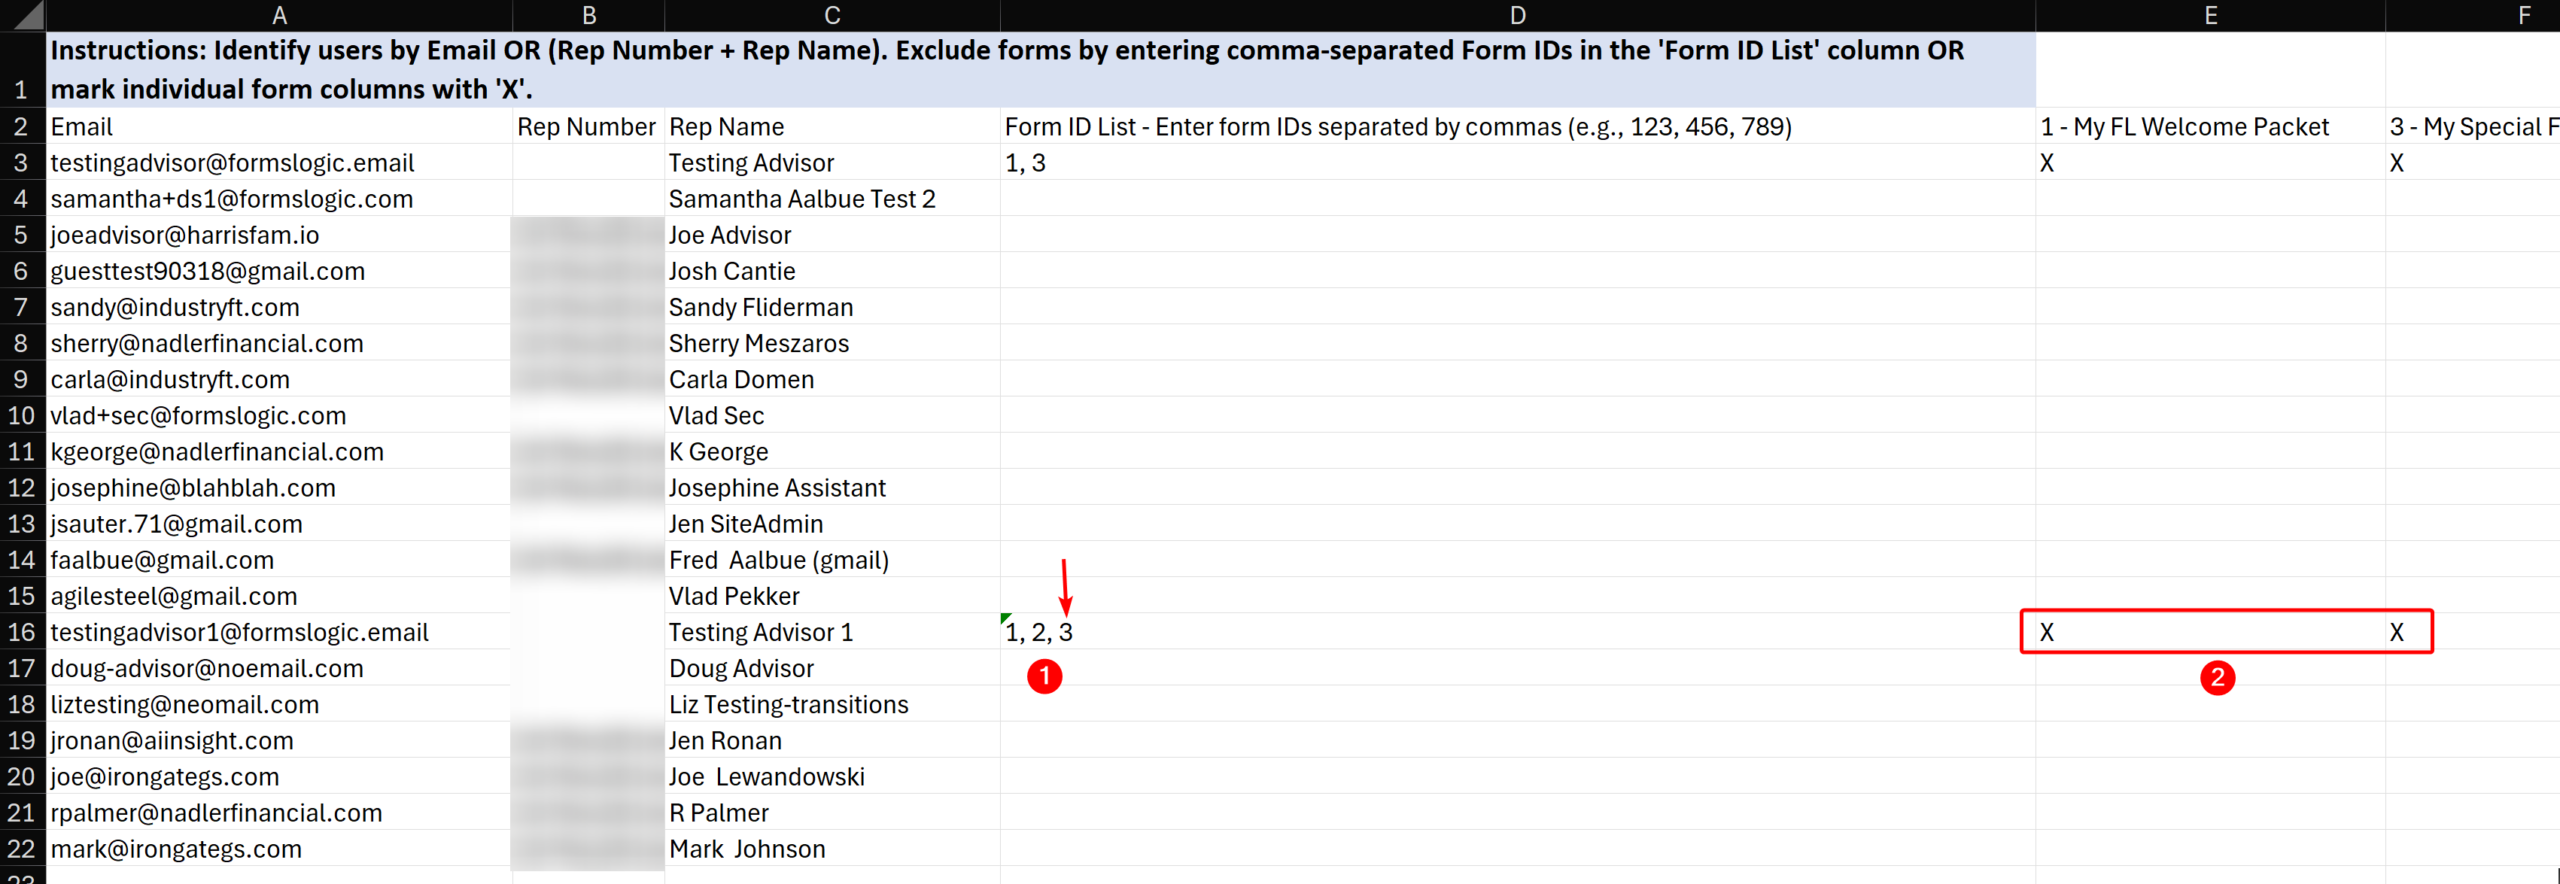
- Enter the Form IDs in Column D — separated by a comma and space.
- Fill in an X in the specific column for the specific form you want — Columns E and on have the individual forms formatted as [Form ID] – [Form Name].

- Once the file has been filled in with form preferences, Save it in Excel format.
8.2.2 Upload the File
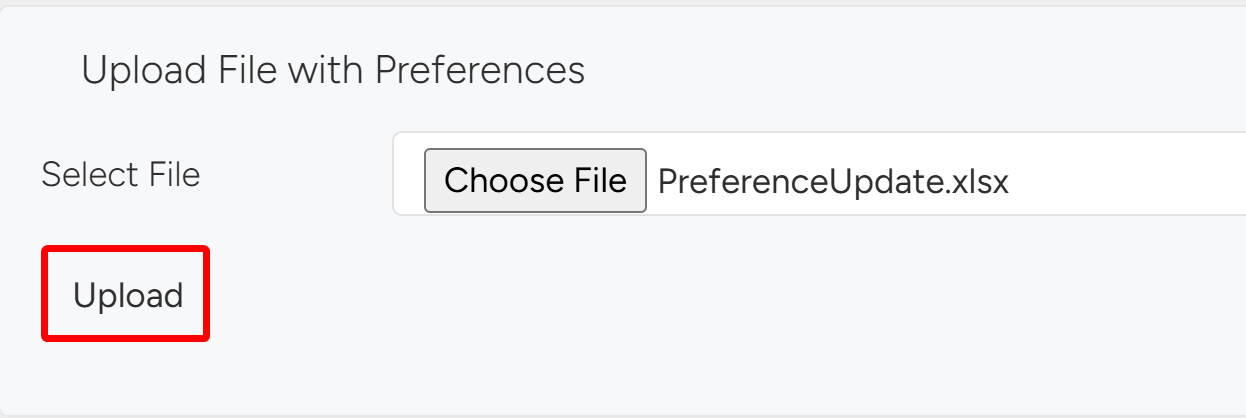
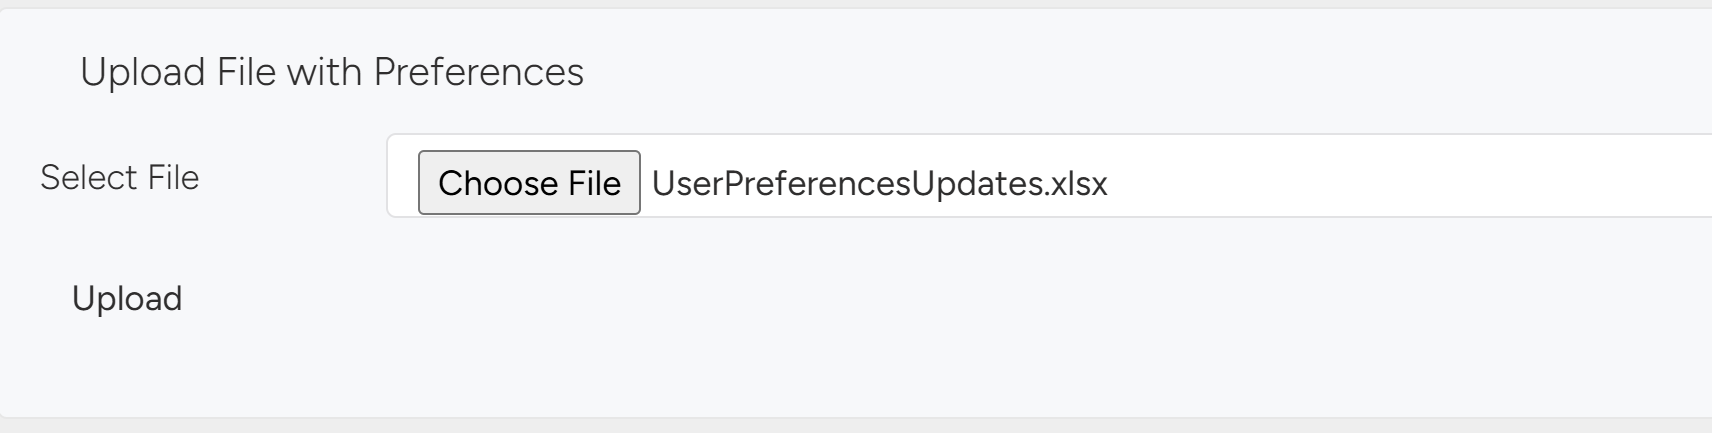
- In the Upload File with Preferences section, click Choose File and select your completed Excel file.

- Click Upload. A success message will appear at the top once the file has been processed.
- Check the Load History section to confirm the upload shows a Success status.

8.2.3 Removing or Updating Preferences
- In the Download Current Preferences section, click Download Current to download the file with current preferences.
- Once generated, download from the upper right or click the green Download File button.
- Open the file and locate the rows for the users whose preferences you want to remove or update.
- To remove or update specific forms for a user — you can either:
- Delete or add the specific Form ID(s) in Column D.
- Remove or add the X marks from the relevant individual form columns.
- Save the modified file.
- In the Upload File with Preferences section, upload the current preferences file that was modified.
- Verify the successful upload in the Load History and download the Current Preferences file again to confirm the updates.
8.3 Verify Form Preferences
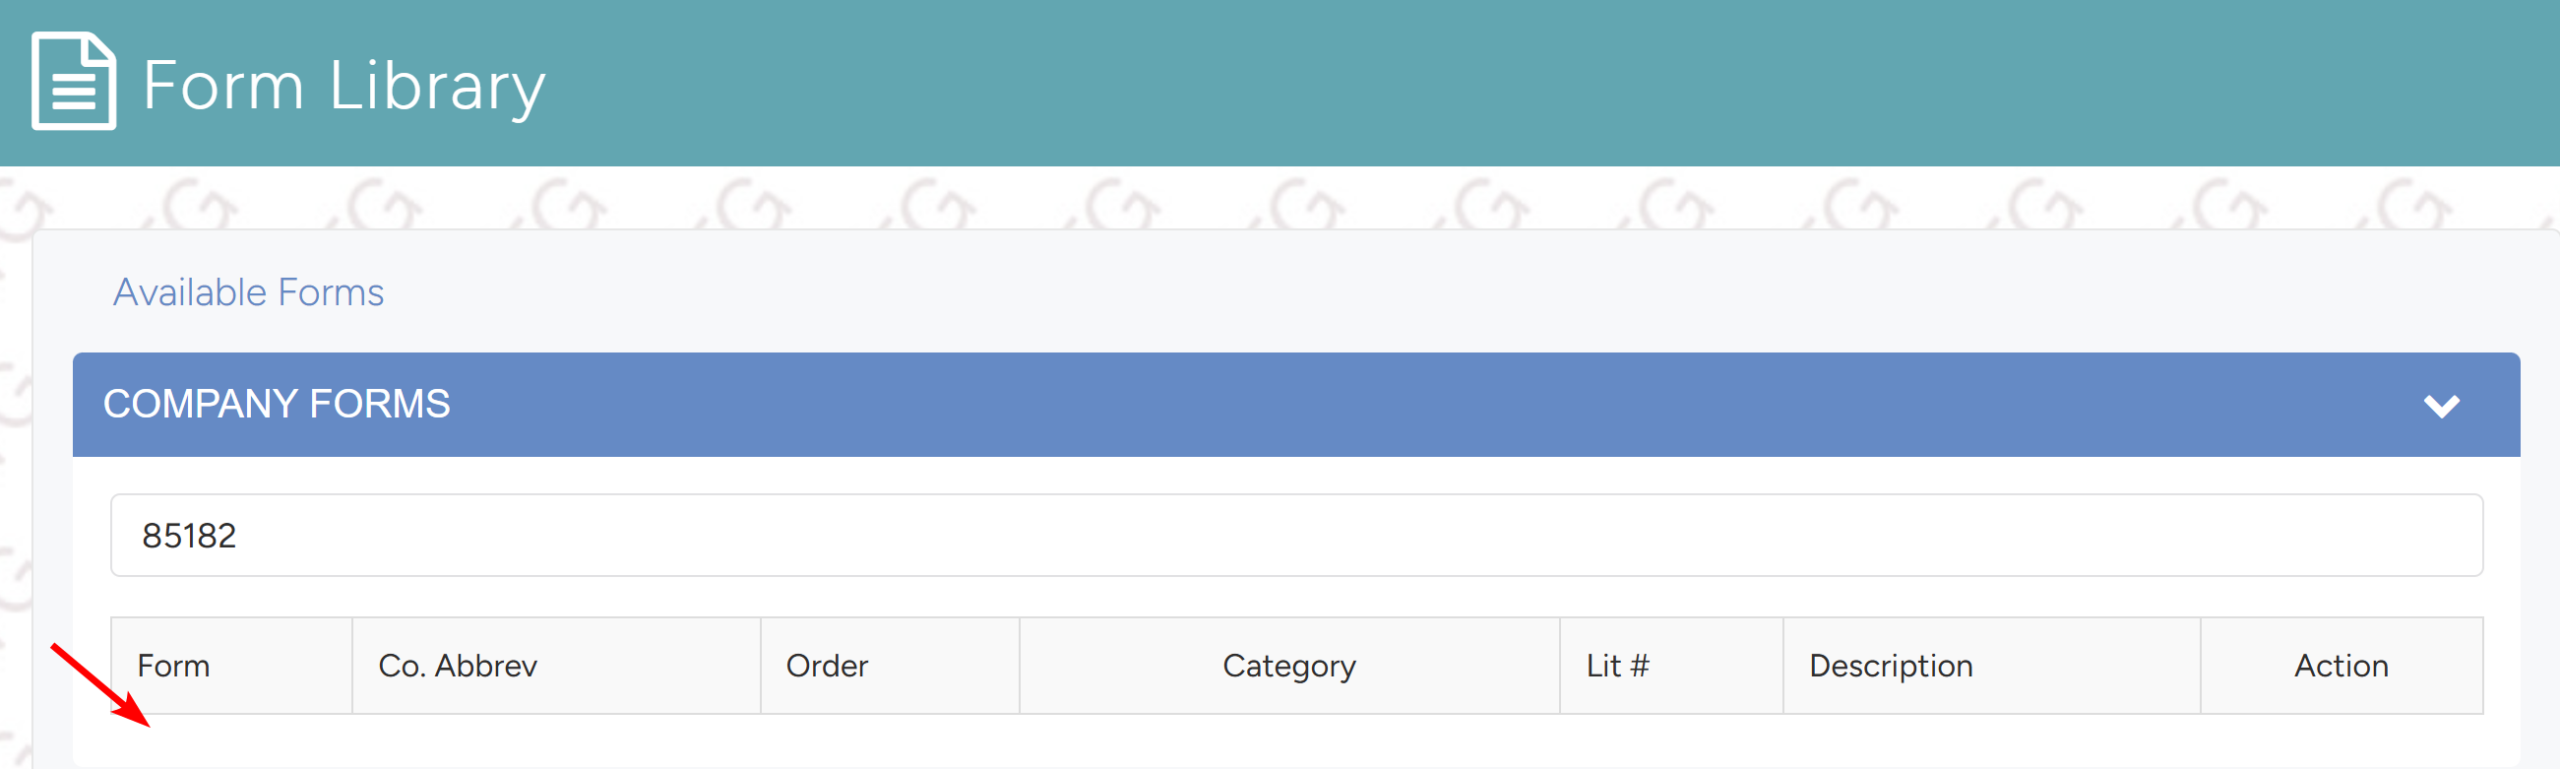
- To verify form preferences were applied, log in as the affected user. From the side navigation menu, navigate to Form Library and click on Company Forms.
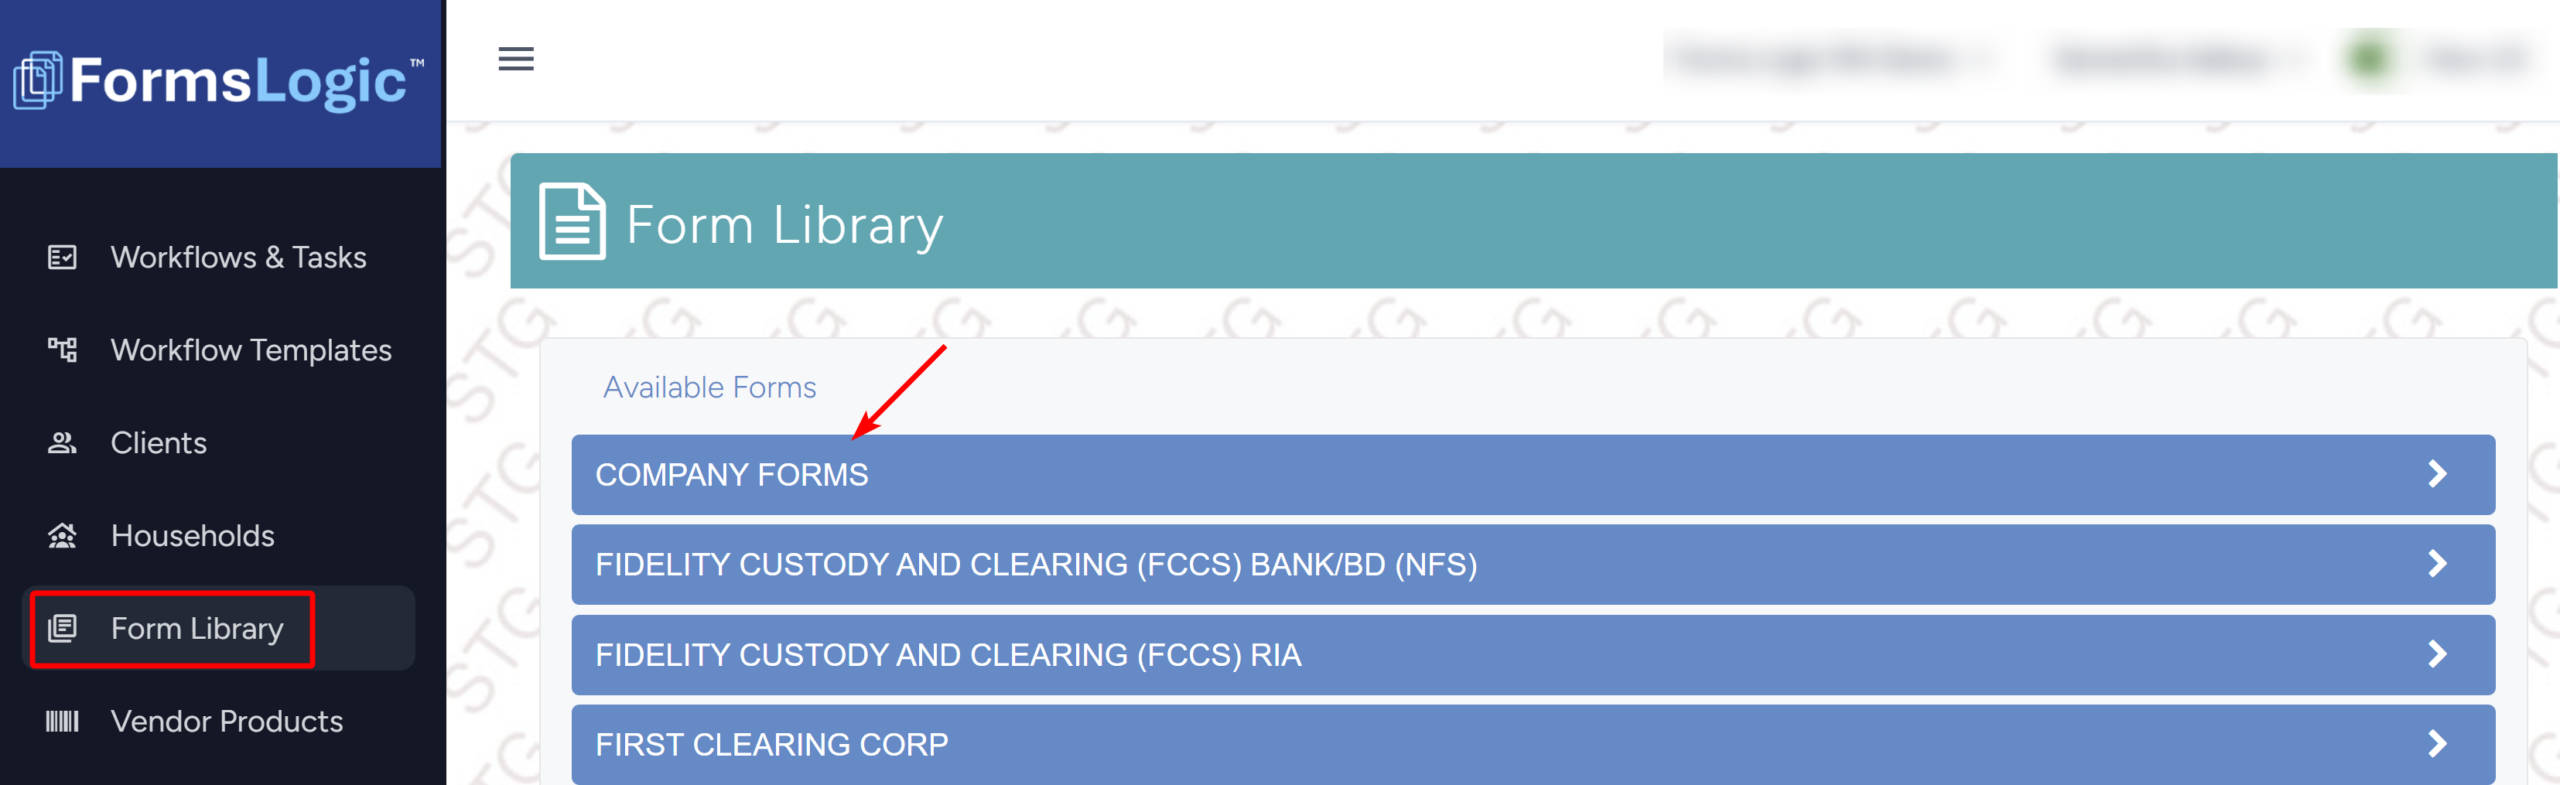
- Under Company Forms, search for the form that should be hidden – the form should not be visible to that user.