Workflow Templates
The Workflow Templates feature provides pre-defined templates that streamline the creation and execution of standard workflows. Users can select from a variety of templates tailored to common processes, ensuring consistency and compliance with best practices. These templates help reduce setup time, minimize errors, and ensure that all necessary steps and documentation are included in the workflow.
15.1 Creating a Workflow Template
To create a custom workflow-template, follow the steps below.
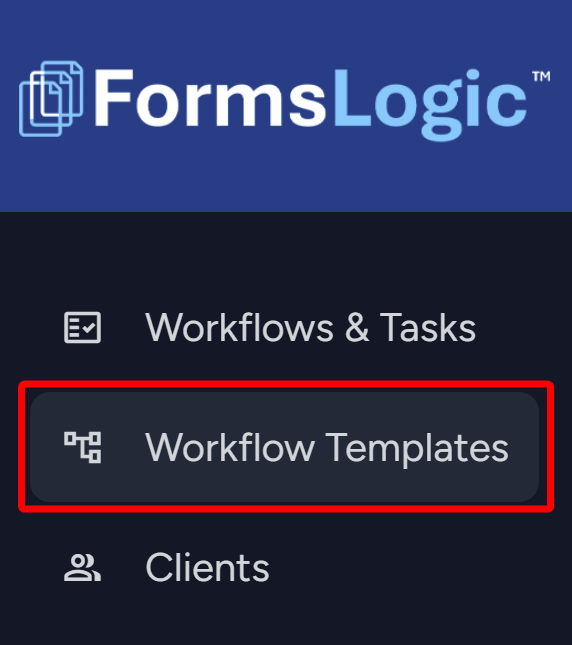
- From the side navigation menu, navigate to Workflow Templates.
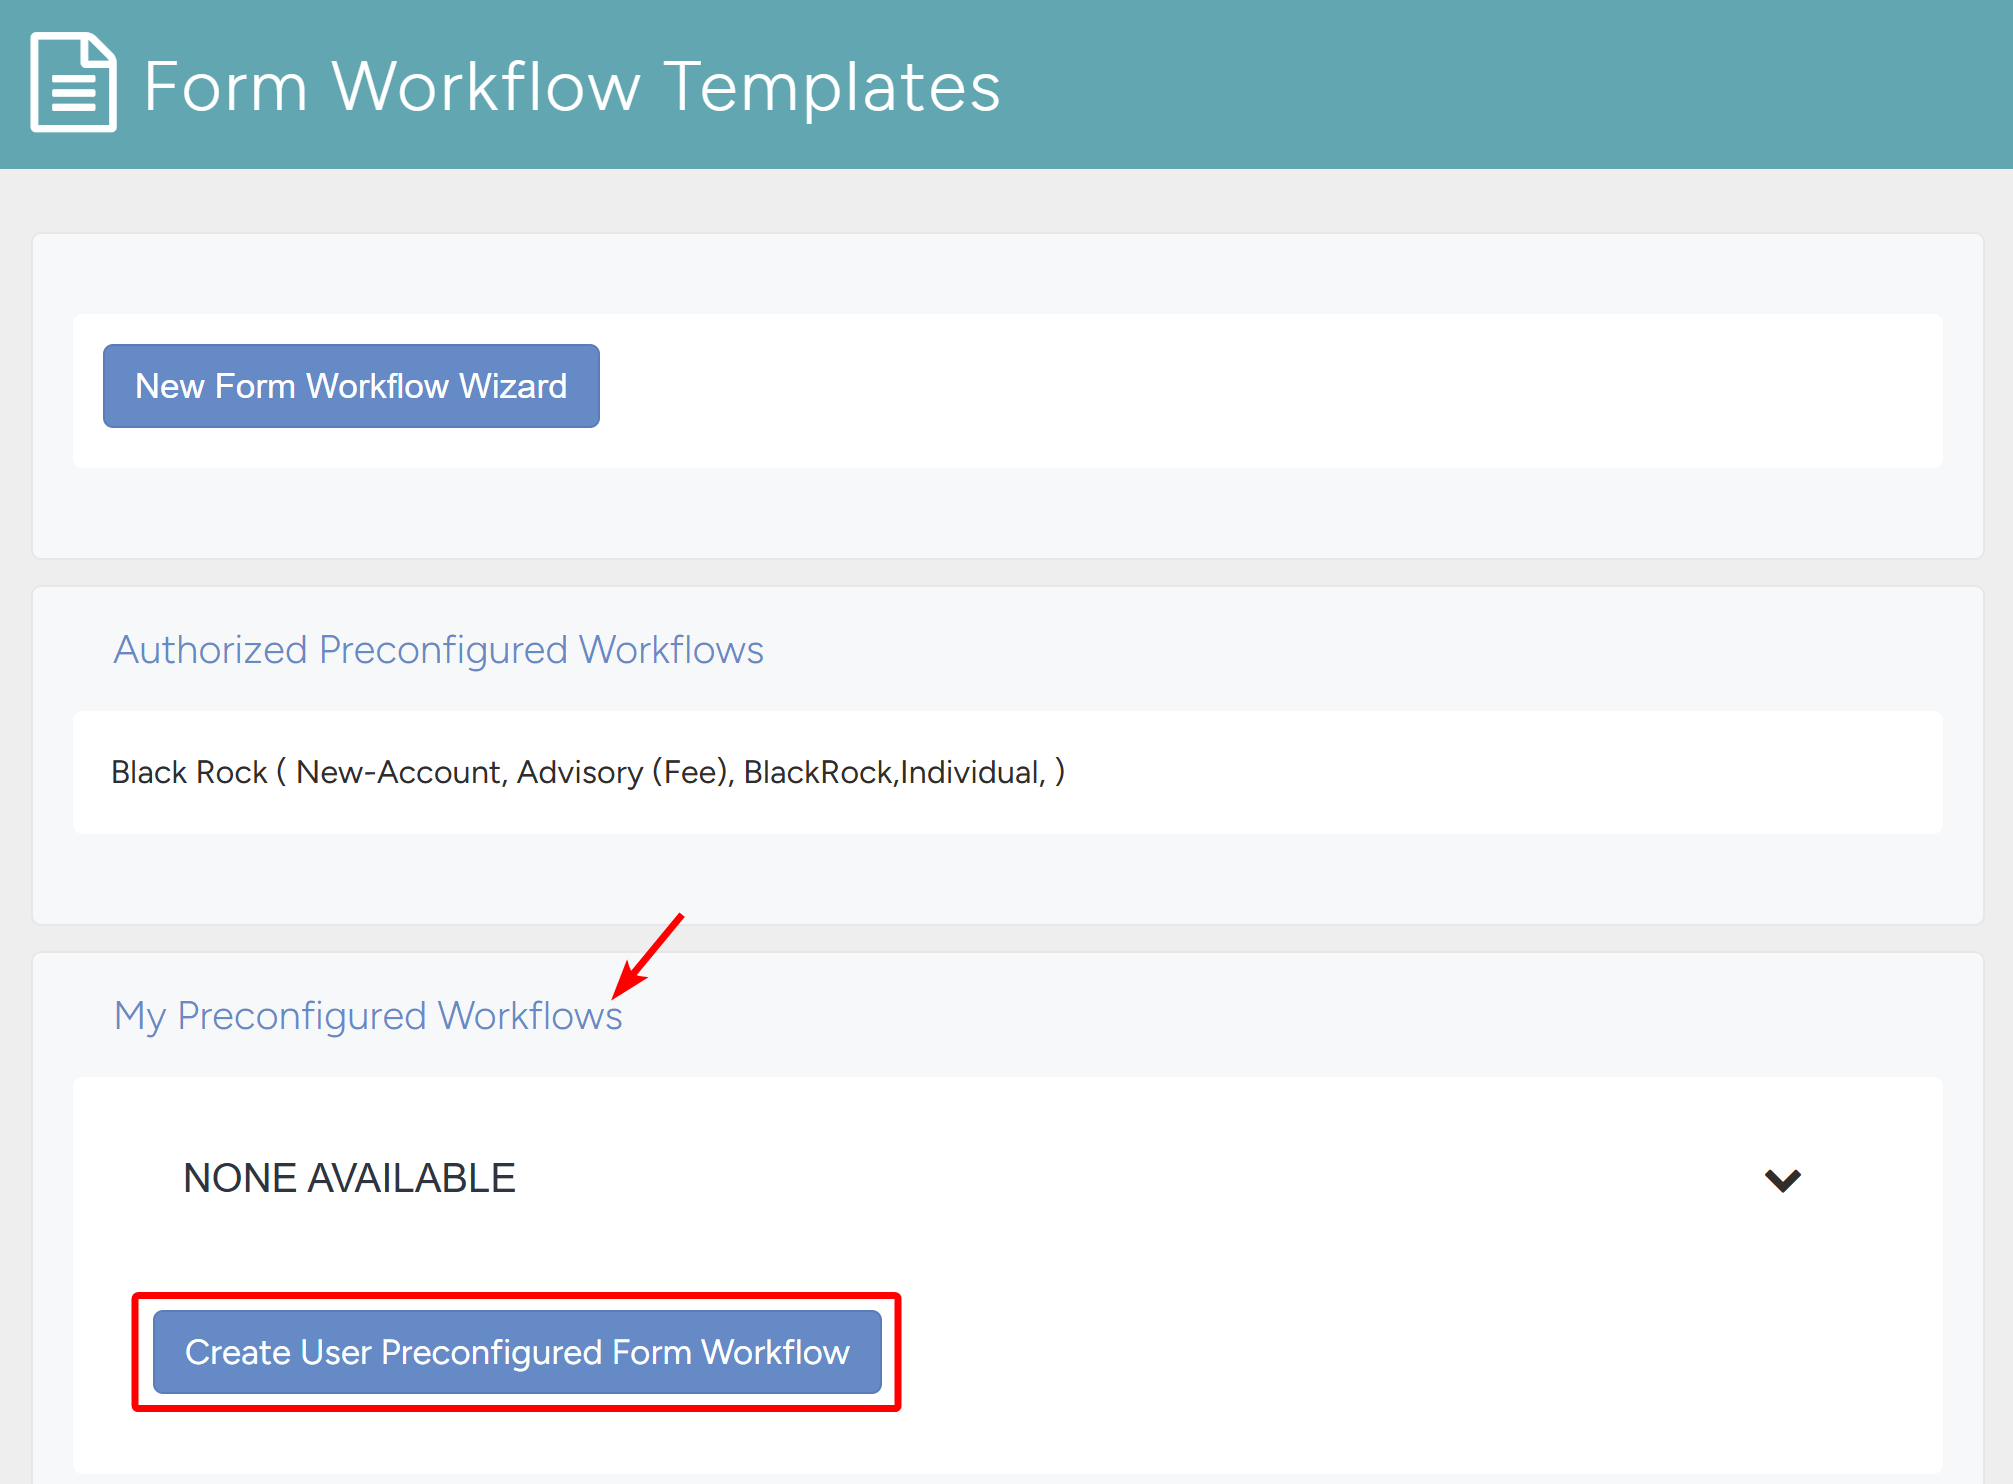
- The system will navigate to the Form Workflow Templates page. Under the My Preconfigured Workflows section, click the Create User Preconfigured Form Workflow button to create a preconfigured workflow for yourself.
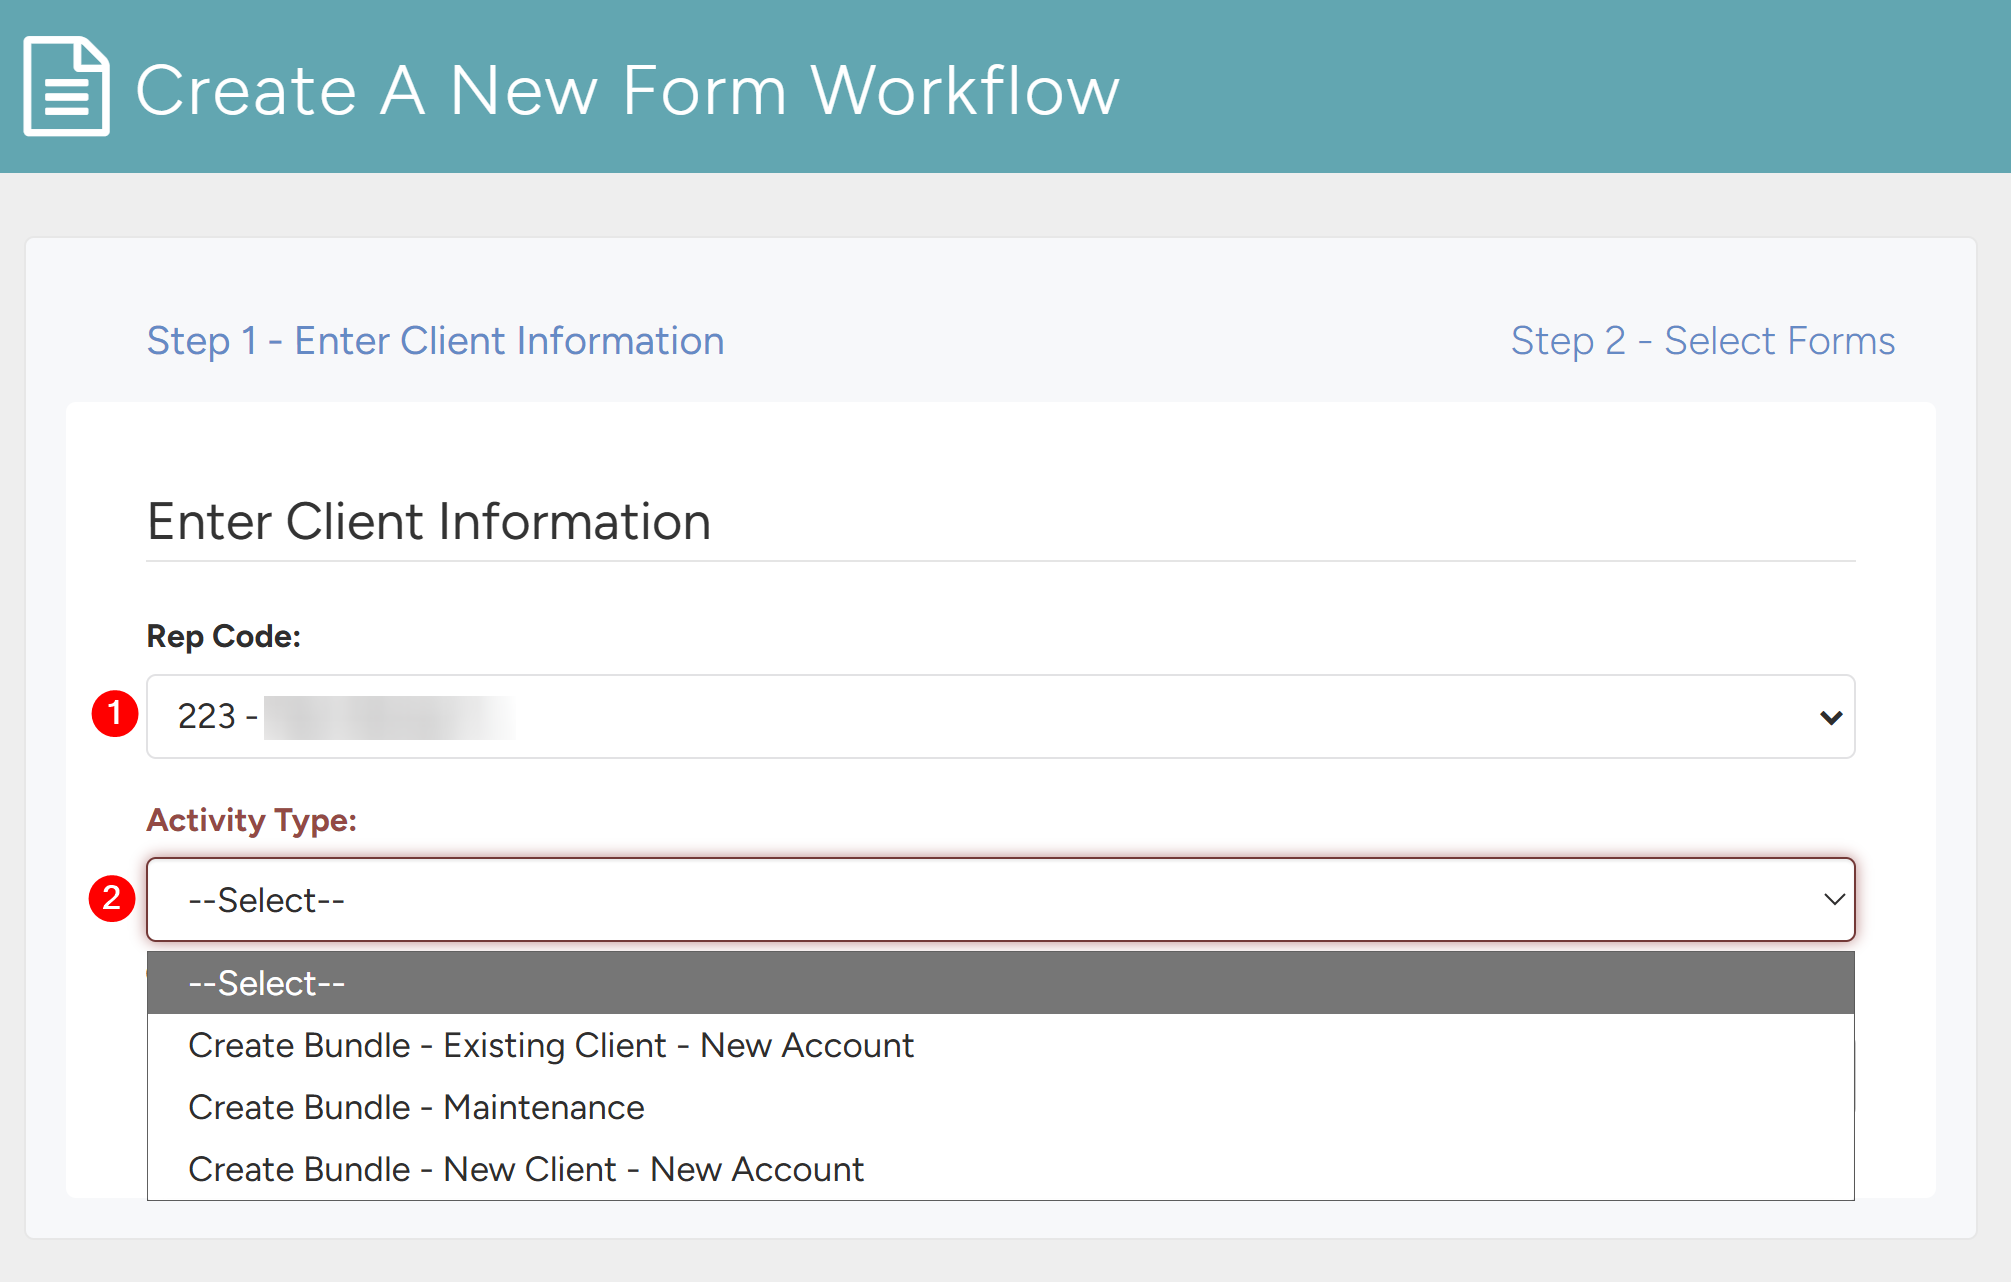
- The system will navigate to the workflow creation page. Choose the Rep Code and select the appropriate Activity Type — in this case New Client – New Account was chosen.
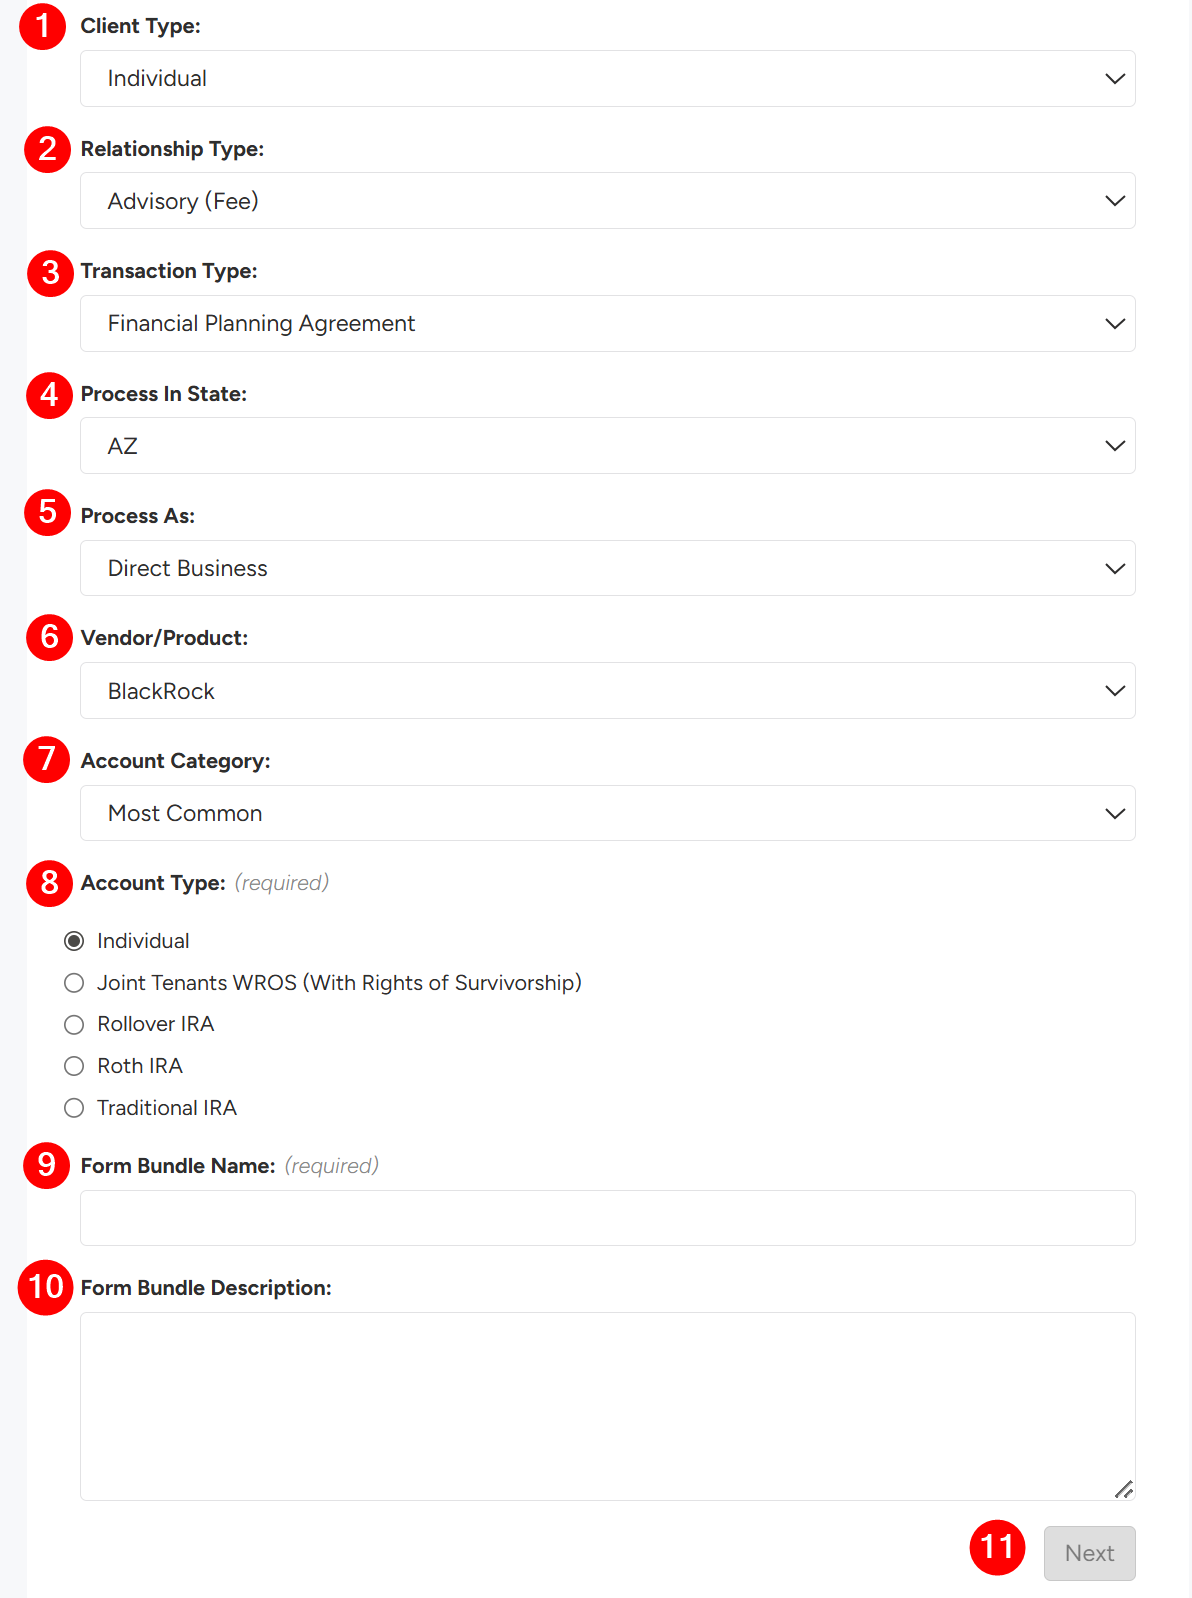
- Once the Activity Type is chosen, the following fields will populate. Here you will:
- Select the Client Type — Individual or Entity.
- Select the Relationship Type — Options include Broker Dealer, Advisory, and Insurance.
- Select the Transaction Type — This is dependent on the selected Relationship Type.
- Select the Process in State — Dependent on User’s Licenses.
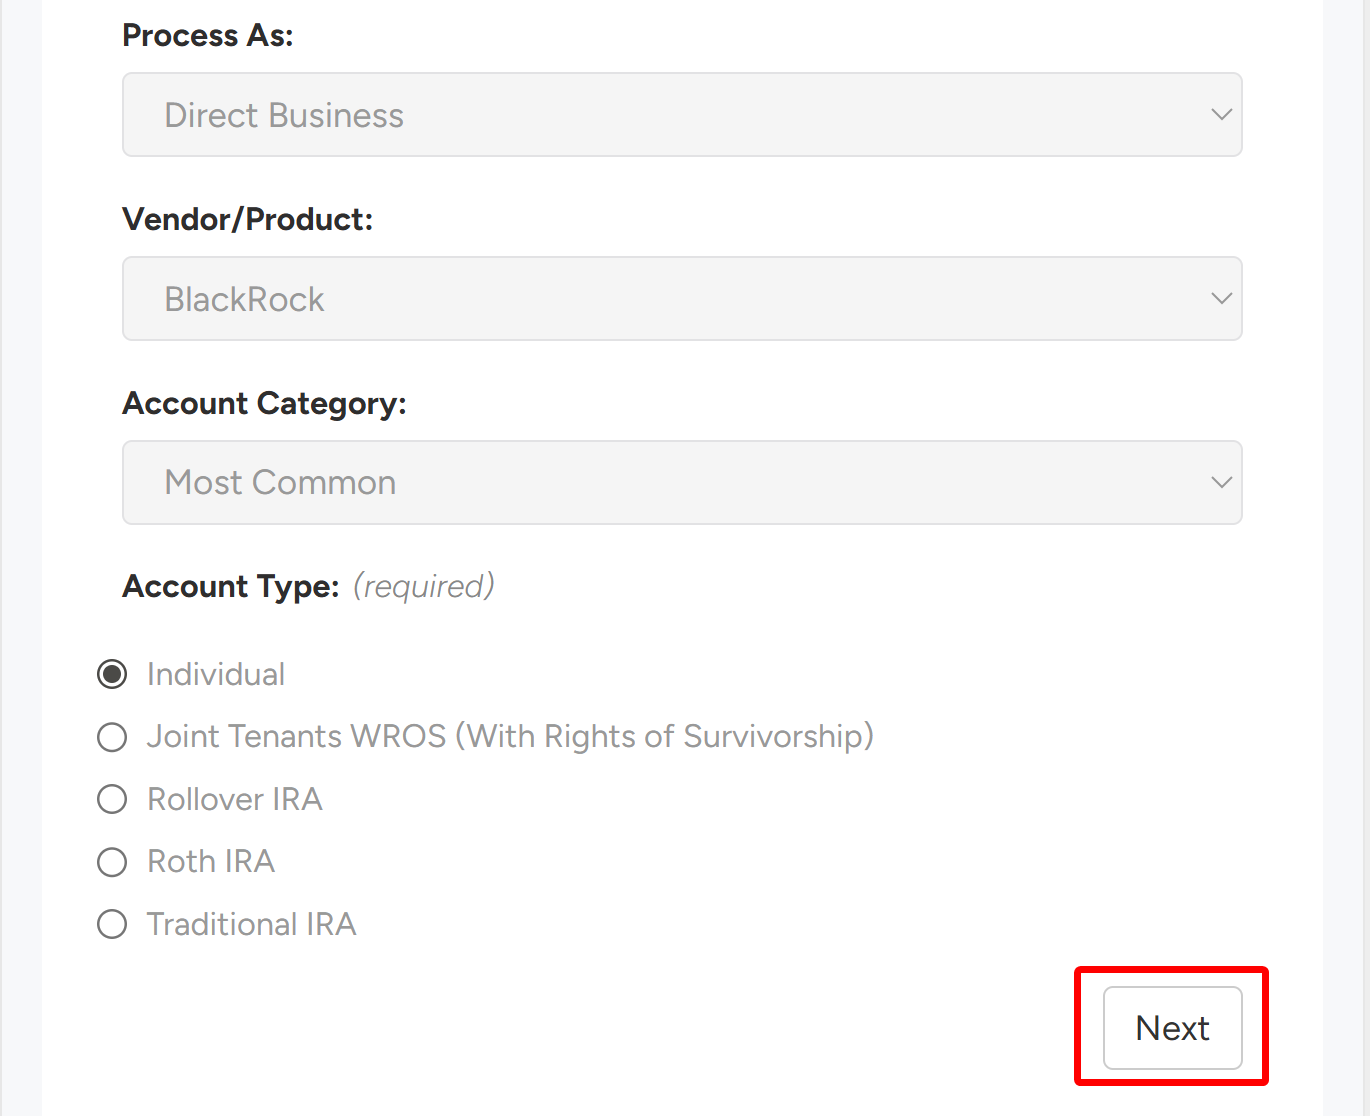
- Select Process As — Custodian or Direct Business.
- Select the Vendor/Product or Custodian — This is dependent on Process As selection.
- Select the Account Category — This selection will update the Account Type options.
- Select the Account Type — Options are filtered from the selected Account Category.
- Select the Form Bundle Name.
- Write an appropriate Form Bundle Description.
- Click Next.
- Choose the Company Forms and/or Custodian Forms needed in the bundle.
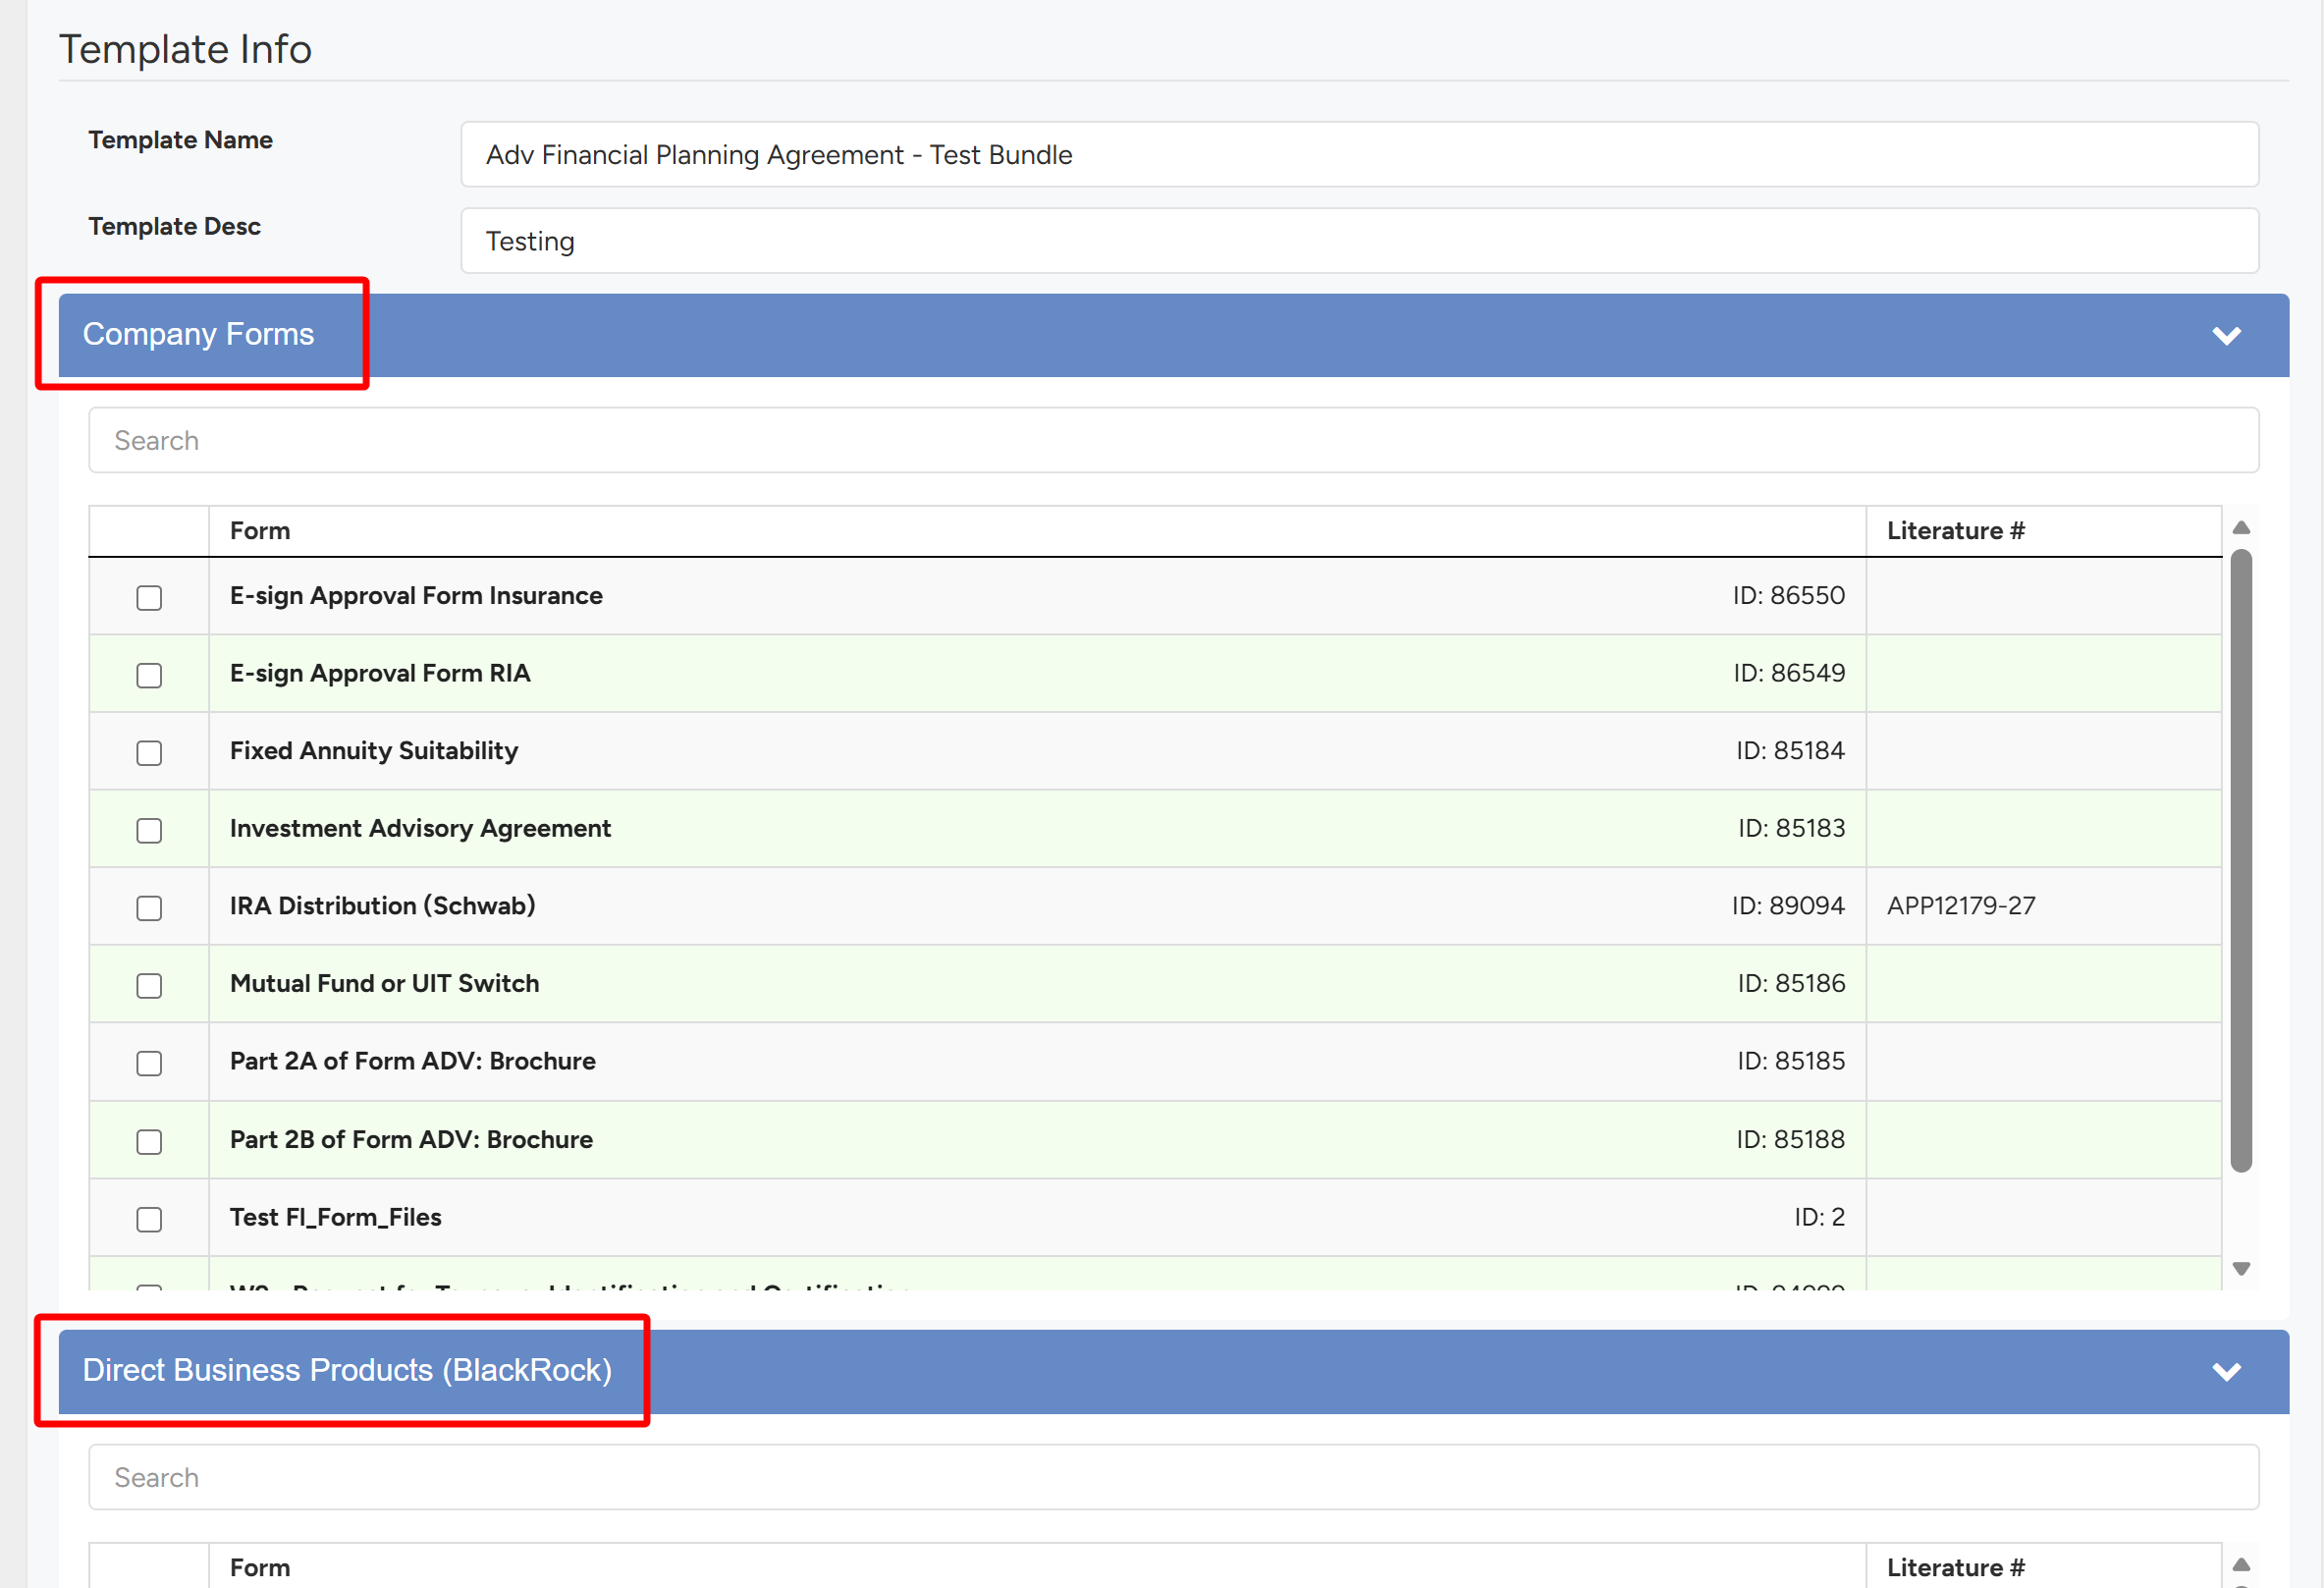
- Once the forms have been selected, click the Save Preconfigured Form Workflow button.

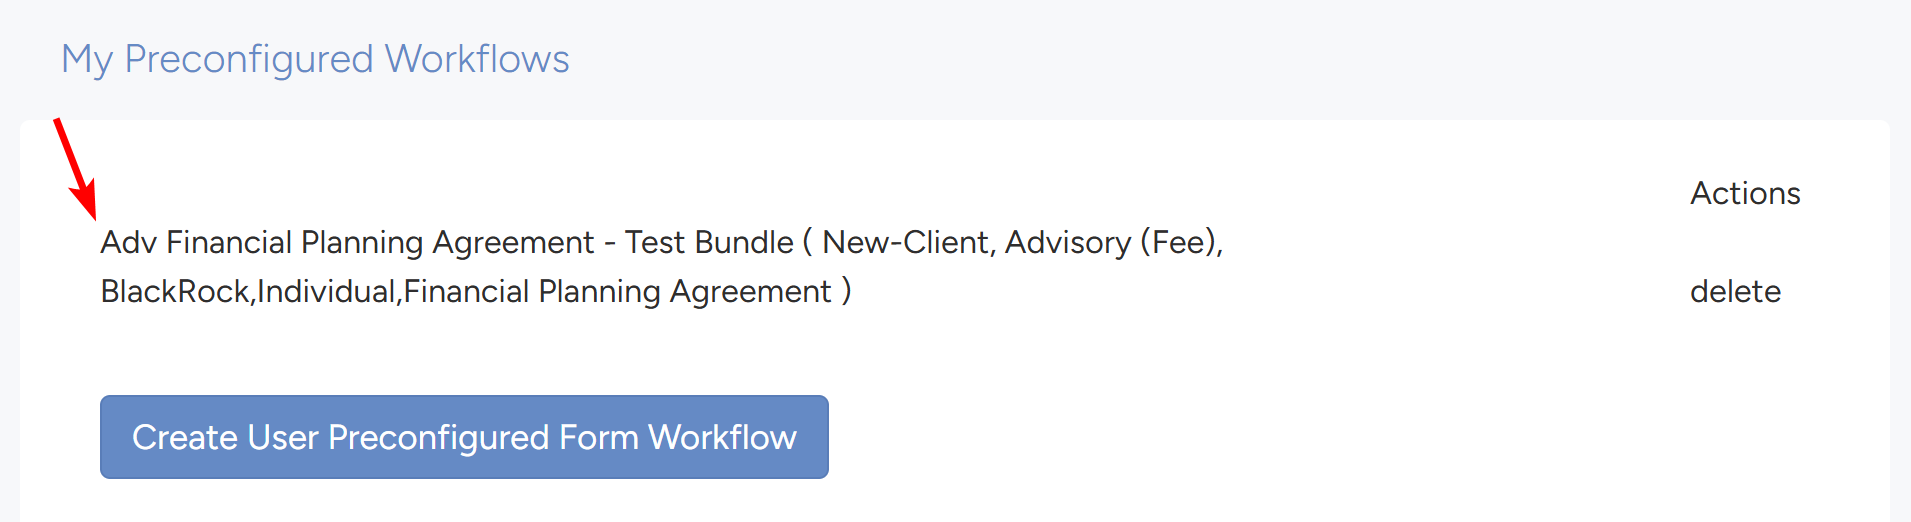
- The custom workflow template will be under the My Preconfigured Workflow section.
15.2 Creating Workflow From a Workflow Template
After creating a custom workflow, users can quickly initiate new workflows by selecting from a range of pre-defined templates. This functionality ensures that standard processes are followed consistently, reducing the time required to set up new workflows from scratch. Users can customize these templates to suit specific needs, ensuring flexibility while maintaining a structured approach.
To create a workflow from a custom workflow template, follow the steps below.
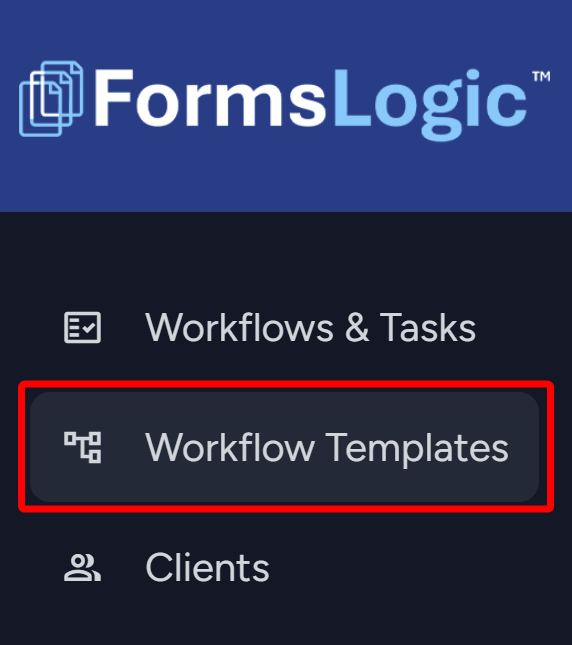
- From the side navigation menu, navigate to Workflow Templates.
- The system will navigate to the Form Workflow Templates page, where all custom workflows will be listed under the My Preconfigured Workflow section. Click the custom workflow name to start creating a workflow from the template.

- The system will navigate to the workflow creation page, where the specified fields in the template are pre-selected and cannot be changed. Fill in the rest of the client information.
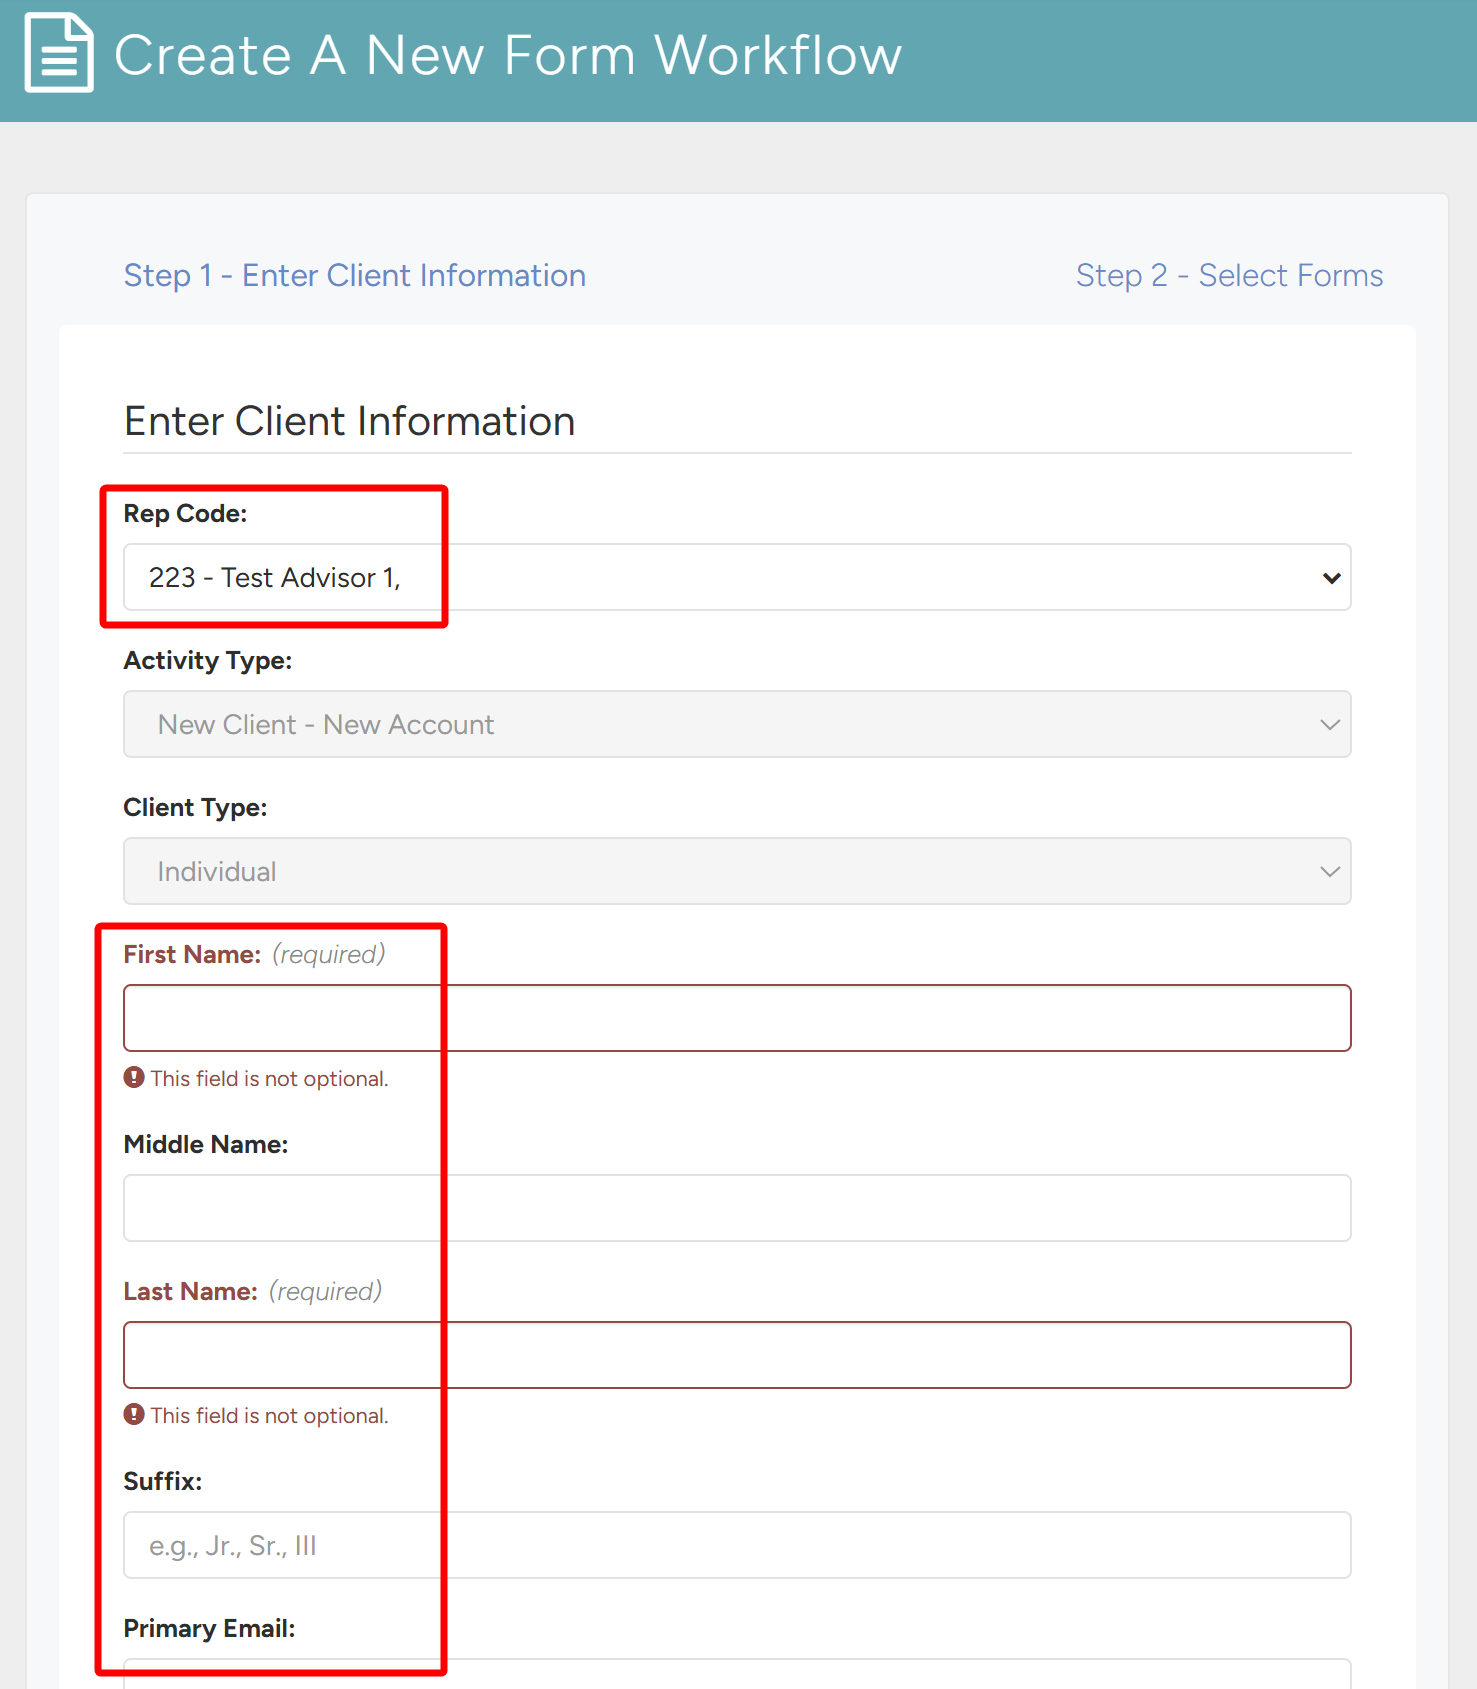
- Once the client information has been filled in, click Next in the bottom right – which will create the workflow with the pre-selected forms from the template.