Profile
The Profile is your central hub for managing your user account information. Here, you can view and update your basic details, ensuring your profile is always up-to-date. Additionally, this section provides access to various options that allow you to customize your user experience and manage account settings effectively. The Profile page is designed to give you control over your personal data and account preferences, enhancing your interaction with the system.
3.1 Navigating into Profile
To navigate into your profile, follow the step below.
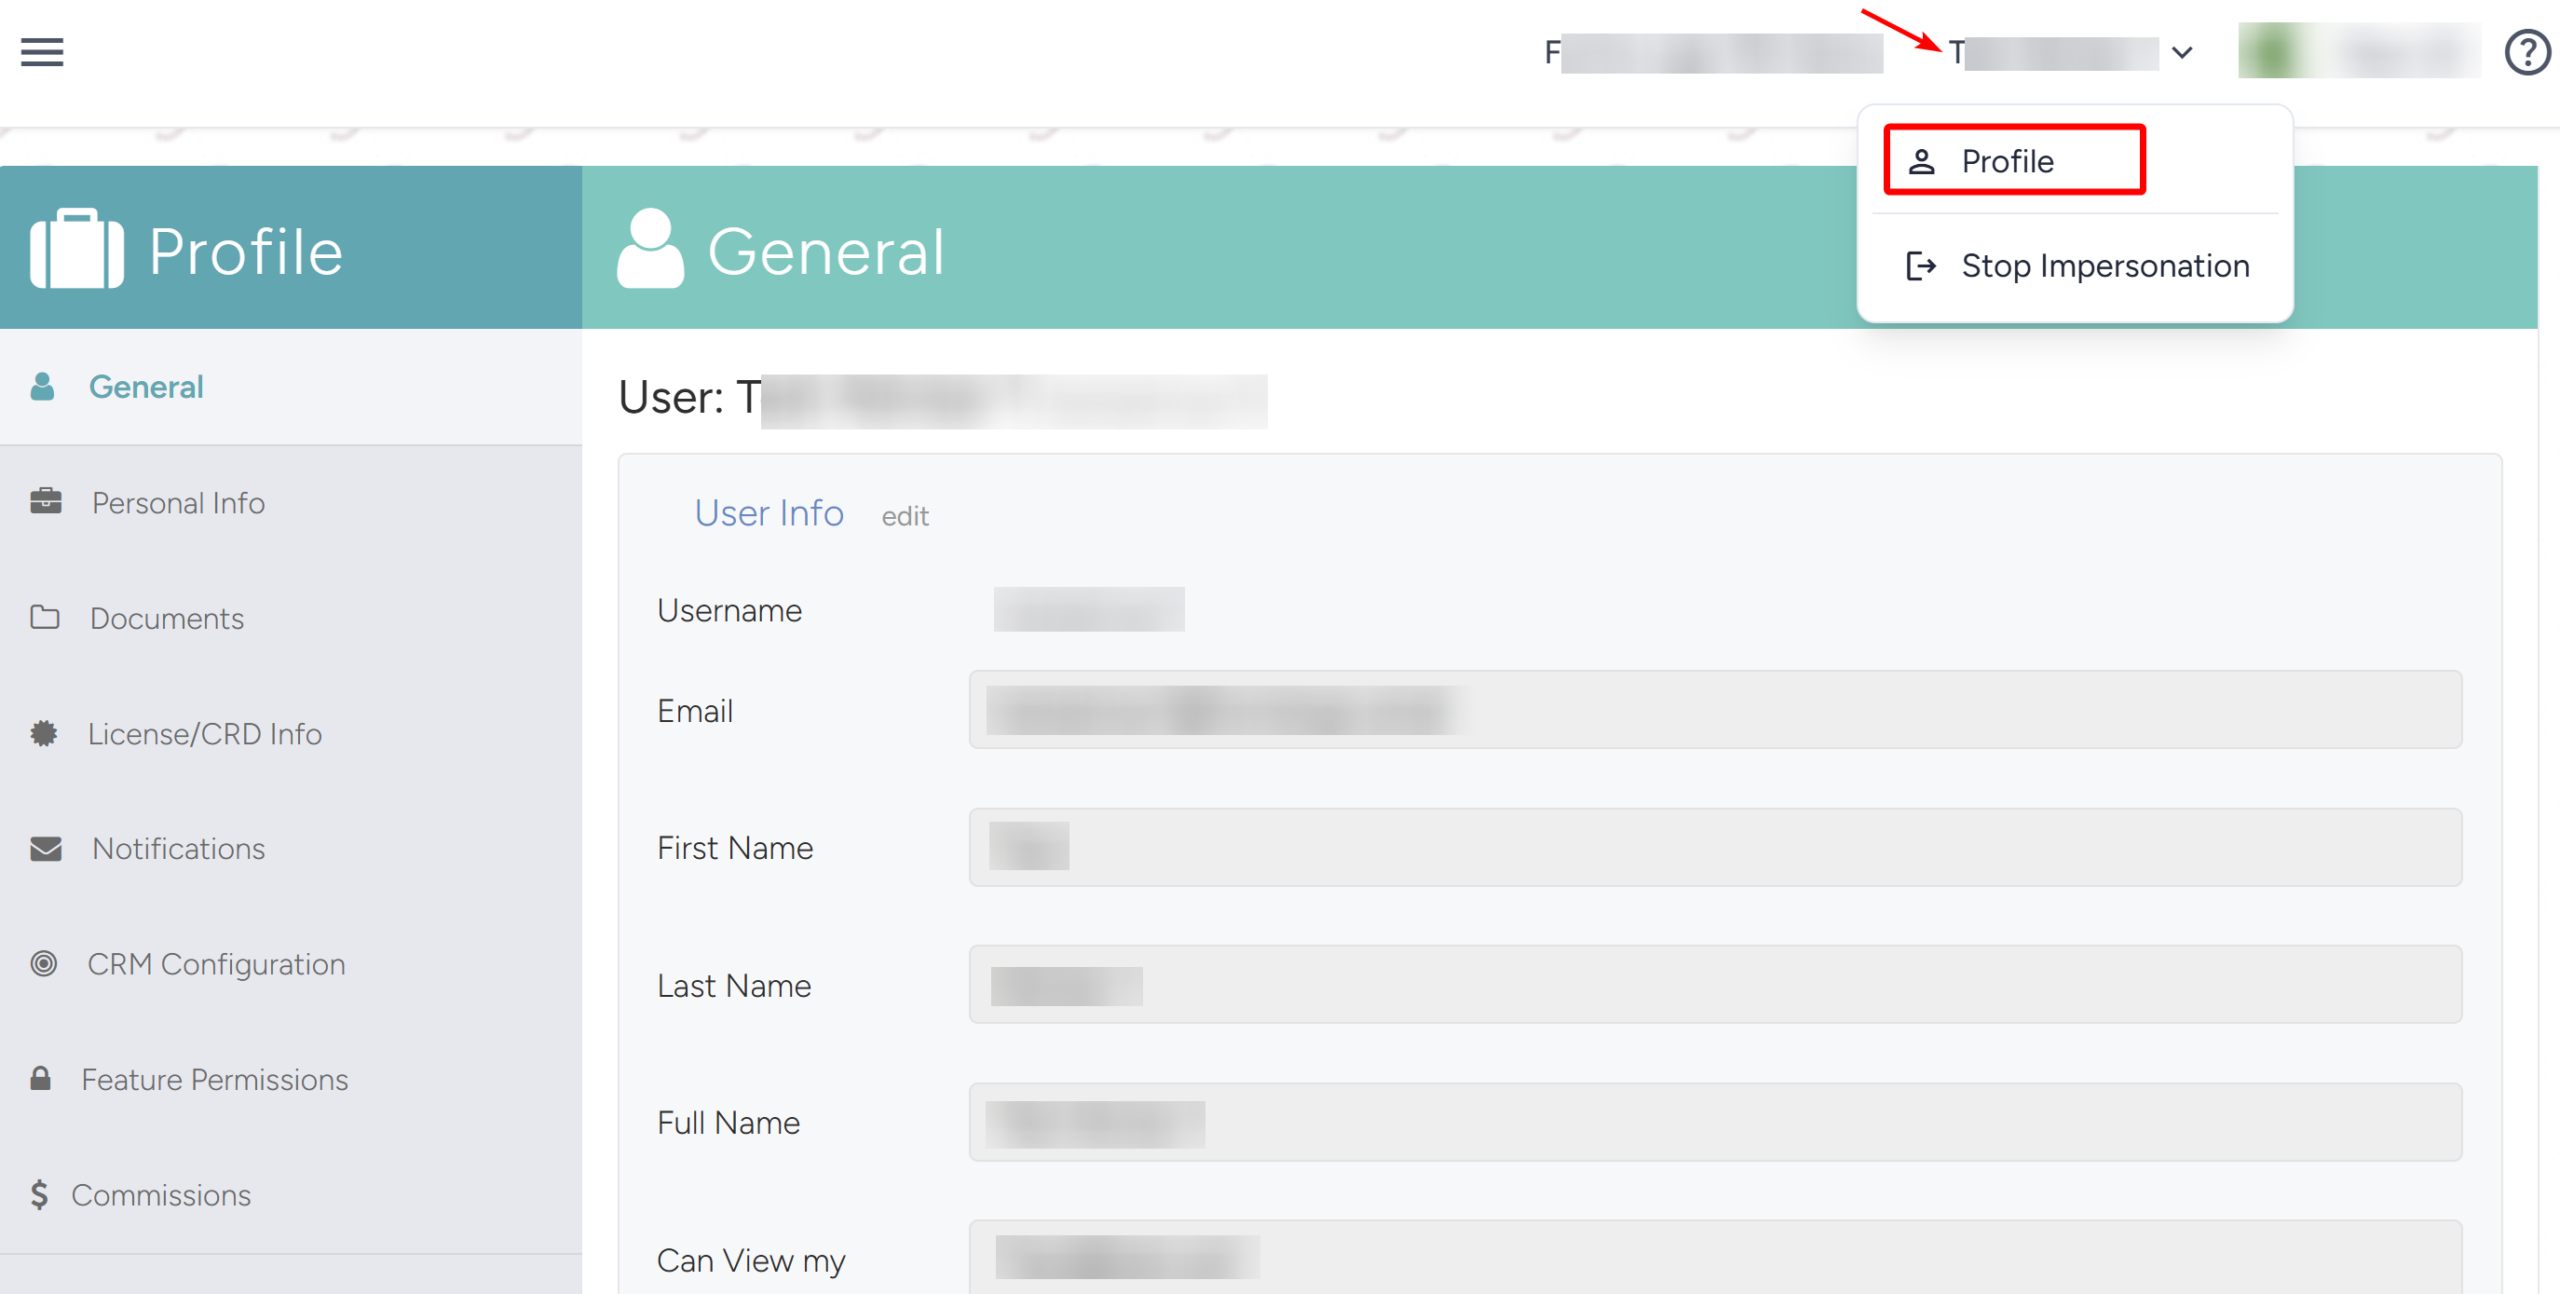
- Click the user name in the upper right and click the Profile button from the dropdown. The Profile will load as shown below.
3.2 General Tab
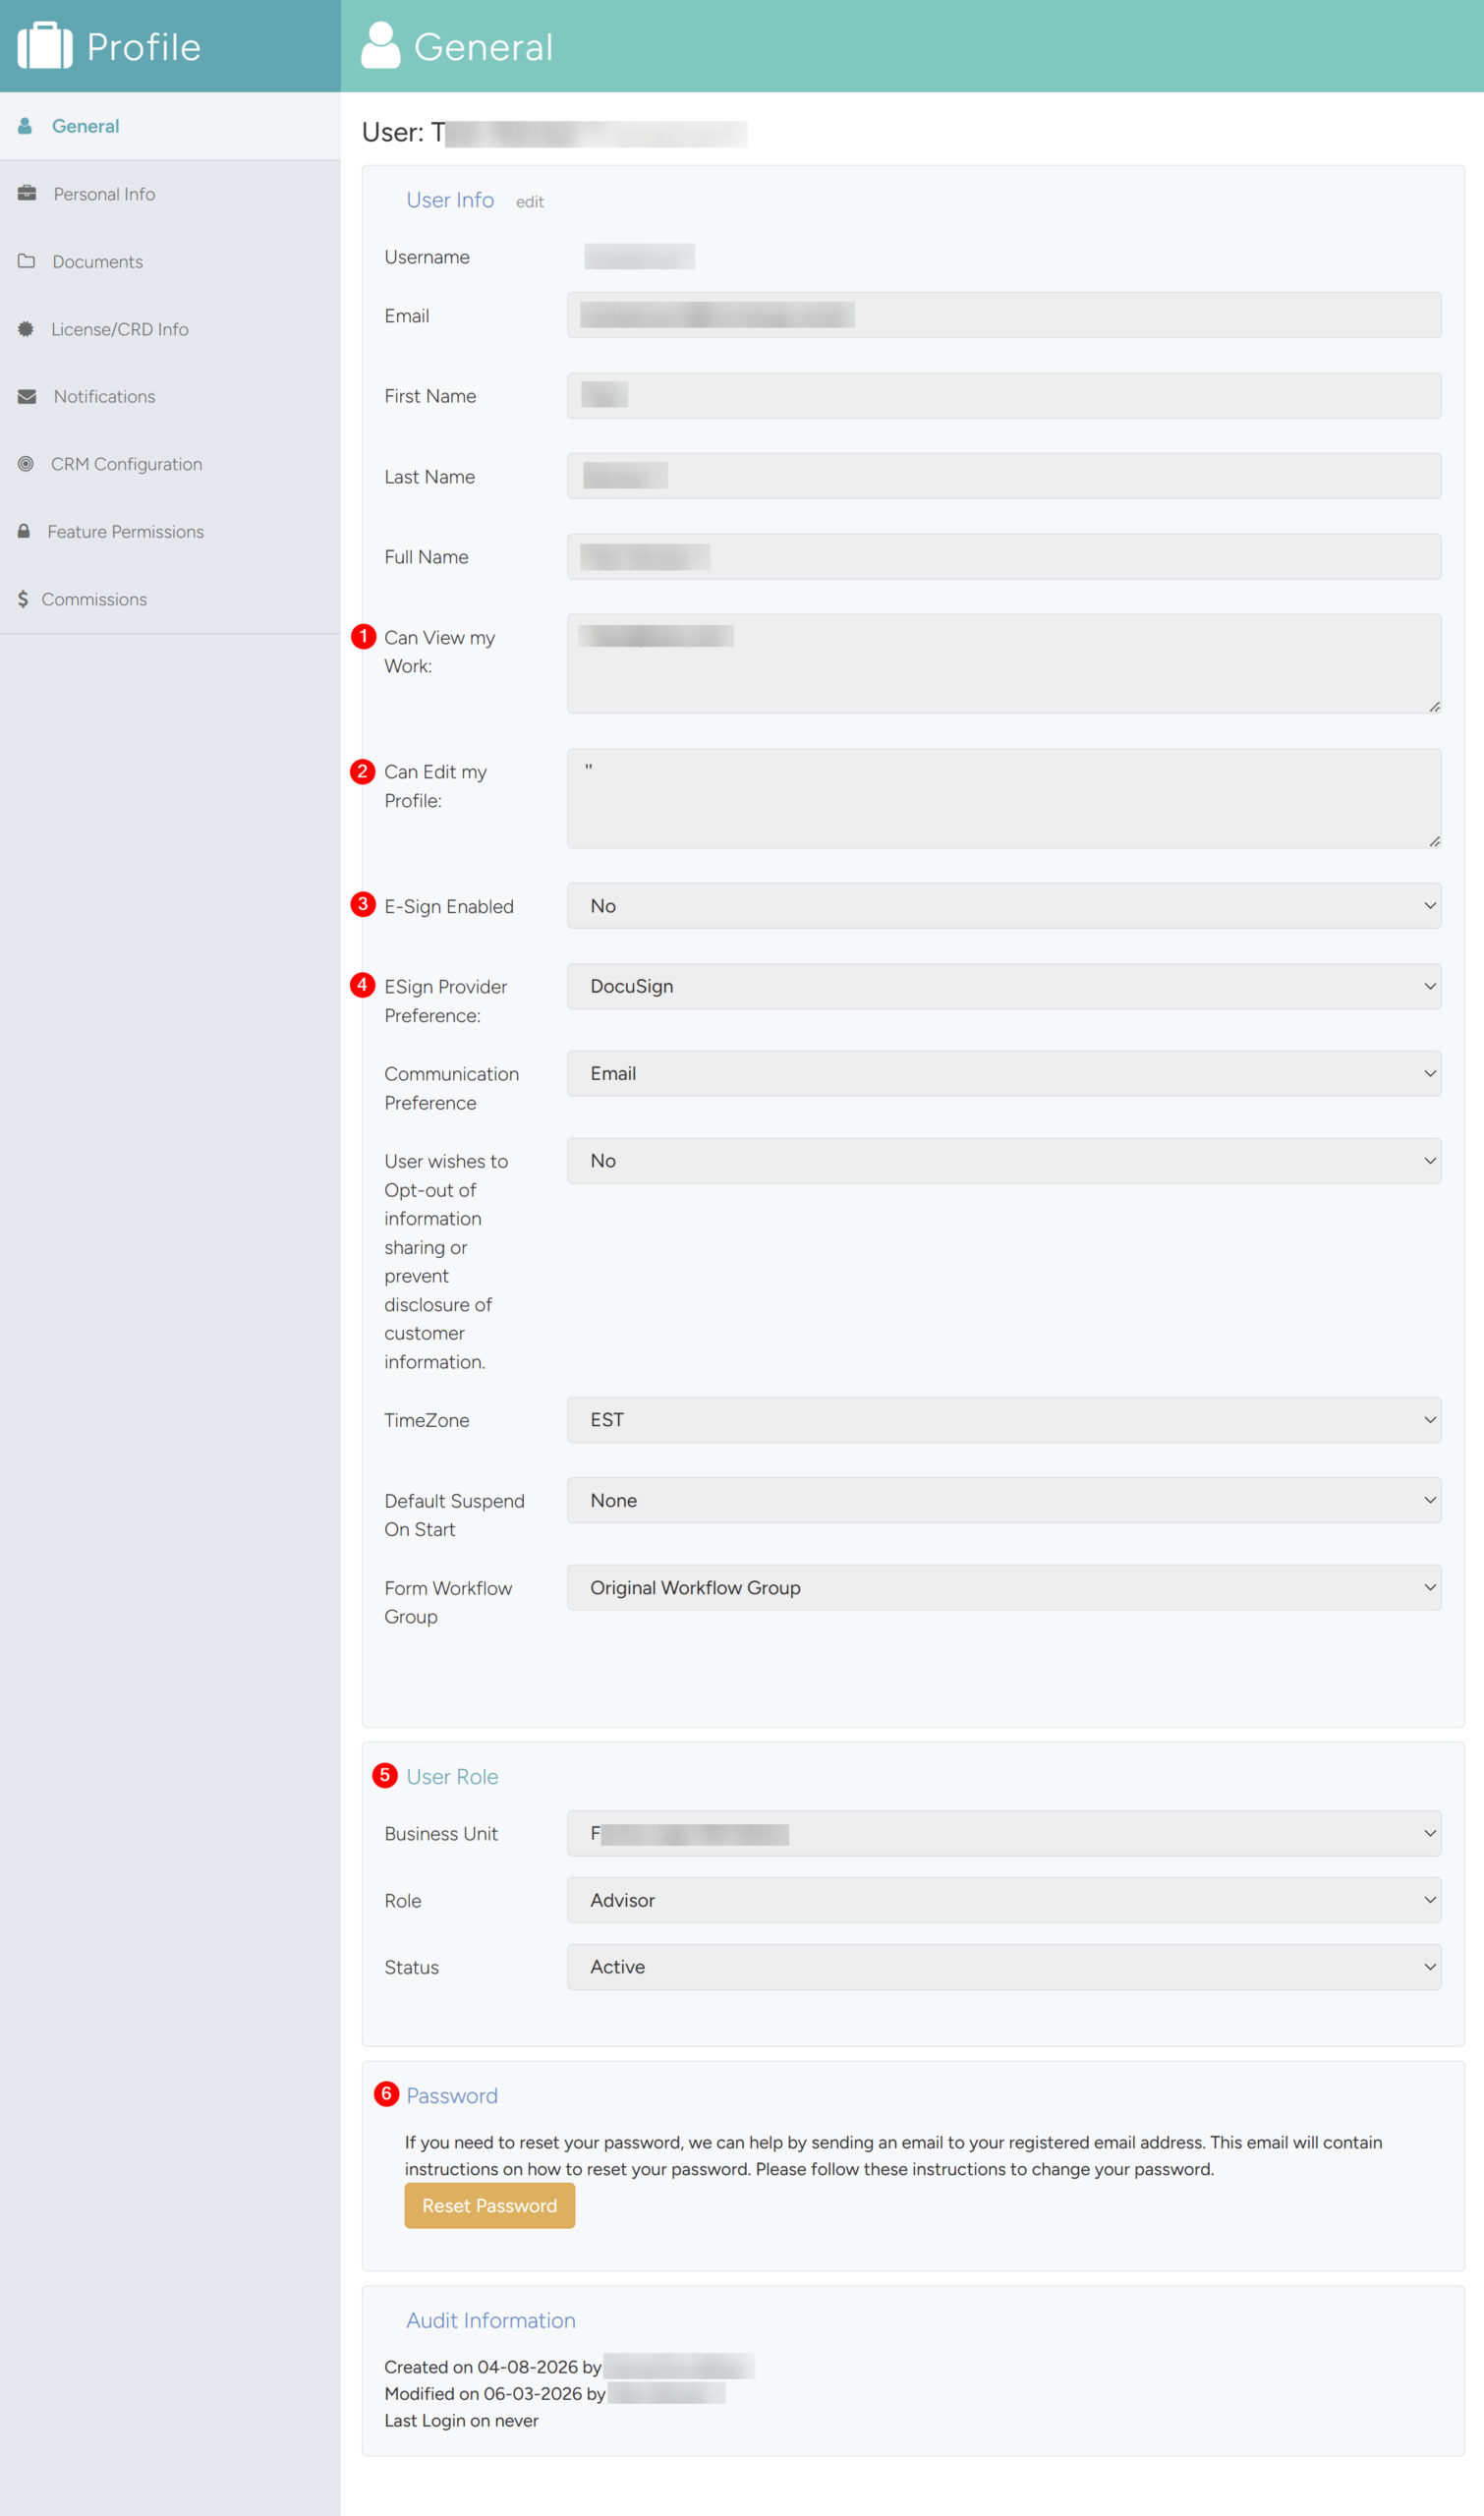
- The General Tab shows the overall information about the user.
- Here are some of the things located in this tab:
- Can View my Work: Allows to add users in your organization that can view your work. Usually assigned to support staff/assistants.
- Can Edit my Profile: Allows to add users in your organization that can edit your profile.
- Esign Enabled: Shows if e-Signature is enabled. The system administrator can enable this feature for the user.
- ESign Provider Preference: Designate the signature preference — choose between Docusign and SignIx if your company is approved to use both.
- User Role: View the user role.
- Password: Reset Password.
3.3 Personal Info Tab
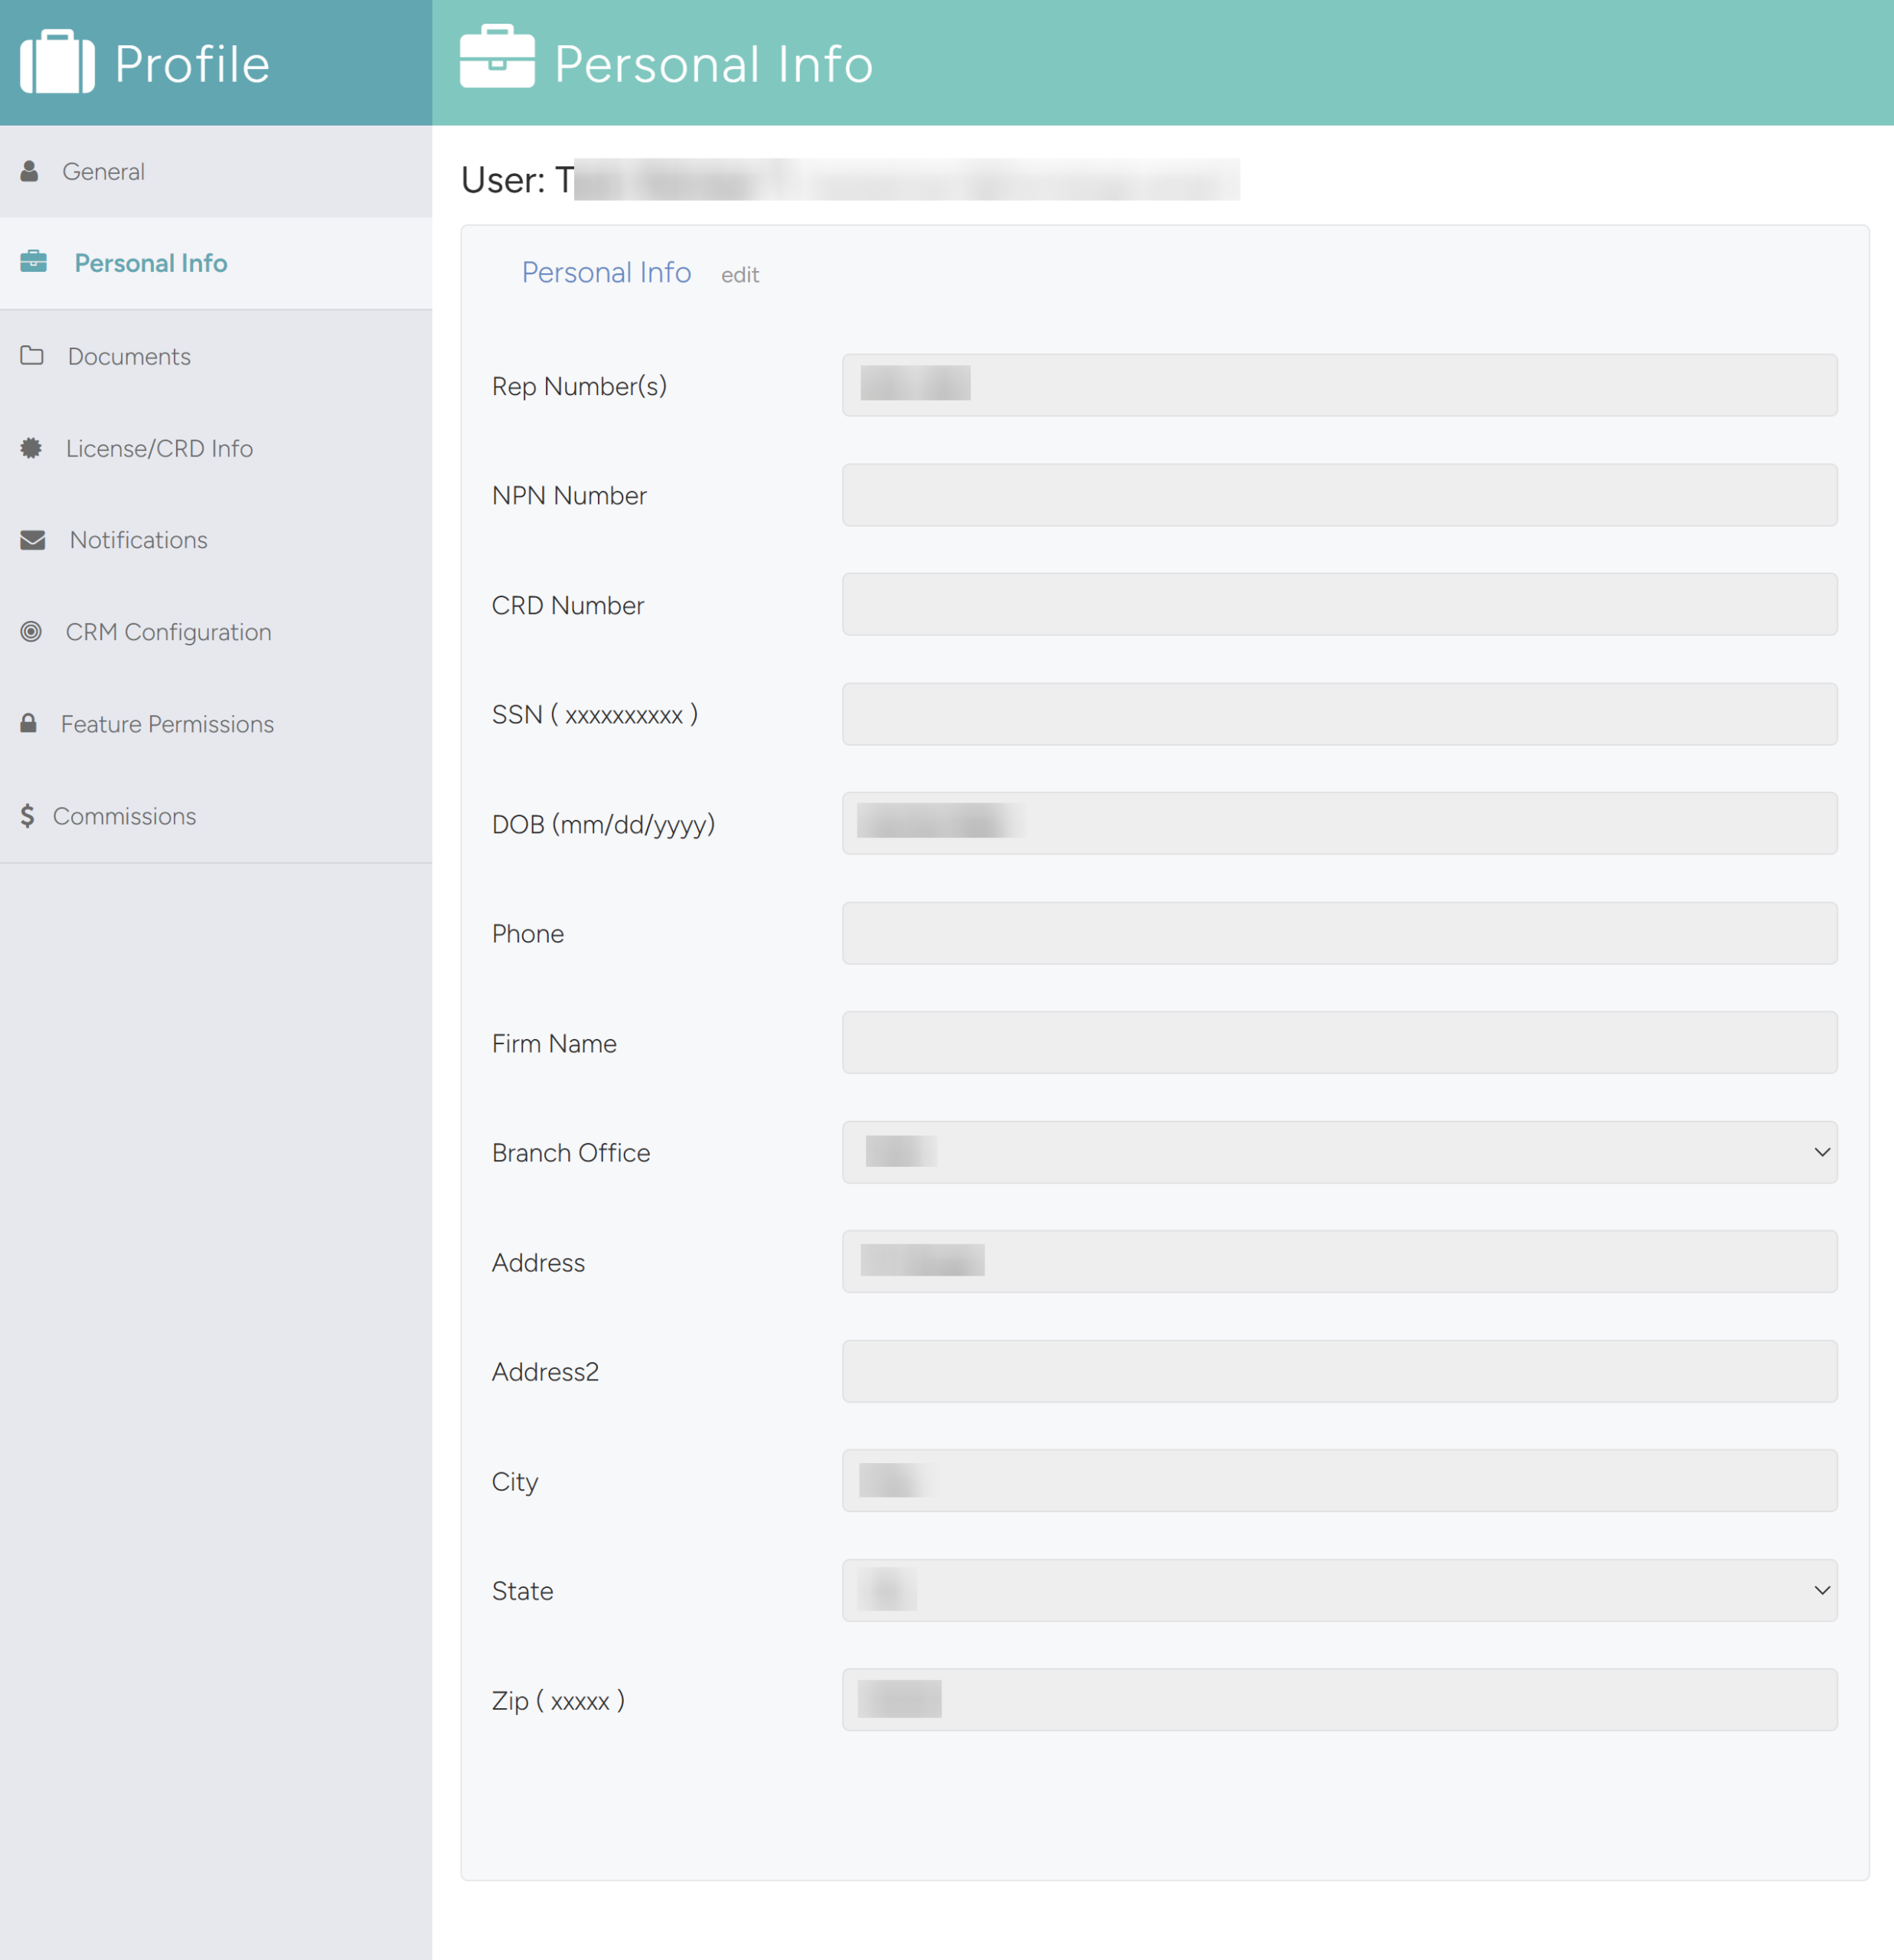
- The Personal Info tab maintains the user’s more specific and personal information.
Note
This is where the system pulls your cellphone, dob, and social security information for SMS verification. MAKE SURE IT IS CORRECT.
3.4 Documents Tab
- The Documents tab is the user’s E-Vault where you can store unique documents/forms.
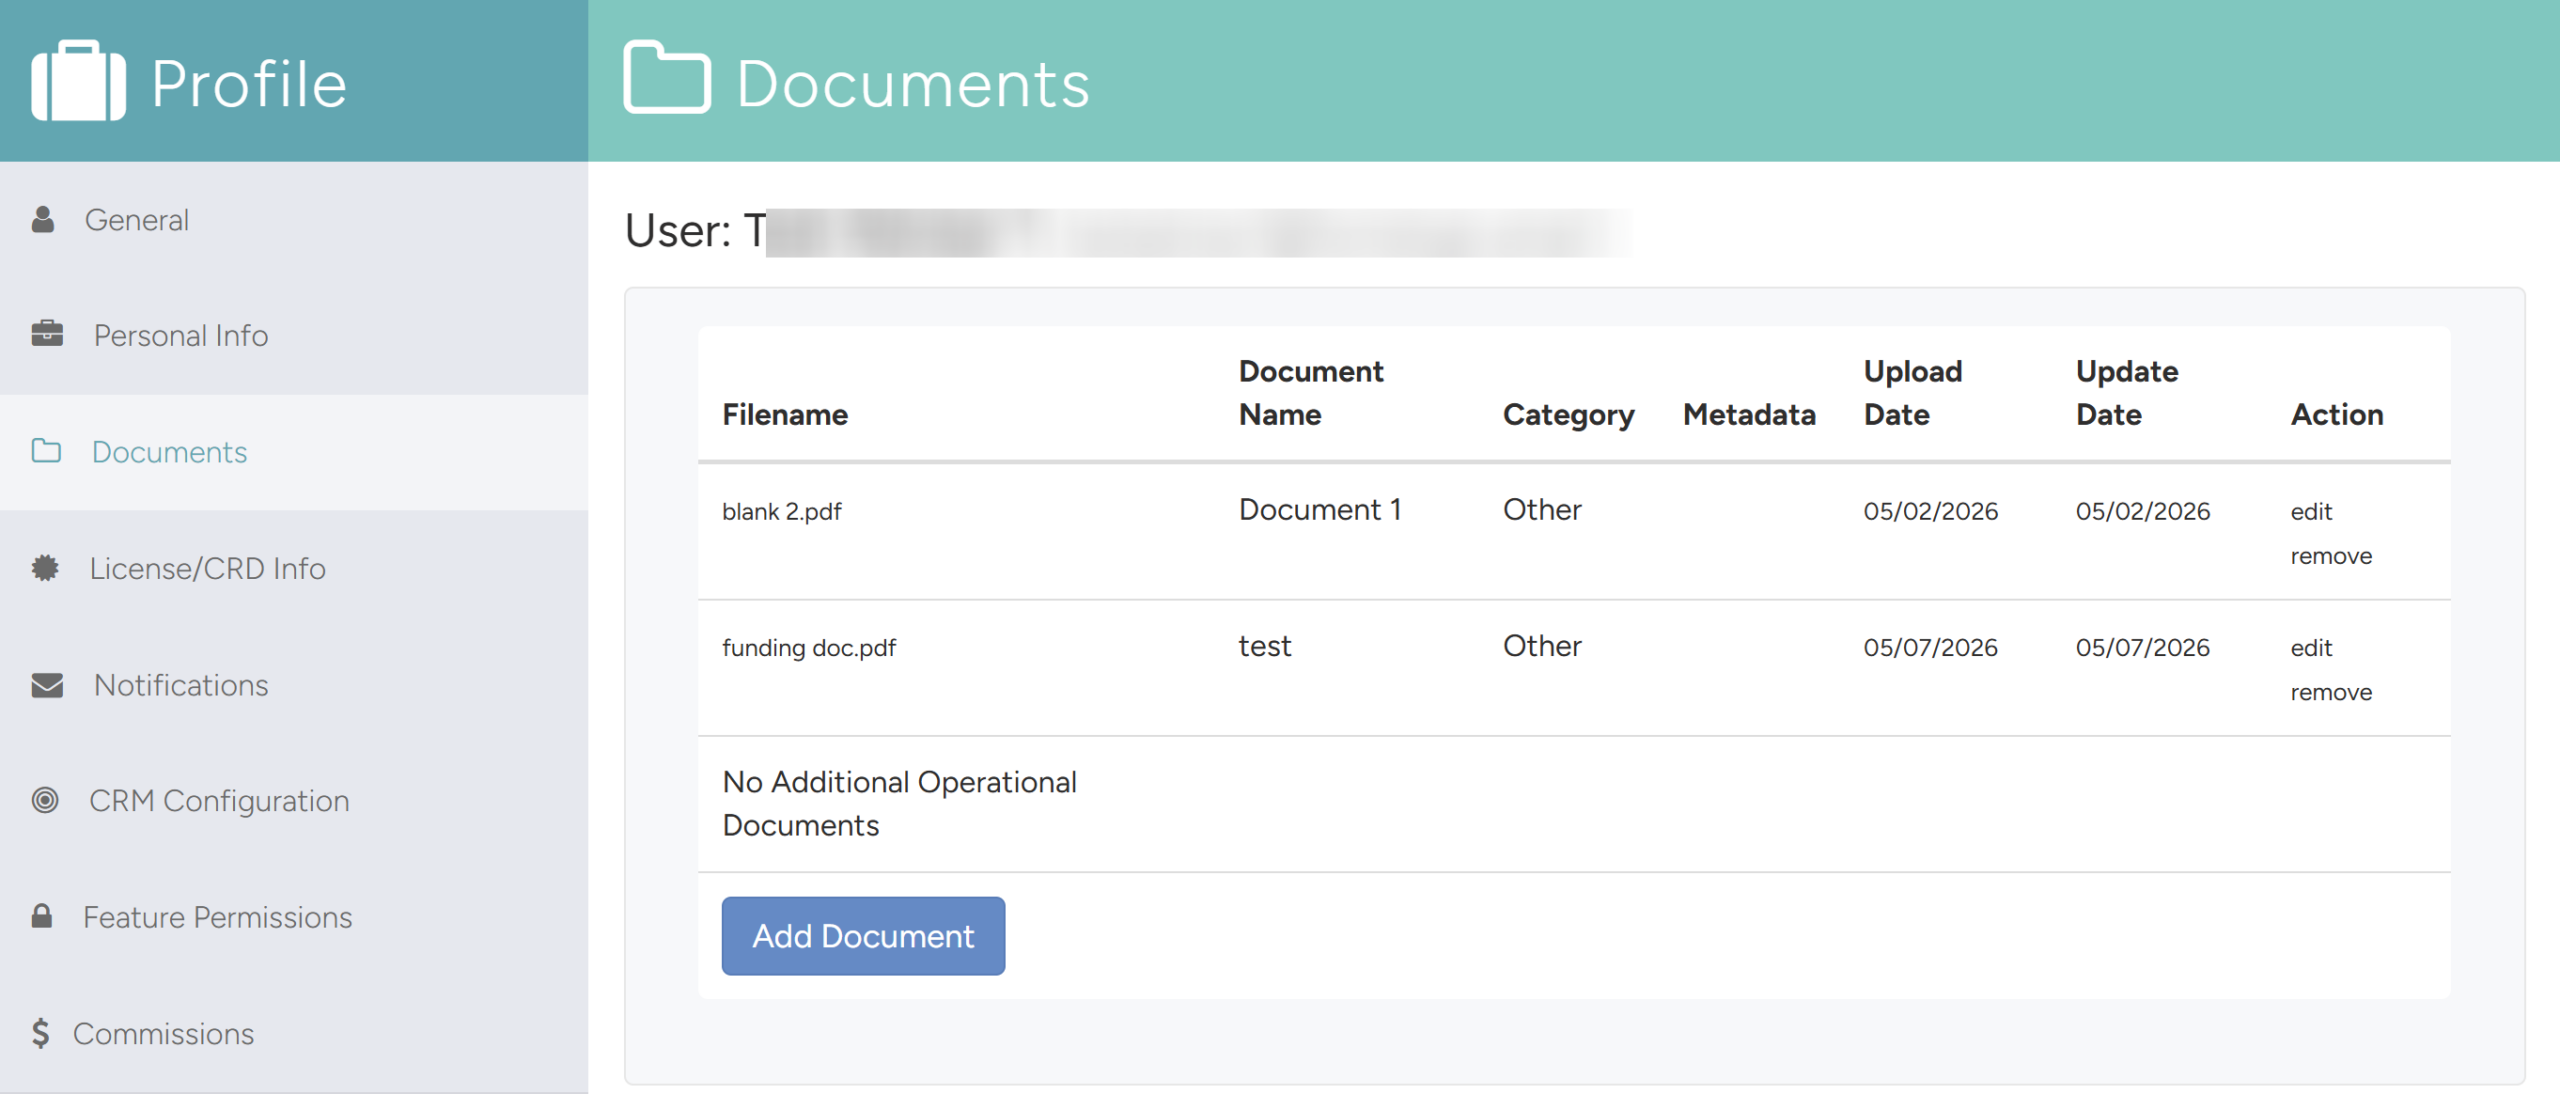
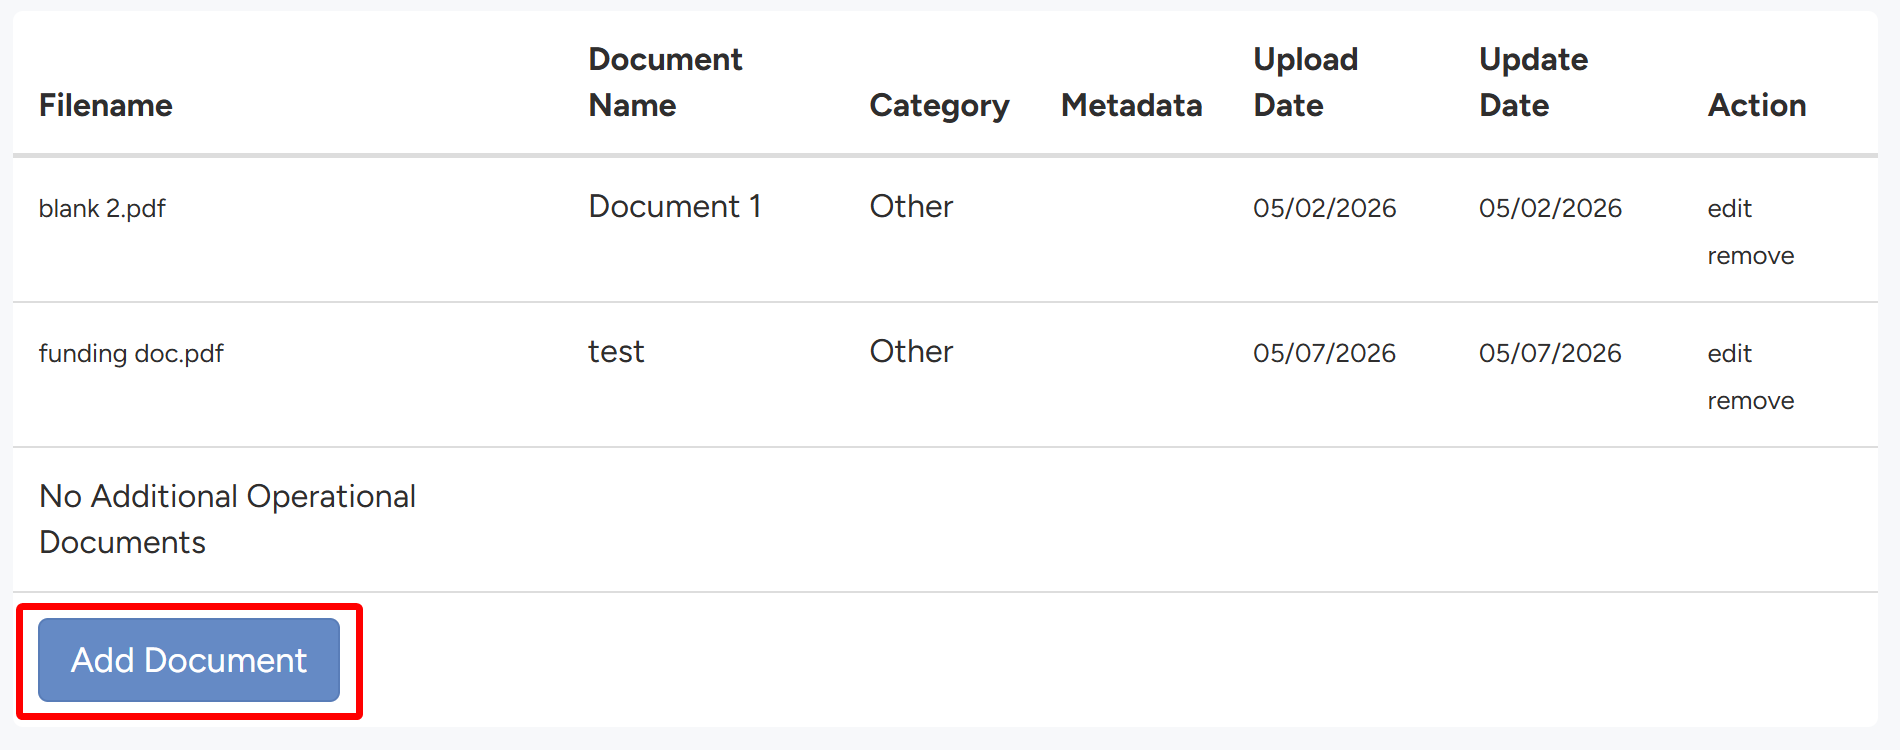
- To upload a document, click the Add Document button.
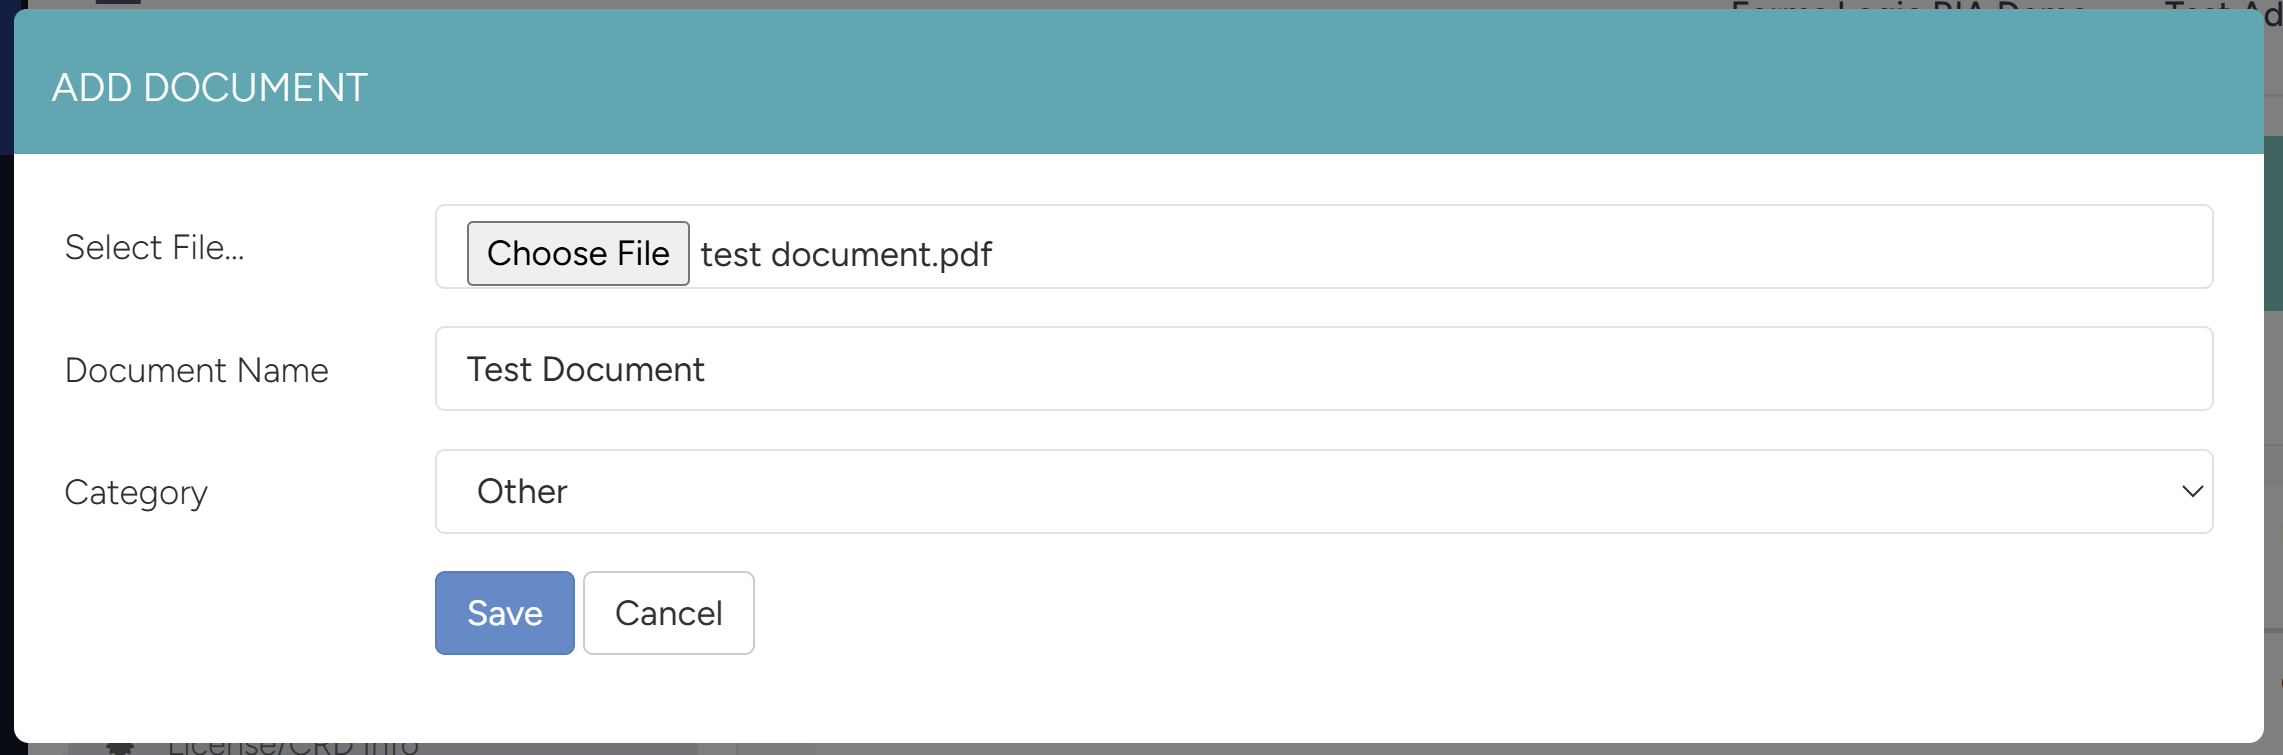
- The Add Document Panel will open. Choose the File, provide the document name, select the Category, and click Save.
Note
Documents from both E-Vaults (Client and Advisor) can be added to workflows as supporting documents.
3.5 License/CRD Info Tab
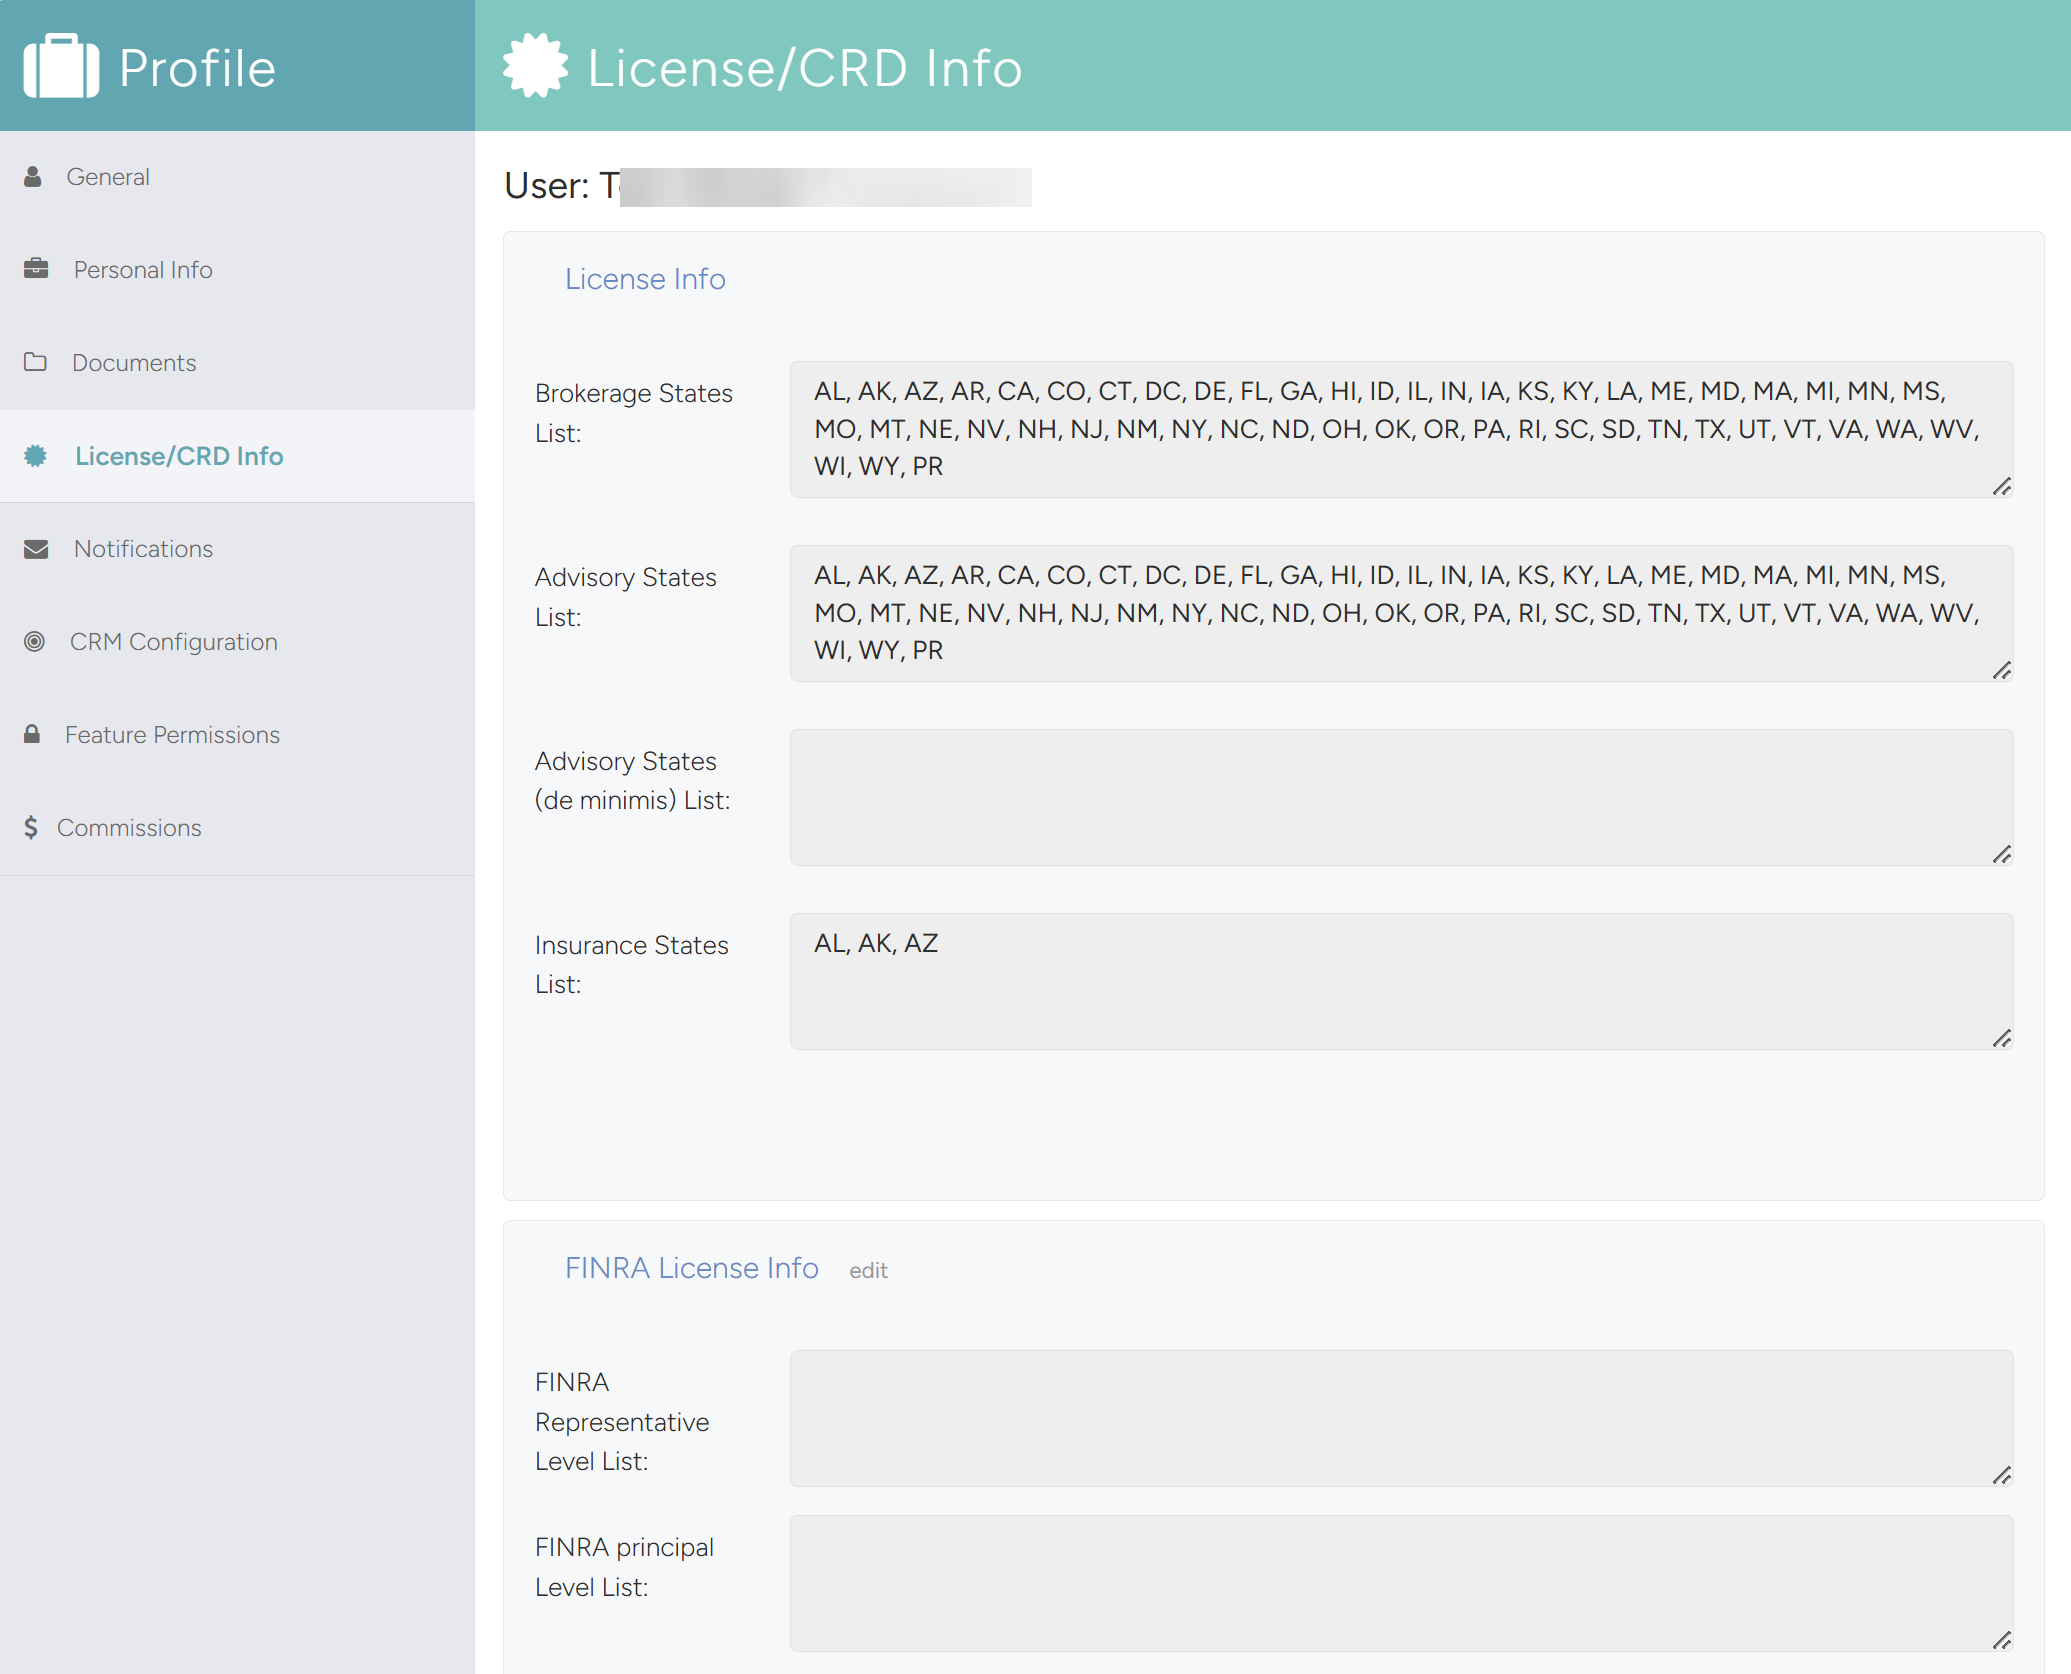
- The License/CRD Info Tab displays the user’s license and CRD info. This information is maintained by your back-office supervisors or licensing departments.
3.6 Notifications Tab
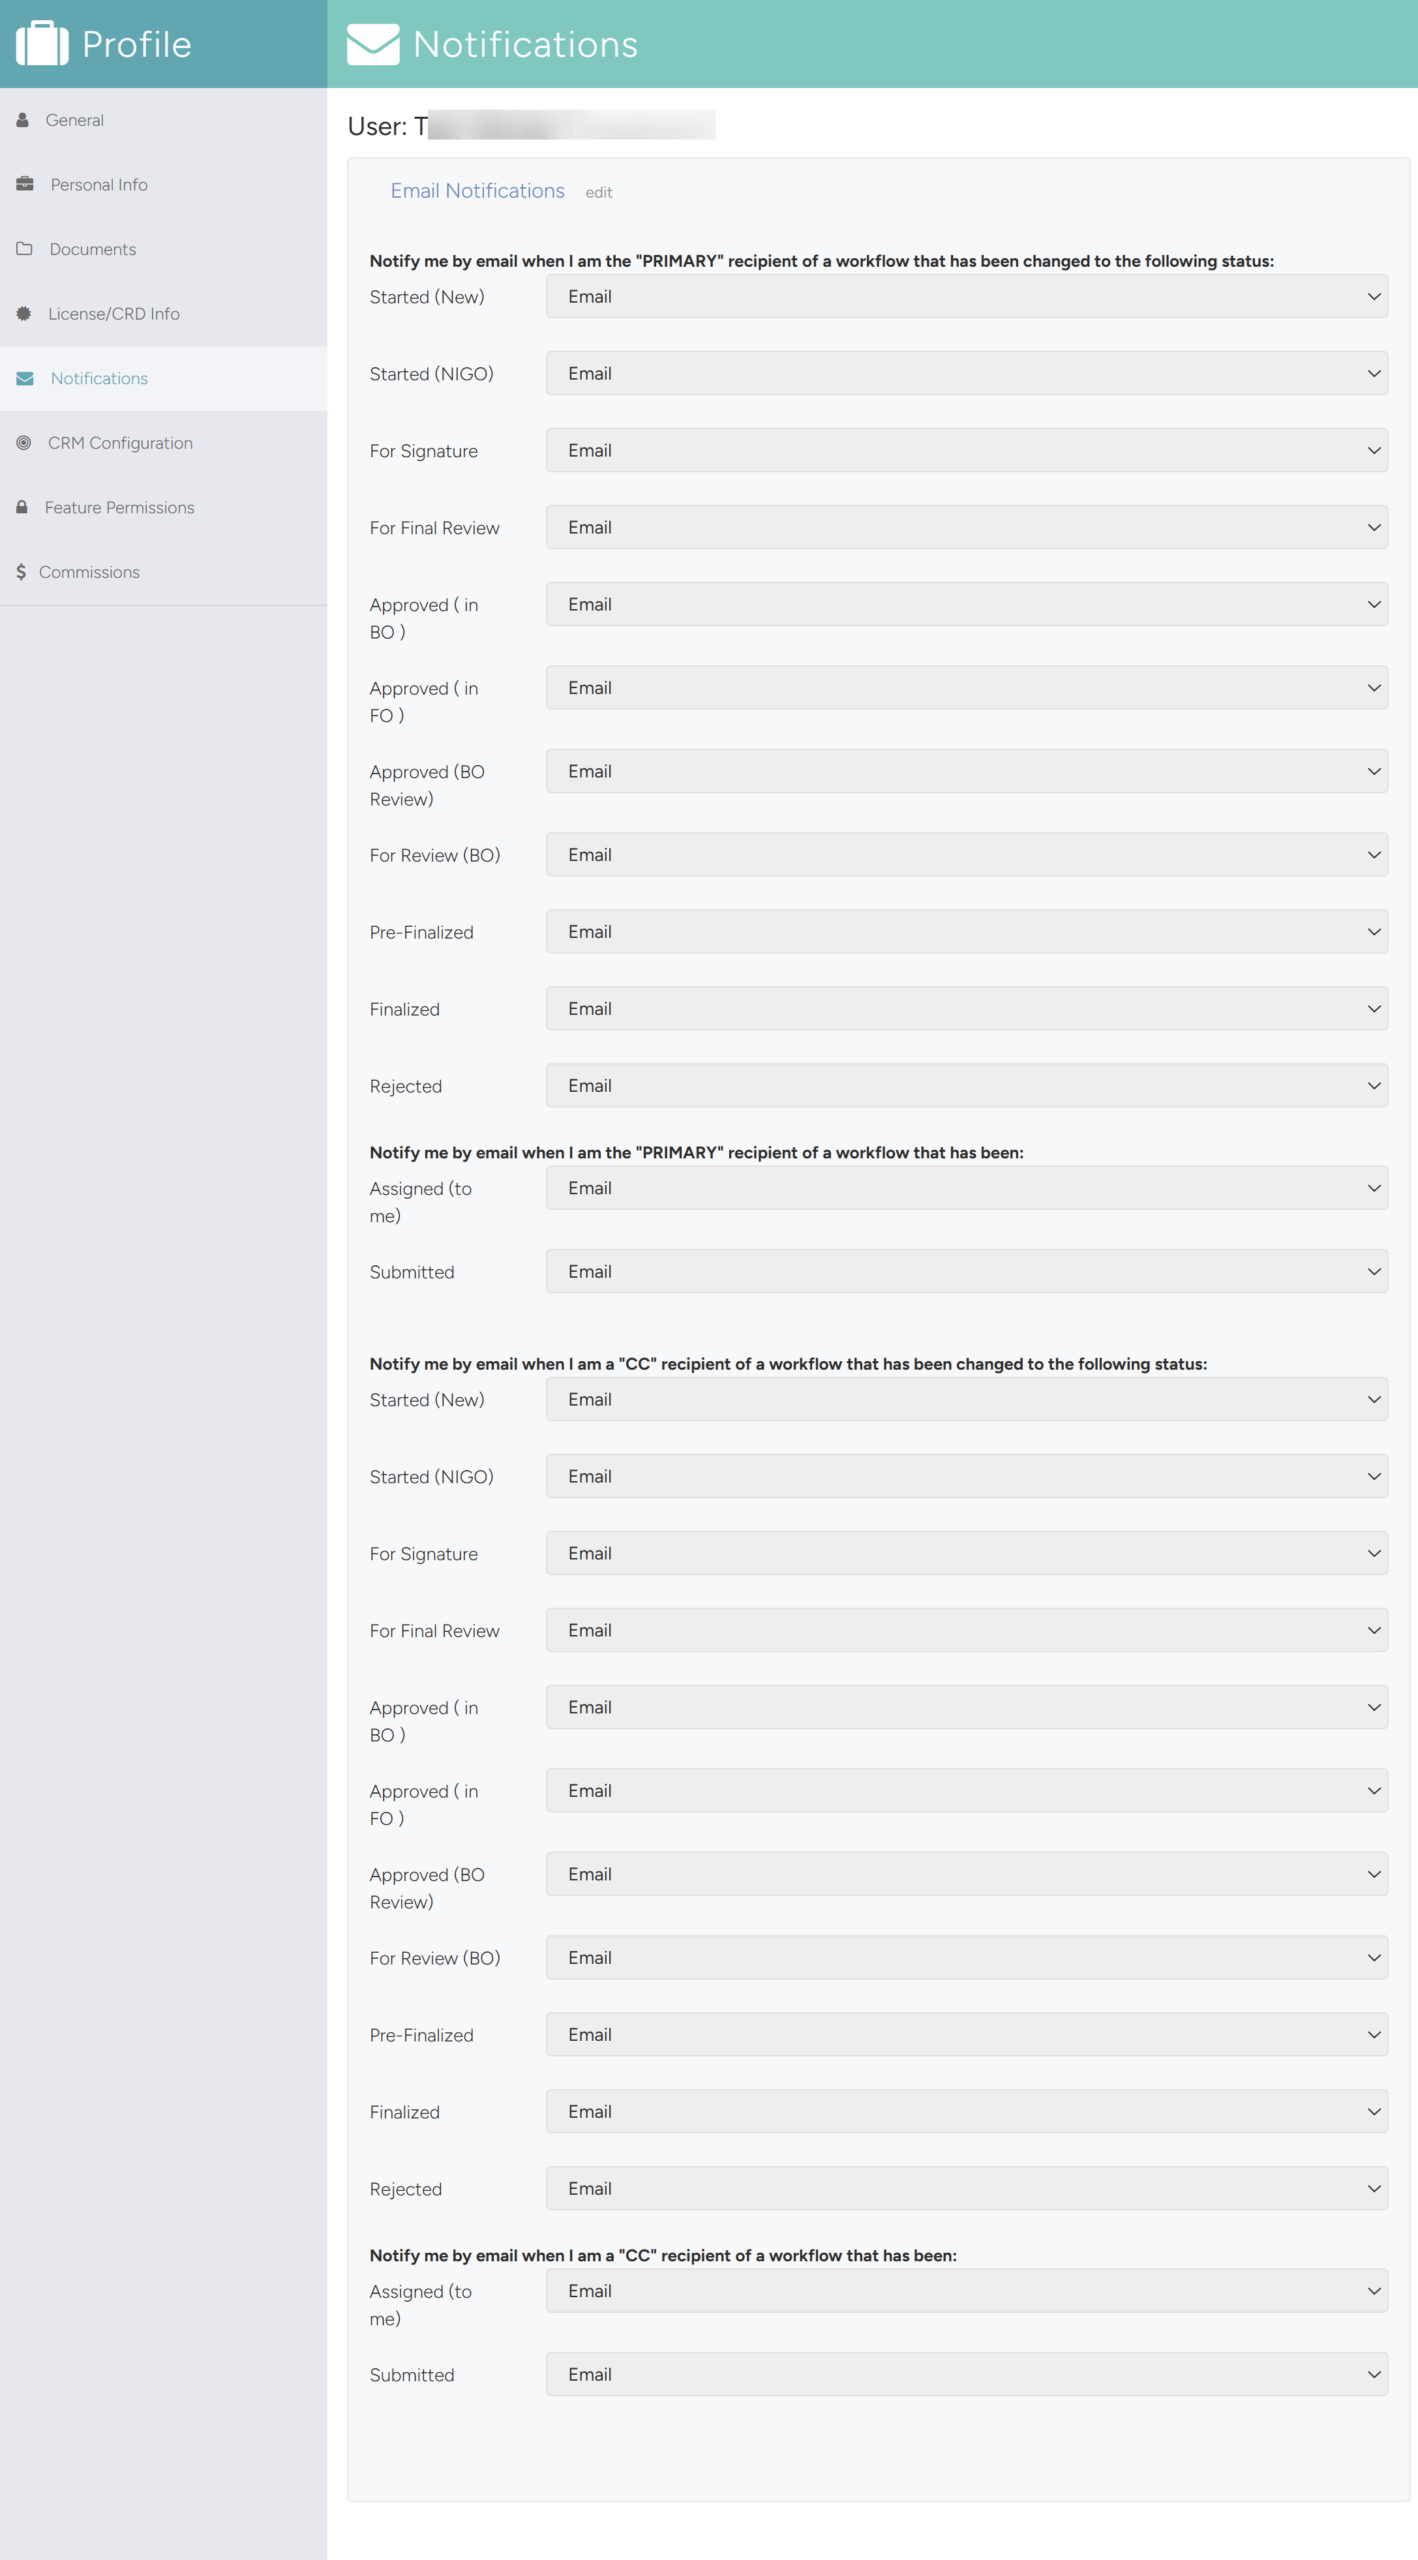
- The Notifications Tab is where email notifications can be configured for status updates in a workflow.
Note
There are two notification distinctions:
- Primary – you created and are owner of the workflow or you are the advisor in the workflow.
- CC’d – you are a part of the workflow — such as an assistant.
- To update specific configurations, click the edit button at the top.

- Find the specific state you want to update notifications for and click on the option — change the option as desired.
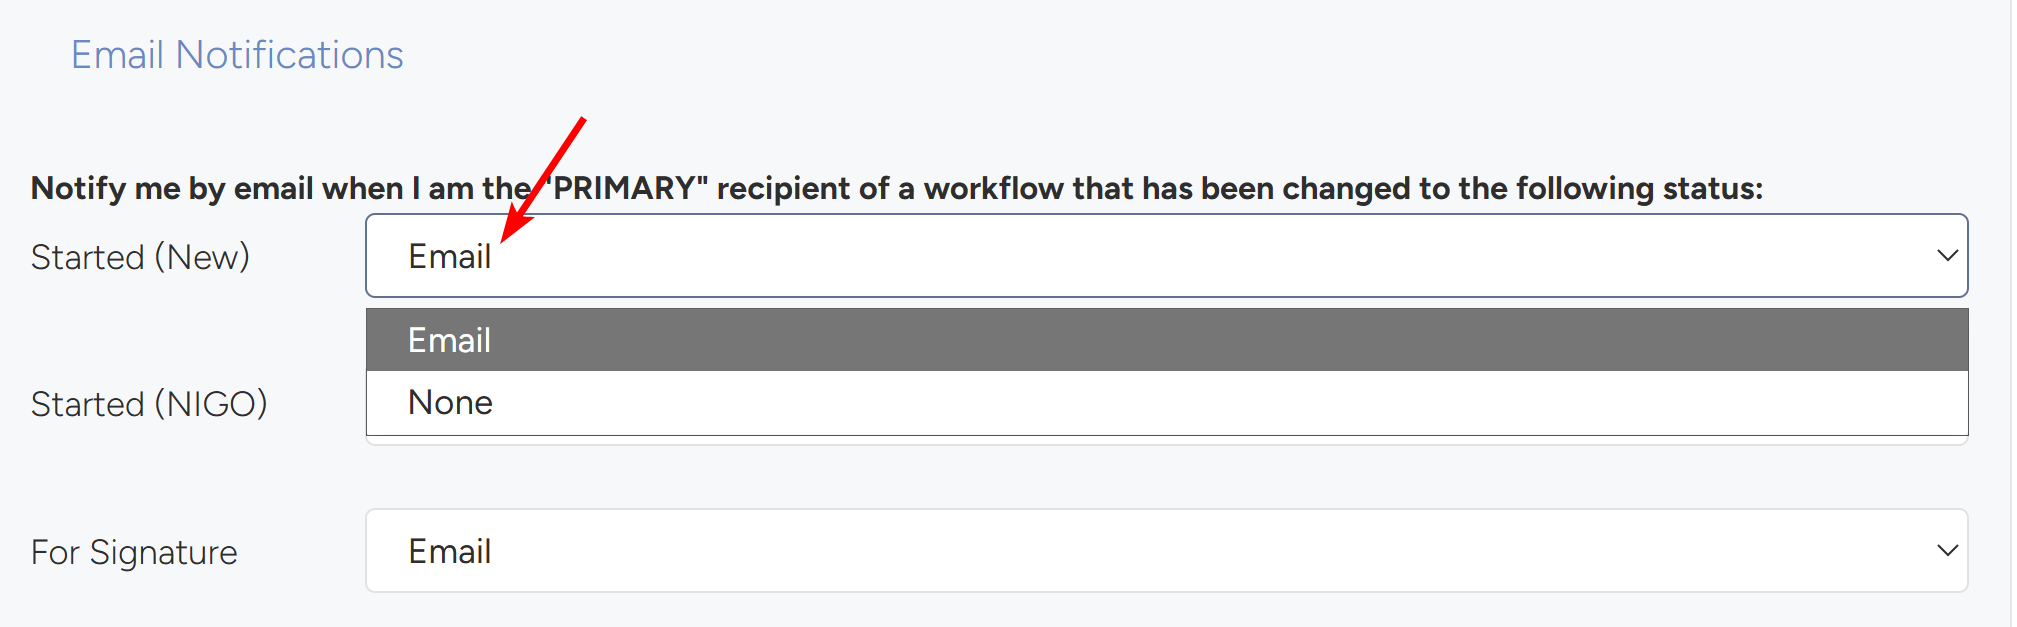
- Click the Save to save the changes.

3.7 CRM Configuration Tab
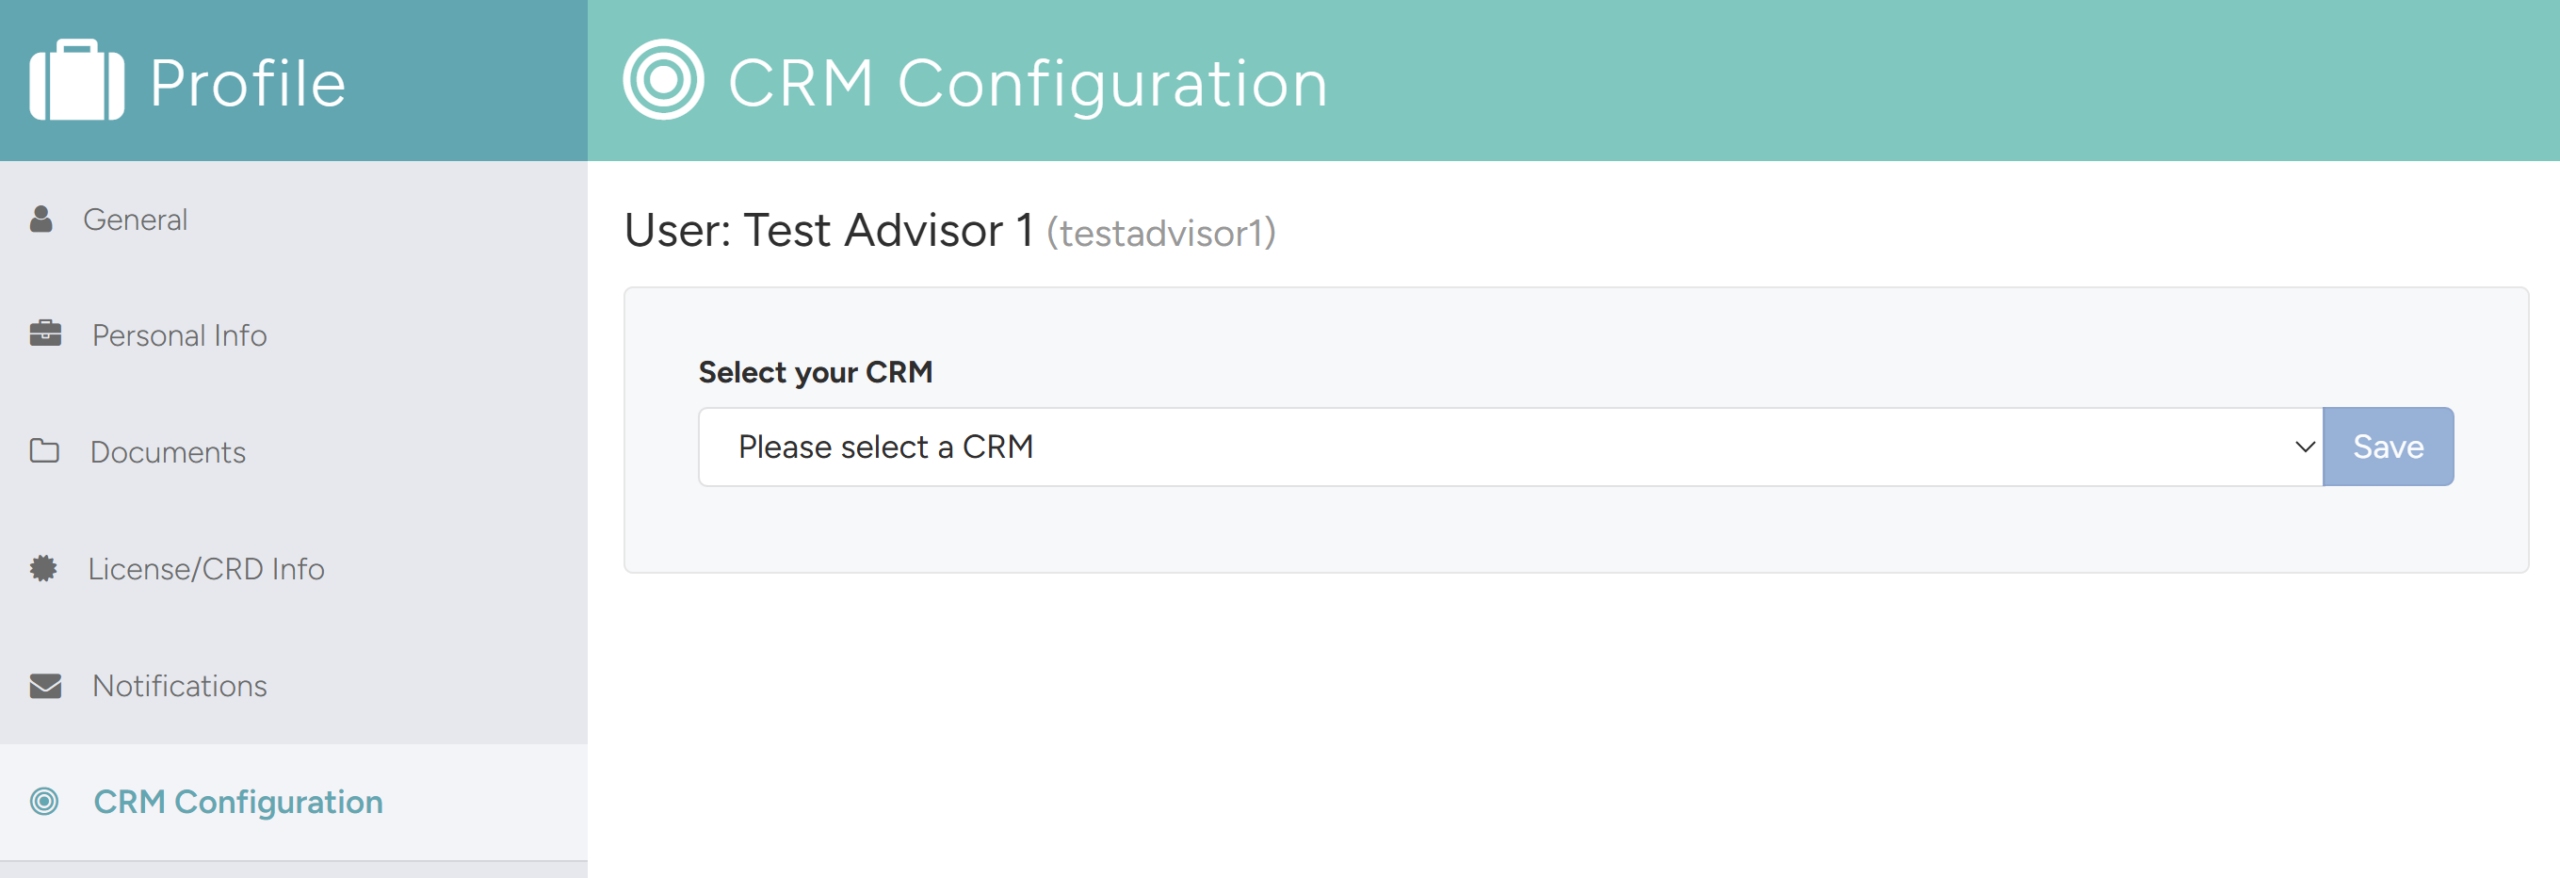
The CRM Configuration tab allows you to connect Forms Logic to your CRM so you can search clients and create workflows directly from your CRM data. Currently Redtail, Wealthbox, and Smart Office are supported.
- To Configure a CRM, select the CRM option from the dropdown and click Save. To get started, select your CRM from the dropdown and click Save. For detailed setup instructions for each supported CRM, see Section 15 — CRM Configuration.
3.8 Feature Permissions Tab
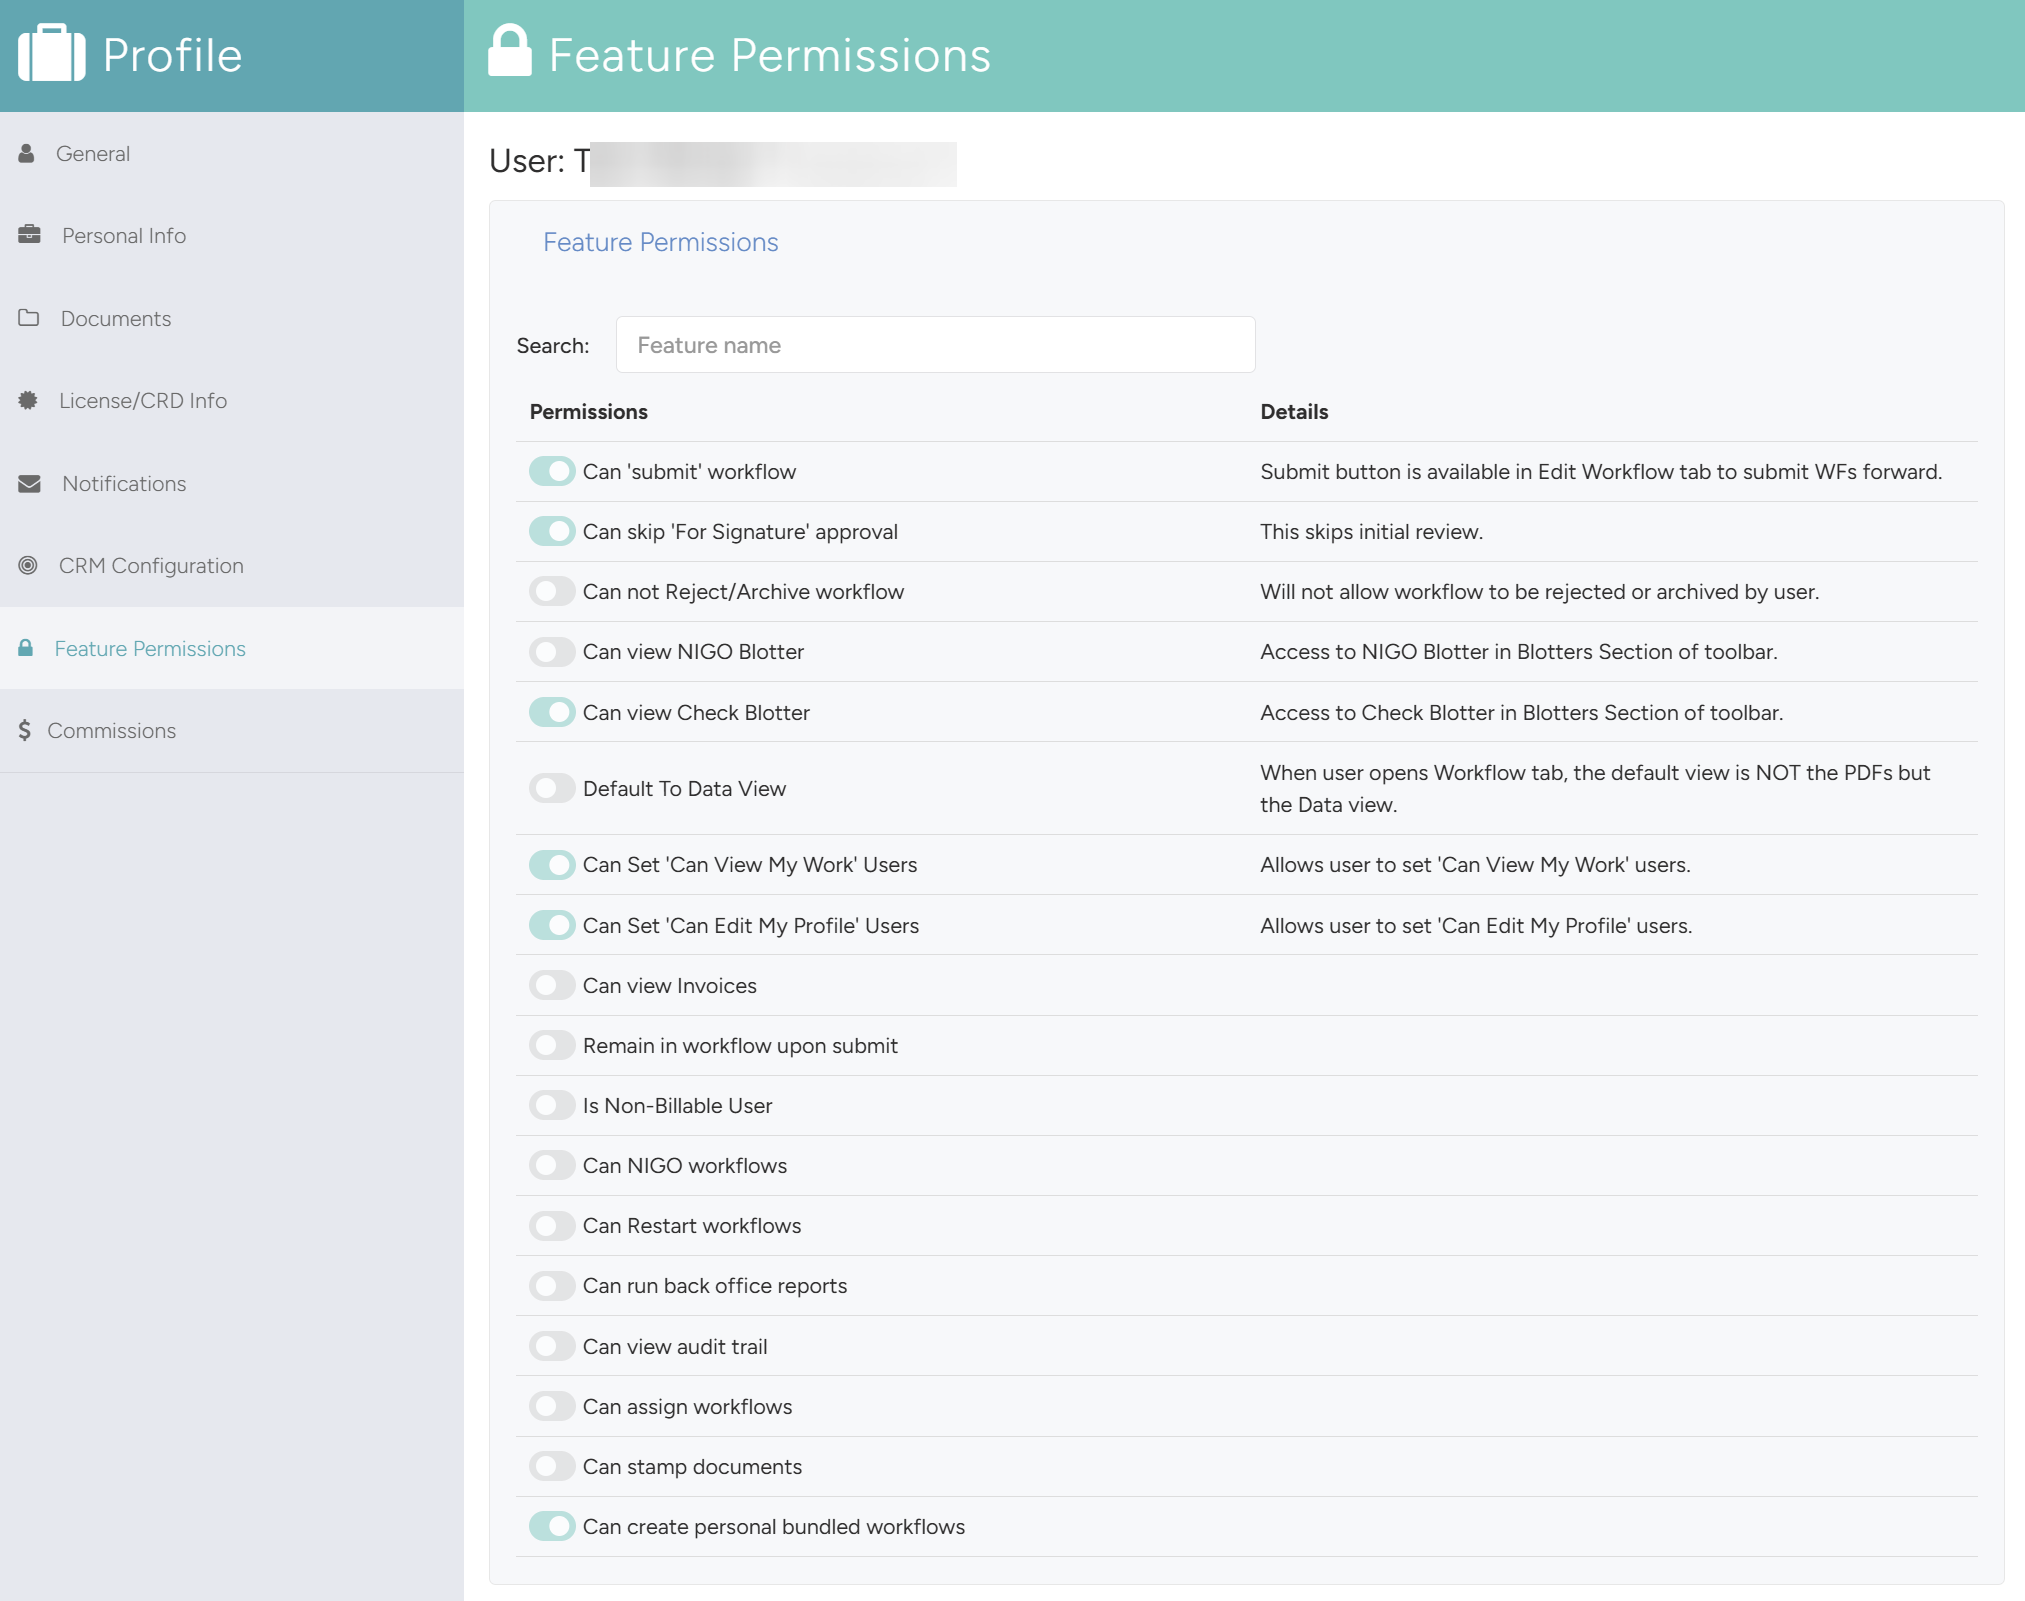
- The Feature Permissions Tab allows users to turn ON/OFF available features.
- This is available to the system administrators/compliance managers.
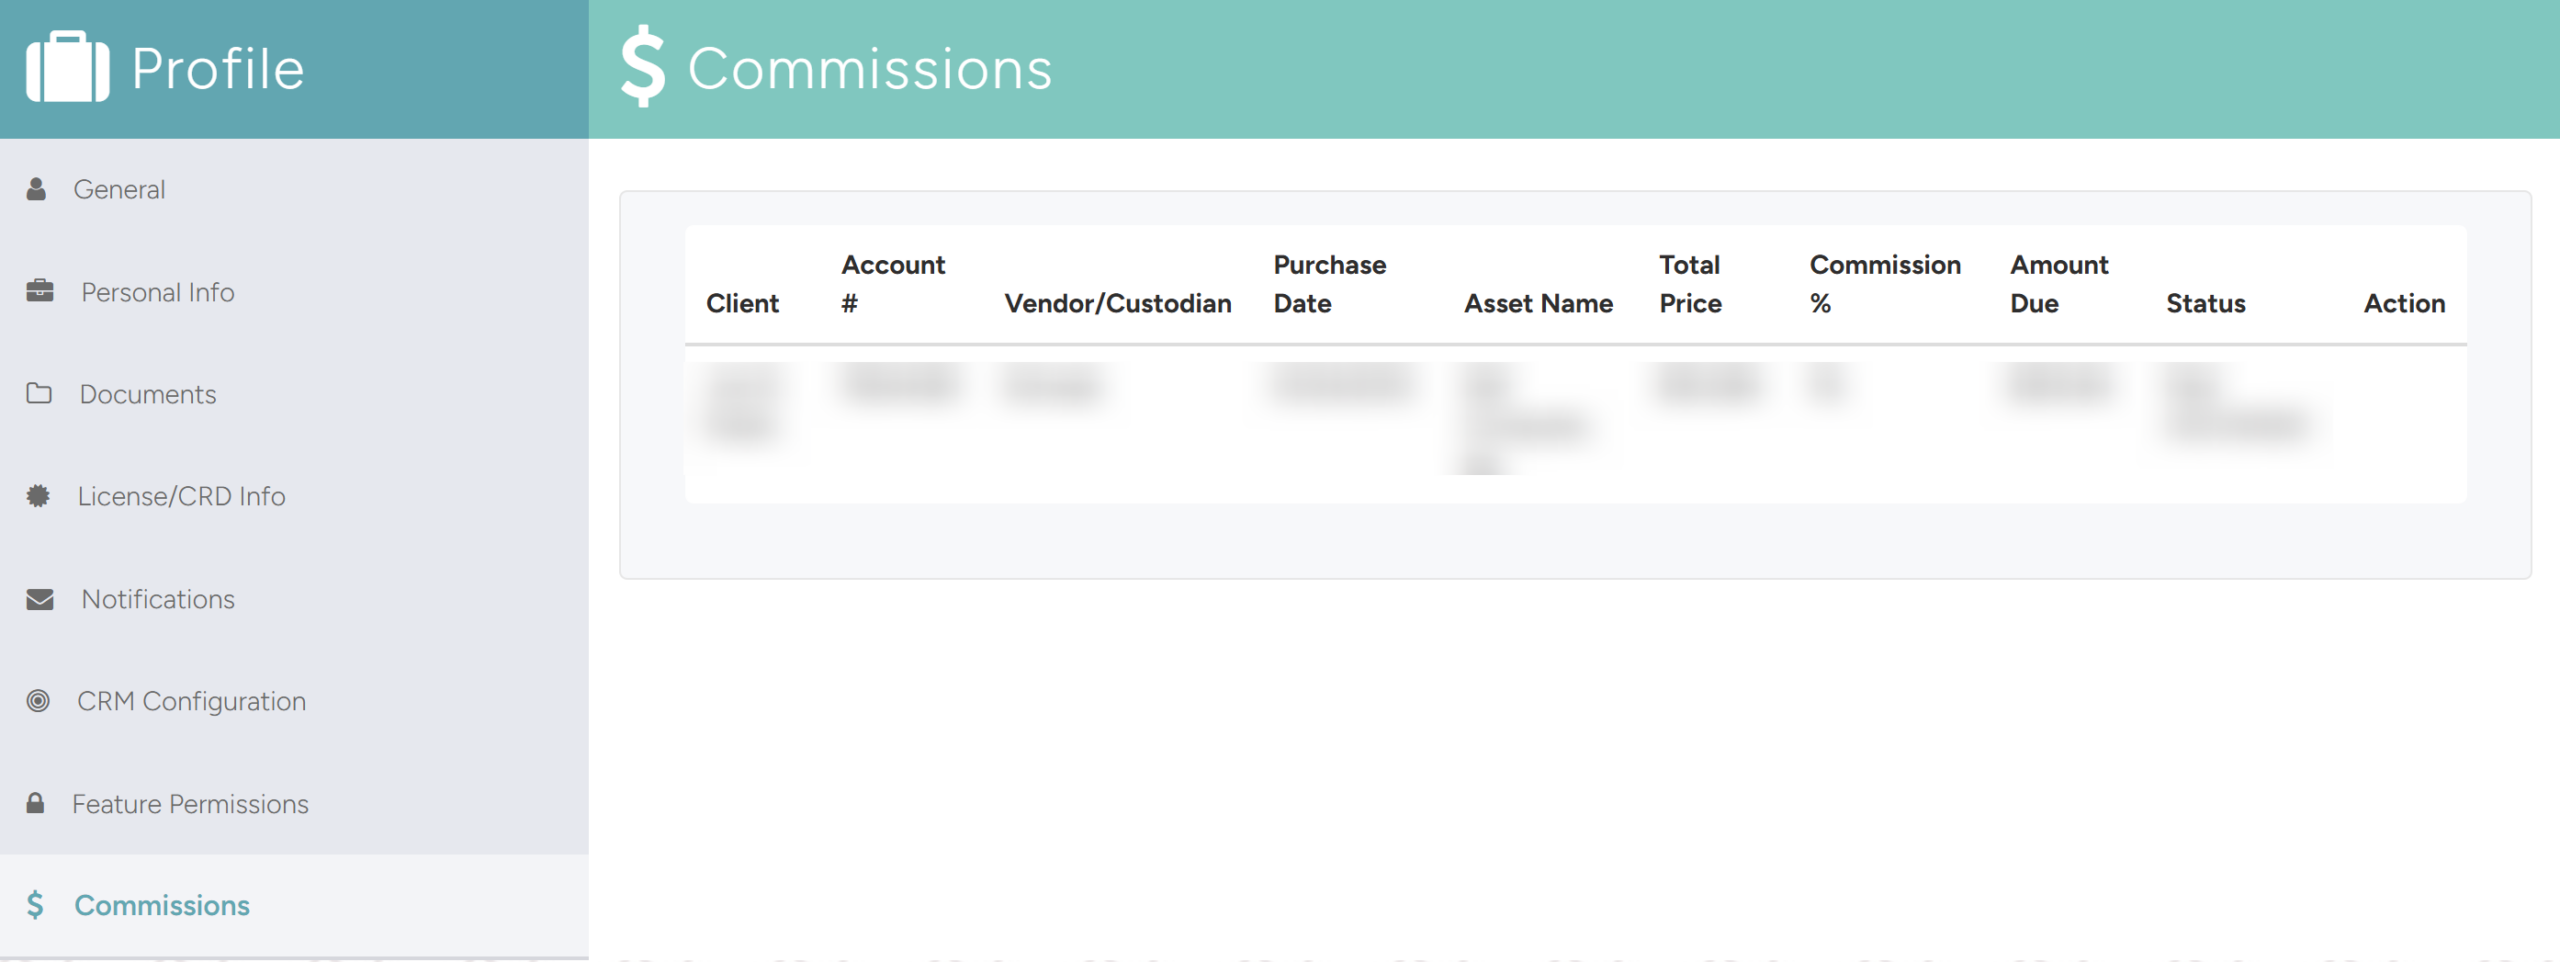
3.9 Commissions Tab
- The Commissions tab provides a view of the commission records associated with the user’s account. Each row displays the following information:
3.10 Security Tab
The Security tab allows users to manage Two-Factor Authentication (2FA) for their account. If your organization has enforced 2FA site-wide, it will already be required at login and cannot be disabled here. If it has not been enforced, you can enable or disable it from this tab at any time.
Note
For further information about Two-Factor Authentication, see the following guide:
3.10.1 Enabling 2FA from Your Profile
If 2FA has not been enforced site-wide, you can enable it on your own account.
- Click your name in the upper right and select Profile.

- Navigate to the Security tab and click on the toggle to enable Two-Factor Authentication.
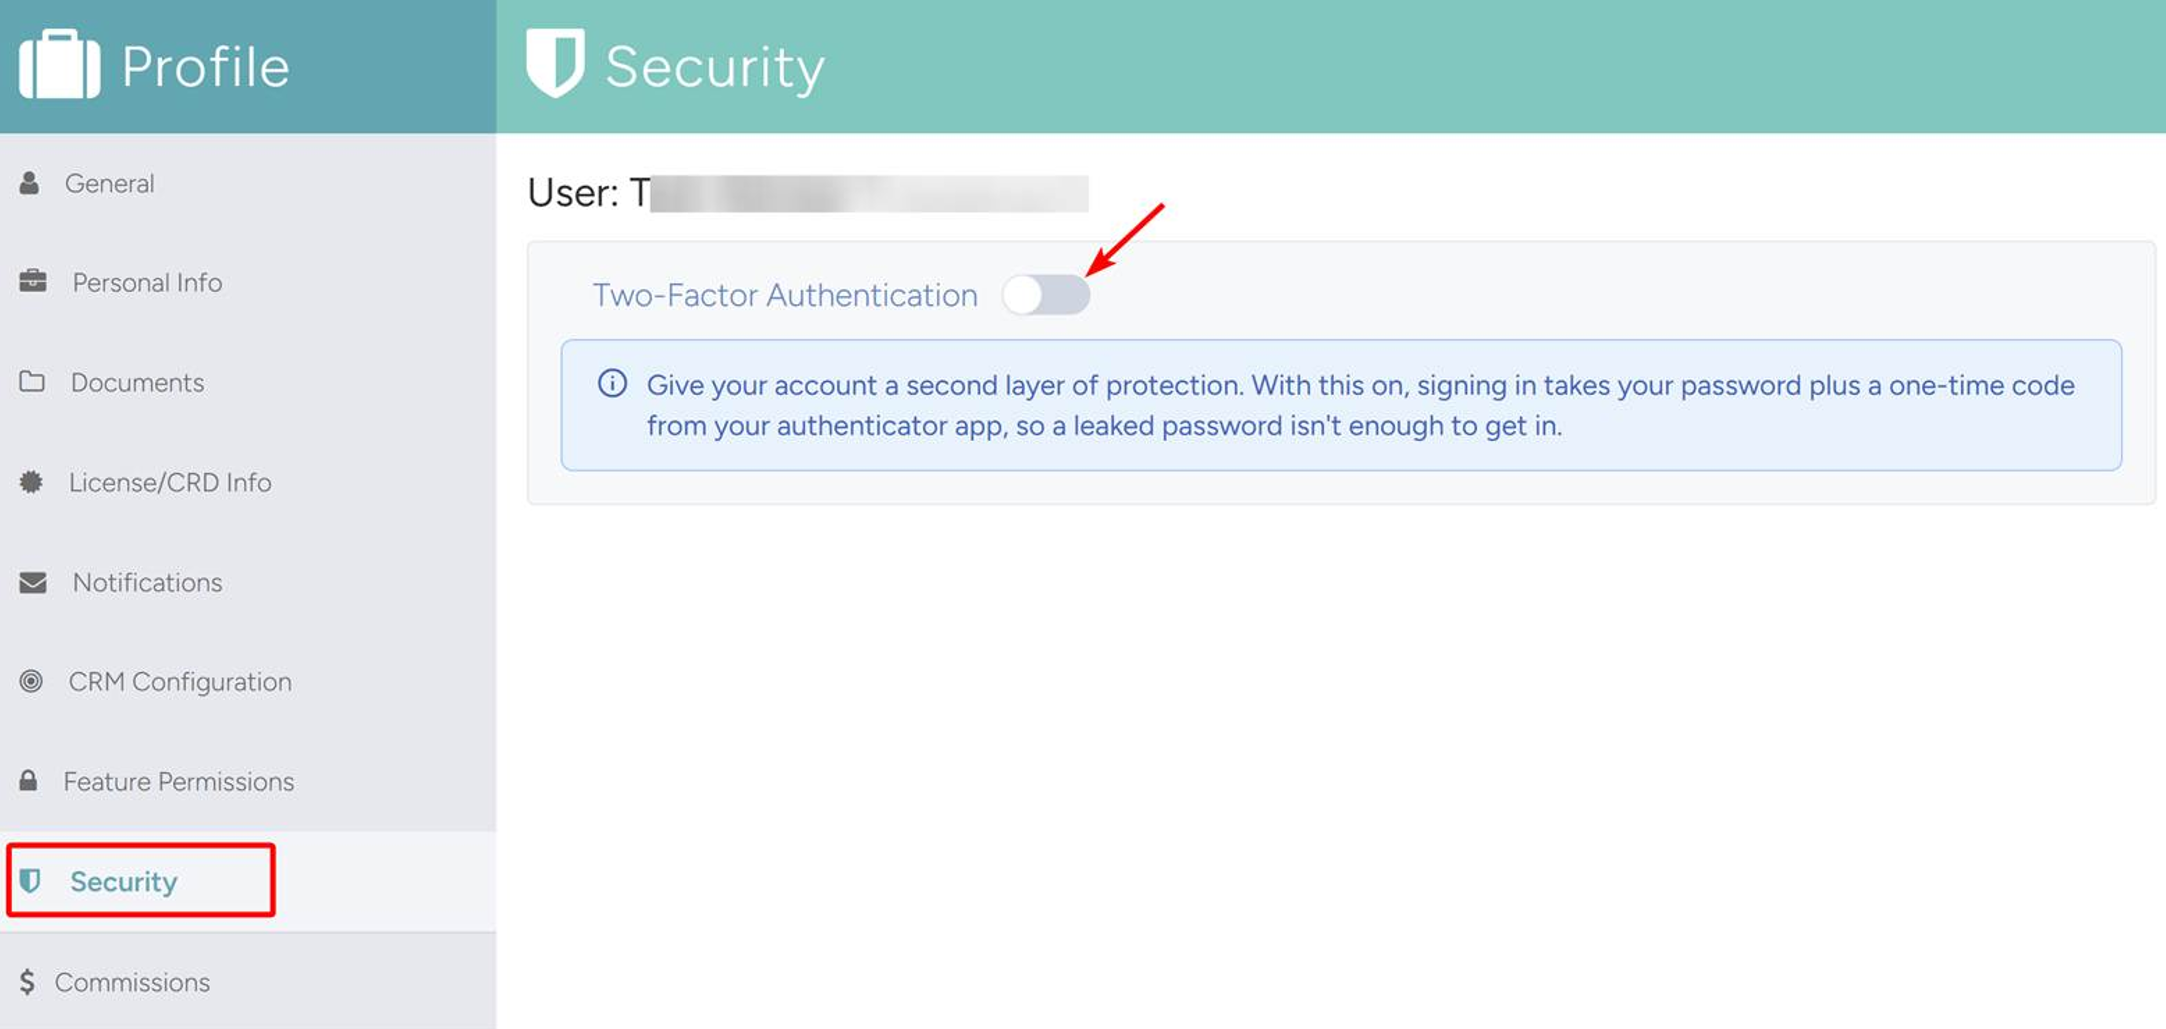
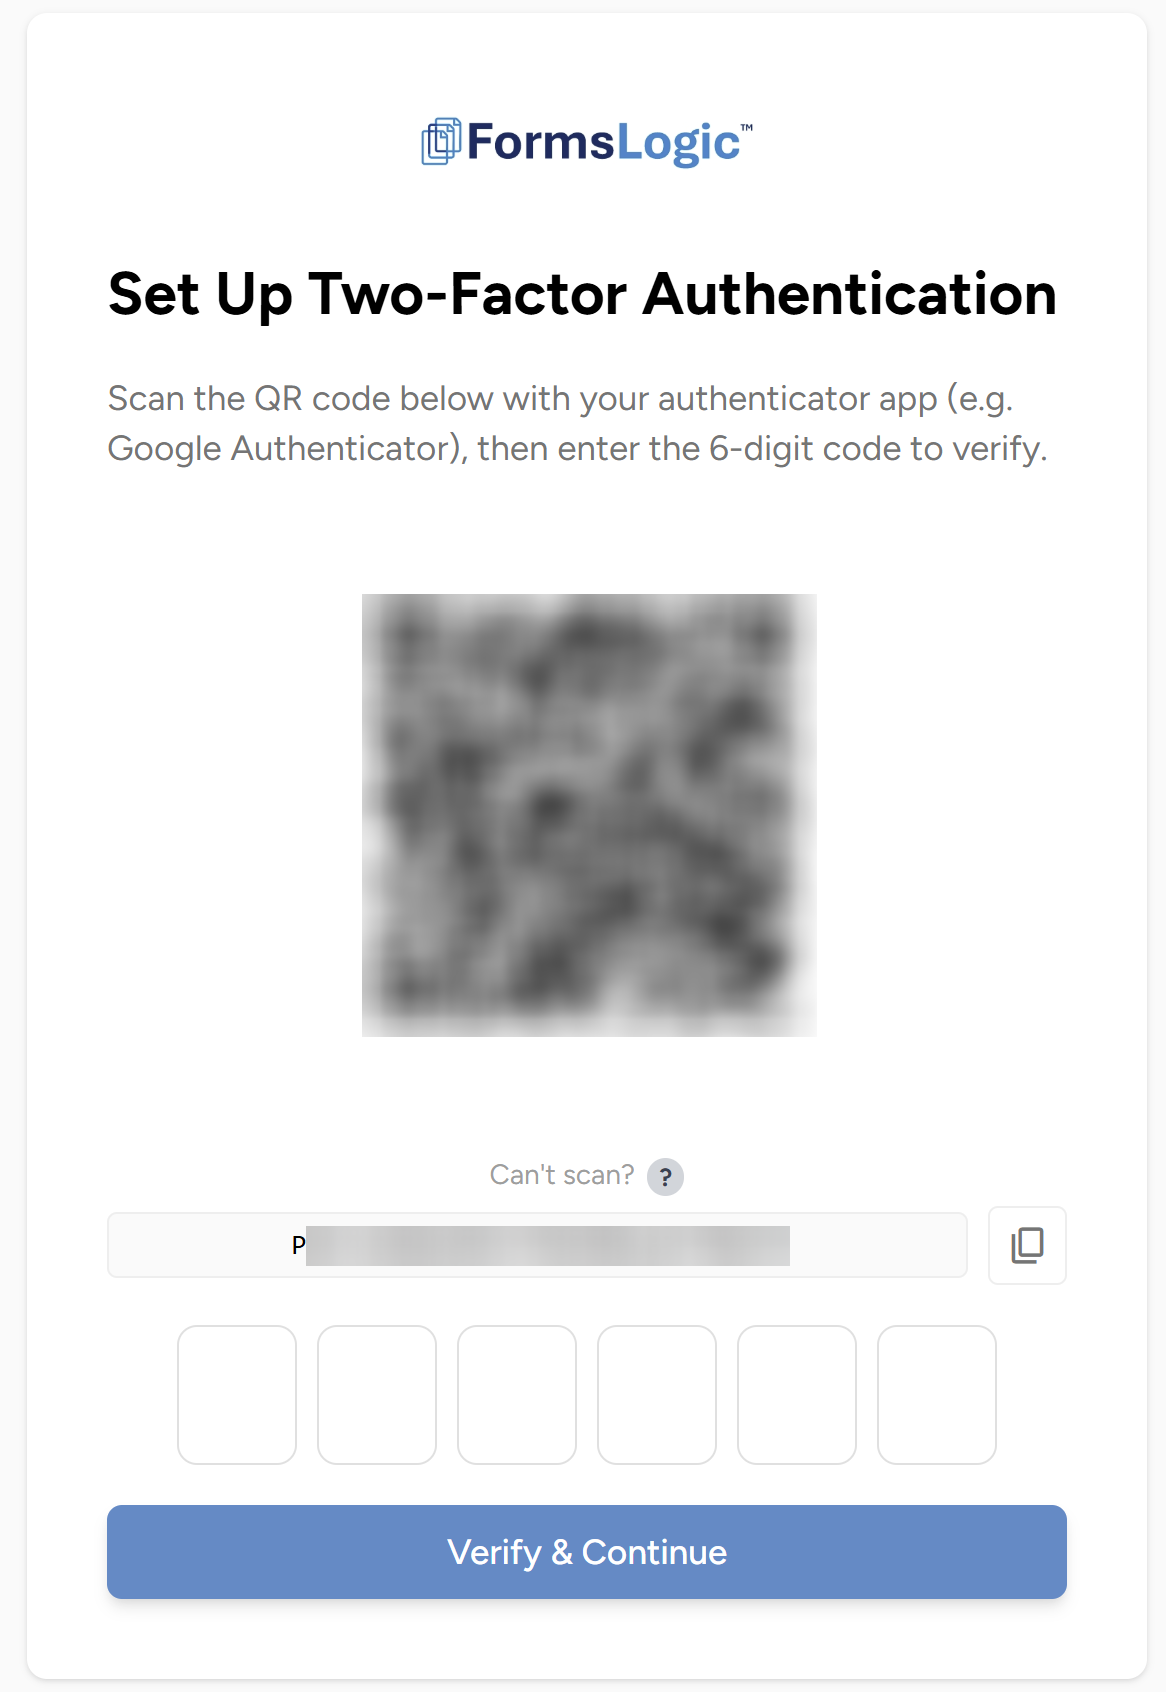
- You will be taken to the setup screen to configure 2FA for the first time — see Section 1.2.1 for setup steps.
3.10.2 Regenerate Backup Codes
If you need to generate a new set of 2FA backup codes for security purposes, you can regenerate them from the Security tab.
- Click Regenerate Backup Codes.

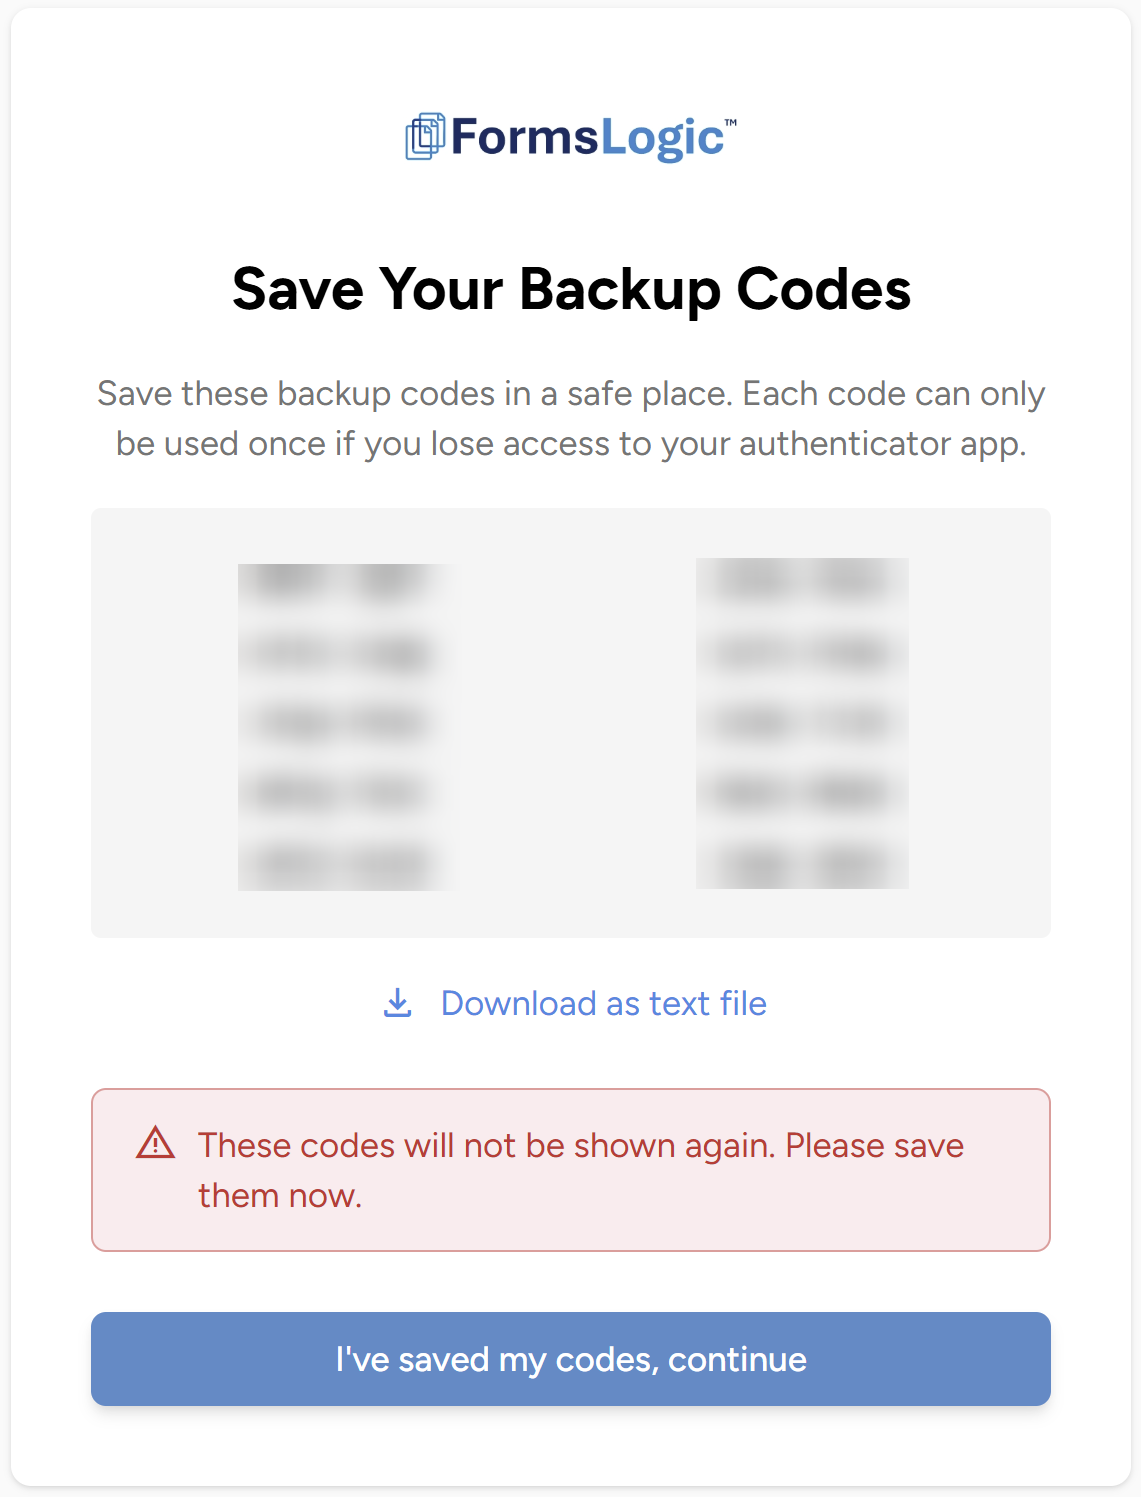
- Your new backup codes will be displayed — save these in a secure location and click I’ve saved my codes, continue. Your previous backup codes will no longer work.