

New Business Form Workflow
New Business Form Workflows simplify the new account opening process by proactively collecting client data, which avoids double entry and increases efficiencies. It easily prepares your paperwork, expediting the approval process and reducing errors. Additionally, our system is both E-Signature and Wet Signature enabled, ensuring flexibility and convenience in the completion and submission of documents.
By integrating with a CRM system, the New Business Form Workflow enables single data-point entry, enhancing the efficiency of preparing the account opening forms, and also ensures that all client-related information is consistently updated and easily accessible.
With the New Business Workflows, businesses can optimize their processes, reduce manual efforts, and maintain a high level of organization and customer satisfaction.
5.1 Creating a New Business Form Workflow
To create a new business form workflow, follow the steps below.
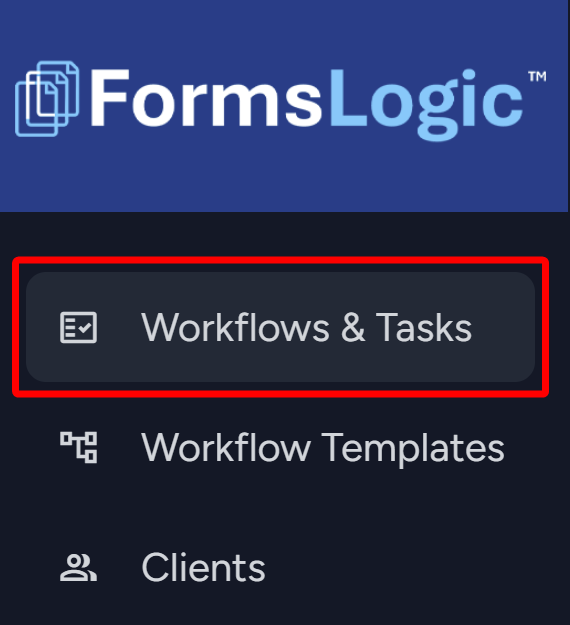
- From the side navigation menu, navigate to Workflows & Tasks – which will load the Workflow List.
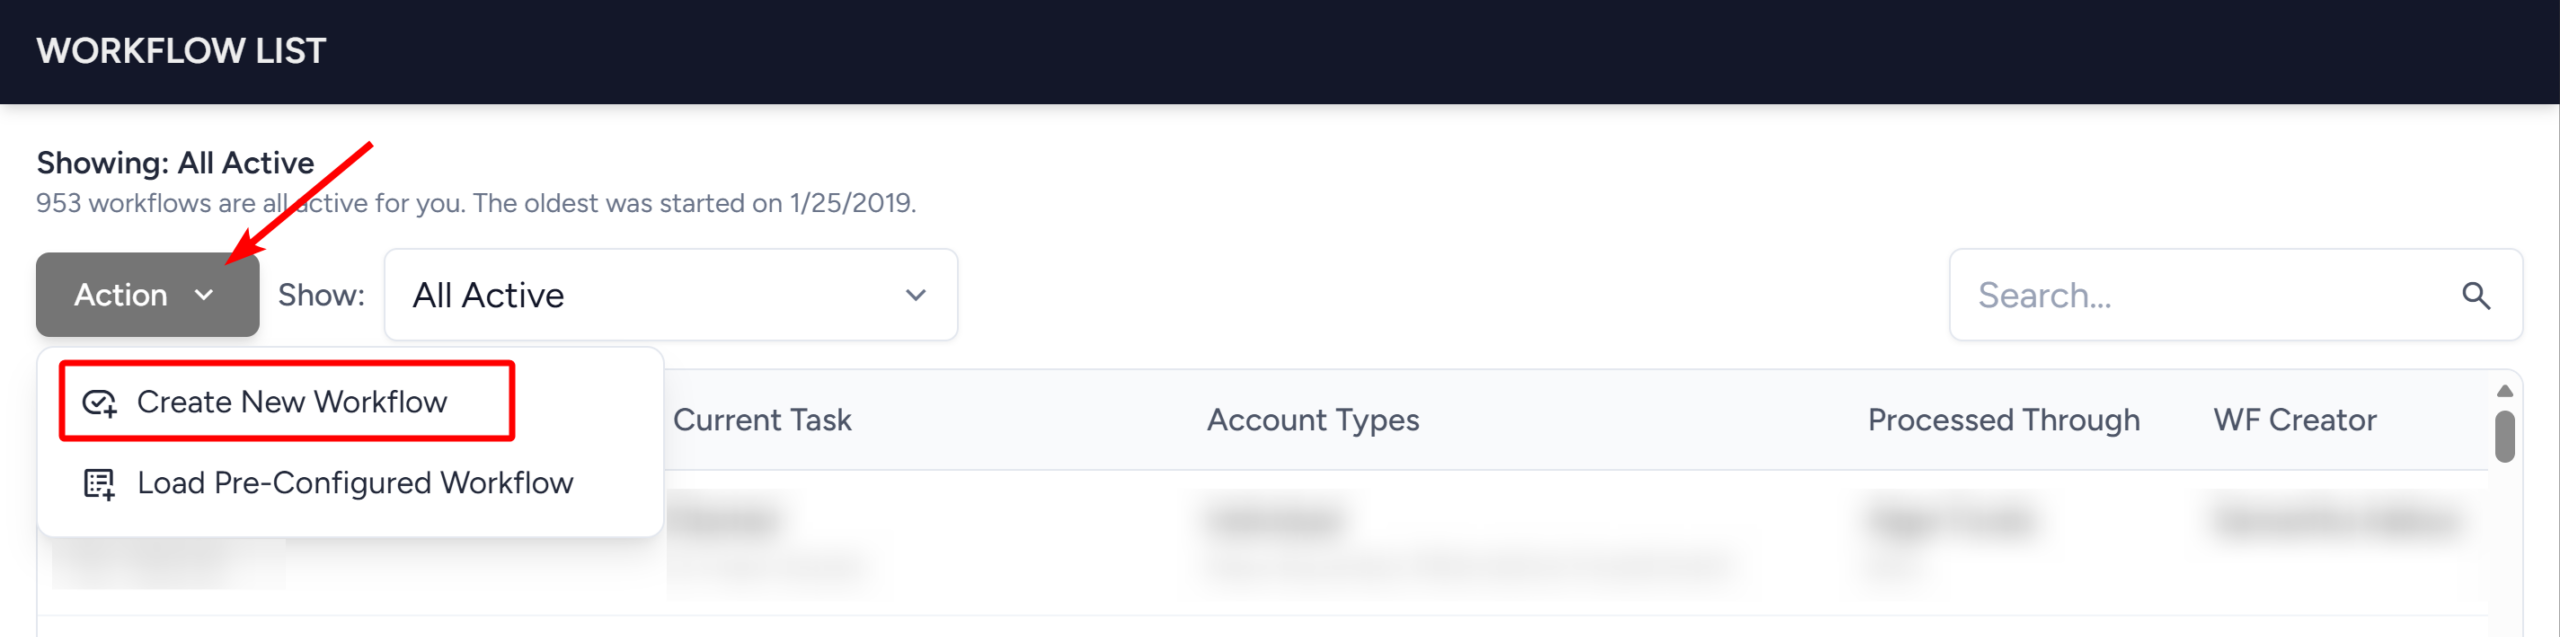
- Click the Action button in the upper left. From the dropdown, click Create New Workflow.
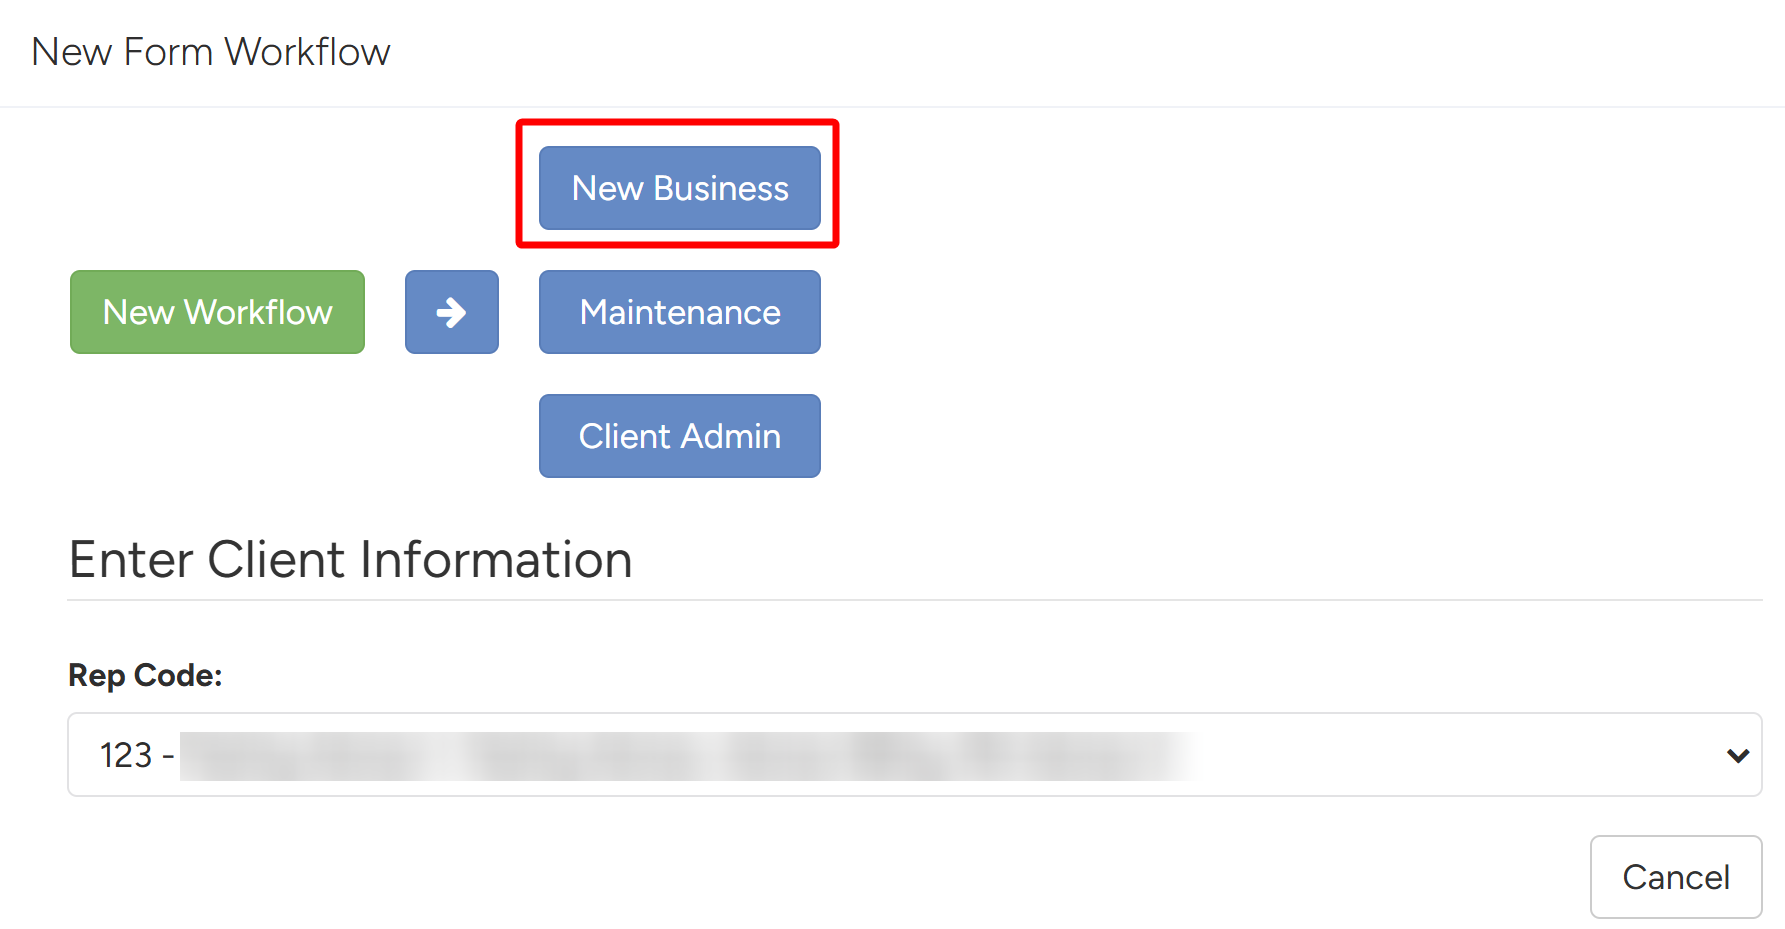
- The Workflow Wizard will open, where you will go through the process of creating the workflow. The Workflow Type is the first prompt – choose New Business.
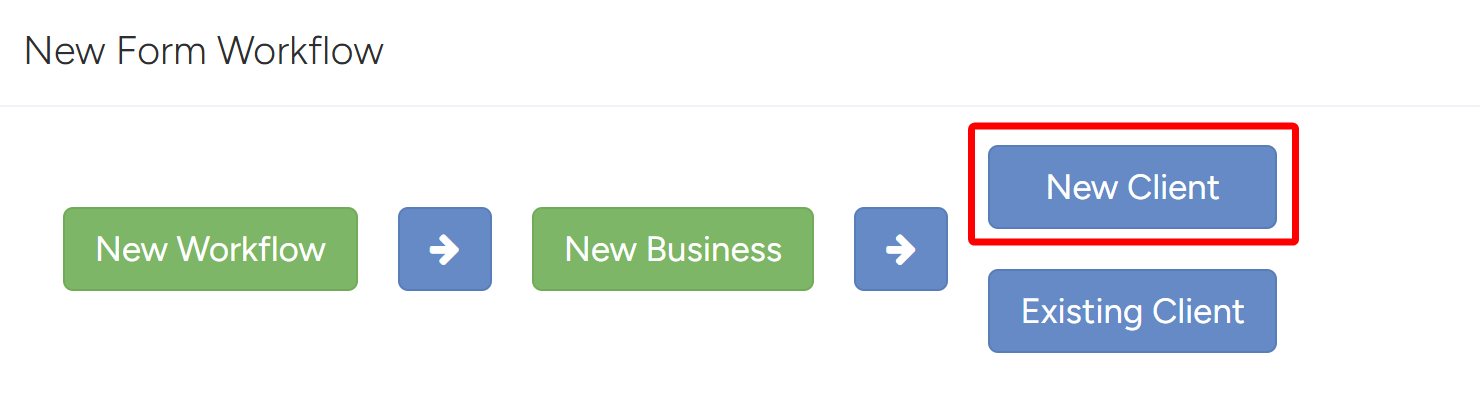
- The next prompt is the Client Type. Choose either New Client or Existing Client.
- New Client – client not set up in Forms Logic.
- Existing Client – client already set up in Forms Logic.
- After choosing the client type, you can fill in the client information right away or you can do this at the end.

- The next prompt is the Business Type/Relationship Type. Select from the available options.
- In this case, Advisory (fee) was chosen.
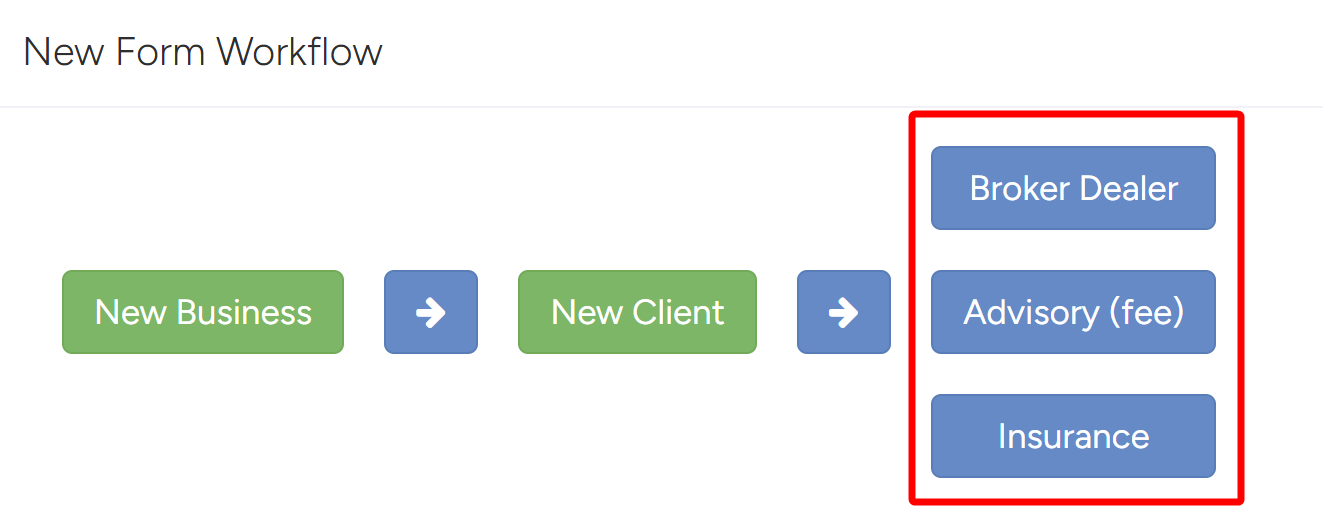
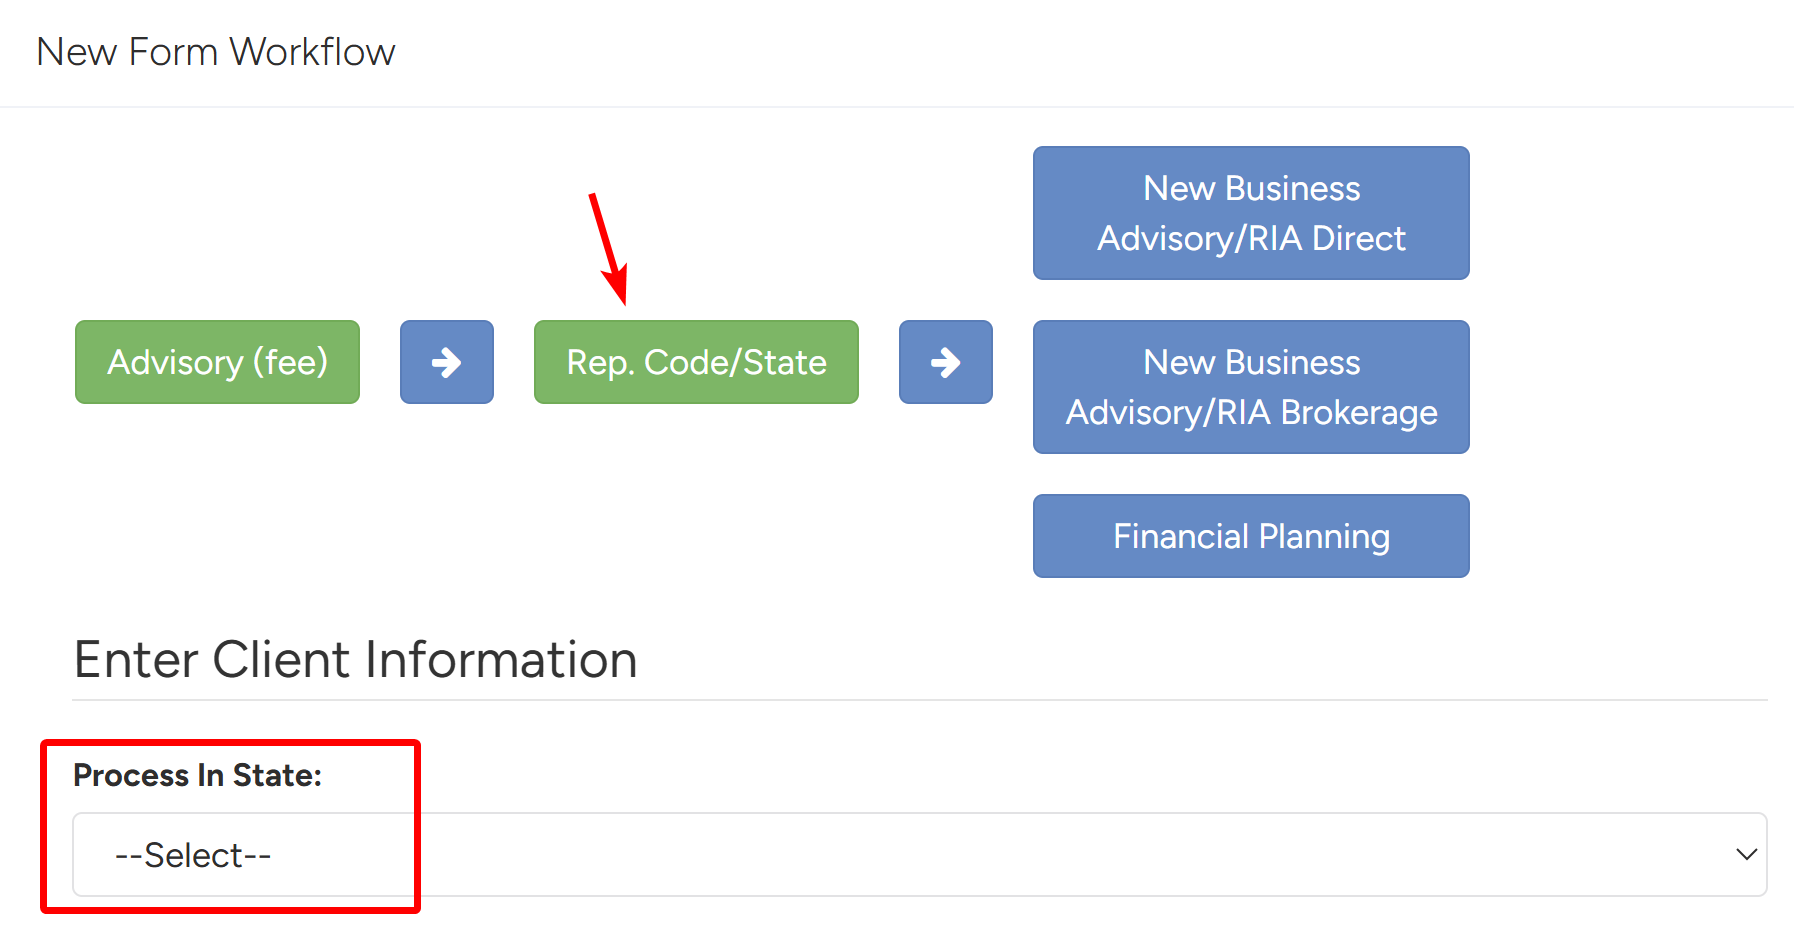
- After choosing the Relationship Type, you can choose the state the workflow is processed in under Process in State. This can also be chosen at the end.
- Based on your user setup, you will only be presented with the states you are licensed in the type of business you are processing.
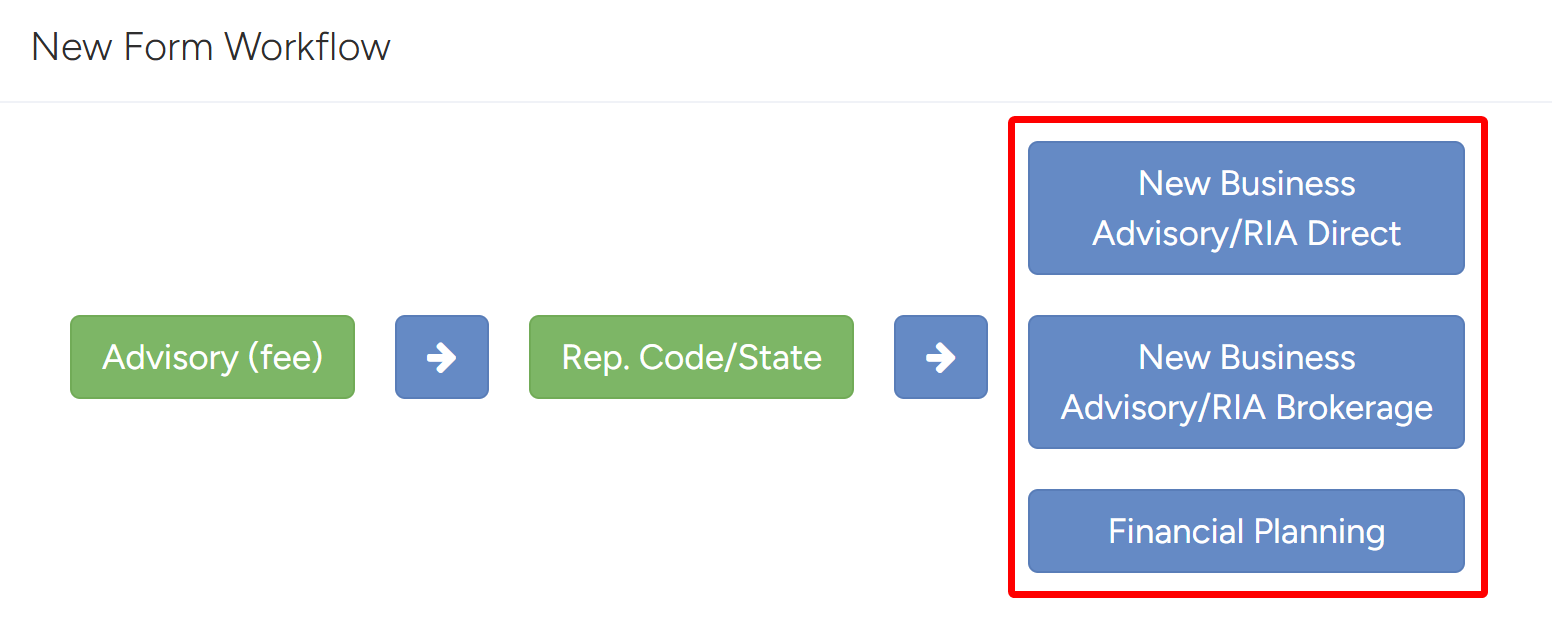
- The next prompt is the Transaction Type – the options are dependent on the Relationship Type chosen. Select from the available options.
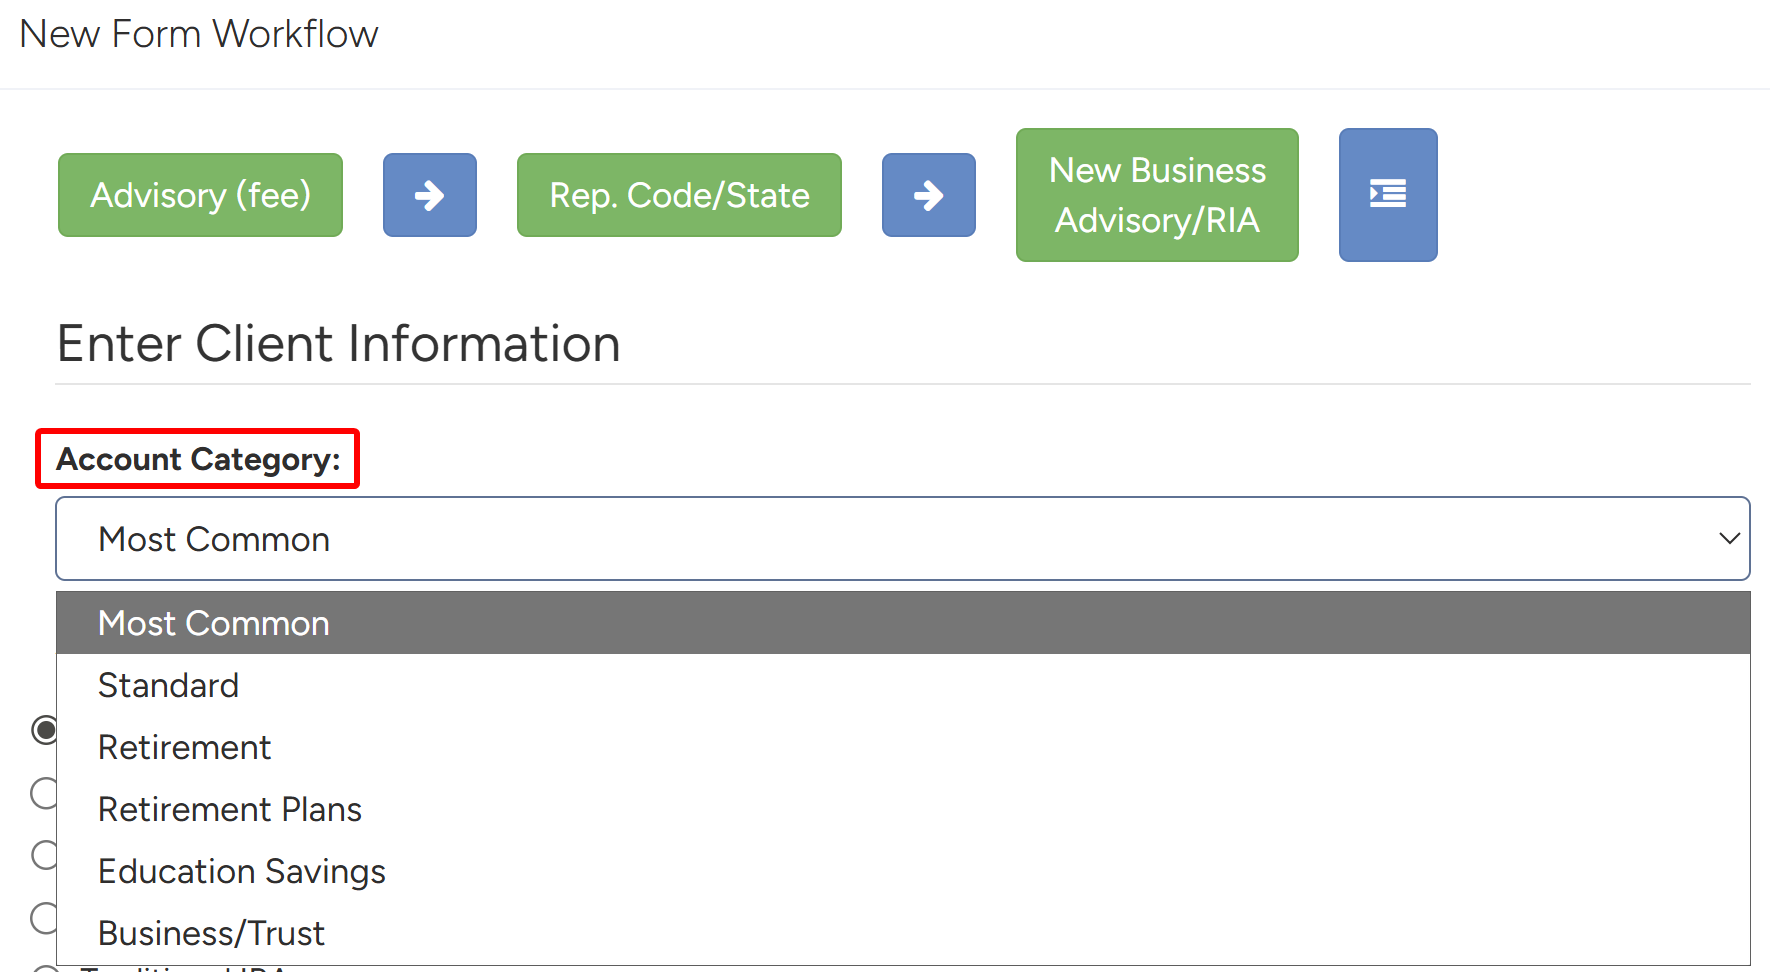
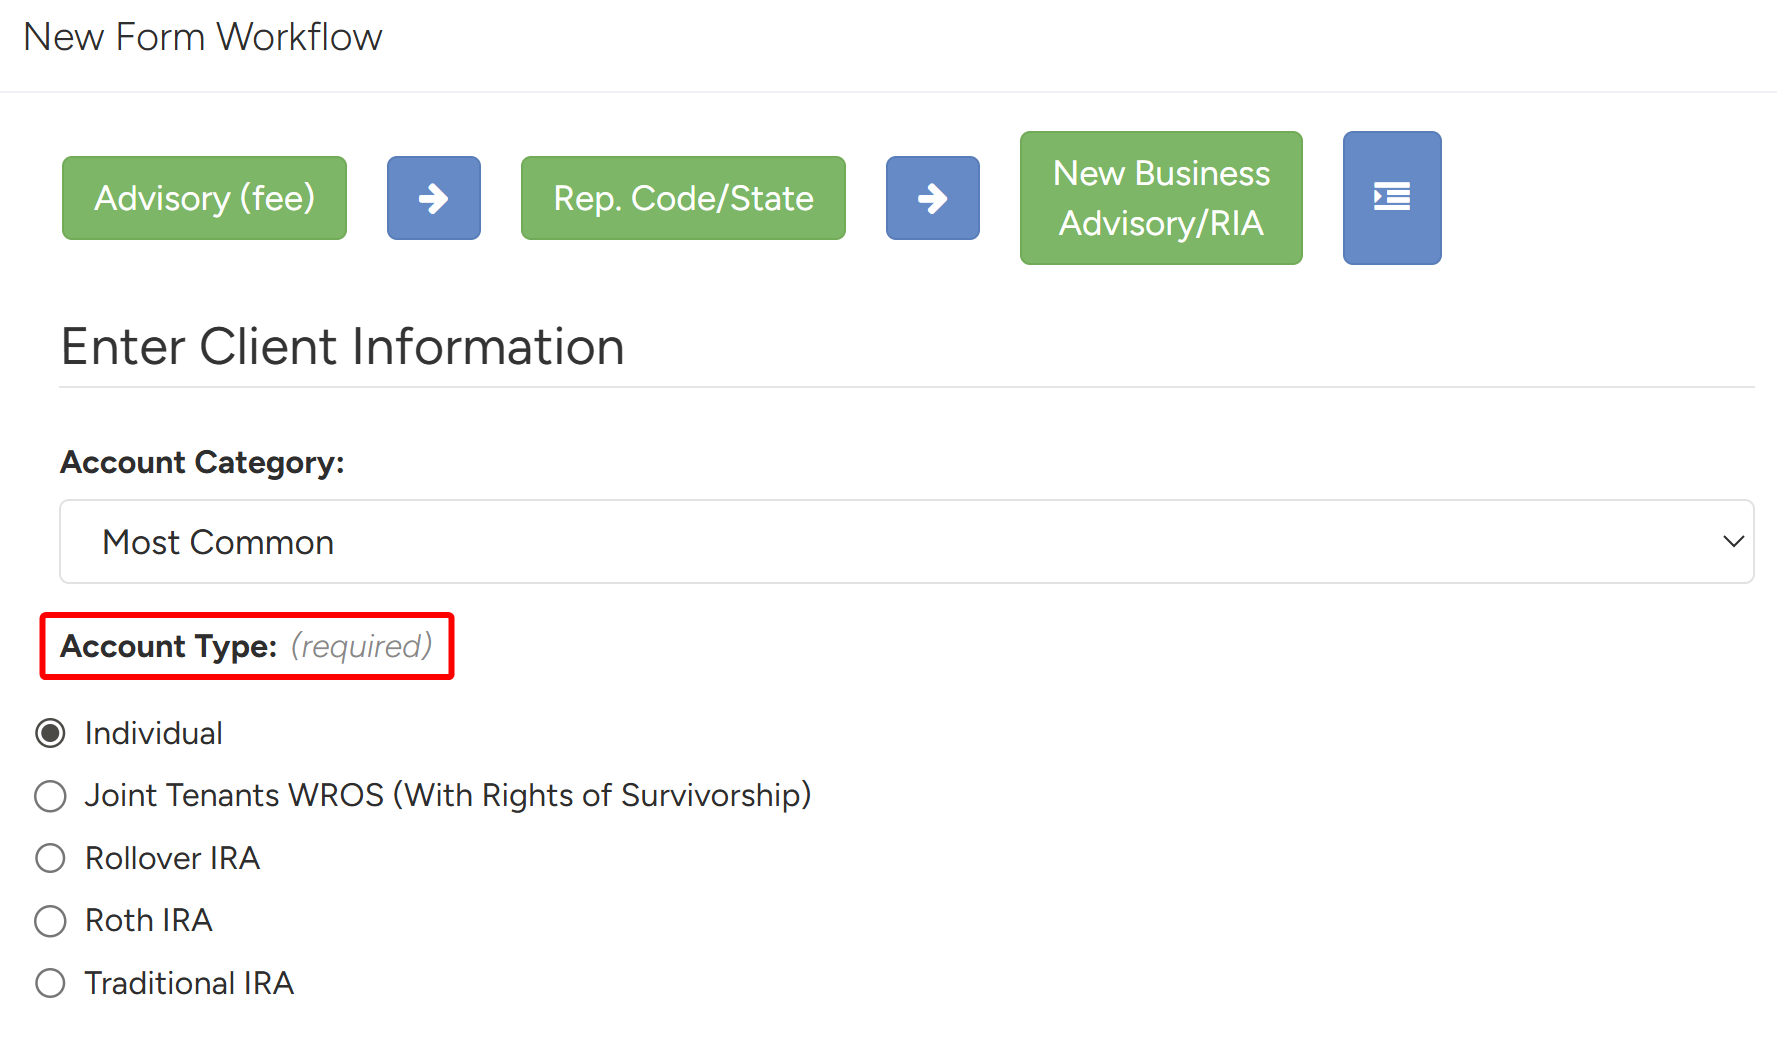
- Now select the appropriate Account Category, which will change the available Account Types in the list.
- The available categories are Most Common, Standard, Retirement, Retirement Plans, Education Savings, and Business/Trust. All of these options will filter the Account Type list.
- Once the category is chosen, select the Account Registration Type under the Account Type list.
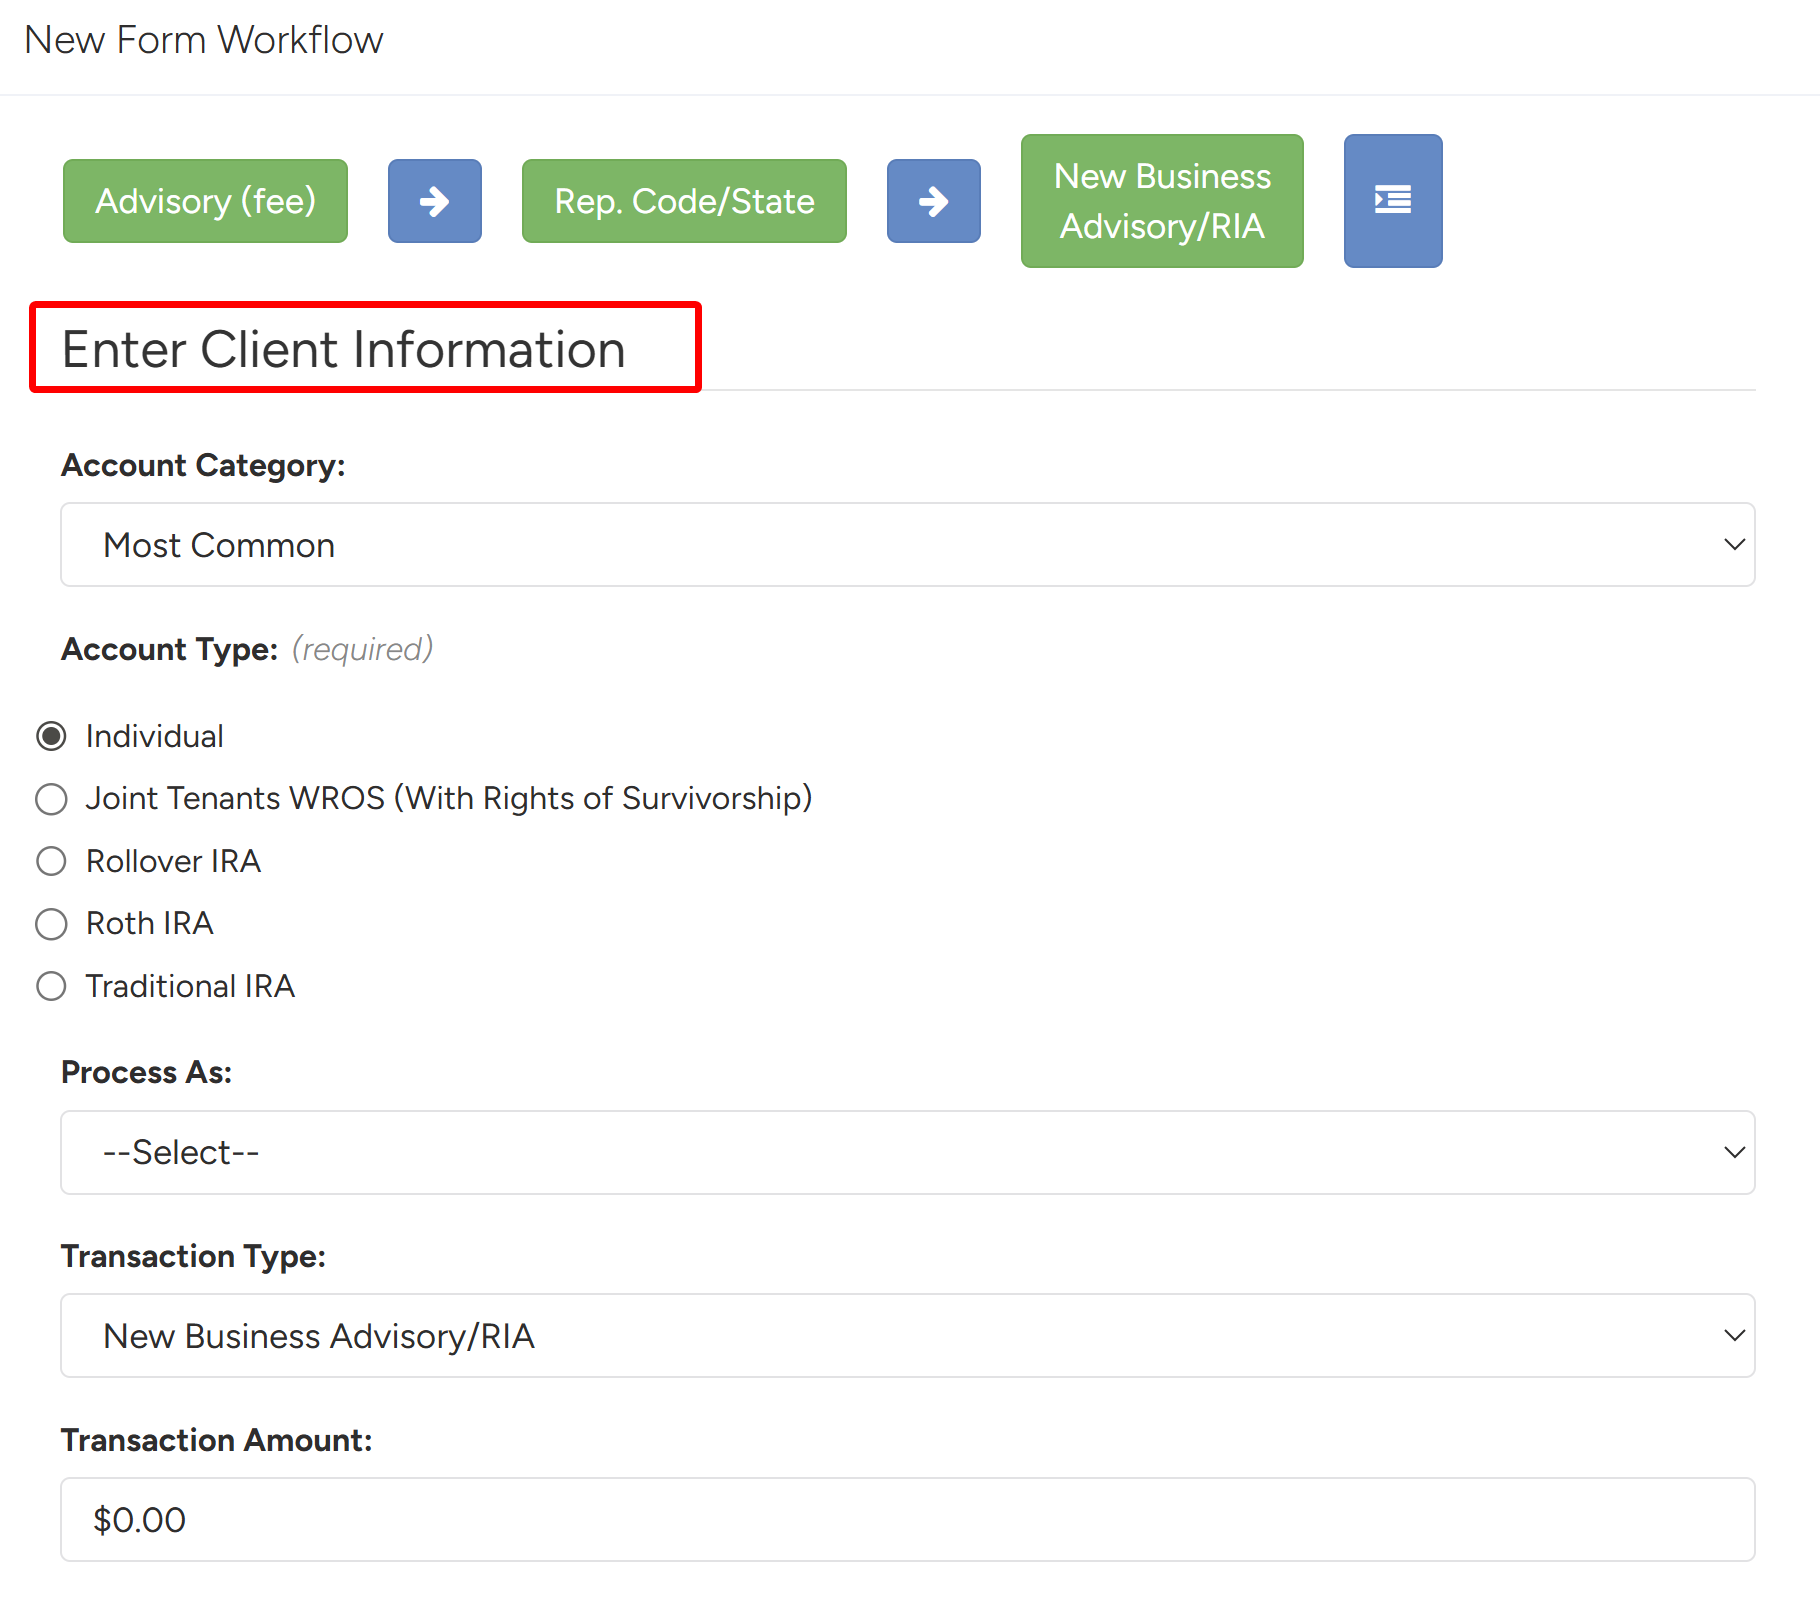
- Fill in the rest of the Client Information. Once everything is filled in, click Submit in the bottom right to save all the data and complete the wizard.
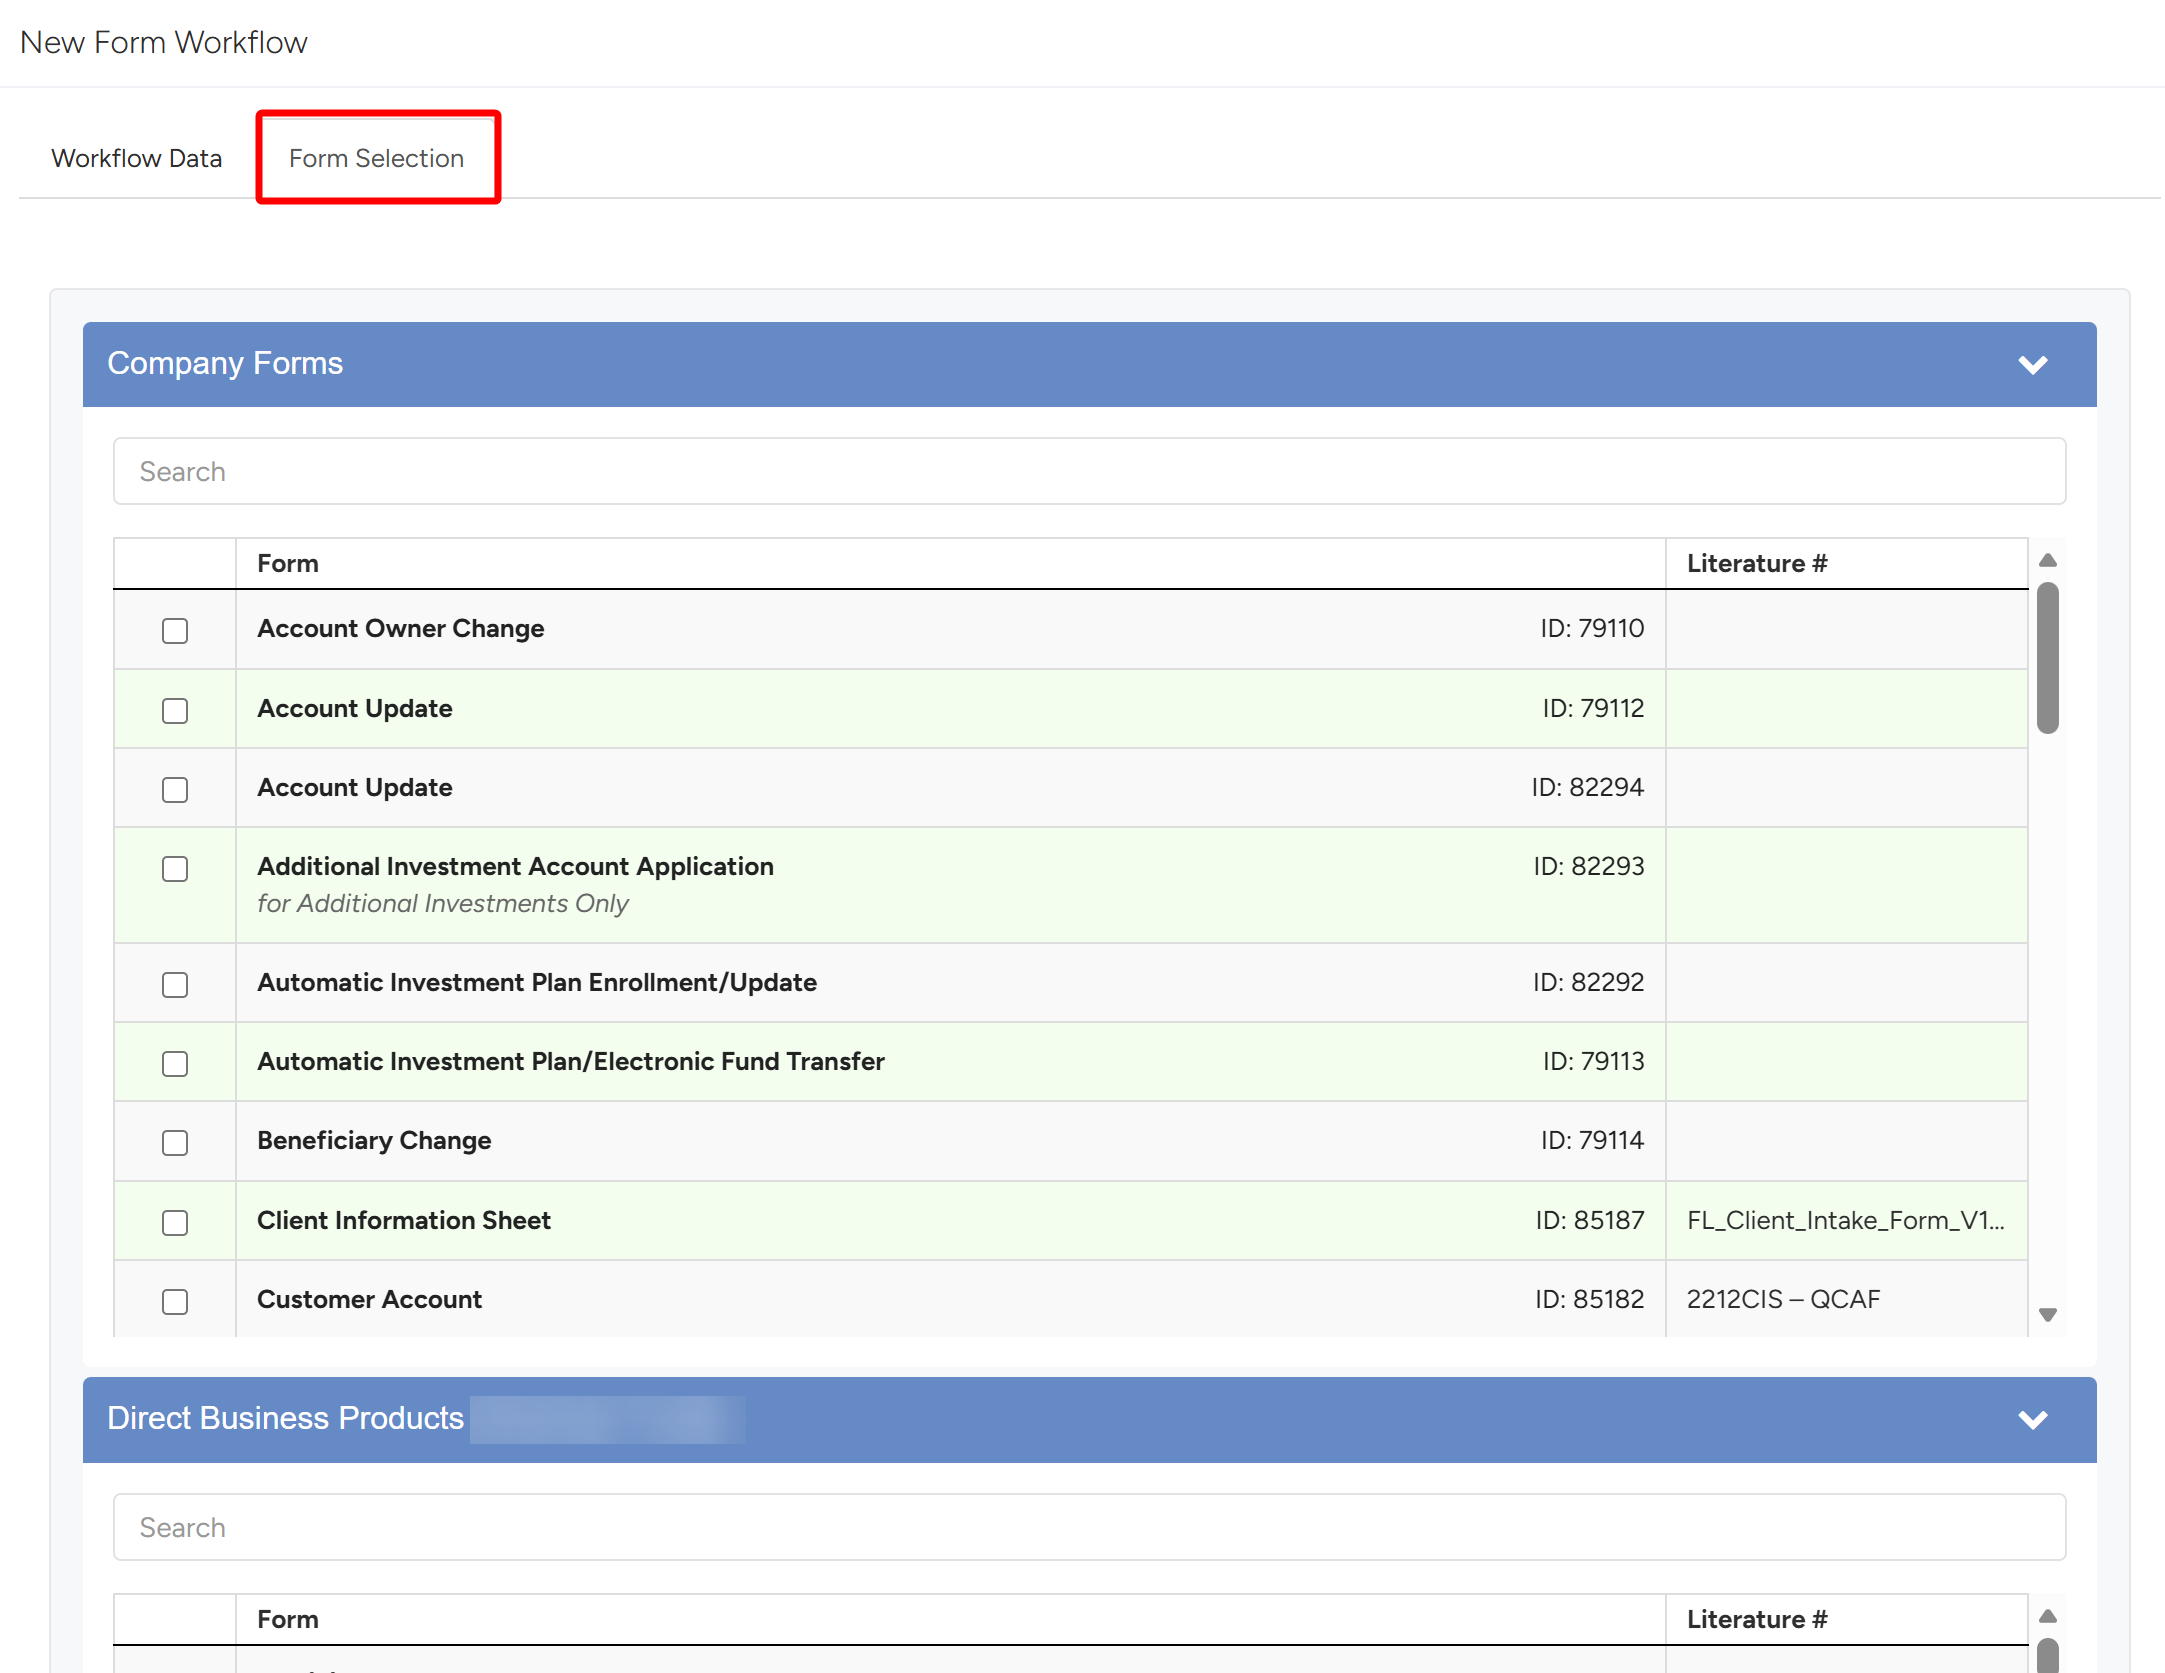
- The system will navigate to the Form Selection page, where you can select forms that will be included in the workflow.
- You can select from different types of forms – this will depend on the selections made in the wizard.
- Company Forms are Your Company’s forms
- Custodian Forms is the selected Custodial Library of Forms (RBC, Schwab, Pershing, etc).
- Direct Business Forms is the selected Vendor’s Library of Forms (American Funds, Lincoln Financial, etc)
- You can select from different types of forms – this will depend on the selections made in the wizard.
Note
All required forms will be automatically selected and added to the bundle.
- Once all forms are added/selected, click the Create Form Workflow button to create the form workflow.
