

New Business Workflow Using CRM Integration
The New Business Workflow Using CRM Integration is a powerful feature designed to streamline and enhance the process of managing account workflows. By integrating with a CRM system, the New Form Workflow enables single data-point entry, enhancing the efficiency of preparing the account opening and maintenance forms, and also ensures that all client-related information is consistently updated and easily accessible. This integration helps reduce manual efforts, minimize errors, and ensure that every step of the process is aligned with customer needs and business goals.
6.1 Creating a New Business Workflow Using CRM Integration
To create a new workflow Using CRM Integration, follow the steps below.
Note
To connect to your CRM, refer to 2.7 CRM Configuration Tab in the Profile section.
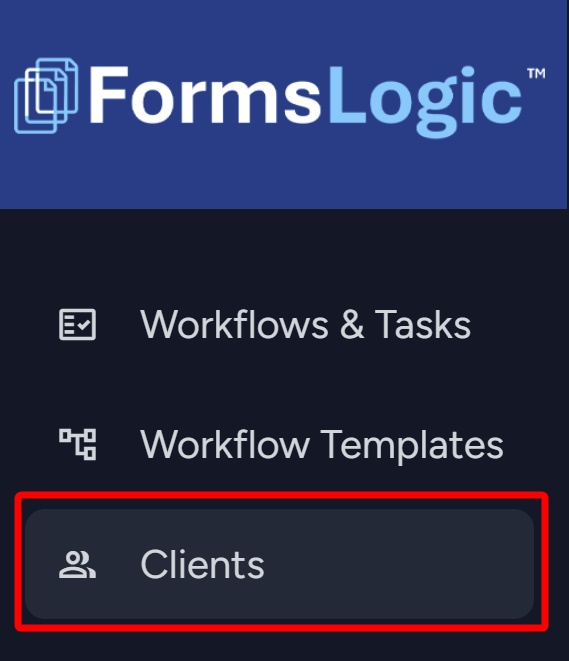
- From the side navigation menu, navigate to Clients.
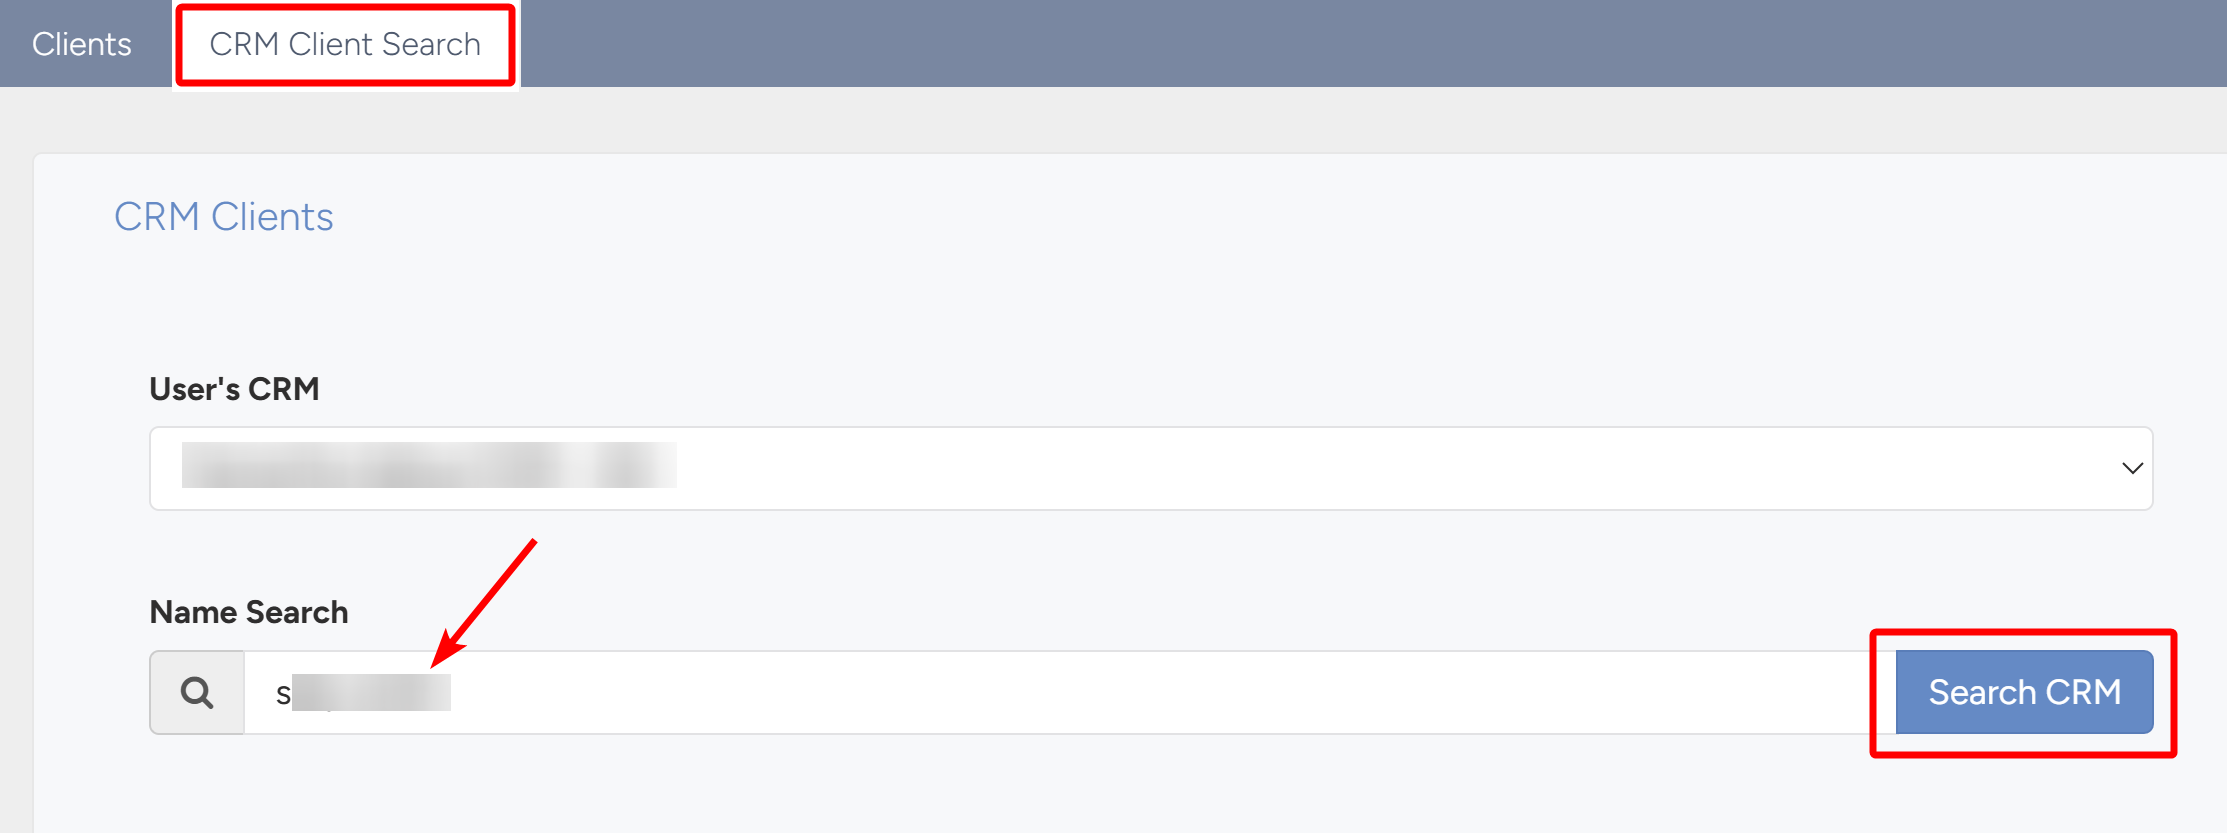
- Click the CRM Client Search tab. In this tab, enter the required CRM client name and click Search CRM.
- Click the Create New Form Workflow link next to the selected CRM client.

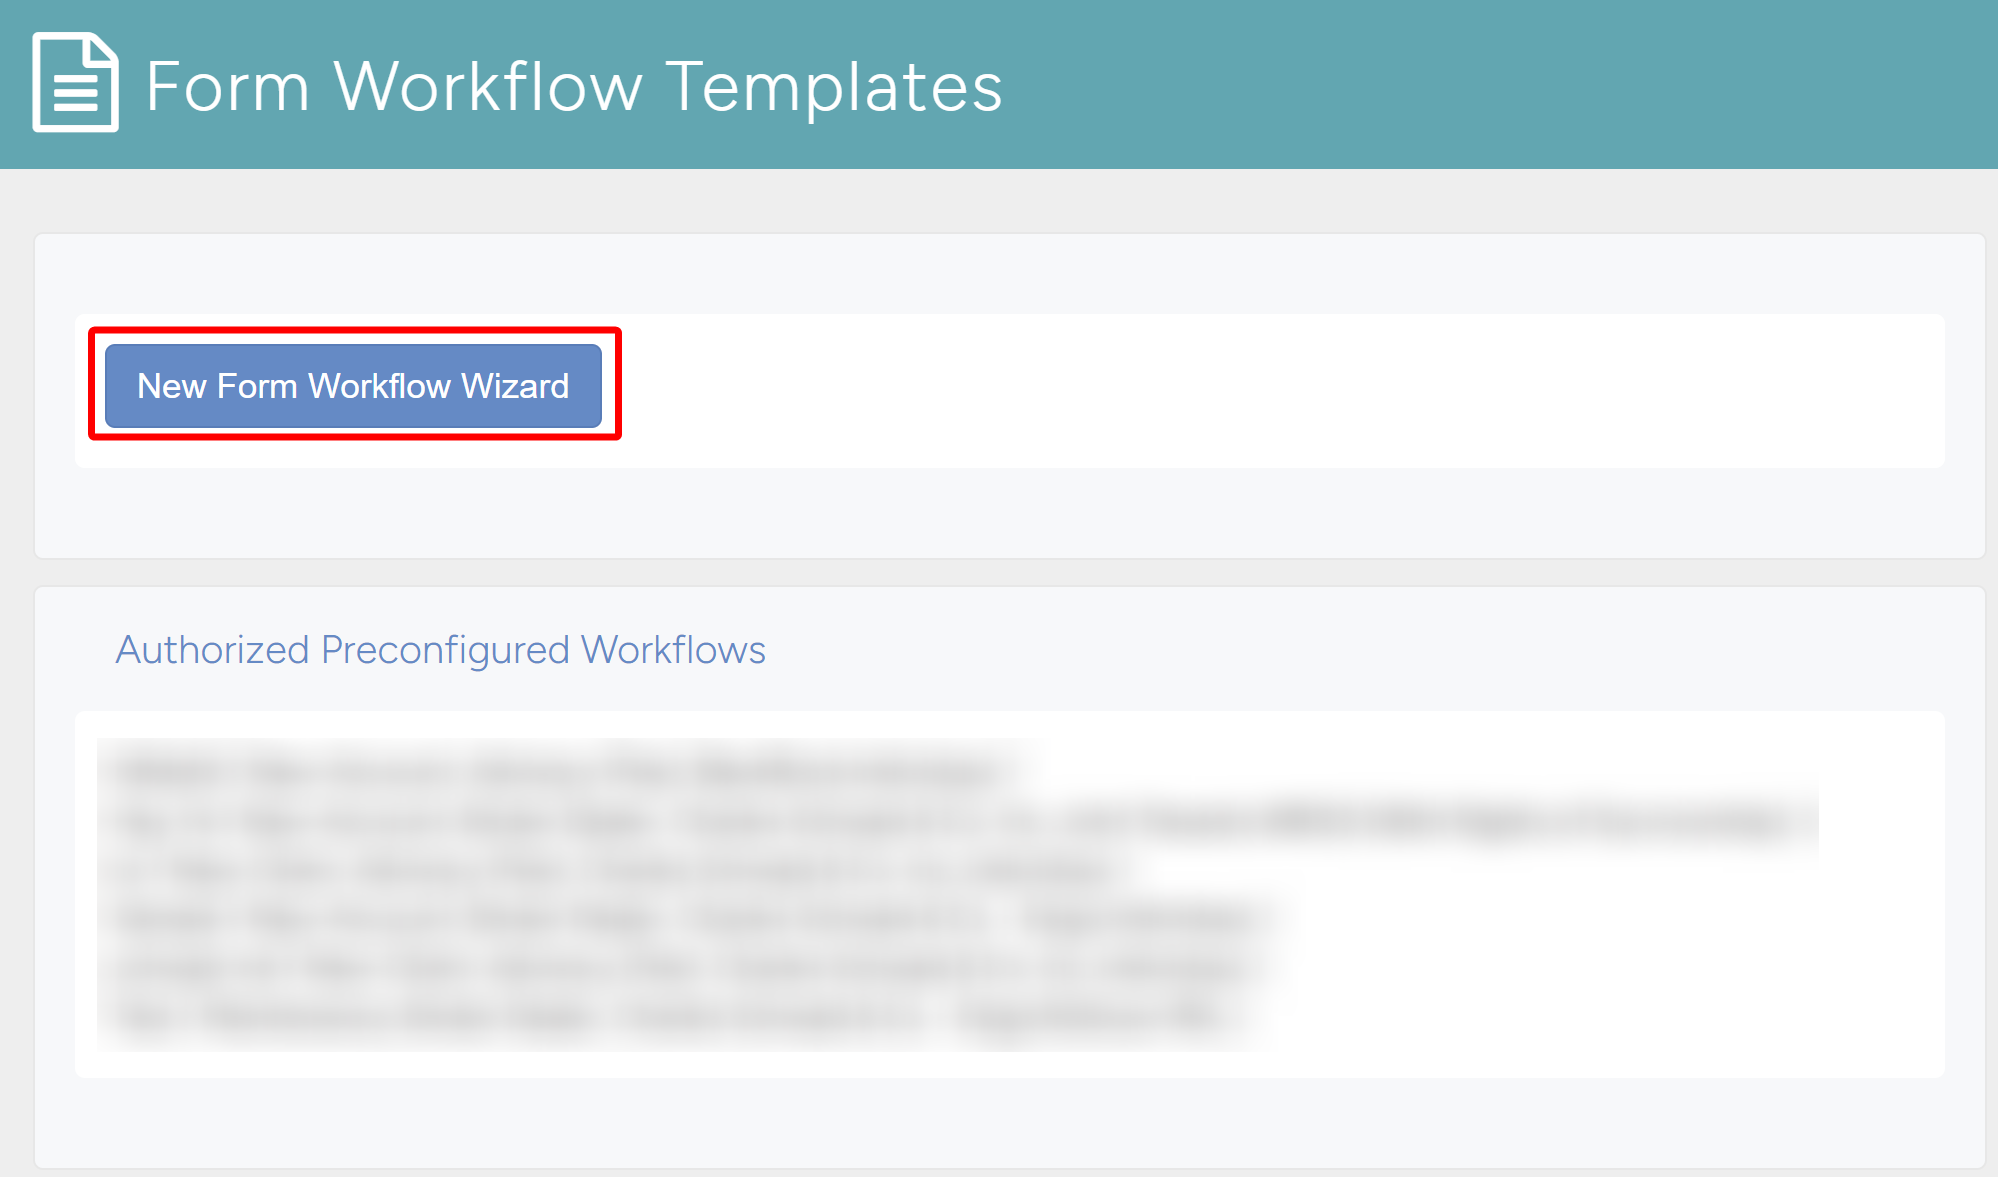
- The system will navigate to the Form Workflow Templates page. Click New Form Workflow Wizard.
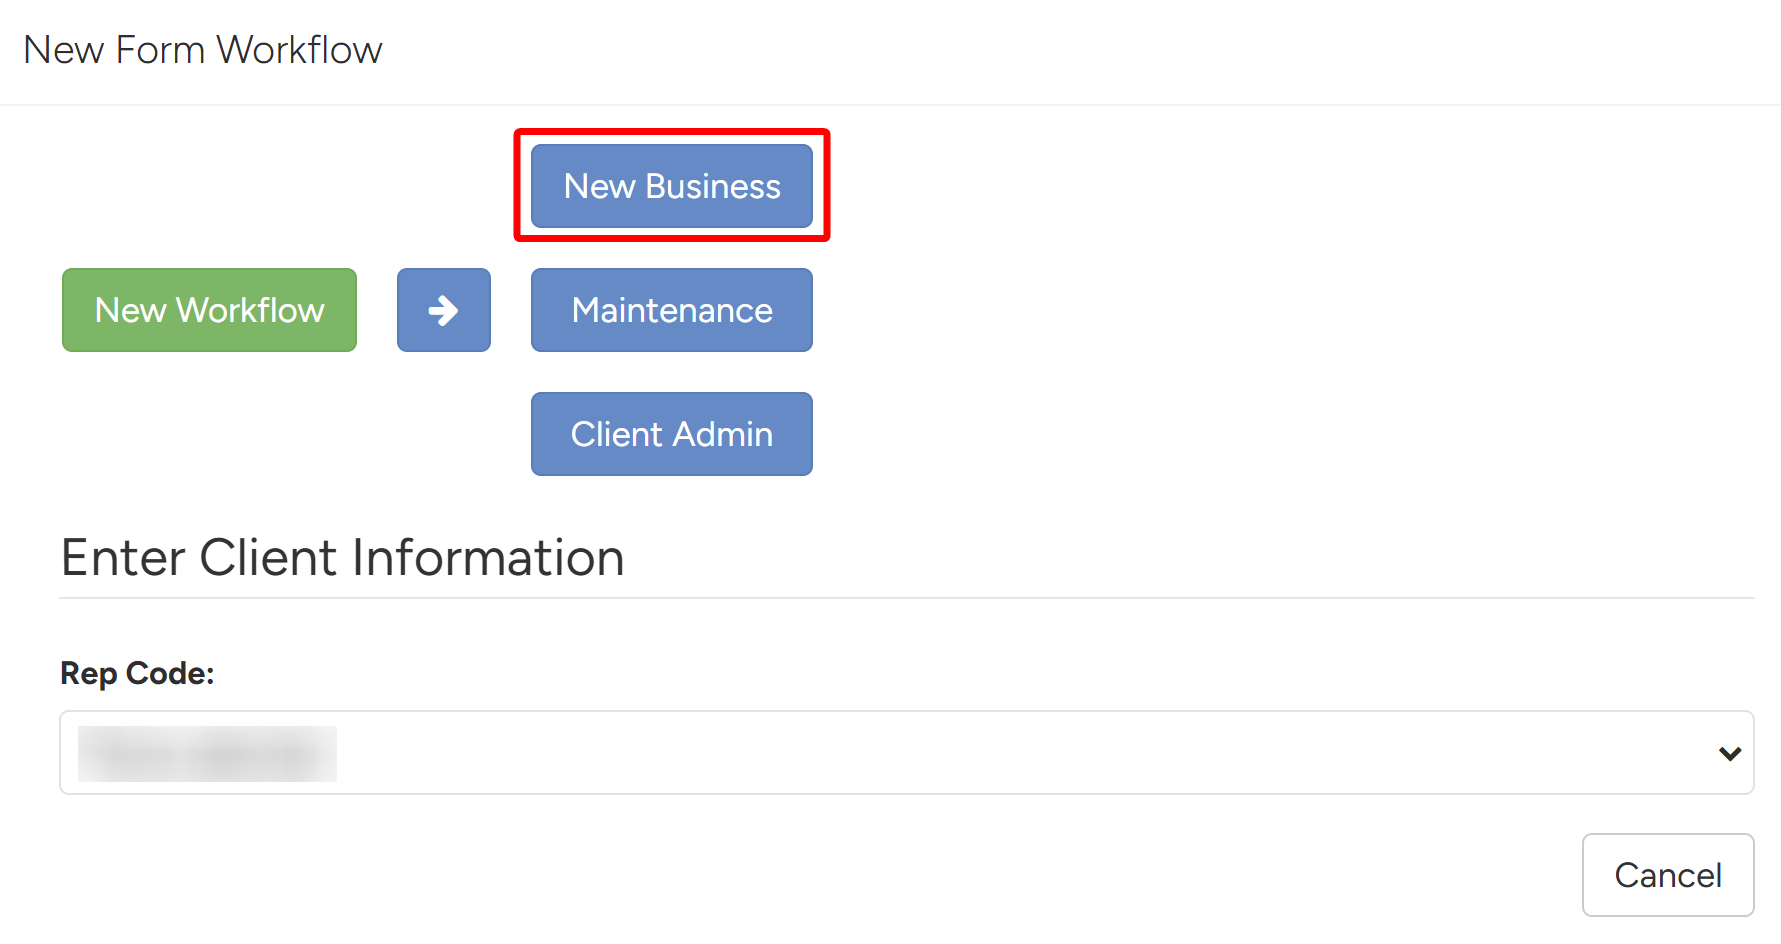
- The Workflow Creation page will open, where you will go through the process of creating the workflow. The Workflow Type is the first prompt – choose New Business.
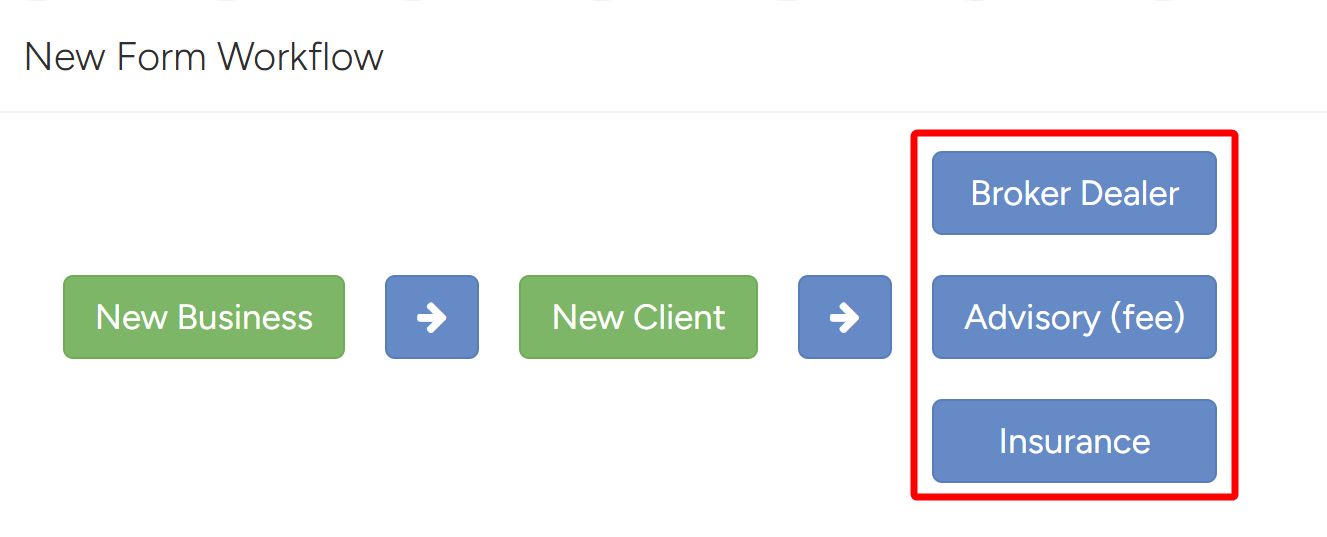
- The next prompt is the Business Type/Relationship Type. Select from the available options.
- In this case, Advisory (fee) was chosen.
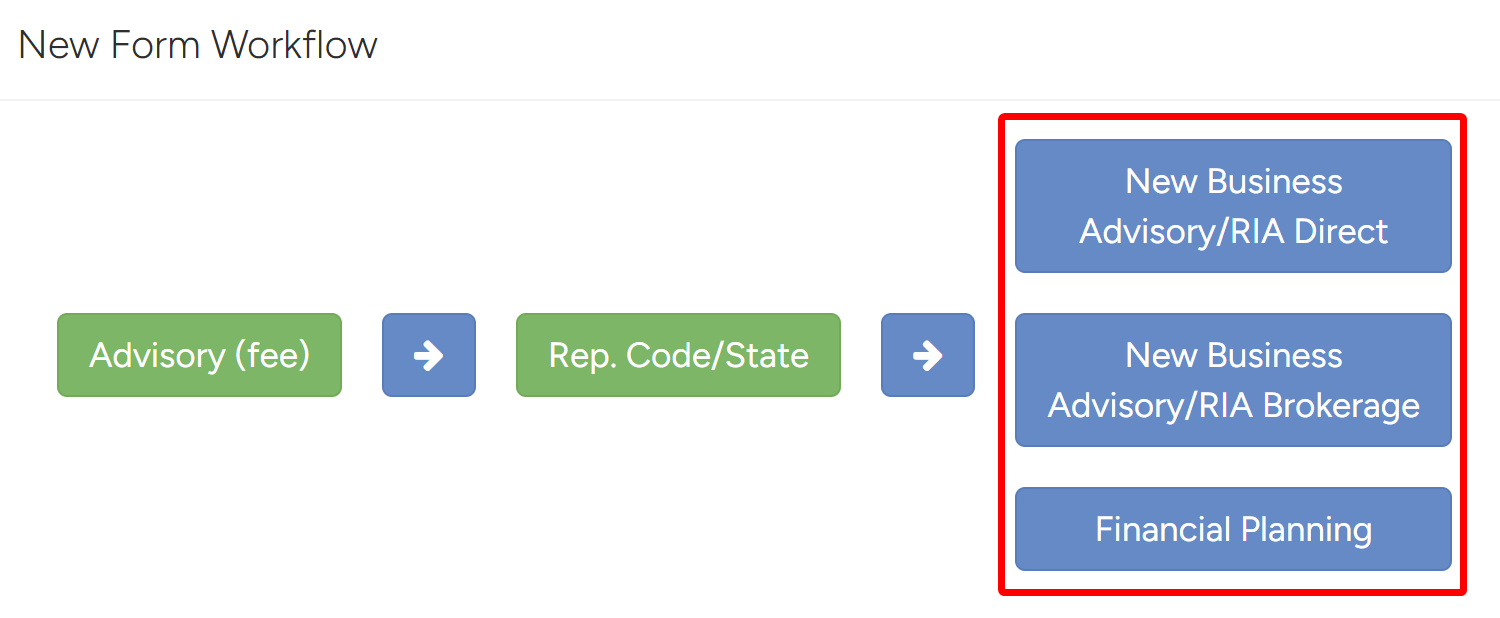
- The next prompt is the Transaction Type – the options are dependent on the Relationship Type chosen. Select from the available options.
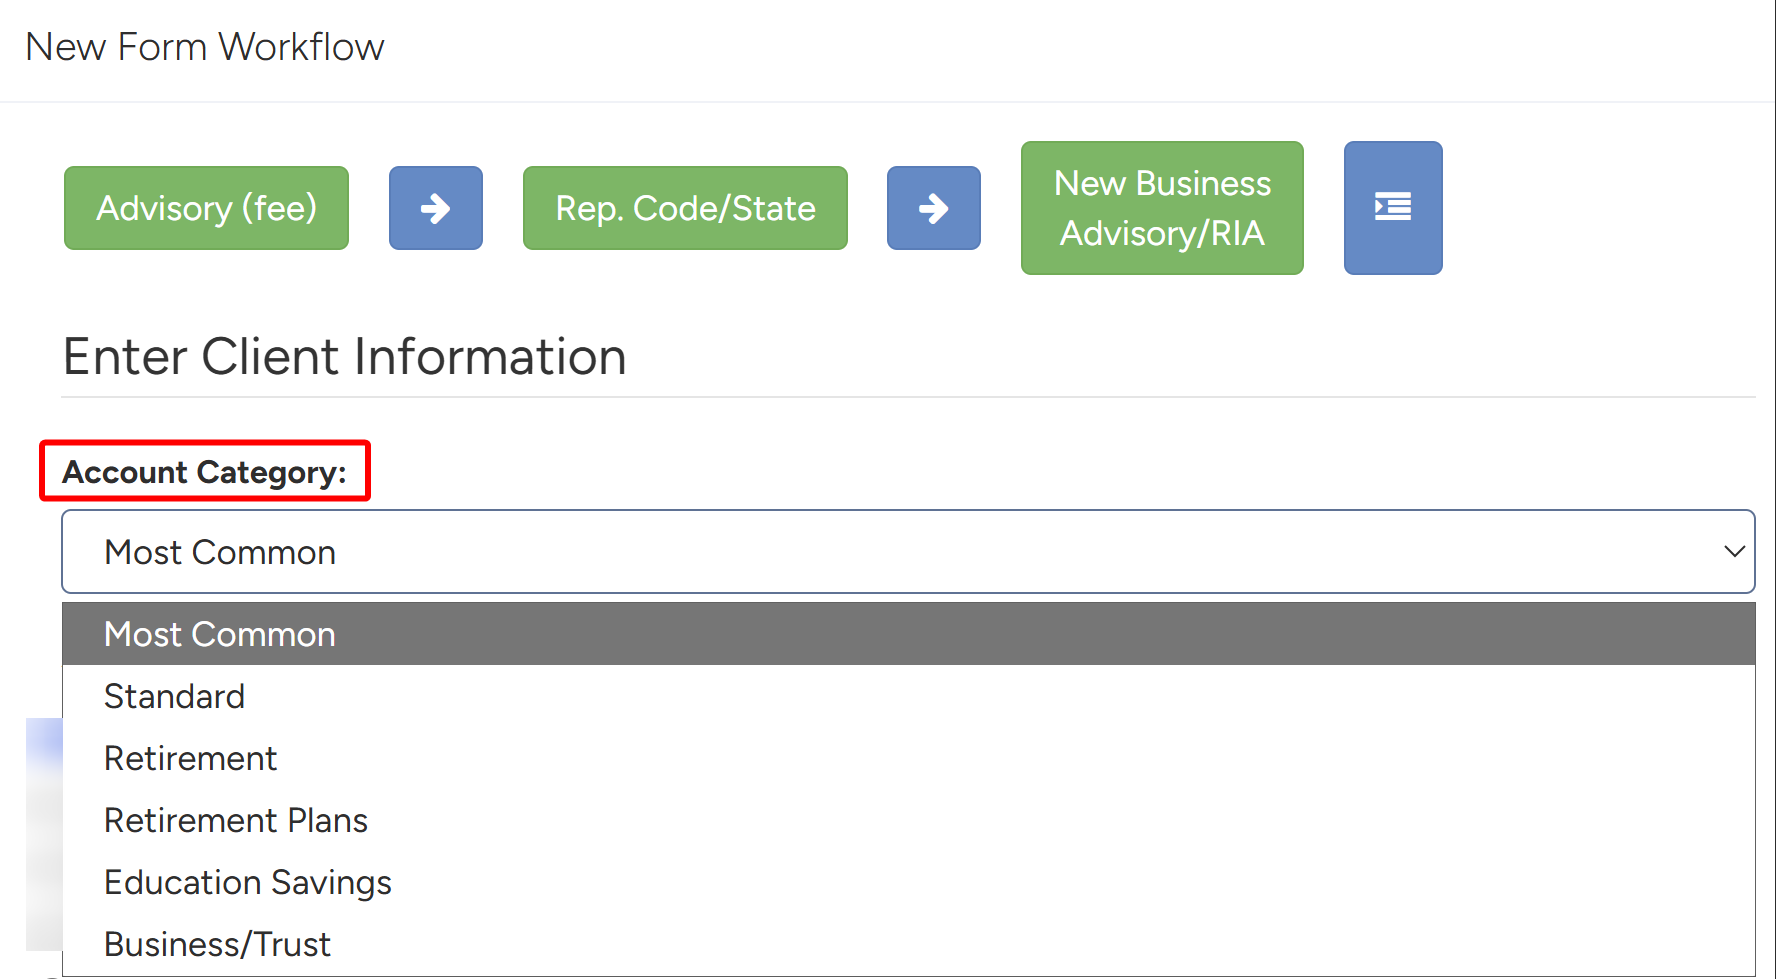
- Select the appropriate Account Category, which will change the available Account Types in the list.
- The available categories are Most Common, Standard, Retirement, Retirement Plans, Education Savings, and Business/Trust. All of these options will filter the Account Type list.
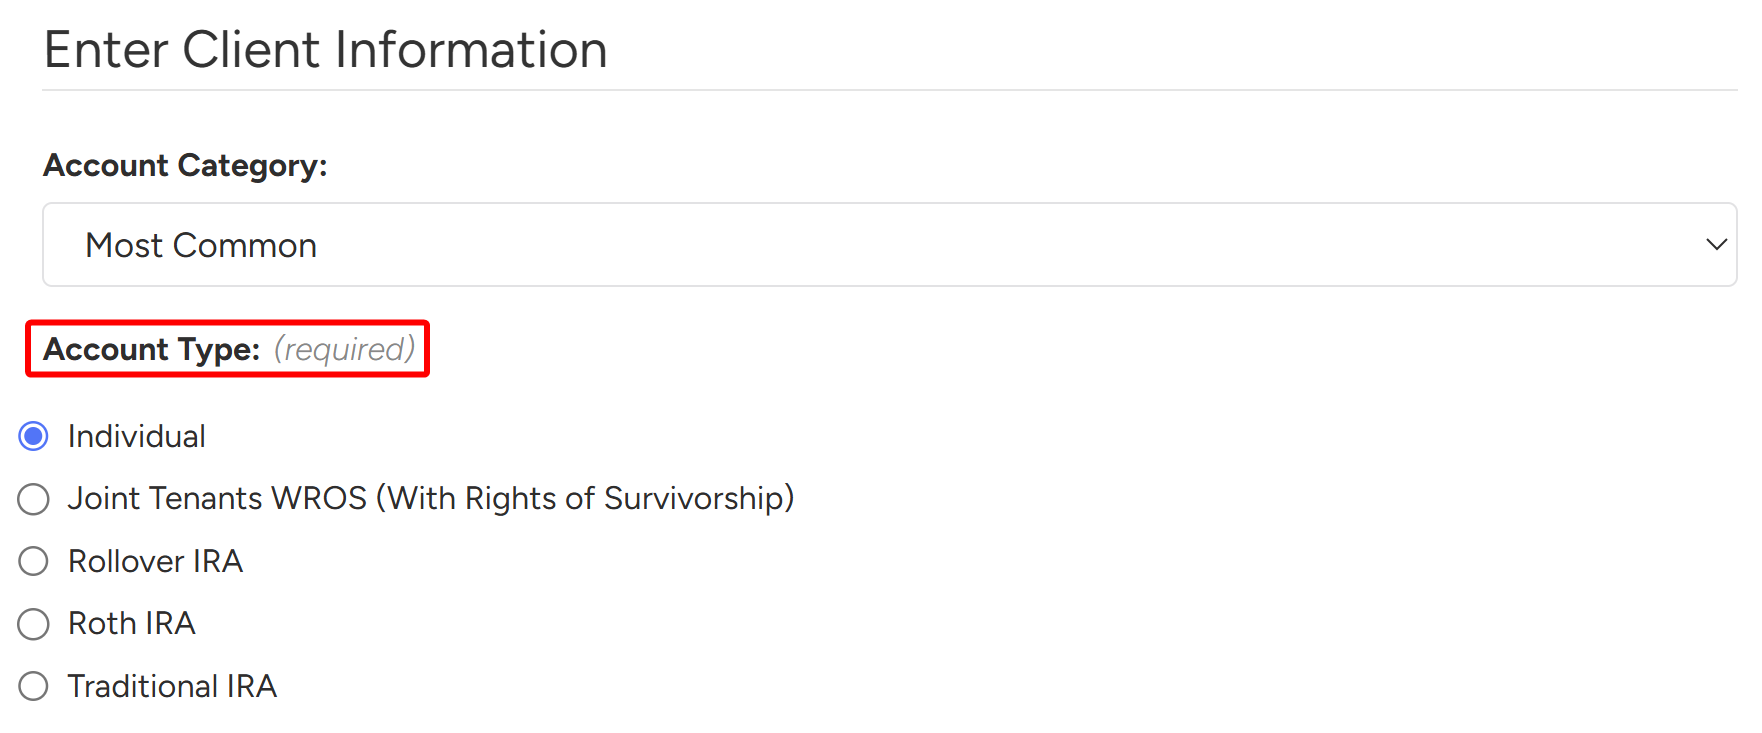
- Once the category is chosen, select the Account Registration Type under the Account Type list.
- The information for the client that was pulled from the CRM will populate in specific fields — for example, the first, middle, and last name.
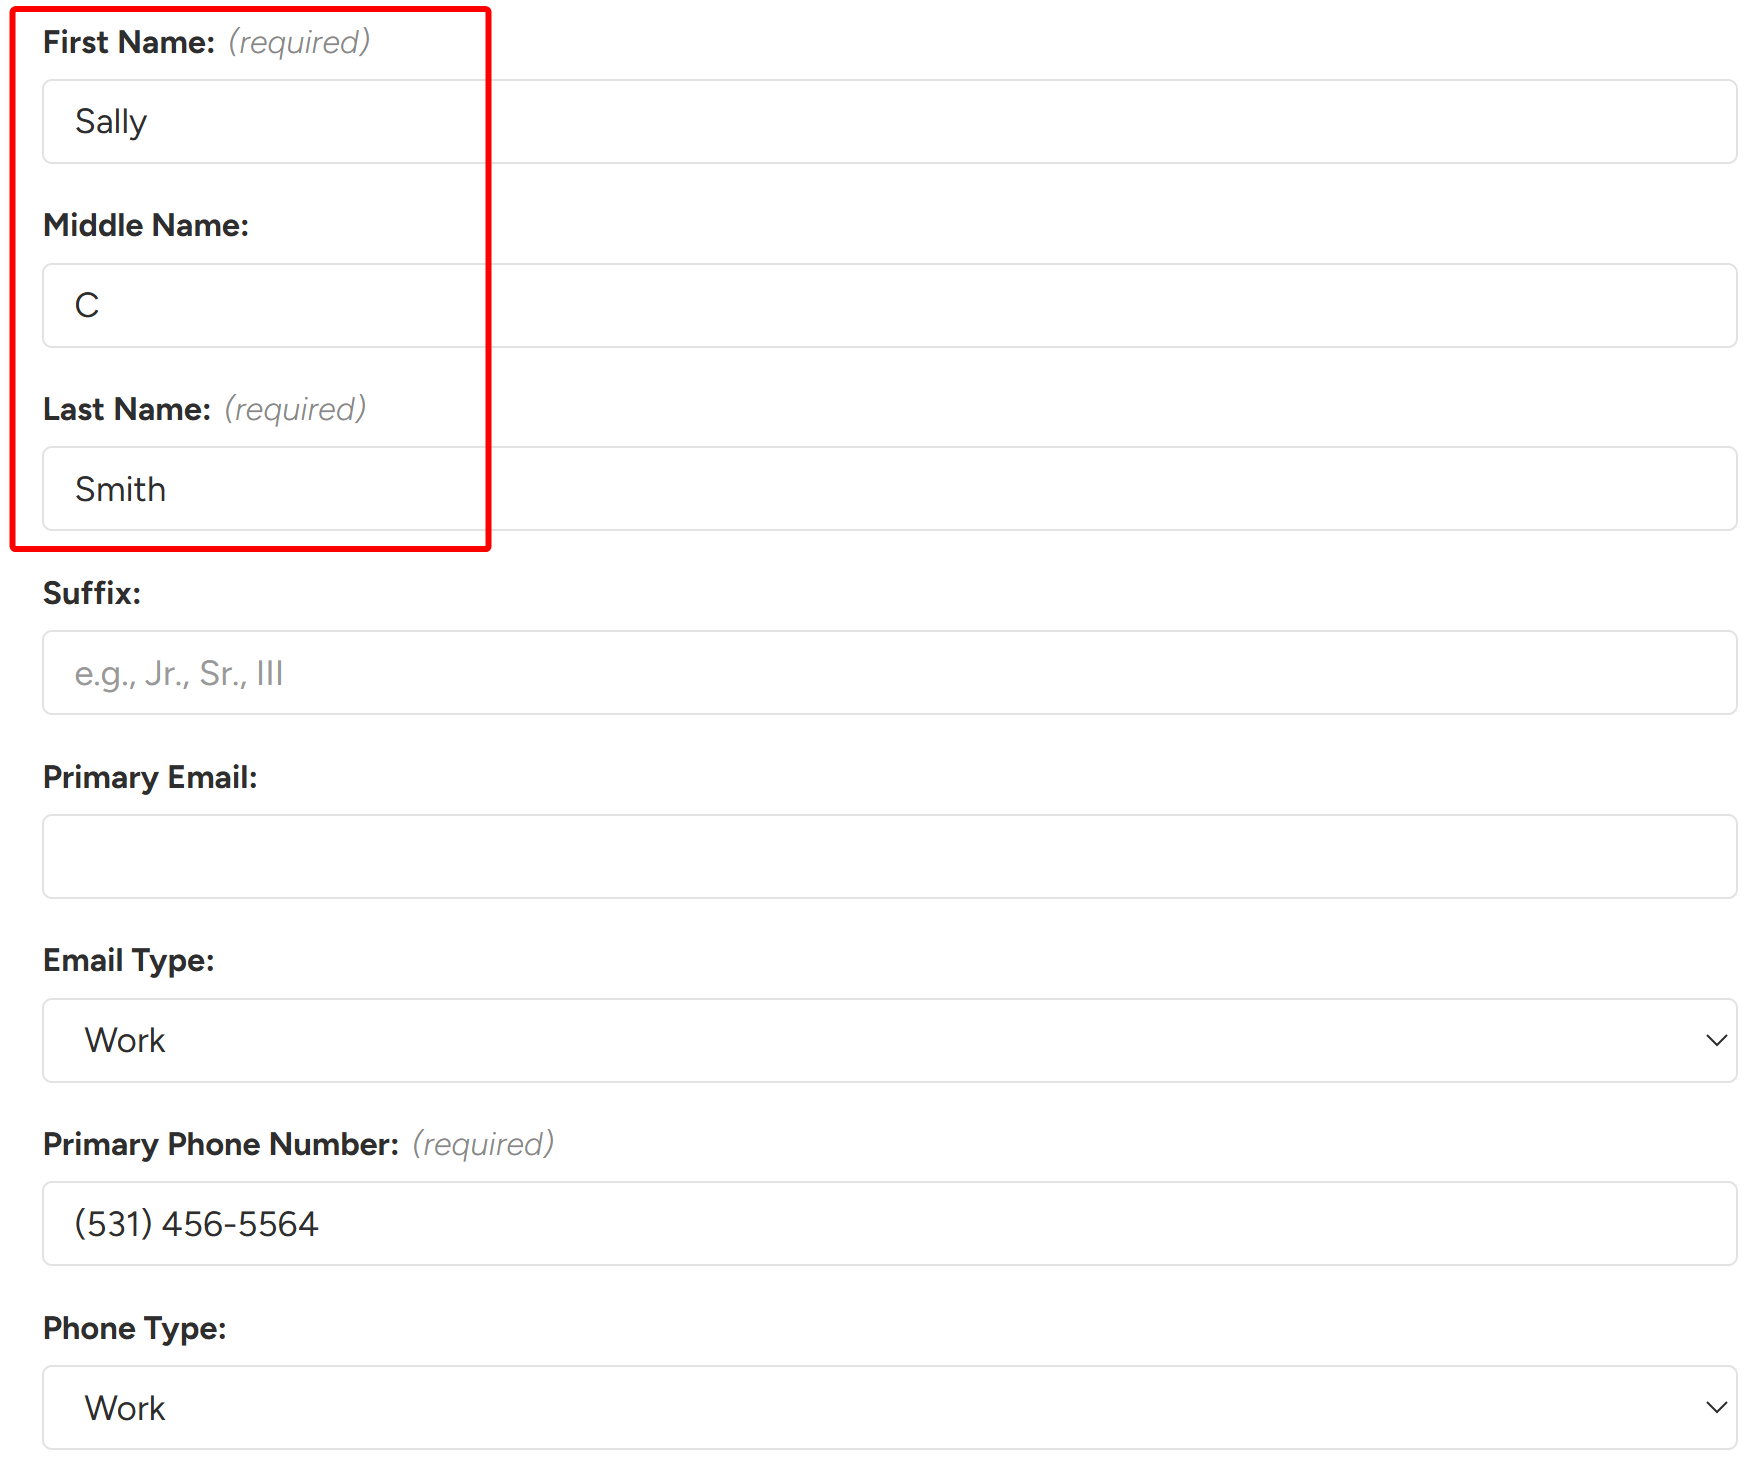
- Fill in the rest of the client information and click Submit at the bottom.

- The system will navigate to the Form Selection page, where you can select forms that will be included in the workflow.
- You can select from different types of forms – this will depend on the selections made in the wizard.
- Company Forms are Your Company’s forms
- Custodian Forms is the selected Custodial Library of Forms (RBC, Schwab, Pershing, etc).
- Direct Business Forms is the selected Vendor’s Library of Forms (American Funds, Lincoln Financial, etc)
- You can select from different types of forms – this will depend on the selections made in the wizard.
Note
All required forms will be automatically selected and added to the bundle.

- Once all forms are added/selected, click the Create Form Workflow button to create the form workflow.
