Entering Data & Submitting Workflow
The “Entering Data and Submitting Workflow” feature streamlines the process of inputting information and submitting various forms within the system. Users can easily enter required data into designated fields, ensuring accuracy and consistency. Once the data is entered, the feature provides a straightforward mechanism to submit the forms for processing or approval. This functionality is designed to minimize errors, save time, and ensure that all necessary information is captured and submitted efficiently.
7.1 Overview of Related Functions inside Workflow
To enter form data and submit forms successfully, follow the steps below.
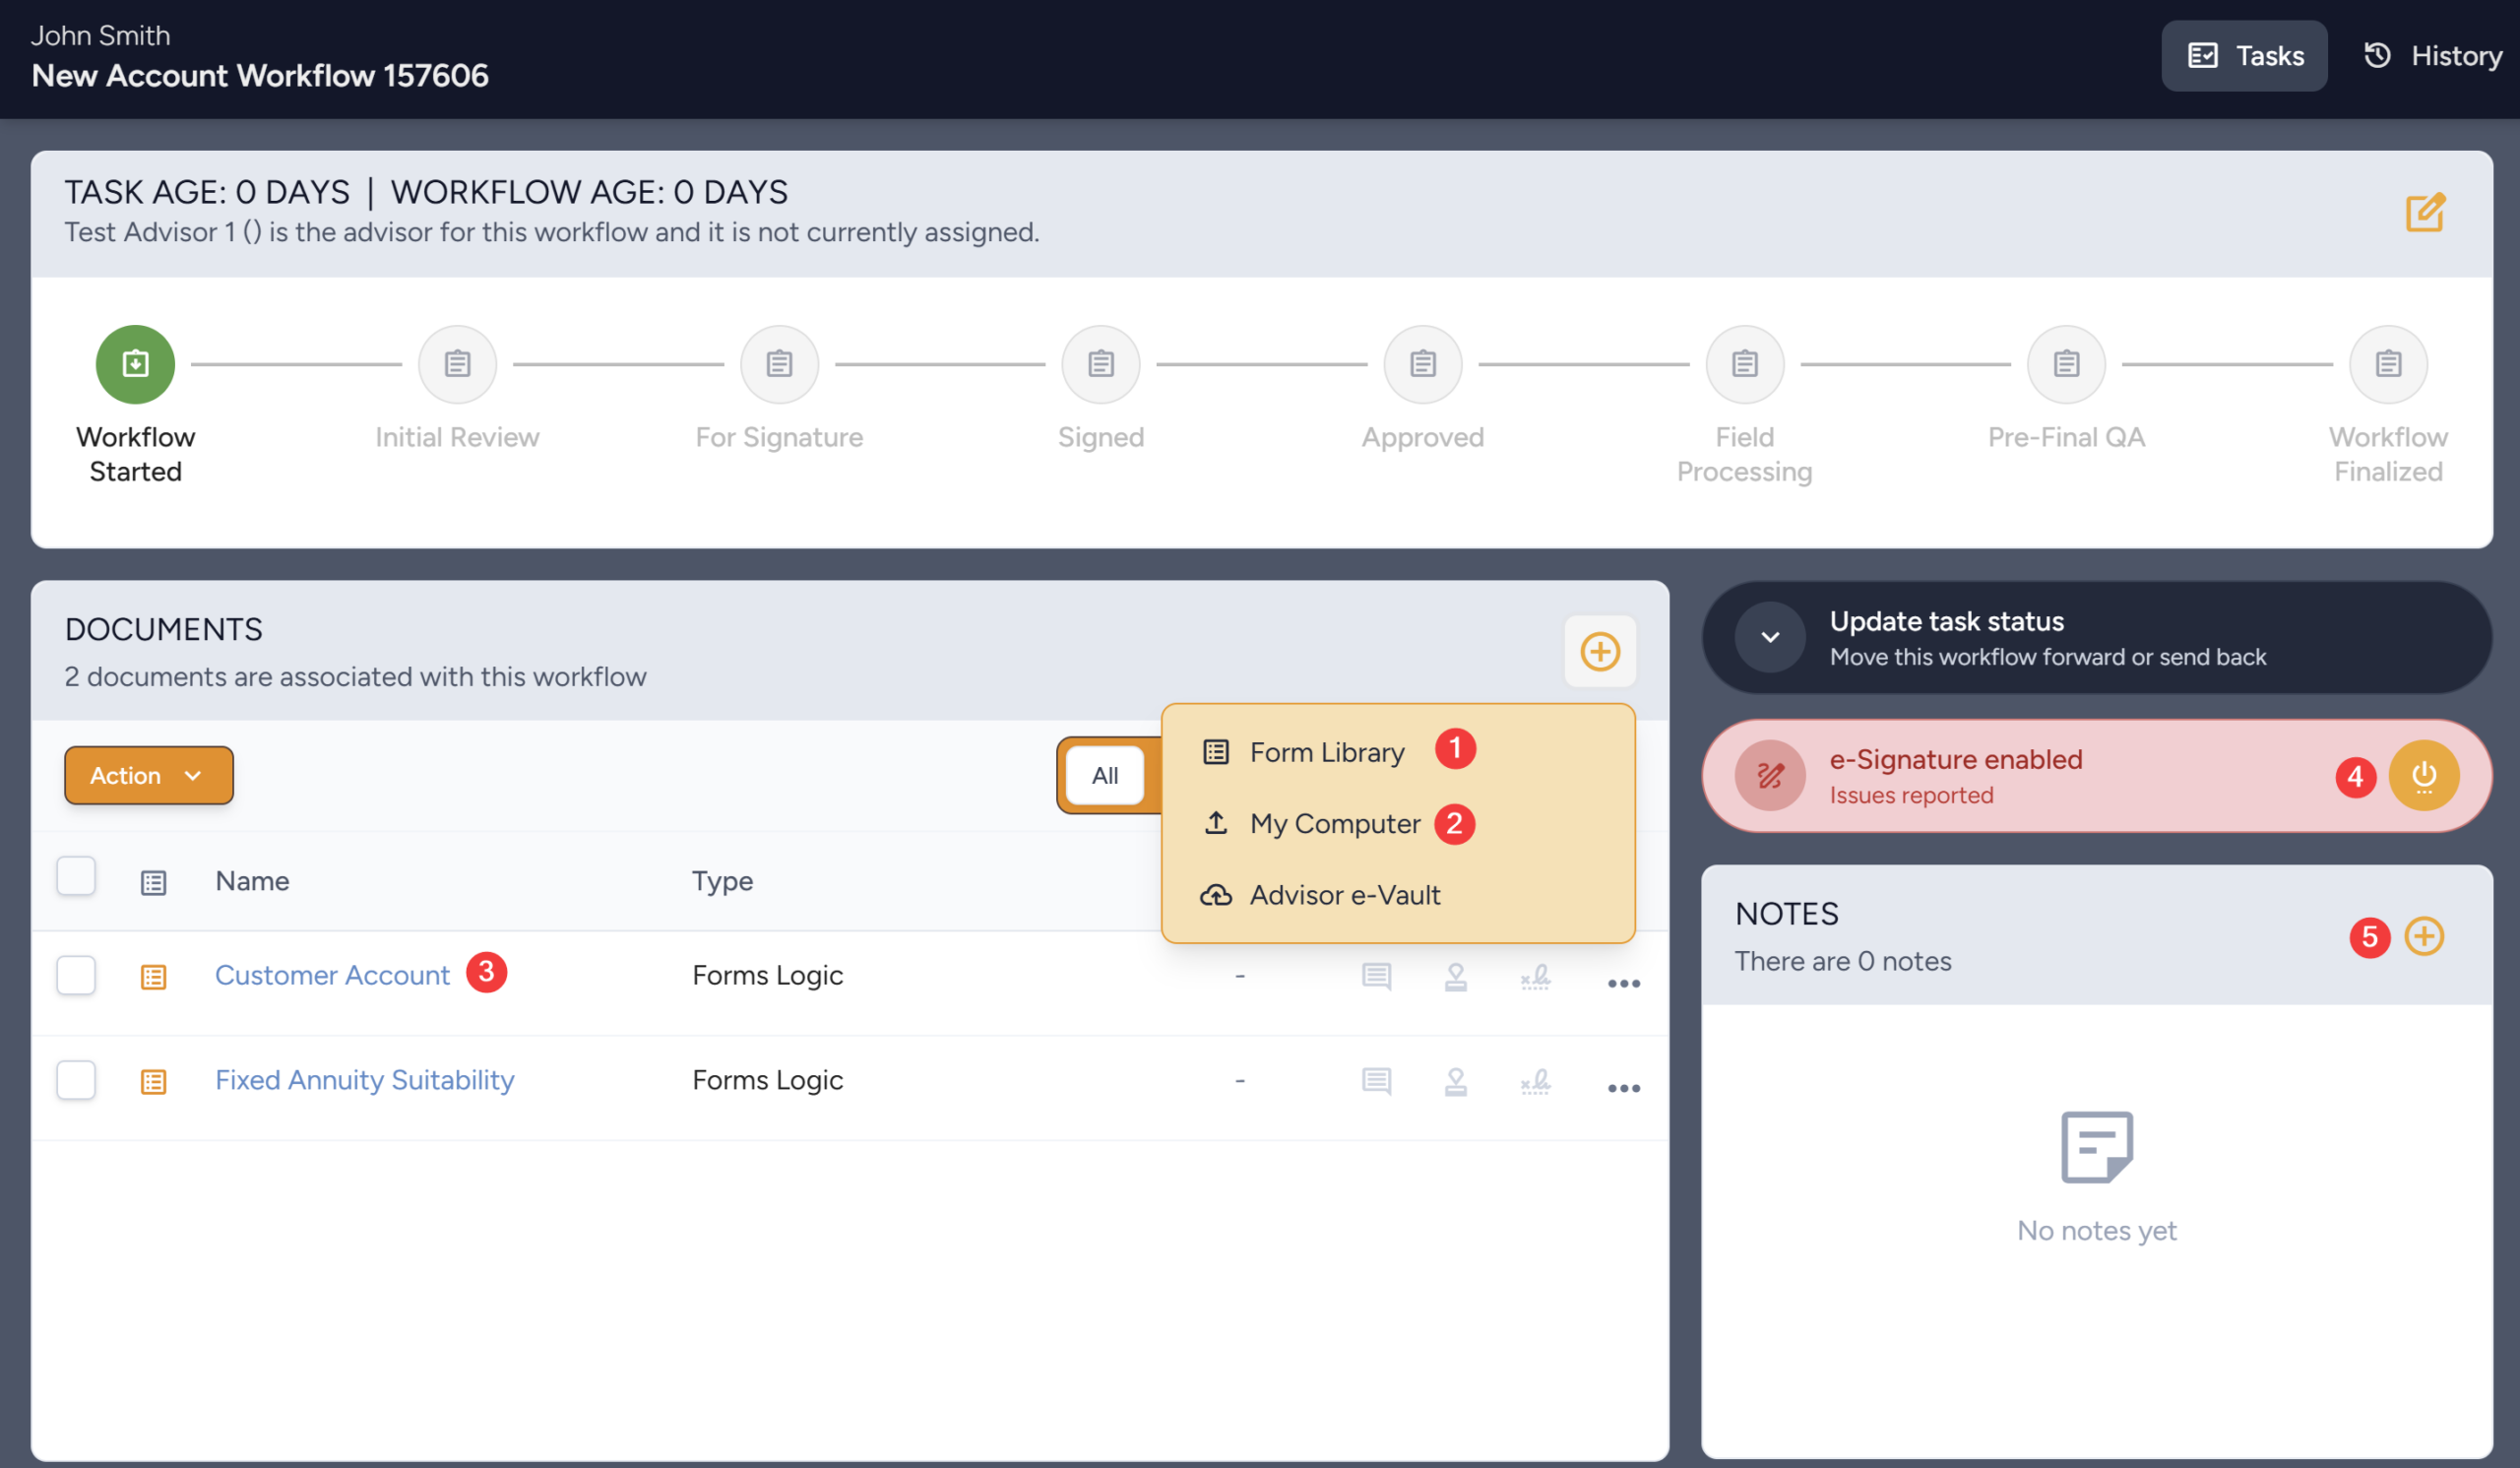
- The system opens inside the Workflow automatically, after creating a workflow. On this view, some of the things users can do include the following:
- Add additional forms needed in the workflow.
- Upload documents from Local System or Document E-Vault.
- View Forms and enter any missing data / information in the form.
- Enable Wet Signature or E-Signature – as well as prepare E-Sign information.
- View/Add Notes.
7.2 Adding Forms
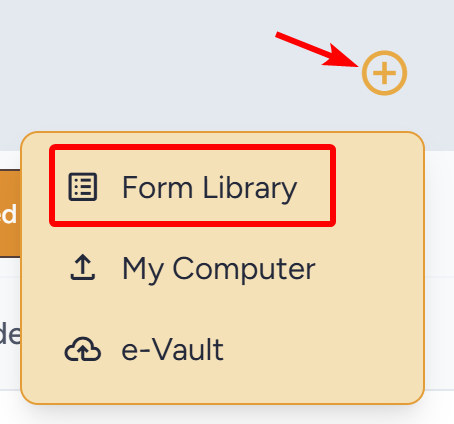
- In order to add forms, under the Documents section, click the Plus Icon on the right. From the dropdown, click Form Library.
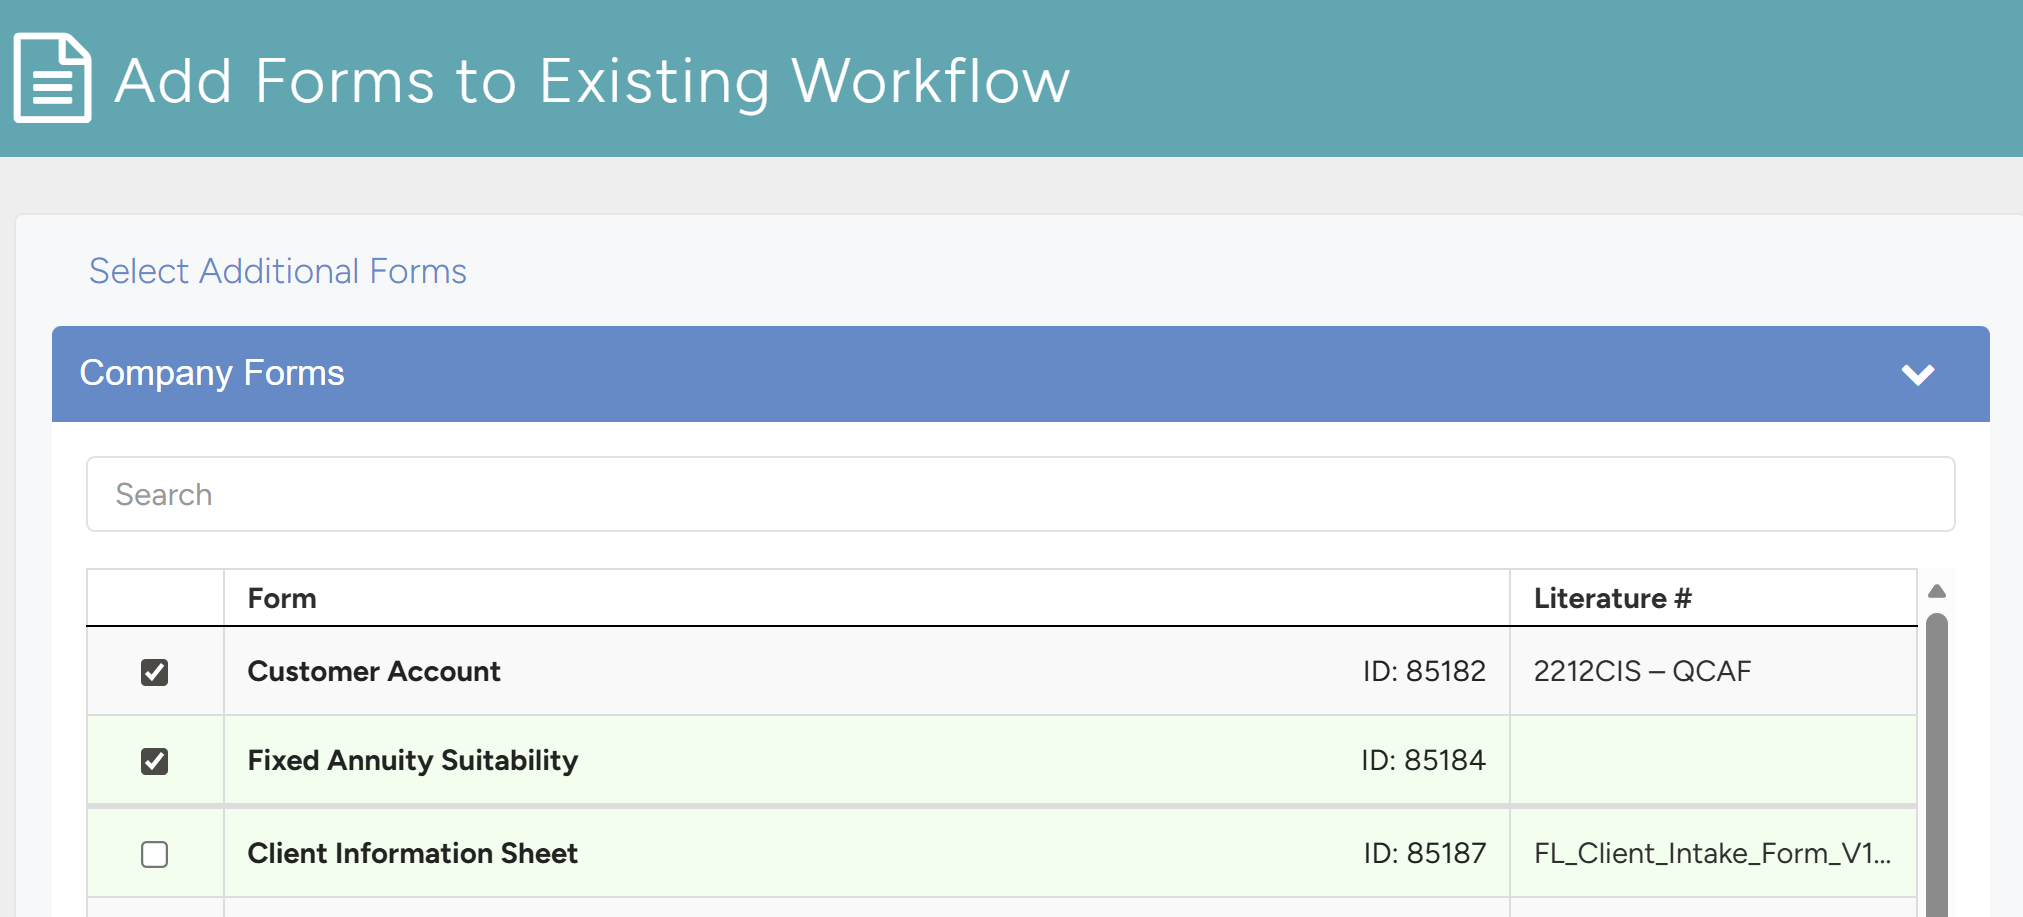
- The Add Forms to Existing Workflow page opens. Select the form(s) you need to add and click the Add Selected Forms button at the bottom to add the selected forms to the workflow.
7.3 Adding Documents
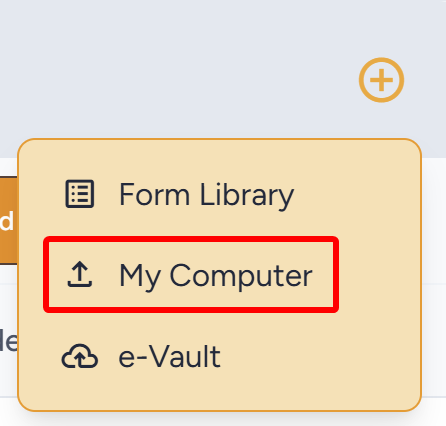
- In order to add documents from your local system, in the Documents section click the Plus Icon. From the dropdown, click My Computer.
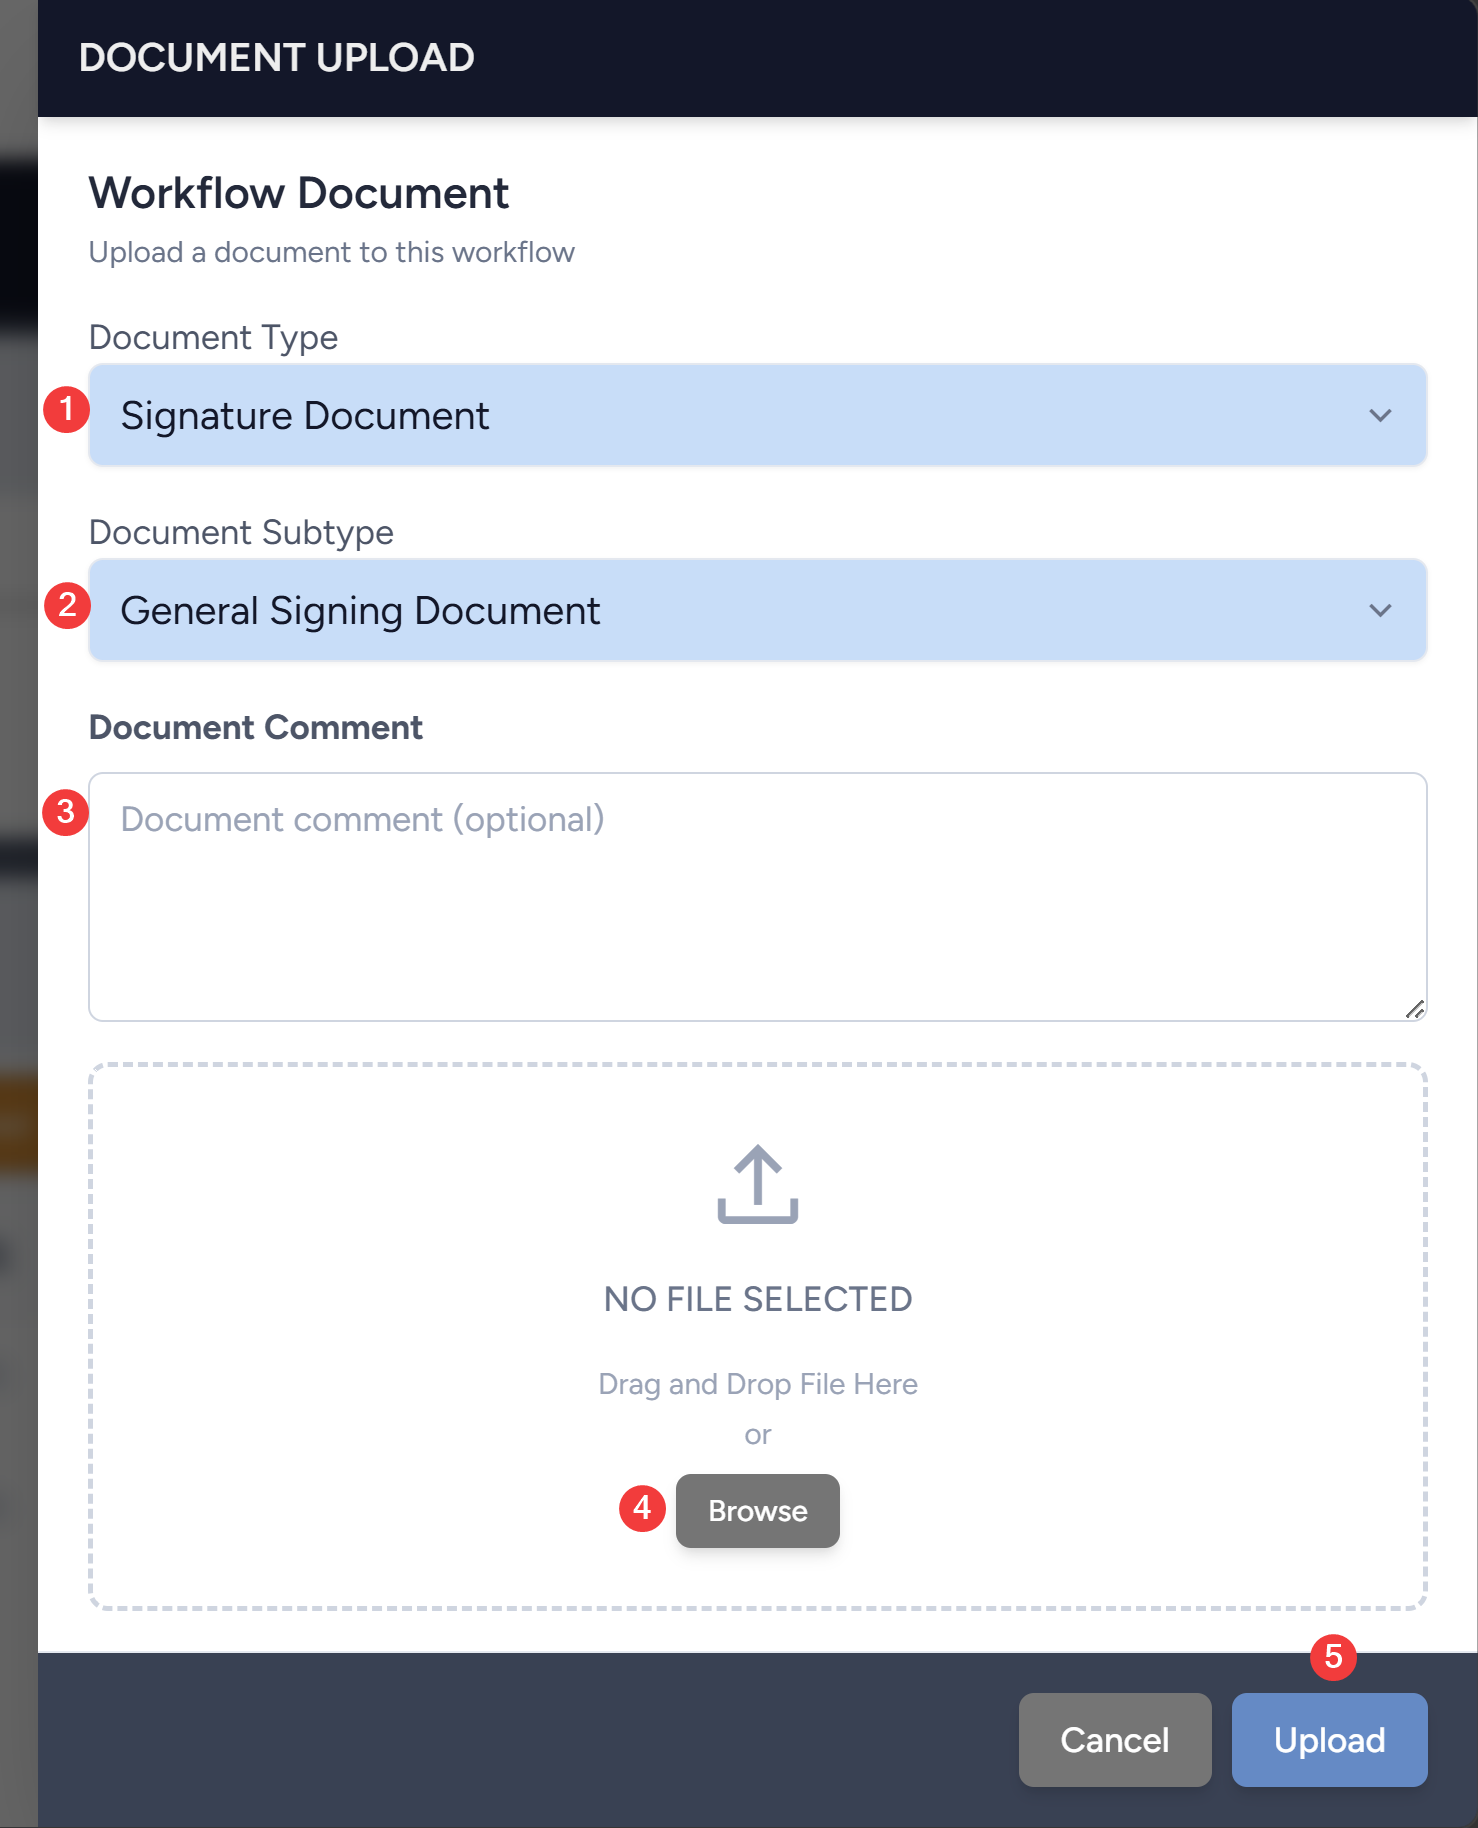
- The Document Upload drawer will open. To upload a document, do the following:
- Choose the Document Type.
- Choose the Document Subtype.
- Write a Comment (optional).
- Click Browse to choose a File.
- Click Upload
7.4 Viewing Forms and Entering Data
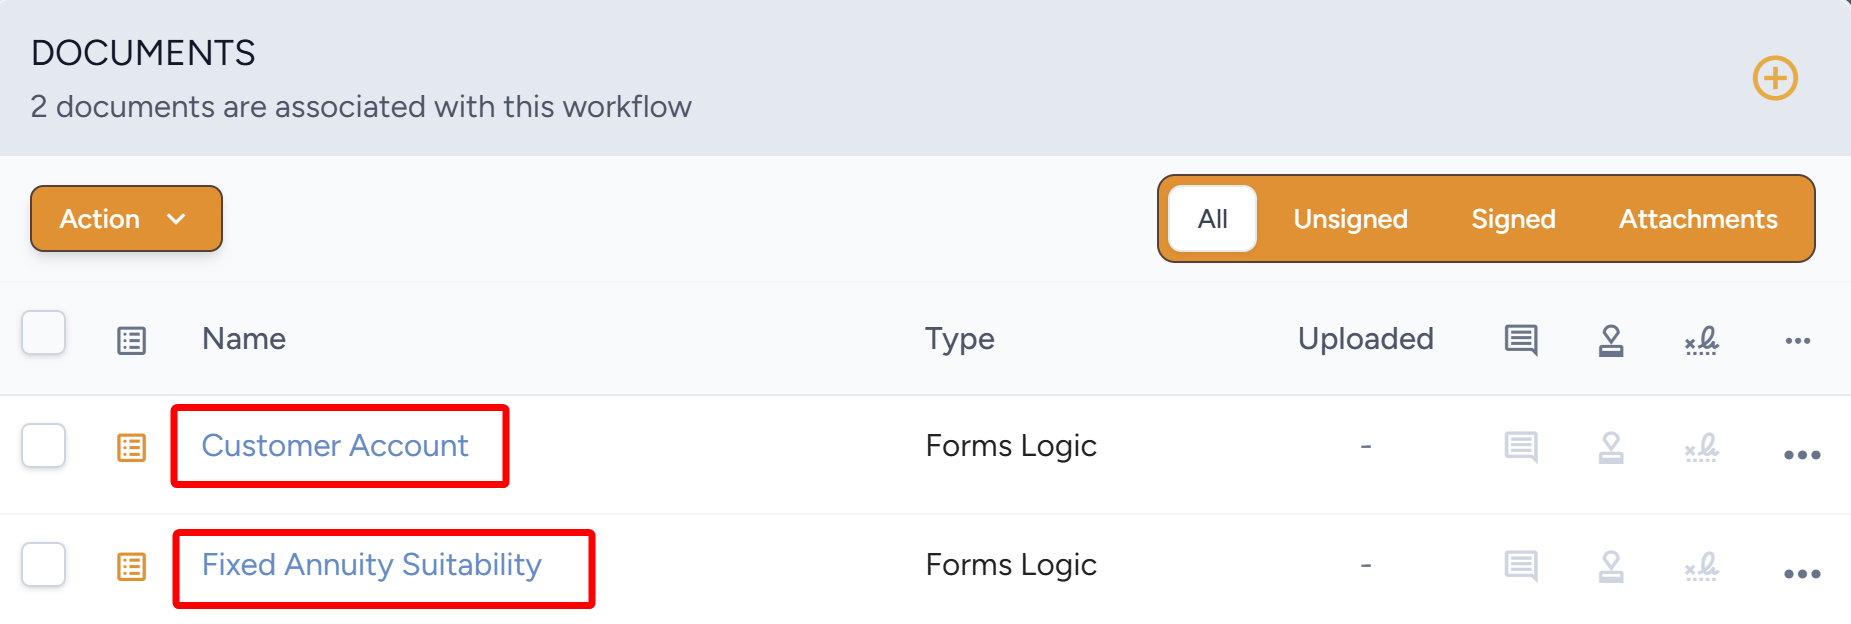
- In order to view forms, click on any Form Name under the Documents section to see the PDF View of the form. This is where you can enter data directly onto the form.
- All data entered into a form is automatically updated / populated in appropriate fields of other forms.
- When a form is clicked, the PDF Form Detail drawer opens – as shown below. This is where various actions related to the form can be made.
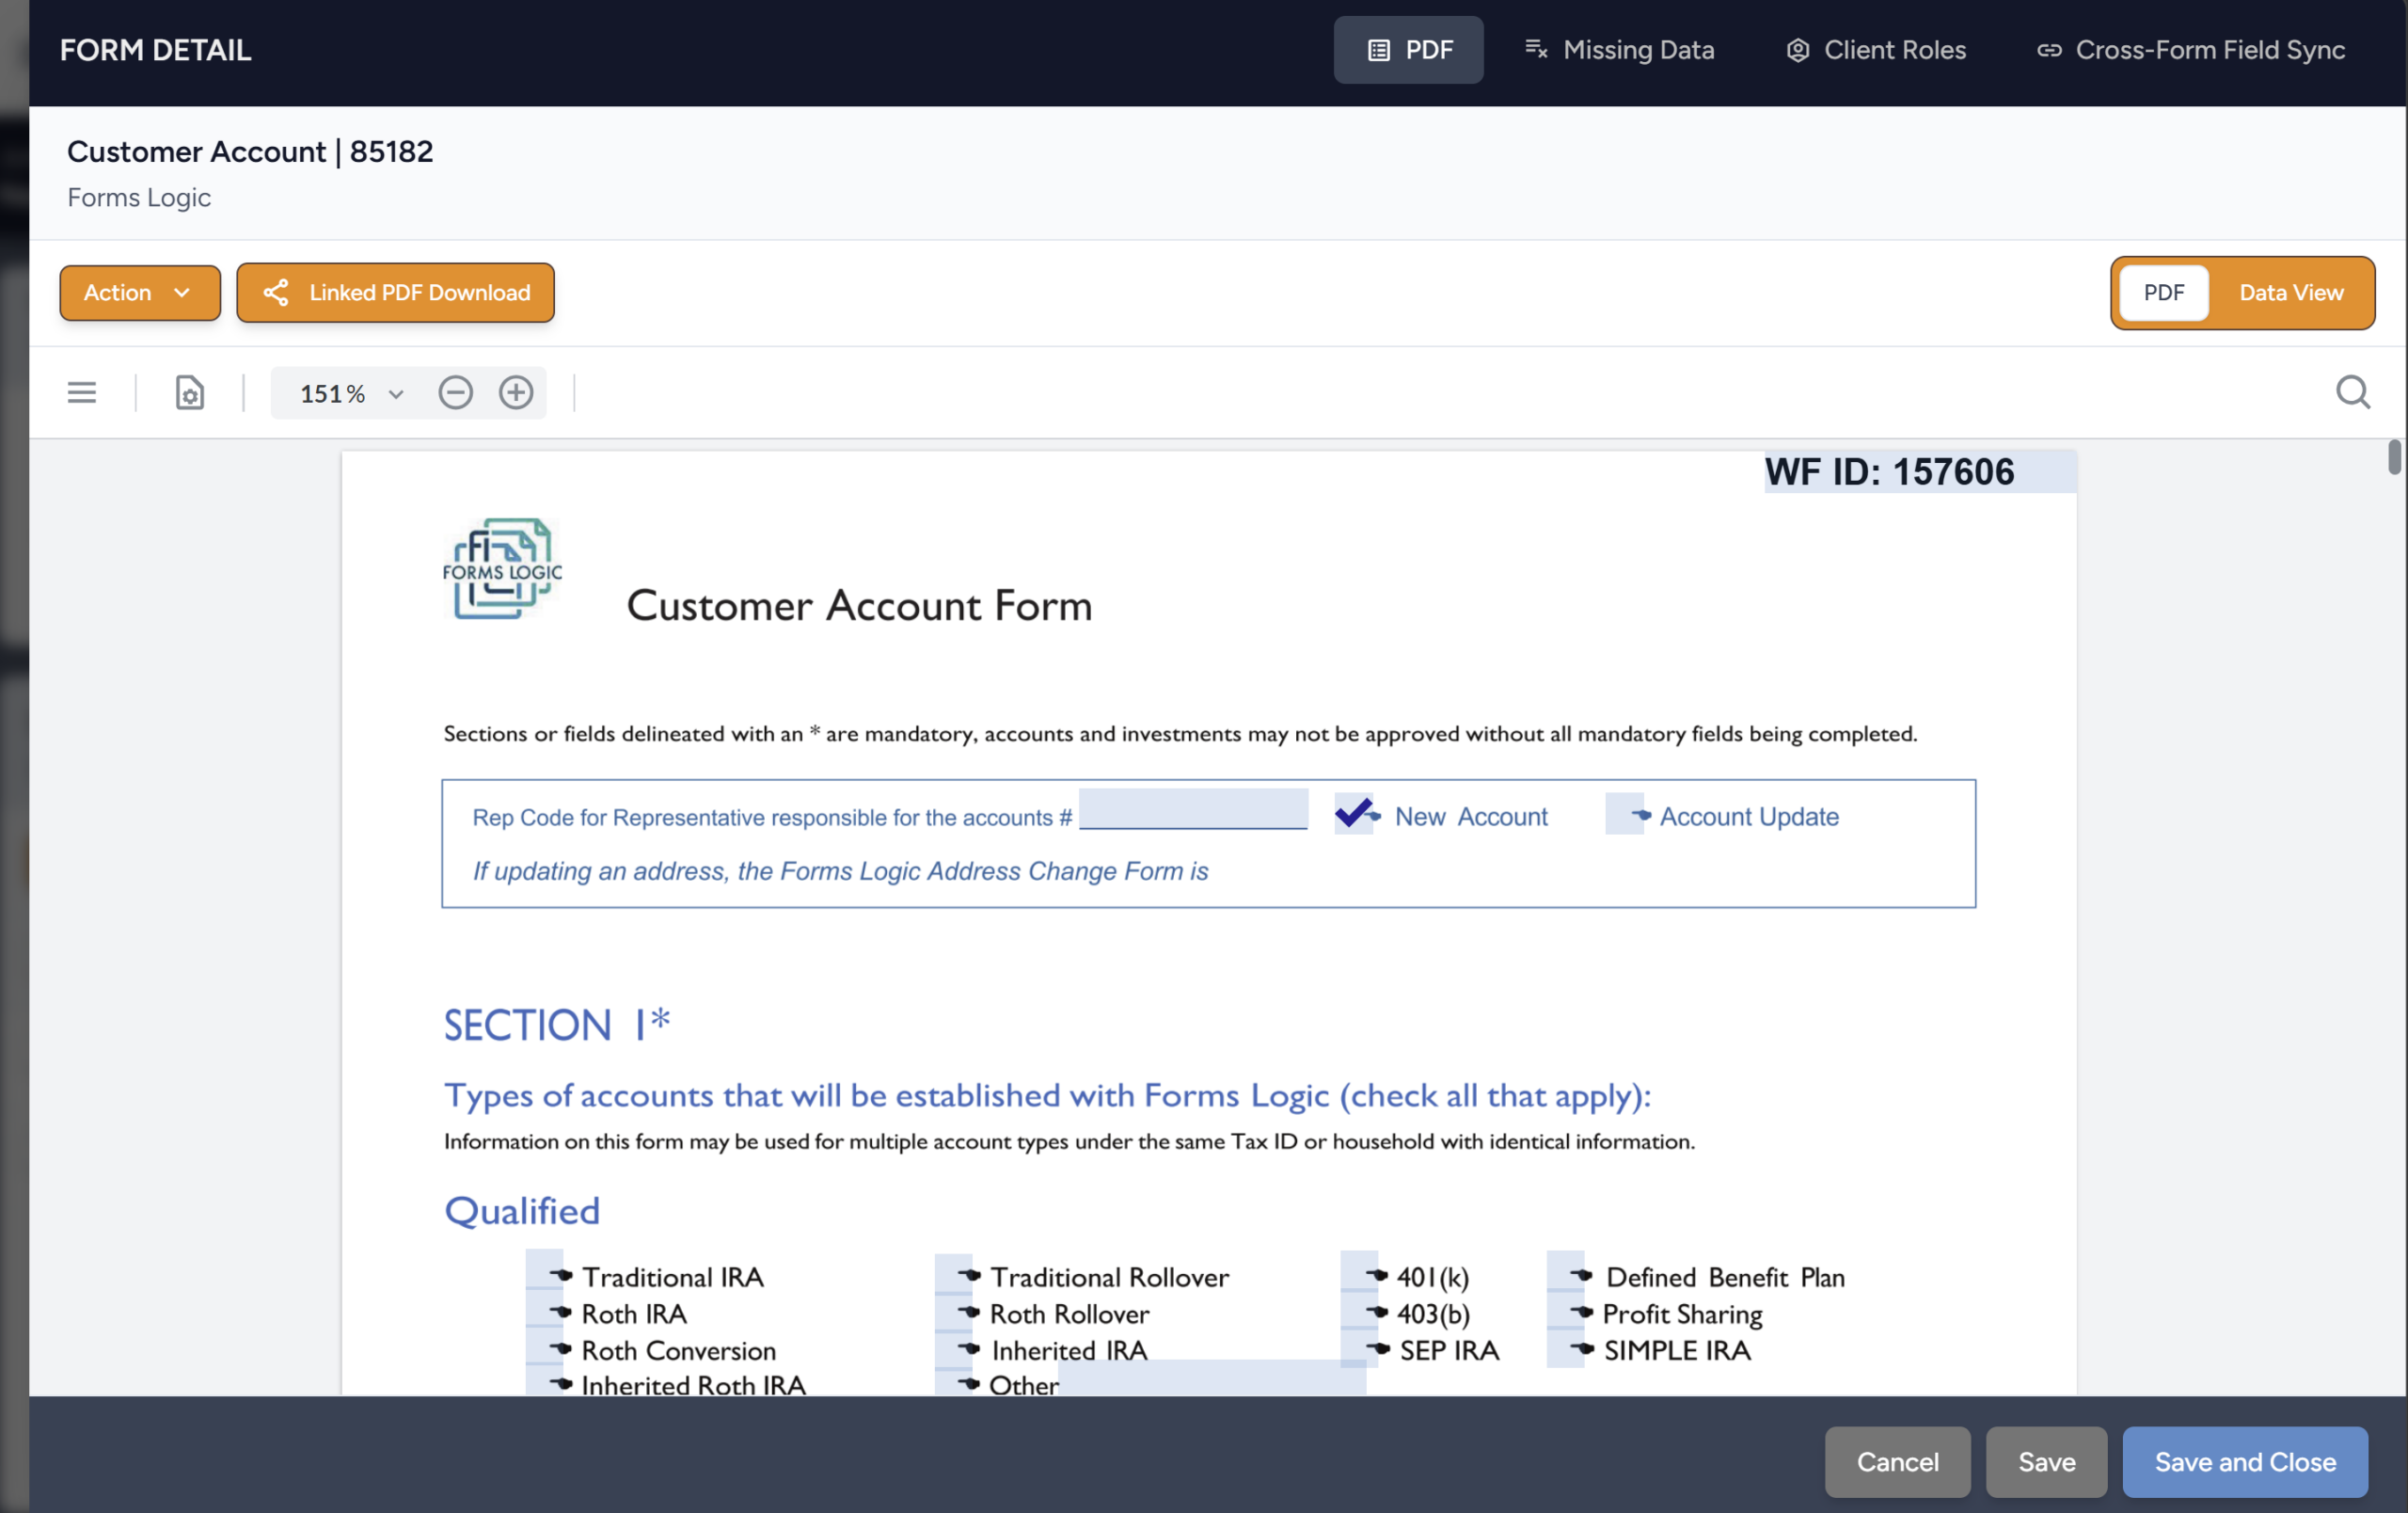
- In the upper left side, the Action dropdown button allows you to Print, Download, Open in a separate view, and Remove the form you are viewing.
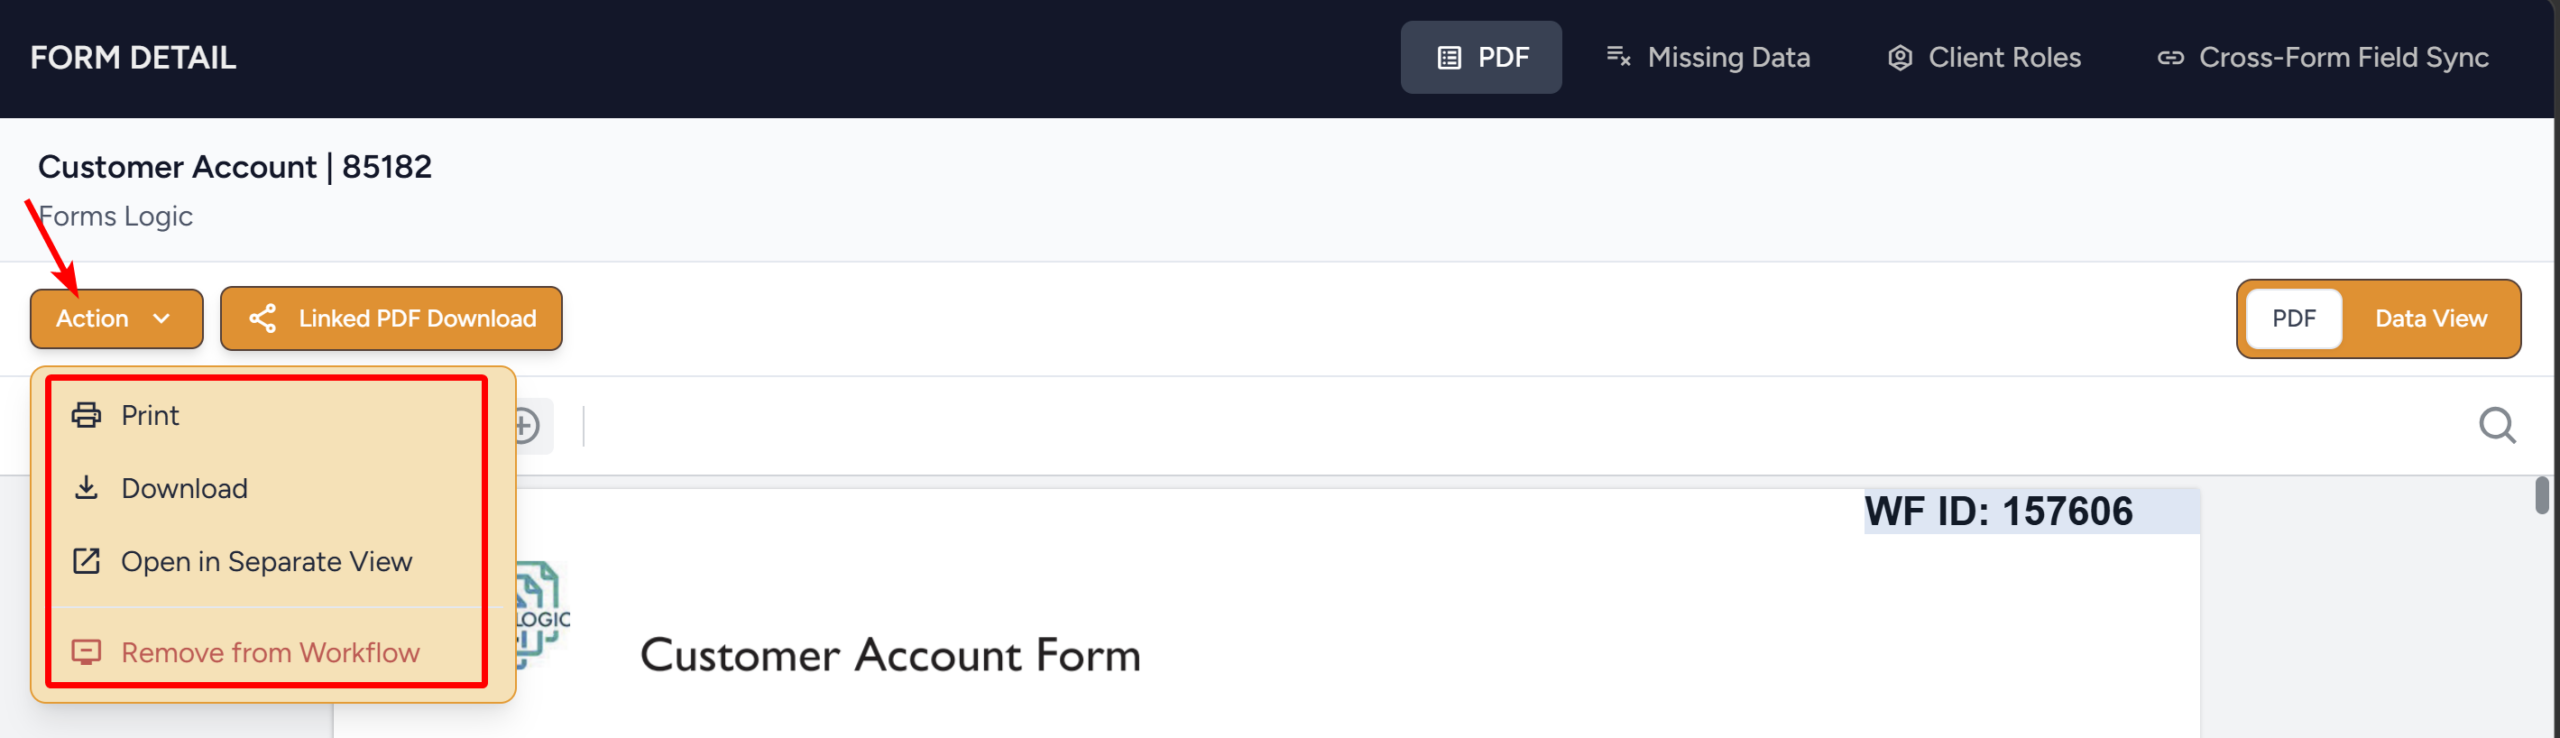
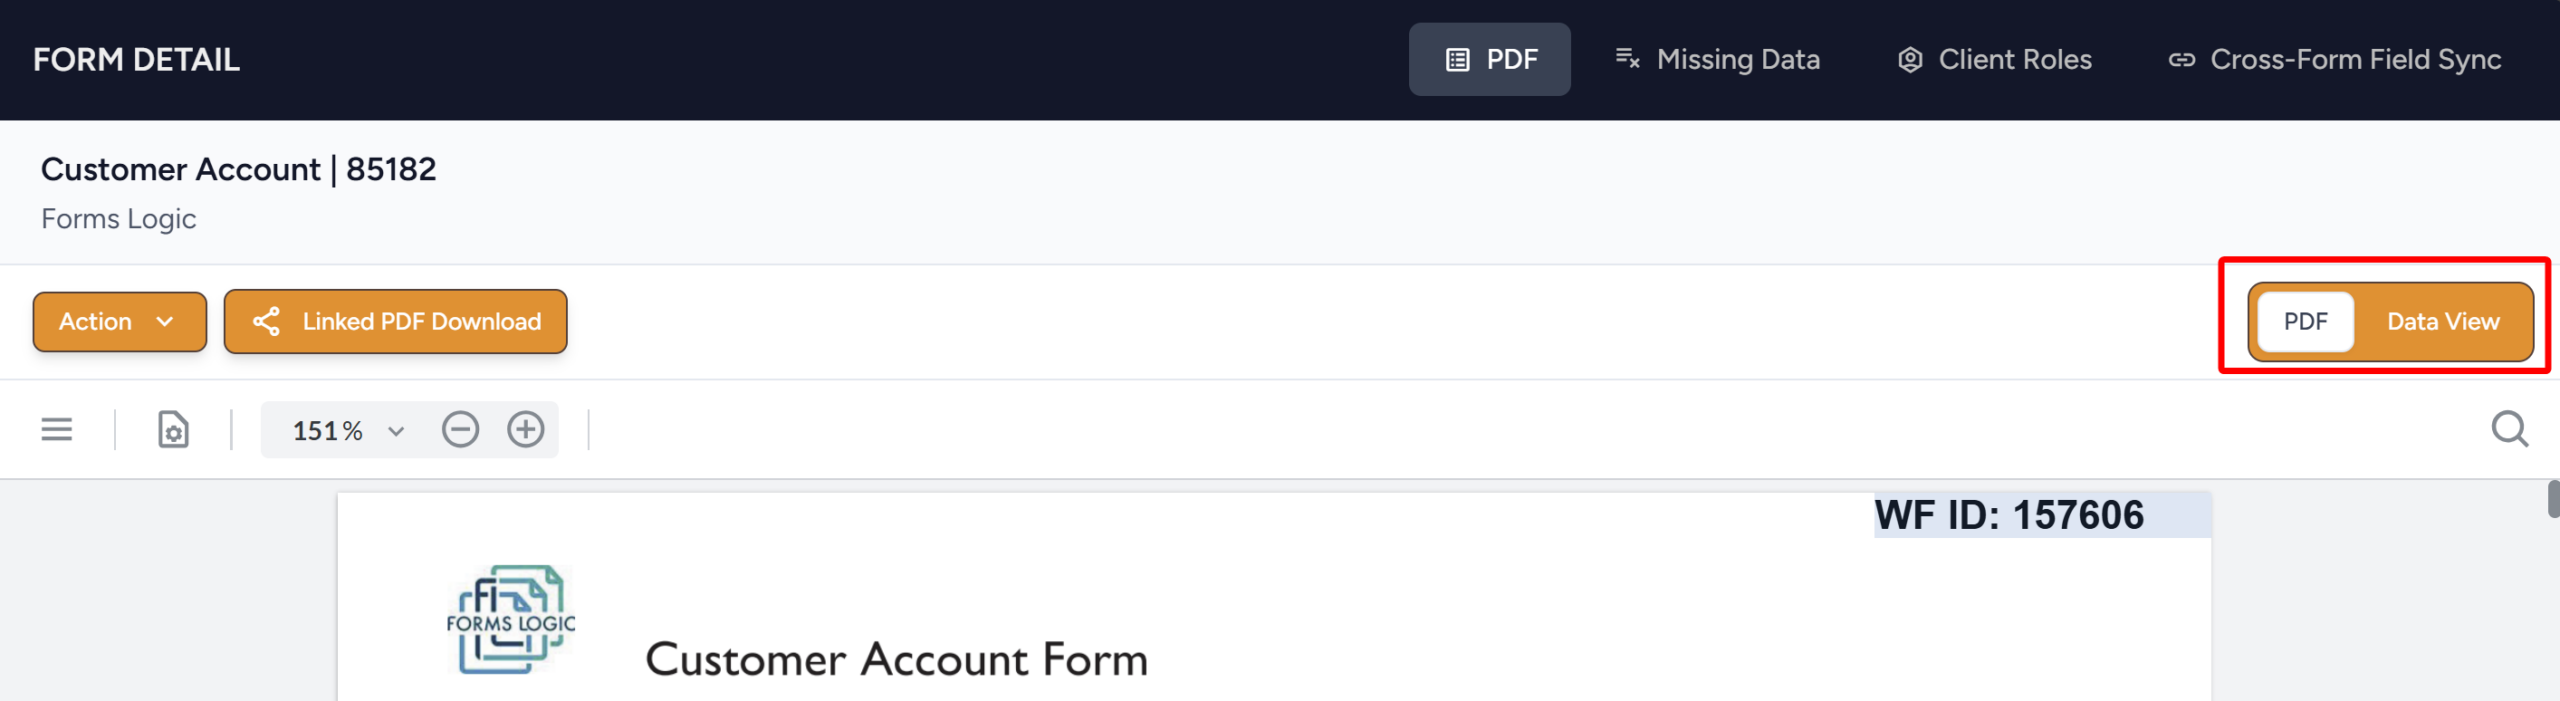
- In the upper right side, you can switch between two views: PDF View and Data View. The view currently displayed is PDF View.
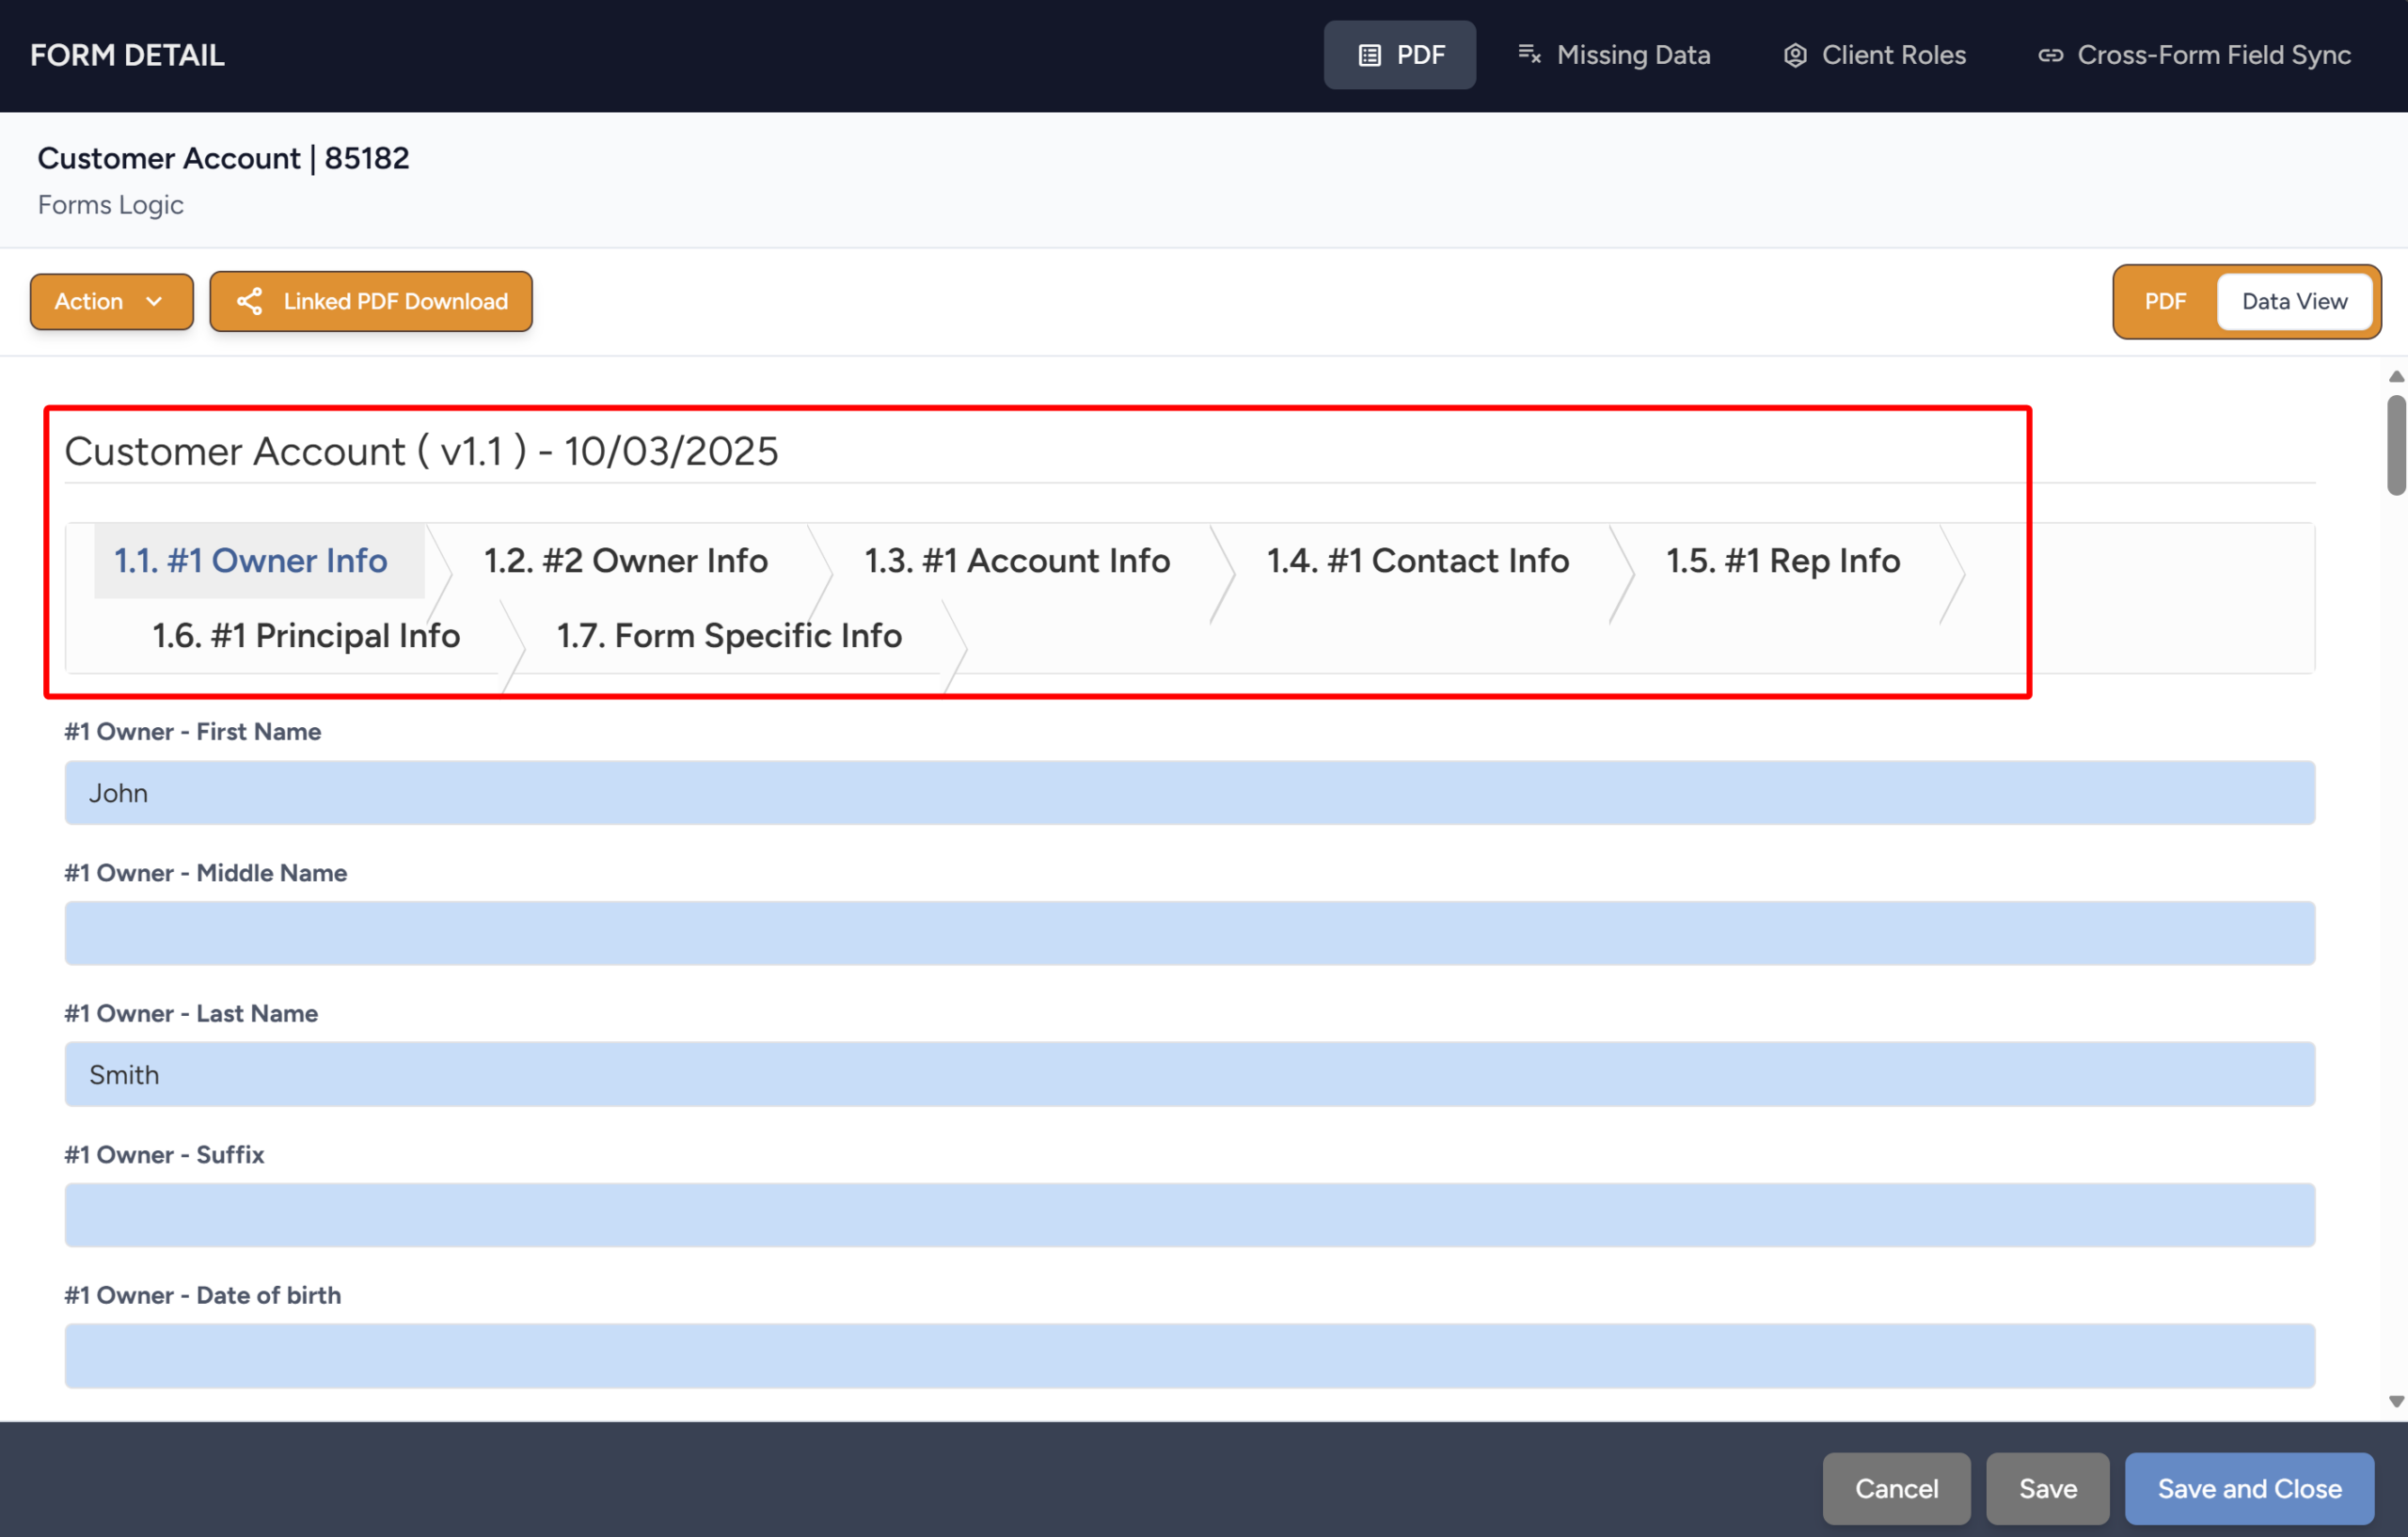
- In the Data View, every fillable field on the form has been captured and you can simply add data from the Data View page. Make sure you go to each page to complete the unique items for that page.
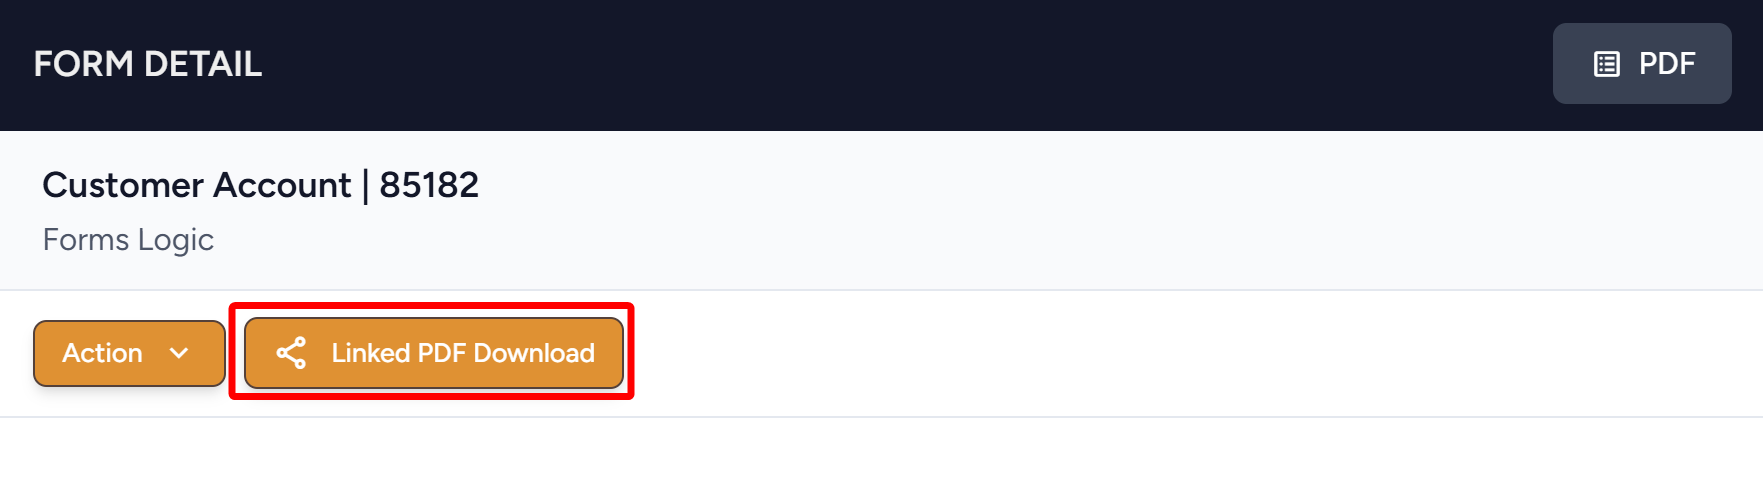
- The Linked PDF Download button allows you to download the selected form so you can email it to your client to complete and securely upload information to the form. Refer to Client Data Uploader for further details.
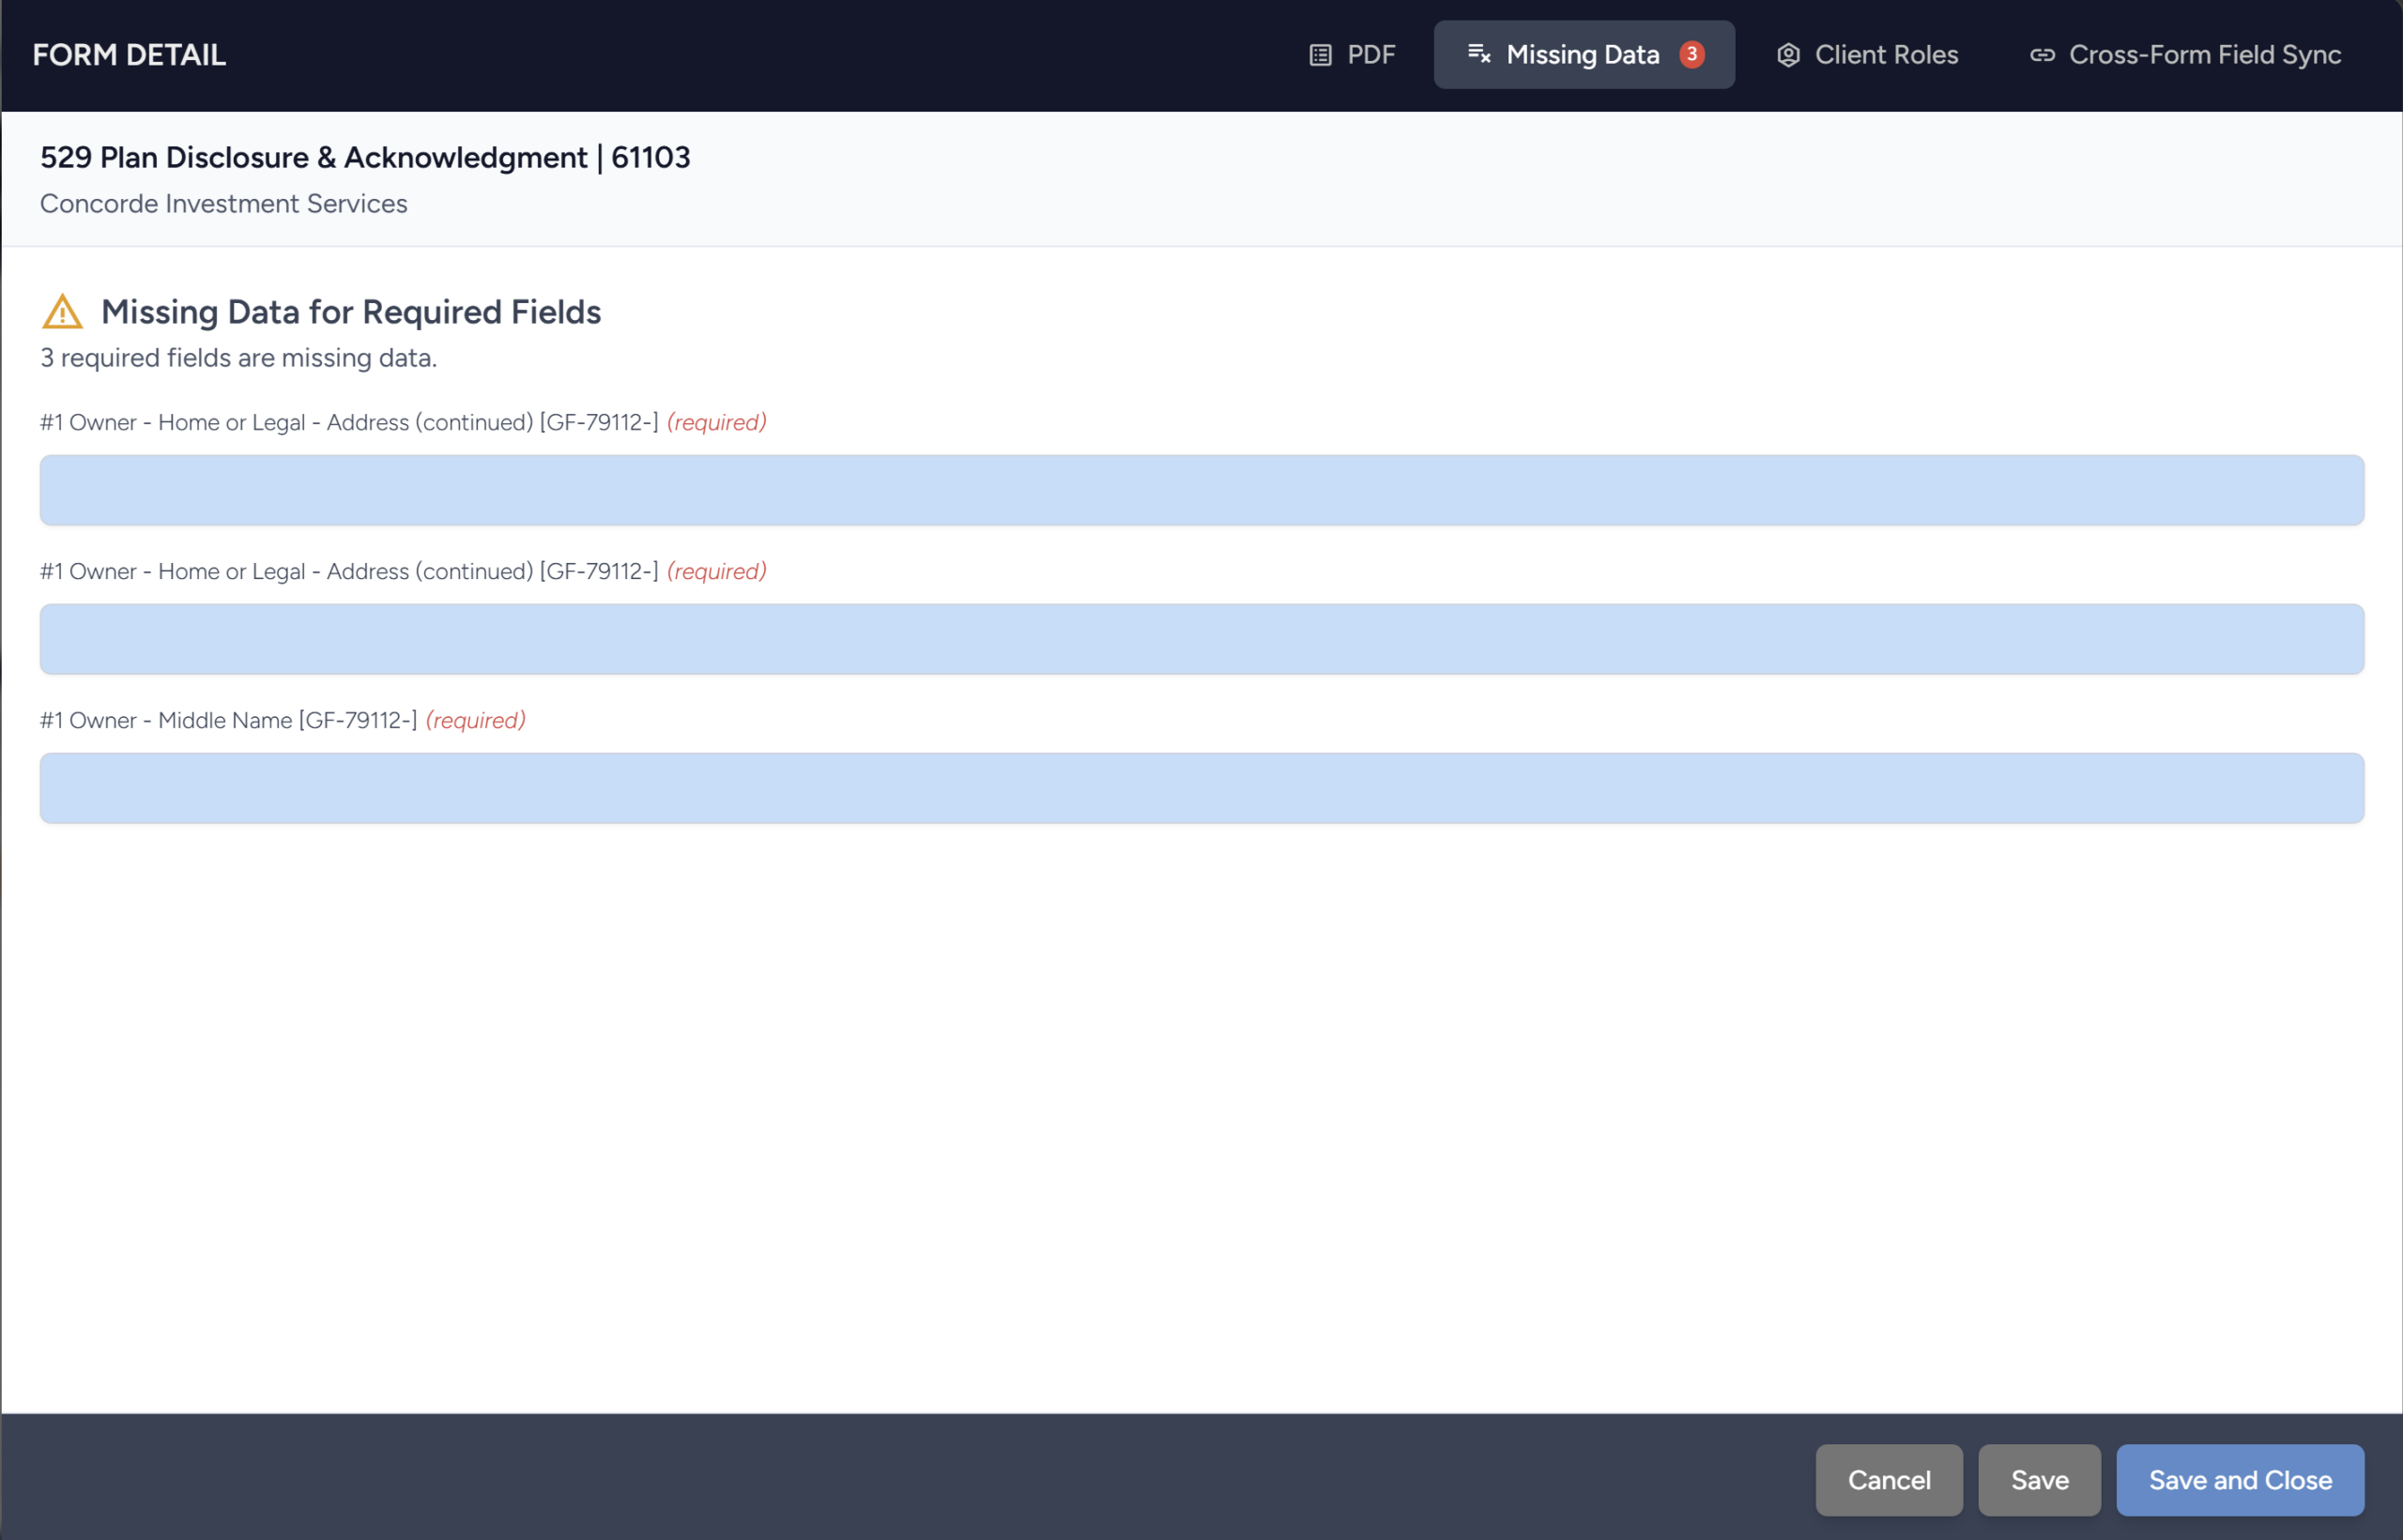
- The Missing Data tab shows you all of the missing data across the forms in a workflow.
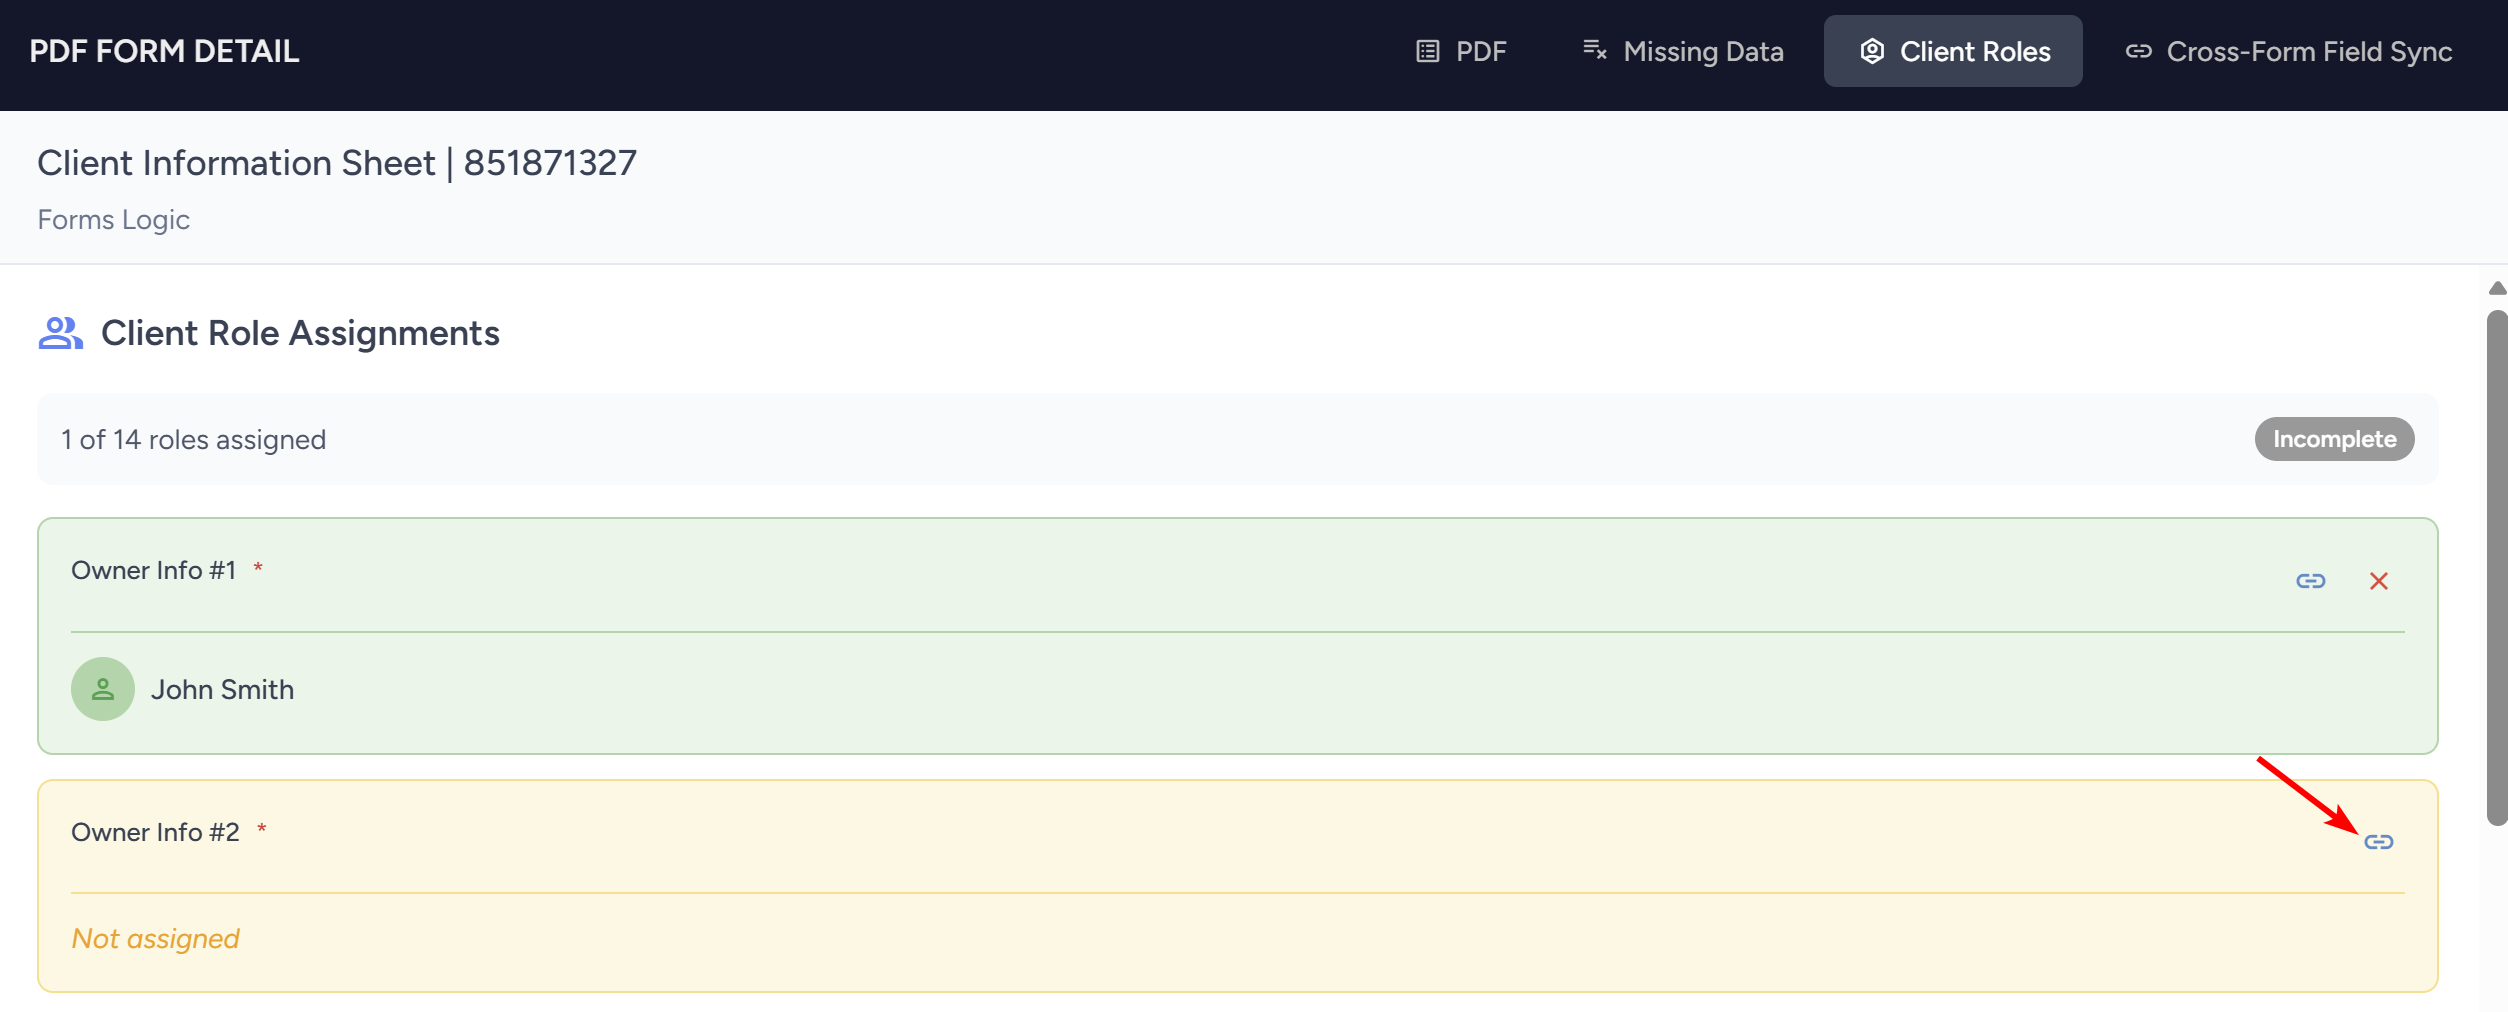
- The Client Roles tab allows you to add any existing client to a new role on the form. To do this, click the Icon on the right of whichever role.
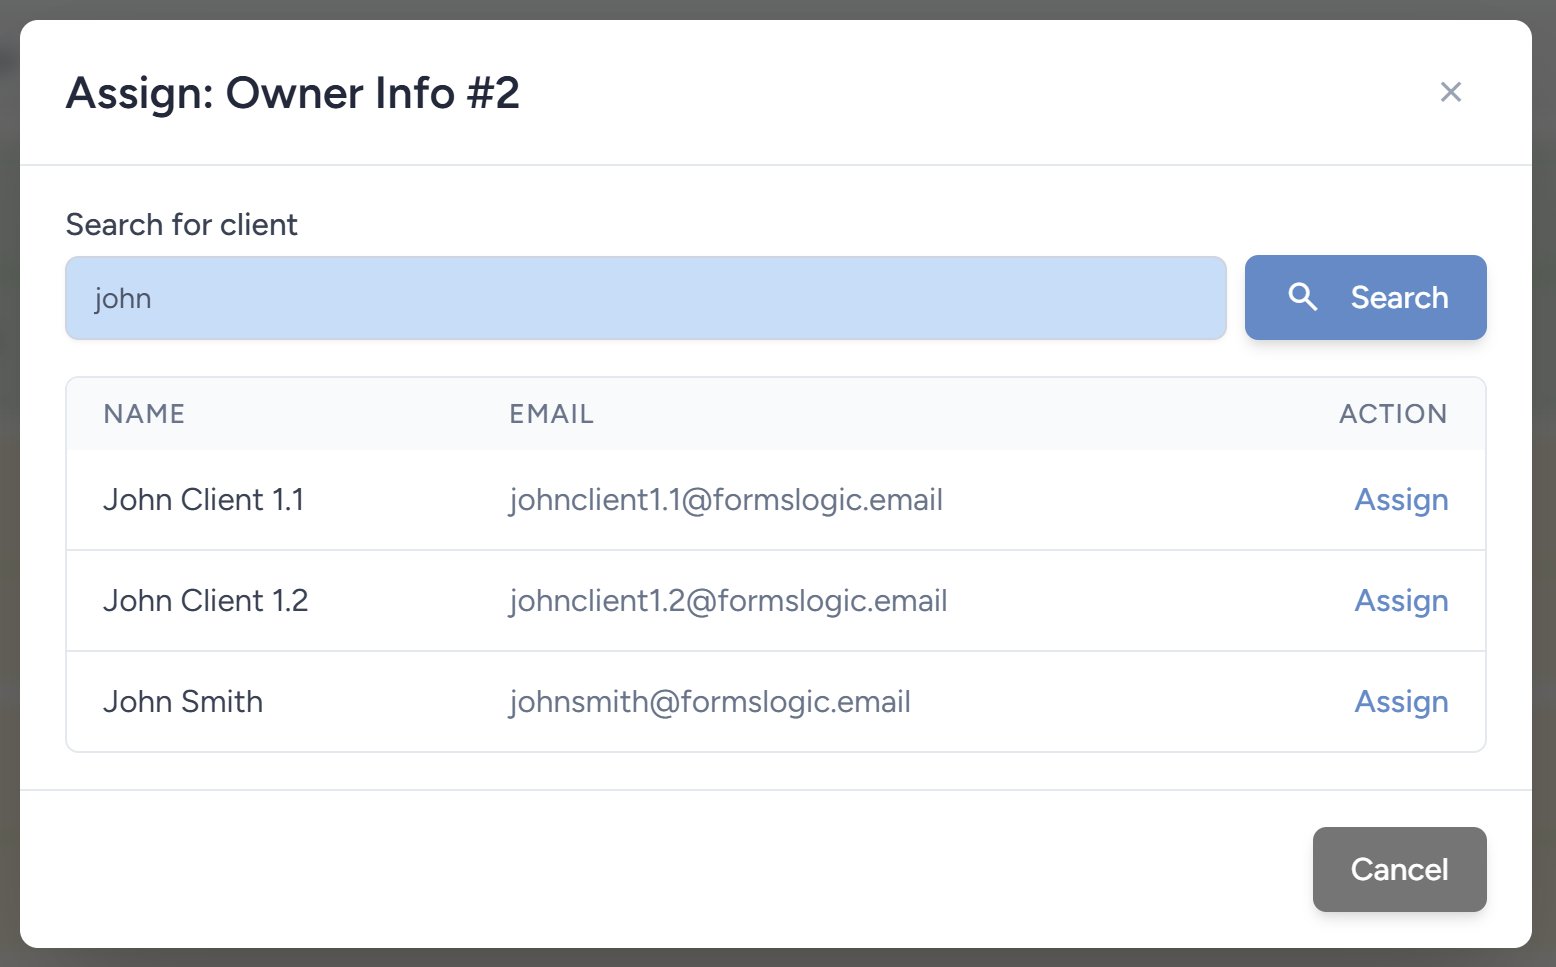
- A panel will open up. Search and select the desired Client Role and click the Assign button to assign the role.
7.5 Designating Type of Signature
- To designate what type of Signature the Workflow will be, click the Power Icon on the Signature Indicator. You can choose to either enable e-Signatures or enable Wet Signatures.
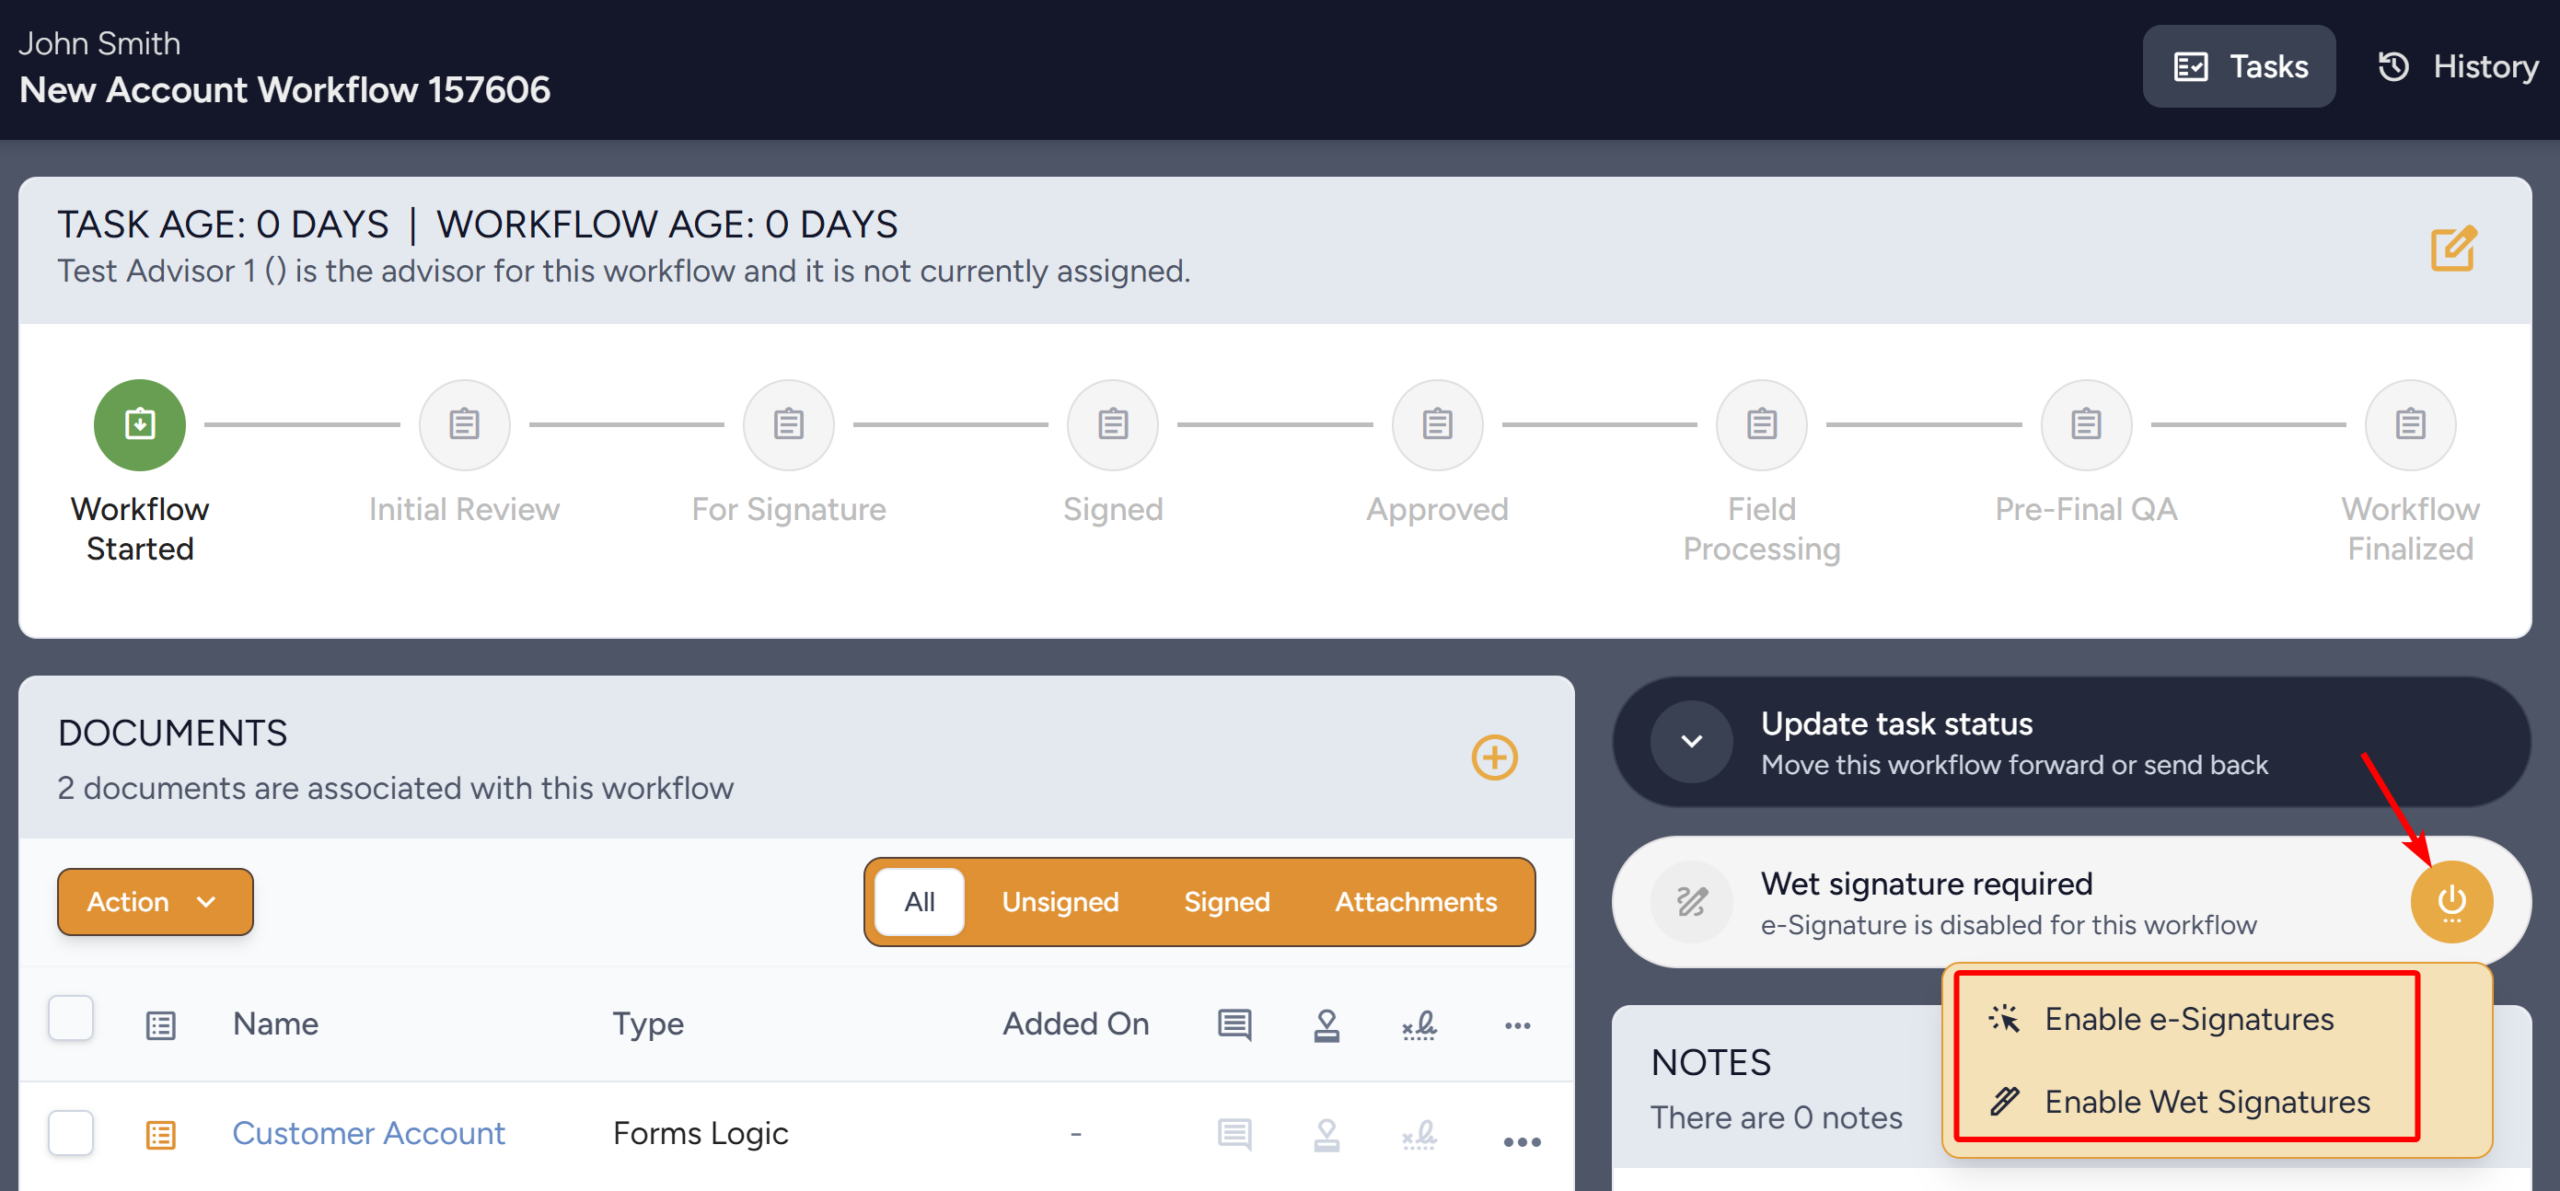
- If Wet Signature is enabled, the Signature Indicator will look like the following:

- If e-Signature is enabled, the Signature Indicator will either be green if there are no validation errors, or red if there are validation errors.

7.6 Submitting Workflow
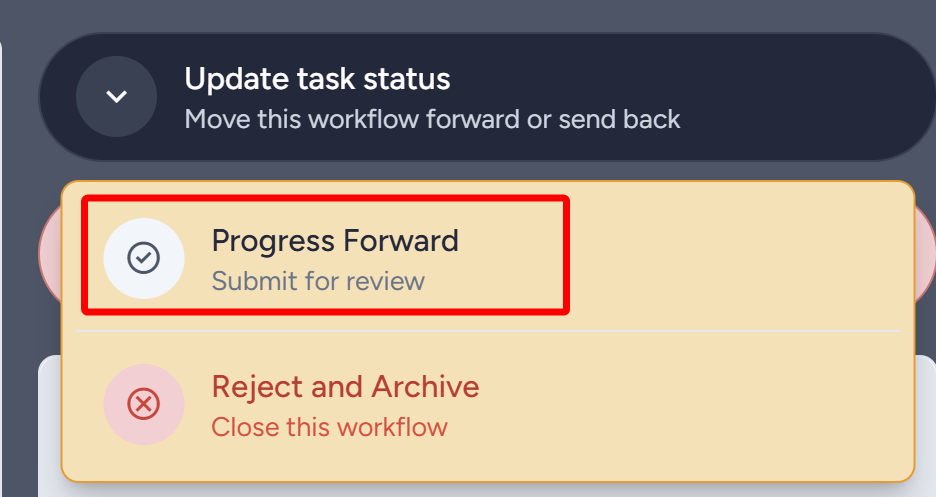
- Once all information is complete and the workflow is ready to be submitted, click Update Task Status and then click Progress Forward to submit the workflow for signature.